Are you ready to create, maintain and oversee every API within your architecture while enjoying seamless flexibility and scaling – regardless of your location or preferred cloud service provider? Then say hello to Tyk Cloud.
Tyk Cloud is a comprehensive API management tool that streamlines every step of the API lifecycle. As a fully managed service solution, Tyk Cloud features a rich ecosystem of tools, including our:
Tyk Cloud offers an astonishingly simple setup process that helps minimise the time and resources required to establish and sustain your API infrastructure. You can choose between a preferred third-party cloud provider and Tyk’s proprietary cloud environment, ensuring that your services deploy as close as possible to your end users – great for meeting your local compliance obligations, as well as for blistering performance.
This article walks you through how to get started with Tyk Cloud, from signing up to creating and securing your APIs.
Get started with Tyk Cloud
Tyk enables you to set up, deploy and manage your API infrastructure. This includes:
- Signing up and creating an organisation and team
- Setting up an environment to help group deployments
- Configuring and deploying an edge gateway for your APIs
- Creating, managing and securing your APIs
Set up Tyk Cloud
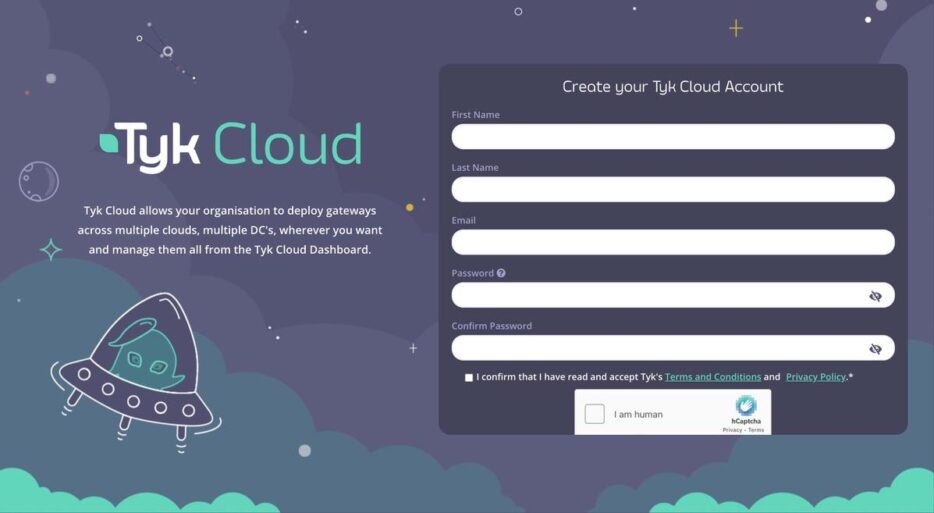
Here’s how to set up Tyk Cloud.
Create a Tyk account
To begin, create a Tyk account by navigating to the Tyk sign-up page.
Enter your first name, last name and email, then set a password that meets all specified requirements.
Review and accept the Terms and Conditions and Privacy Policy, then tick the box to confirm that you’ve done so. Tick the box next to I am human to complete the CAPTCHA request./p>
Finally, click CREATE NEW ACCOUNT.
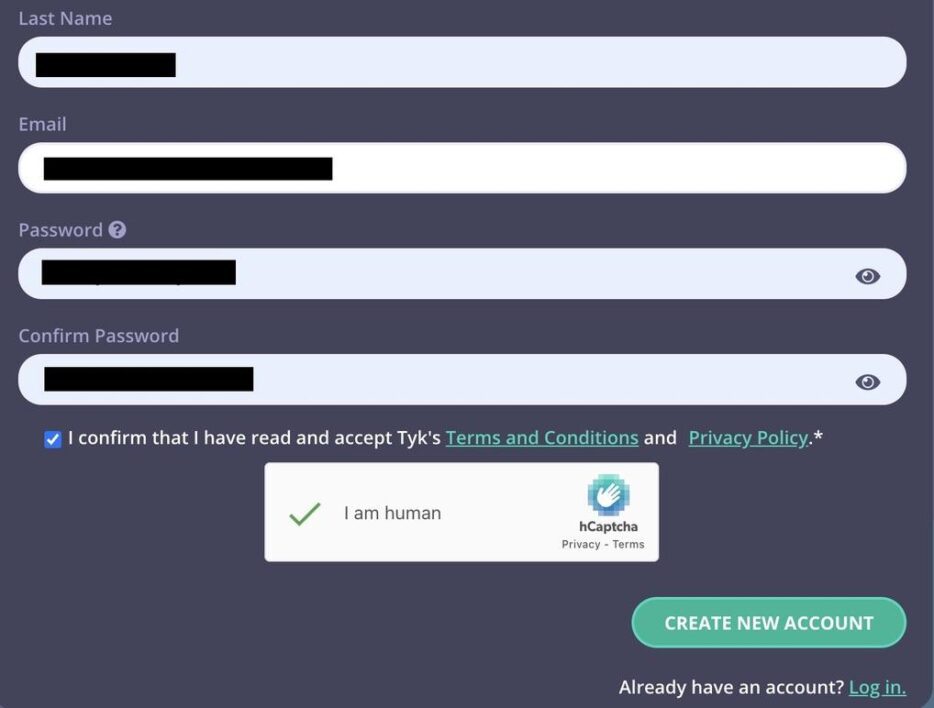
Once your account has been created, you’ll receive a confirmation email and the following message:
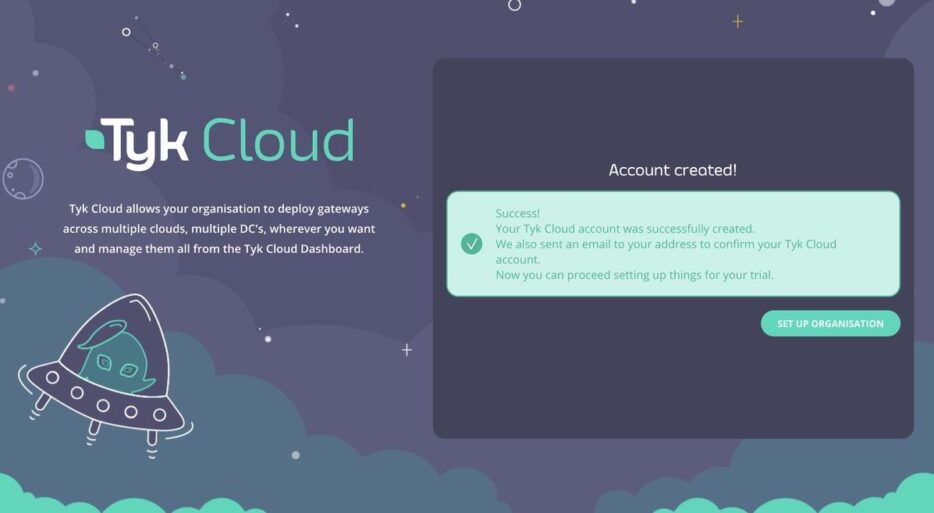
Now you’re ready to create your organisation.
Set up your organisation
The organisation occupies the highest level of the Tyk hierarchy. It contains all the information related to your cloud environment, APIs and users.
To begin, click the SET UP ORGANISATION button beneath your confirmation message. Then, enter your organisation’s name and select a home region.
Note: once you connect a region to an organisation, you will not be able to change it.
Next, click CREATE ORGANISATION.
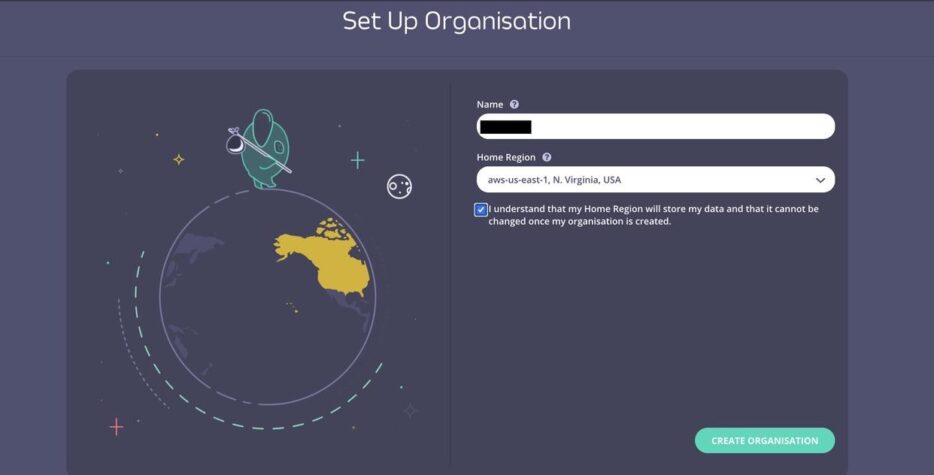
Tyk provides two setup options. We’ll look first at the demo setup option. However, as this tutorial will use the manual setup, feel free to skip straight to the “Manual setup” section below.
Demo setup
The demo setup option automatically configures your first deployment and deploys your first control plane and edge gateways. This approach is great for familiarising yourself with Tyk.
To begin, choose DEMO SETUP from the Set Up Organisation page.
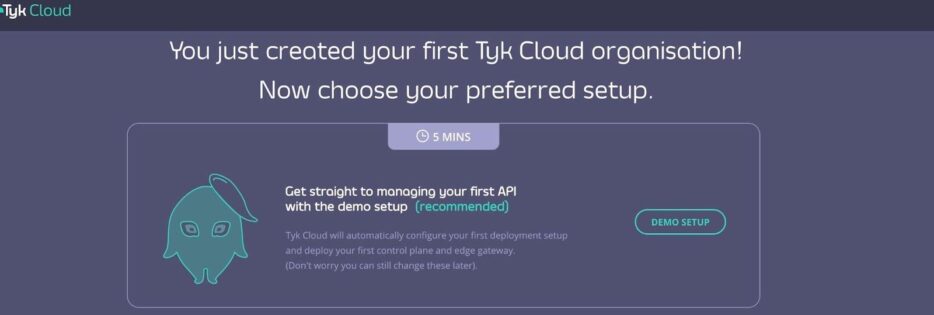
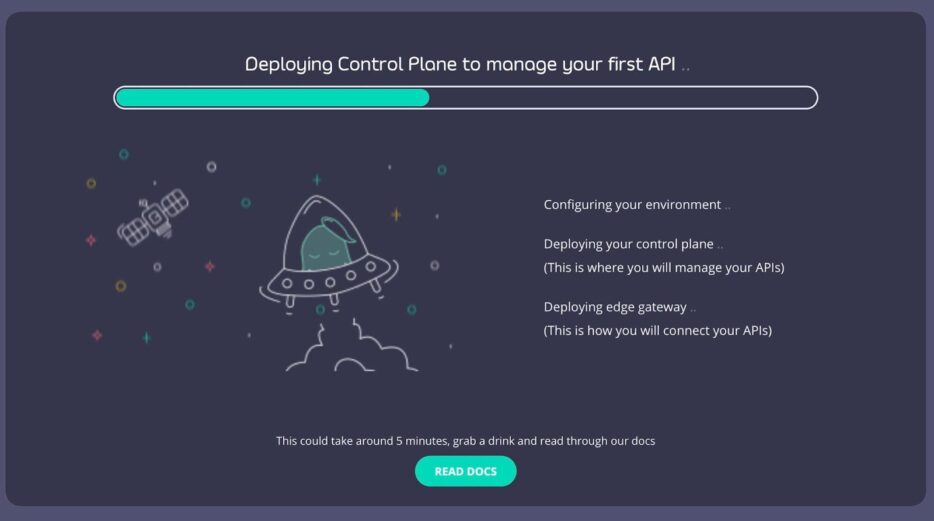
Tyk will now begin setting up your first deployment. This takes a few minutes.
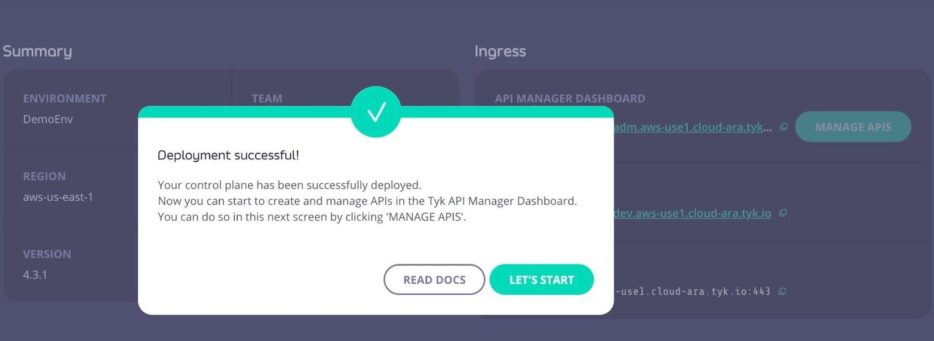
Upon successful deployment, you should receive this notification:
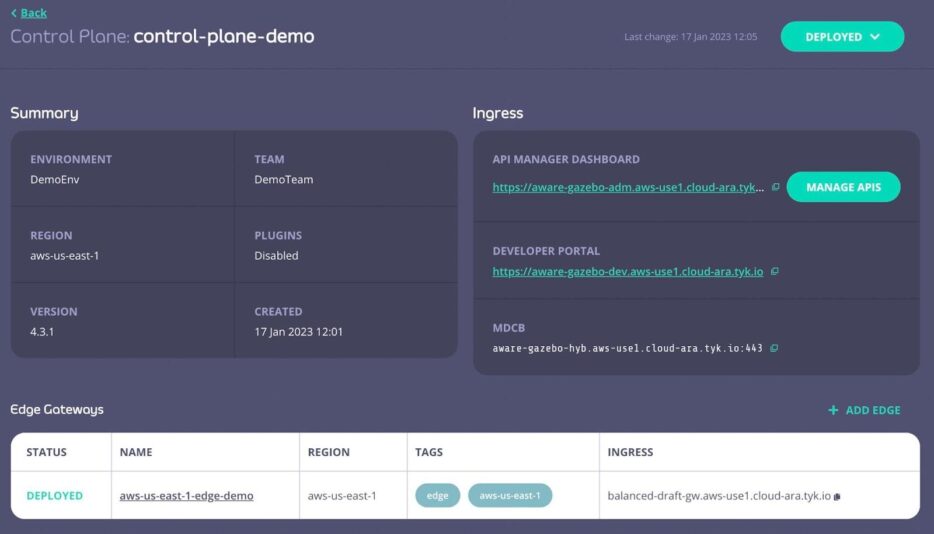
From the screenshot below, you can see that Tyk has automatically configured a team and environment and deployed your first edge gateway. Nice.
Manual setup
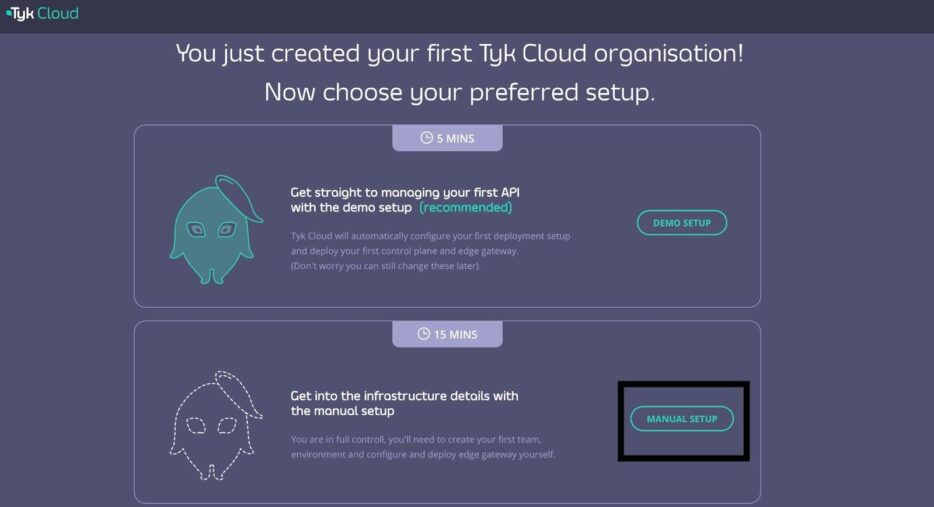
From the Set Up Organisation page, choose MANUAL SETUP. This will give you complete control over creating your team and environment and deploying your edge gateway.
Next, you’ll add a team, which is a subgroup of an organisation. A team contains team members. You can assign roles to each member.
To add a team, click Teams from the ADMIN section of the left navigation bar.

Then, click ADD TEAM.

Next, enter your Team name and click CREATE.

Tyk Cloud enables you to assign one of four roles for each team member in an organisation:
- Organisation admin: This role helps manage all the organisational tasks in your Tyk account, apart from billing. An organisation admin can create and delete teams and view, edit and deploy environments and deployments from your Tyk account.
- Team admin: The team admin is responsible for inviting, deleting and editing team members of their assigned team. This role can also create, edit and delete deployments, environments and plugins.
- Team members: Team members of an organisation can view environments and deployments. They can also create and delete control planes – but not edge gateways. Their role allows them to deploy, un-deploy, redeploy and manage Single Sign On (SSO).
- Billing admin: The billing administrator handles billing management for the Tyk Cloud account. A billing administrator helps create and manage new accounts, organisations and other billing admins.
For this tutorial, you’ll serve as the singular user – the organisation admin. You can explore our handy documentation to learn how to invite and add users to your team.
Set up the environment and configure deployment
Now that you’ve configured your organisation and team, you can create your environment. The environment helps you organise and group your deployments. It can have multiple control planes and edge gateways.
From the Overview page, click Environments in the OPERATIONS section of your left-hand navigation bar.

Next, click ADD ENVIRONMENT.

Then, select the team you just created from the Team dropdown.
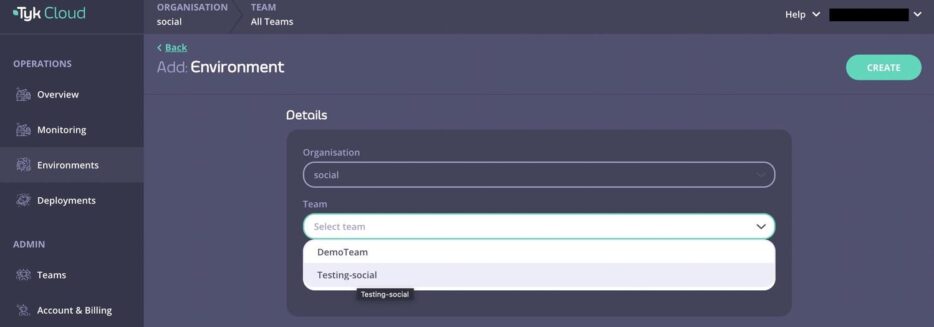
Now, enter an environment name (for example, Testing-social-environment). Click CREATE.
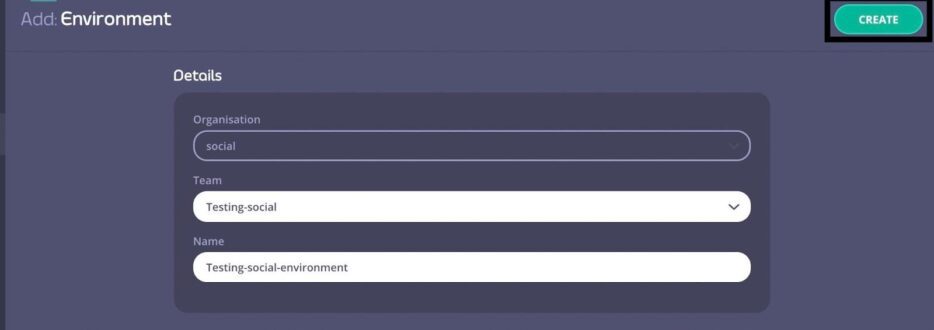
Right now, your environment doesn’t have any deployments, so let’s configure a new one — a control plane.
Navigate to your newly created environment and click ADD DEPLOYMENT.

Now, enter a name for your deployment and select Control Plane from the Type dropdown.

Next, choose your region for the control plane. Note that this region must match the one you chose for your organisation.

Select a Bundle Channel and Bundle Version from the appropriate dropdowns. Leave all other settings in their default states.

Finally, click CREATE AND DEPLOY.


Wait until the deployment status at the upper-right corner reads DEPLOYED. This may take a few minutes.
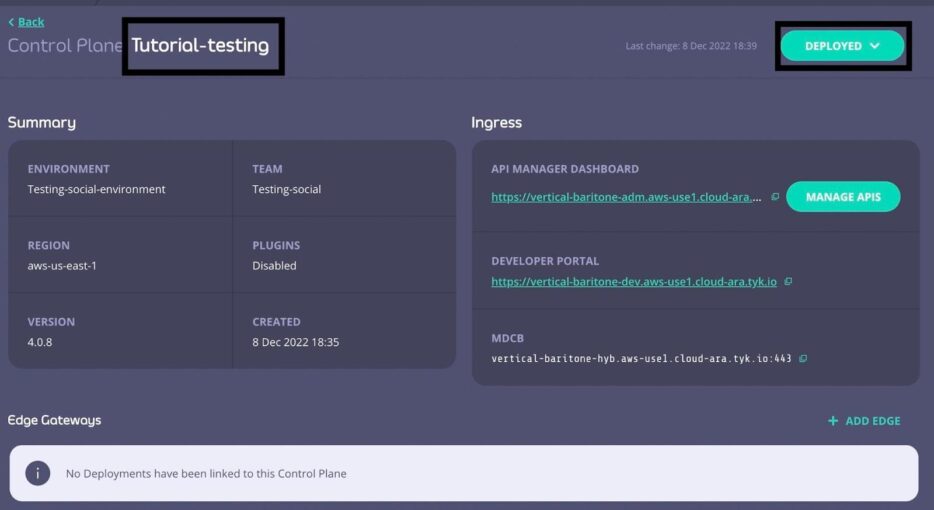

Now, you need to configure an edge gateway, as you can’t deploy APIs without one.
To begin, click + ADD EDGE from your deployment dashboard.


Name your edge gateway following the typical pattern.


Under Management, select the Control Plane that will house the edge gateway.
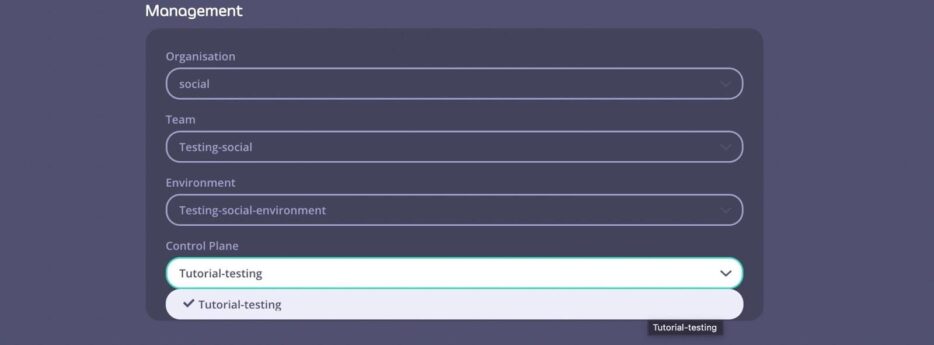

Next, select a Bundle Channel and Bundle Version. You can choose a bundle depending on your needs. Tyk lets you choose from three channels (long-term-support, latest and unstable).


Click CREATE AND DEPLOY.


The next page shows a summary of your new edge gateway:
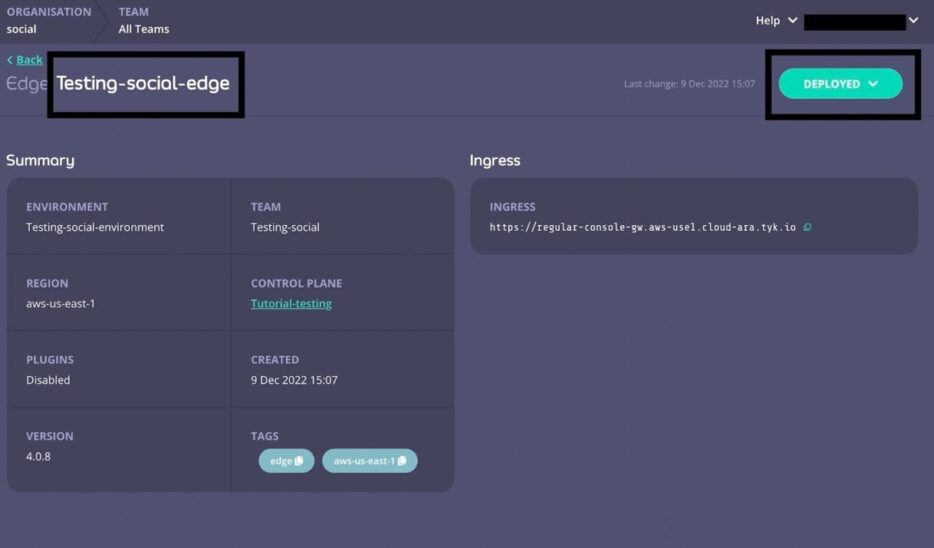

You’re now ready to build your API.
Build and access APIs with Tyk
The Tyk dashboard helps you manage multiple APIs seamlessly. To familiarise yourself with the dashboard and its features, you’ll create a simple API and access it via Postman.
Start by clicking your newly deployed control plane. Then, click MANAGE APIS to access your Tyk Dashboard:
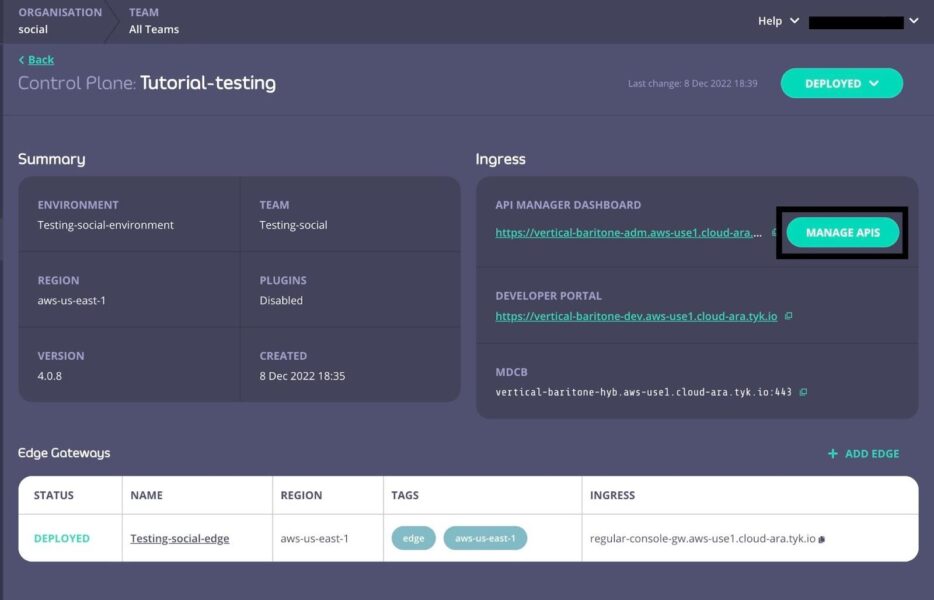

Next, click Design new API.
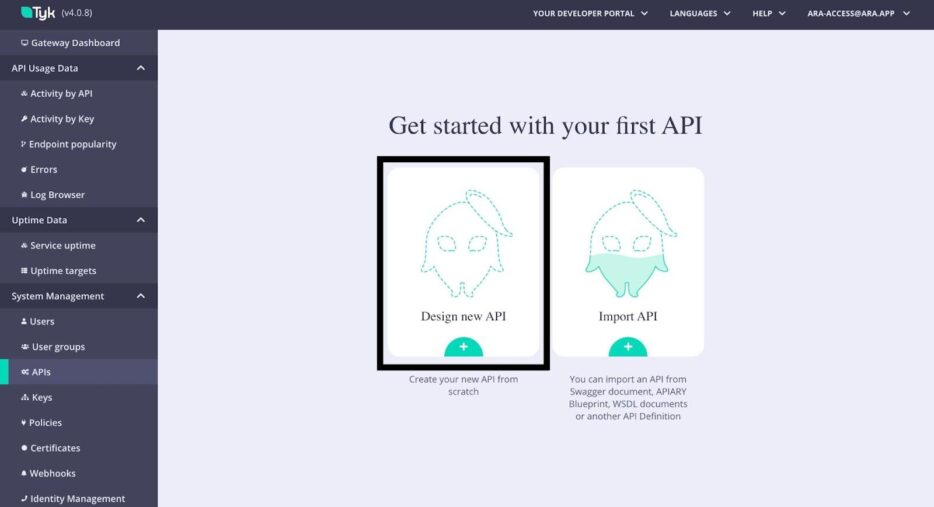

Enter a name (for example, coffee-api) and select an API type. This tutorial uses HTTP.
Under Upstream URL, enter the following:
“https://api.sampleapis.com/coffee/hot”
Next, click + CONFIGURE API at the upper-right corner of the window.
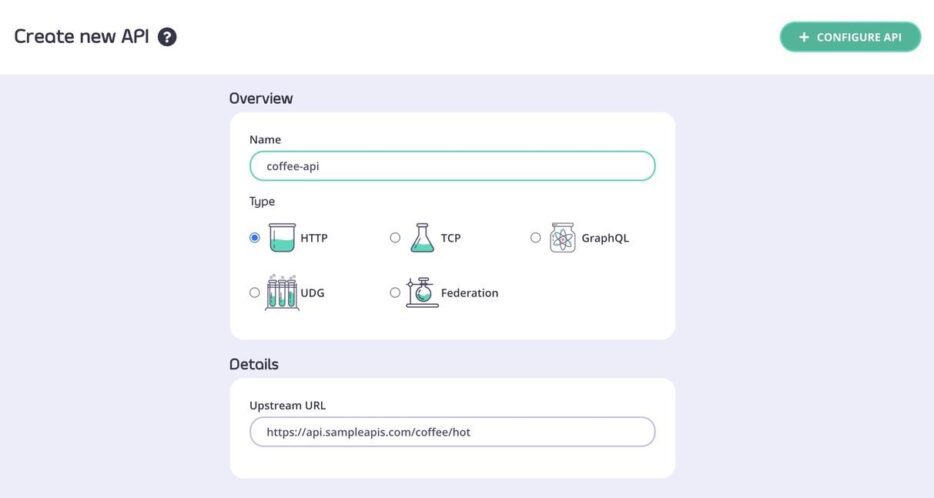

Now try to access your newly created API.
Copy your edge gateway’s ingress address from your Gateway Summary page.


Then, attach the listen path for your API and send the request using Postman. You can find the listen path for your API under the Core Settings section.


The listen path helps tell Tyk what path to listen on.
Now resend the request from Postman.
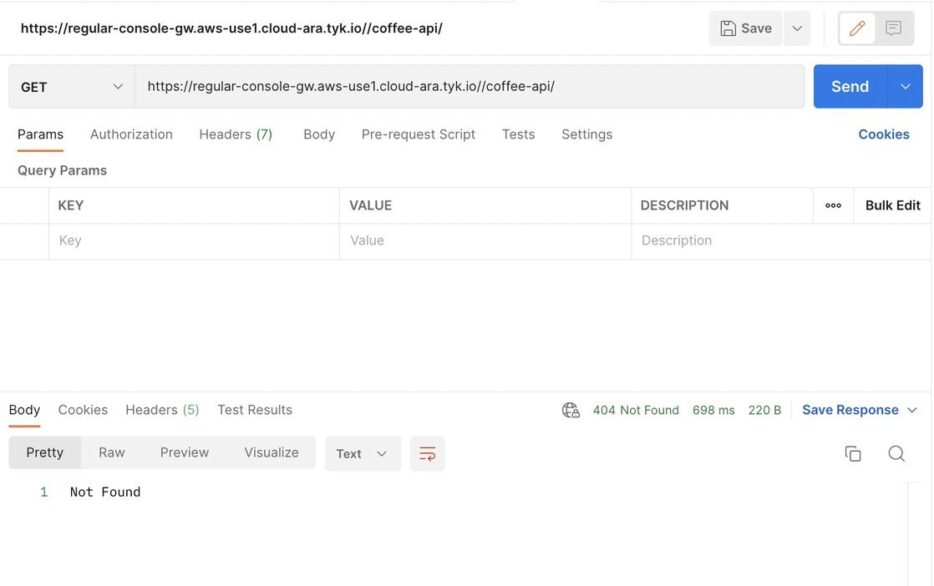

Now, to be able to access your API via an endpoint, you must add a tag.
To do so, click the coffee-api under APIs from the Systems management section of your Tyk Dashboard. Then, navigate to the Advanced Options tab.


Scroll to the Segment Tags (Node Segmentation) section and enter a gateway tag. The “edge” tag shown below allows access from all gateways:


Click Update.


When you resend the request from Postman, you should receive a response that begins like this:
[

  {

    "title": "Black",

    "description": "Black coffee is as simple as it gets with ground coffee beans steeped in hot water, served warm. And if you want to sound fancy, you can call black coffee by its proper name: cafe noir.",

    "ingredients": [

      "Coffee"

    ],

    "image": "https://upload.wikimedia.org/wikipedia/commons/thumb/4/45/A_small_cup_of_coffee.JPG/640px-A_small_cup_of_coffee.JPG",

    "id": 1

  }

]
Note that the full response is longer than this. This result only represents the first object from the list returned.
API control
Tyk uses many control methods when managing APIs, including restricting access via security controls, limiting API calls via rate limiting and versioning to track APIs.
For your coffee-api, you set the authentication mode to keyless. However, it’s always best to secure your APIs using, at minimum, basic authentication or an authorisation token. Let’s explore how basic authentication helps limit access to your APIs.
To begin, navigate to coffee-api and locate the Authentication section under the Core Settings tab.


Then, select Authentication Token from the Authentication mode dropdown and click UPDATE to save the new changes.
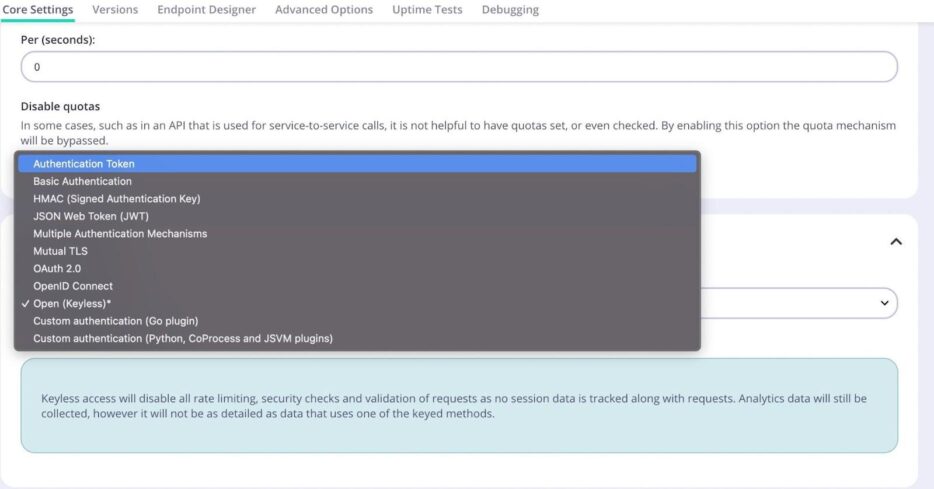

Try accessing your API again. Your response message will state:
{

    "error": "Authorization field missing"

}
Let’s resolve that error.
Create and use keys for authentication with Tyk
You can create keys via a policy or by giving direct API access. Let’s review both methods.
Create keys via policy
Using a policy to add keys applies all the rules attached to the policy to the generated key. This method is common for organisations using multiple APIs. Let’s generate a key using a policy.
To begin, click on Keys from the System Management section of your Tyk Dashboard.


Click on Add Key and choose Apply Policy. Tyk lets you add keys to your API by applying a policy or by choosing an API. For this example, click APPLY POLICY.
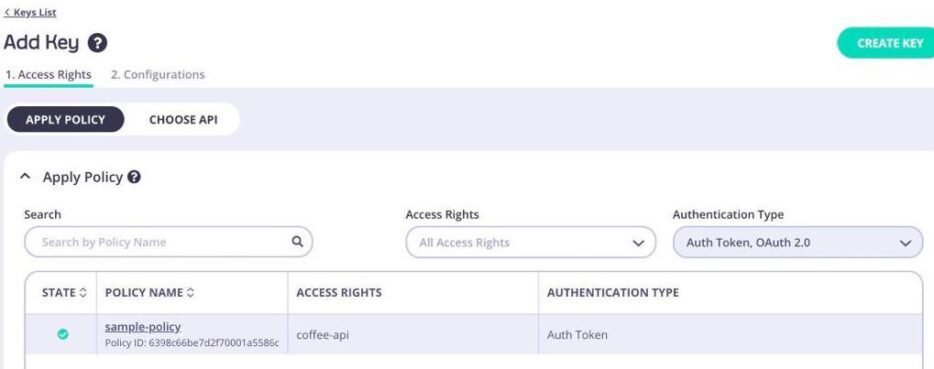


Select a policy for your key. This selected policy confers all the rules regarding access rights, rate limits and quotas, and throttling on your key. We’ve already created a sample-policy, but you can also learn how to create a security policy quickly and easily.
Select sample-policy and click Create Key.


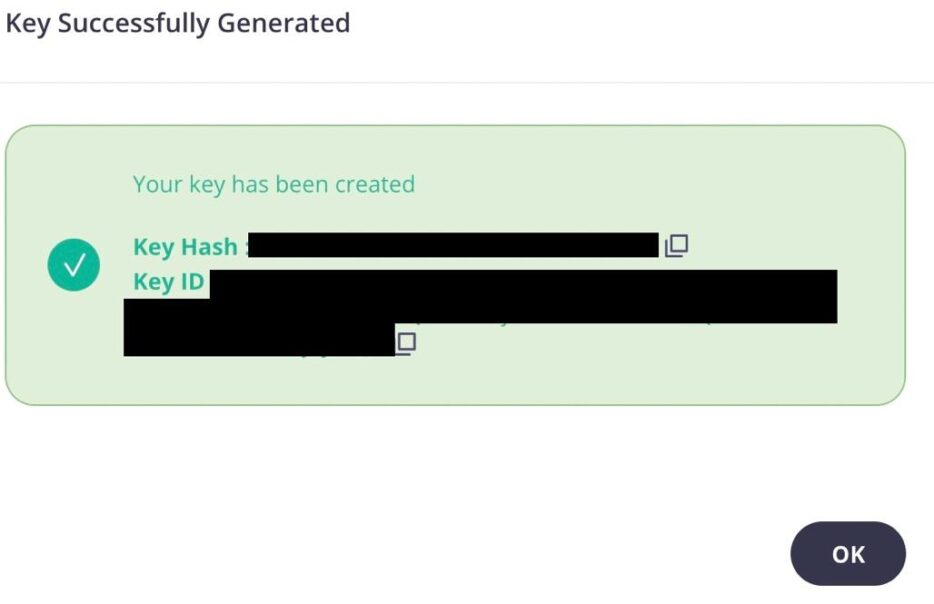
Then, copy the generated Key ID and hash values into a safe place for later use.
Create keys by granting access to APIs
Begin by clicking Keys from the System Management section of your dashboard.


Click Add Key from the upper-right corner. For this example, click CHOOSE API.
Then, search for and select coffee-api under API name to give access to the key holder.
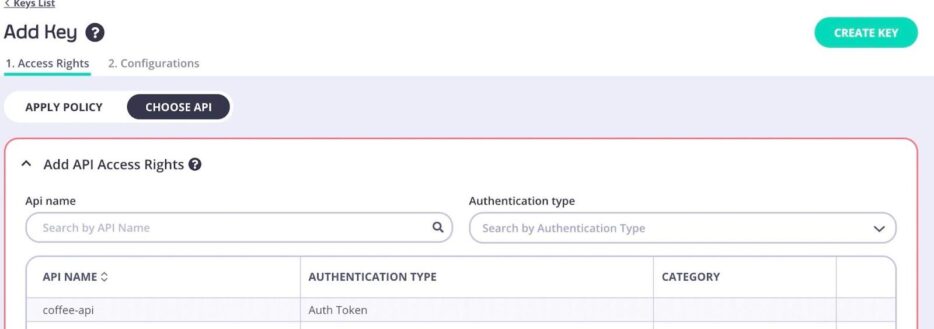

Select the API version that can access the keys. Currently, you only have one version – the default – so it’s been selected for you.
You can also limit and save resources by setting limits and quotas, but leave your settings as they are for now.
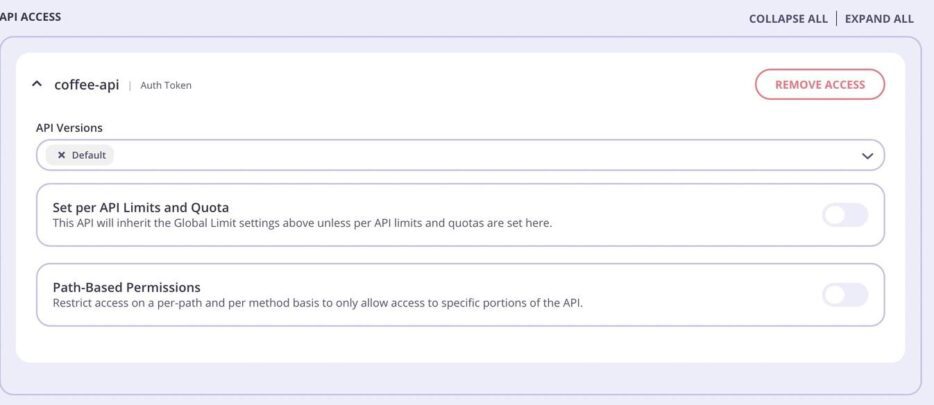

Note: Tyk also enables you to restrict access by setting path-based permissions. This option allows you to set custom regexes and methods that the key will permit, offering more granular control to API access. This tutorial doesn’t apply path-based permissions, but this documentation provides that information.
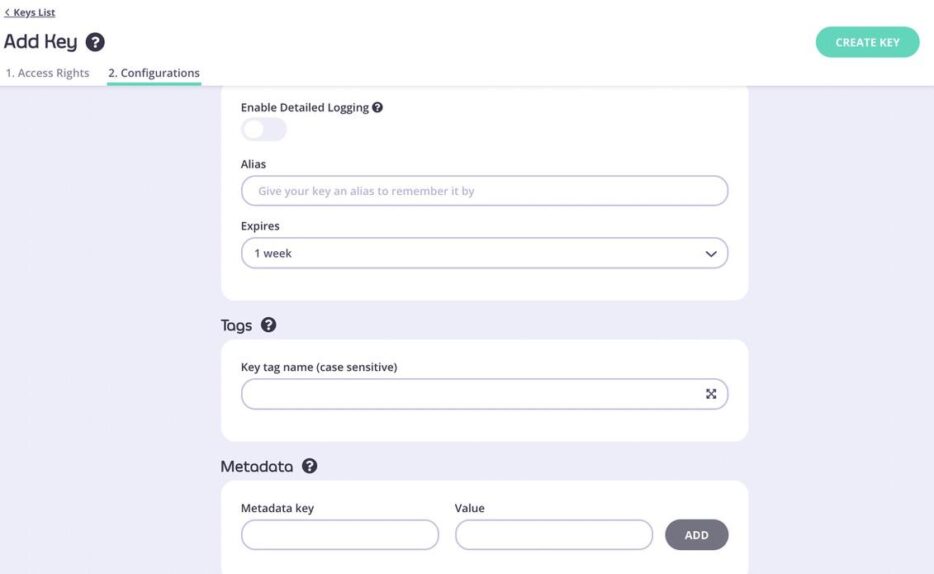
Now, navigate to Configurations.
Under the Expires dropdown in the Settings section, set expiration to 1 week and leave all other settings in their default states.
Then, click CREATE KEY.

Remember to copy the key details from the success message.

Return to your previous Postman request and click Headers.
Then, select Authorization as the key and enter your Key ID as the authorisation value.
Finally, click Send to resend your API request.
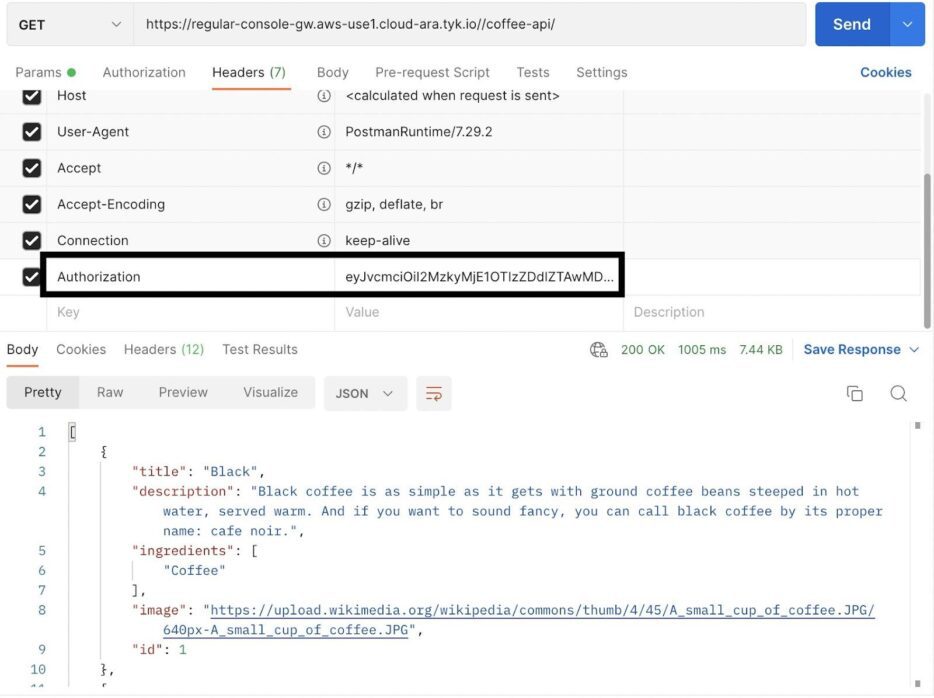

You should now see that your API call was successful, thanks to the key you included in the request.
Note: The response received is the same as that received when we made an API call without a key.
API rate limiting
Tyk helps you control the number of API requests a key can make within a period using throttling or rate limiting.
To see this in action, we’ll use a policy to introduce a rate limit to our coffee-api.
To start, navigate to and click on Policies under the Systems Management section of your Tyk Dashboard.
Next, select sample-policy from the list of policies.


This policy already grants access rights to the coffee-api. Therefore, this policy’s rules also affect the coffee-api.
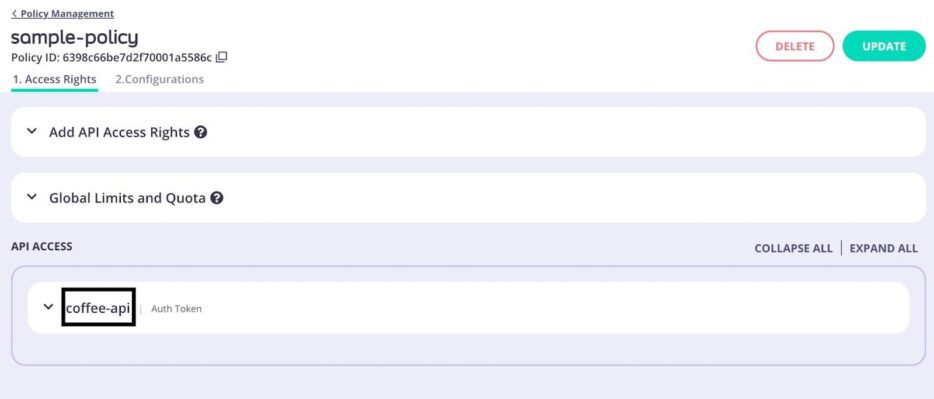

Click on Global Limits and Quota to expand the section. Set the rate to 5 and the time to 60 [seconds]. This setting means that for every minute, the maximum number of allowed API requests is five, and any subsequent calls will return an error.


Click UPDATE.


Resend the requests on Postman, and you’ll observe that the first five calls are successful. However, the sixth returns the following error:
{

    "error": "API Rate limit exceeded"

}
API versioning
Tyk helps define and manage all the different versions of a single API by managing route and middleware configurations, along with the various versions of an API. For example, Tyk can easily block any deprecated endpoint by identifying its version name in the request header or query parameters.
To view this in action, navigate to coffee-api.
Click the Versions tab from the top navigation bar. You’ll see that the coffee-api currently disables versioning.


Uncheck the box to allow API versioning.


Now, select a location to contain the version information. You can place version information in a header key, query parameter or the first part of a URL.


Then, enter a unique version identifier for your API version. The format is X-API-Version:<version>.


Select an API default version. Tyk will use this version unless the API request explicitly requests a different one in the header or query parameter. Failure to set a default version when the header does not request one will return an error.
To see how this looks, click Update without setting a default.

Now, send an API request from Postman without specifying a version in either the header or query parameter.
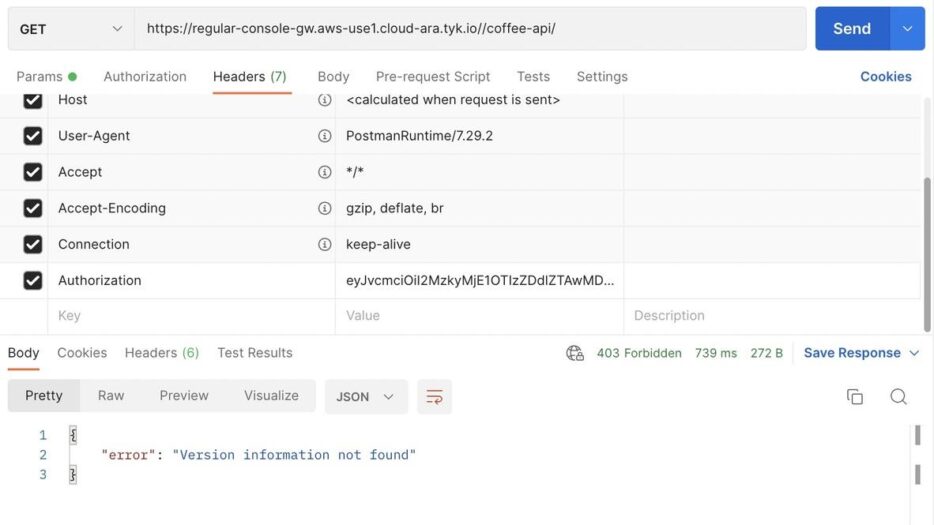

You’ll see that your API request returned a Version information not found error.
Let’s resolve this by choosing a version.
Return to the Versions tab from your Tyk Dashboard. Then, select Default as the default API version.


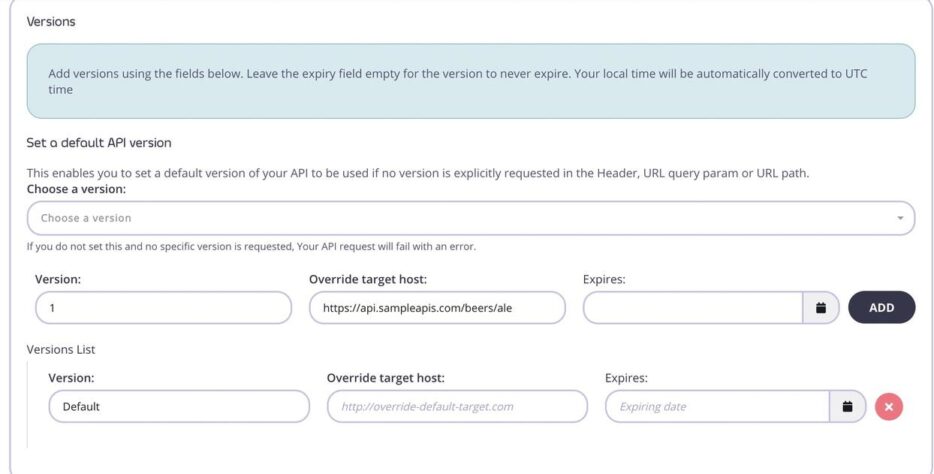
Note that this method enables users to make an API call without specifying the API version field in the header. However, let’s test it with a version key value. This tutorial uses 1. Therefore, requesting this specific version in the header uses X-API-Version:1 as its key: value pair.
Now, enter a target host URL for the new version and add an expiration date. Leaving the expiration field blank means the version never expires.
Click ADD.


You can now scroll down to the Versions List section to view your newly added API version.


Once again, send a request via Postman without specifying versions.
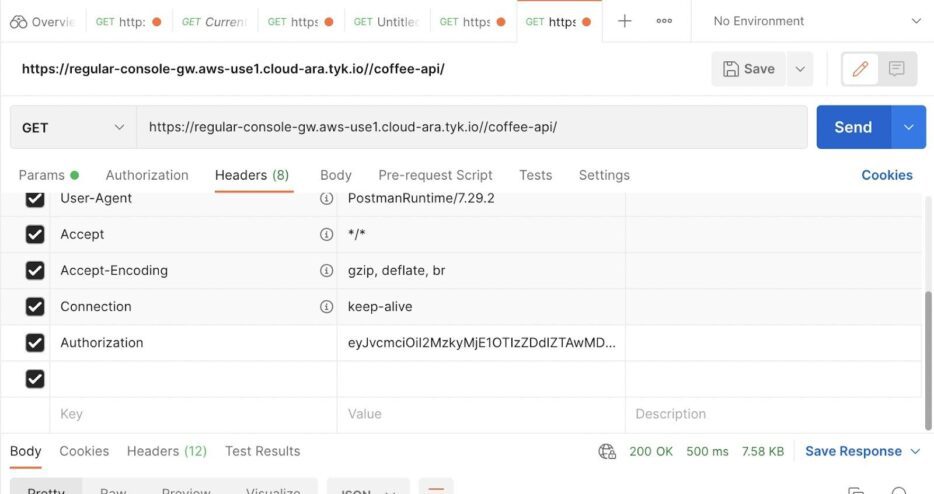

You should now receive a successful response:
[

  {

    "title": "Black",

    "description": "Black coffee is as simple as it gets with ground coffee beans steeped in hot water, served warm. And if you want to sound fancy, you can call black coffee by its proper name: cafe noir.",

    "ingredients": [

      "Coffee"

    ],

    "image": "https://upload.wikimedia.org/wikipedia/commons/thumb/4/45/A_small_cup_of_coffee.JPG/640px-A_small_cup_of_coffee.JPG",

    "id": 1

  }

]
API publishing
Tyk enables you to publish your APIs, making them accessible to developers via the Tyk Dashboard within the Developer Portal. However, you must meet the following conditions before you can successfully publish APIs to the Portal catalogue:
- The API must be live and configured.
- The API must be closed – not keyless – and use a security mechanism such as an authentication token.
- There must be a security policy configured for granting access to the API.
Bearing in mind these prerequisites, let’s publish coffee-api.
First, select Catalogue from the Portal Management menu of your Tyk Dashboard. The catalogue contains all defined API entries and notes whether they have documentation and are active.


Click + ADD NEW API.


Enter a name for the API (coffee-api).
Next, select a policy that grants access to the public API. This tutorial uses a previously created sample policy, but you can easily learn how to create your own.


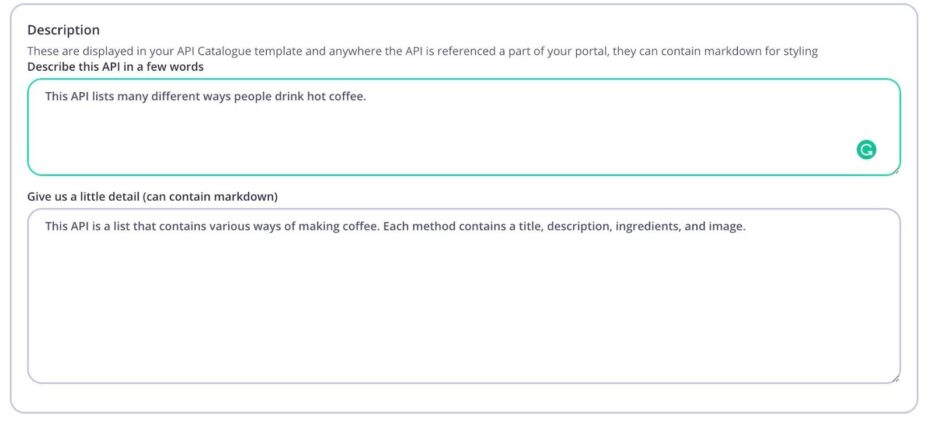
Add a description for your API.

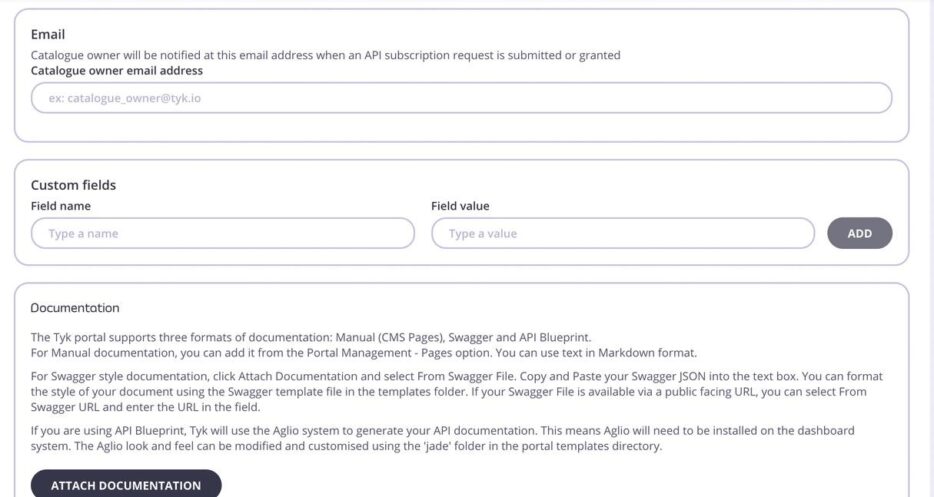
You can choose to add an email address or attach documentation to your API. Tyk allows you to import documentation in OpenAPI JSON files or from a Swagger URL.

When you’ve finished, click SAVE.


To view your new portal entry, click OPEN YOUR PORTAL from the YOUR DEVELOPER PORTAL option in the top navigation bar.


There you have it! You – along with all other users – can now view your published API entry. Good work!
Conclusion
APIs are essential for exchanging data and providing organisations and users with accessible services and information. However, developing, managing and deploying APIs can be taxing when you don’t have the right solution in place for doing so. The Tyk Cloud API management platform reduces this burden, helping you build and monitor multiple APIs across multiple cloud platforms from a single dashboard. You enjoy all the benefits of a global API infrastructure with zero management headaches.
Upon registering for Tyk, you gain access to Tyk Dashboard. From there, you can create, manage and secure access to all your APIs.
To team up with Tyk, sign up today and let us help you manage your APIs.


Budhaditya Bhattacharya
Budha Bhattacharya is responsible for product education, community engagement, and open-source ecosystem expansion. He is the lead instructor of the API platform engineering fundamentals programmes, host of the All About APIs podcast, and the API hangout where he engages with developers and business leaders on all things APIs.
