Sometimes when developing a PoC it is best for us to get everything running locally so we have a sandbox to explore in. Beginning your journey into API Management with Tyk is no exception to this and as such this tutorial to walk you through a few things to let you explore the Tyk Gateway and Dashboard. Once you have this base up and running you will be able to explore in great detail all of the features that Tyk has to power your API journey.
In this tutorial we will create a simple API endpoint with NodeJS and Express and then create a local Tyk Gateway which will interface with this API endpoint. This will allow for a simple example that you can then use to extend your own API’s on your local system while using Tyk.
In order to proceed you will need to have the following:
- docker Desktop installed and running
- git installed and running
- A terminal to use for configuration and running docker commands
If you prefer to use your own existing API you will not need to worry about the following; however, If you want to build the NodeJS API used in this tutorial you will need the following:
- NodeJS/npm installed
- VS Code or your preferred IDE for coding
If you are unsure if you have Node and npm installed you can run “node -v” and “npm -v” to confirm.
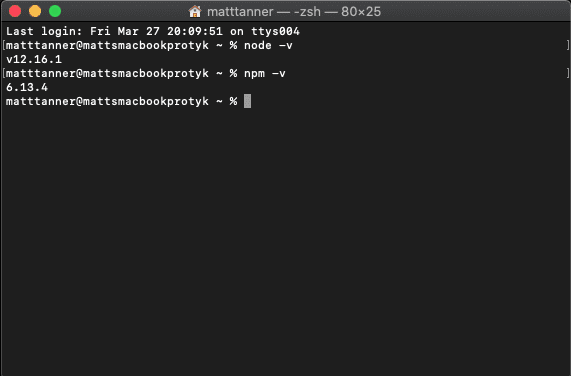
If either of these are not installed, download and install the latest stable version of node which is available here (LTS version is recommended)
Creating a simple API
Our first goal will be to create a simple API endpoint if you do not currently have one on your system that you can use to interface with the Tyk API Gateway. The endpoint we will create will simply return a JSON response from a GET request. No logic will exist in this endpoint since we are just using it for demonstration purposes.
Step #1
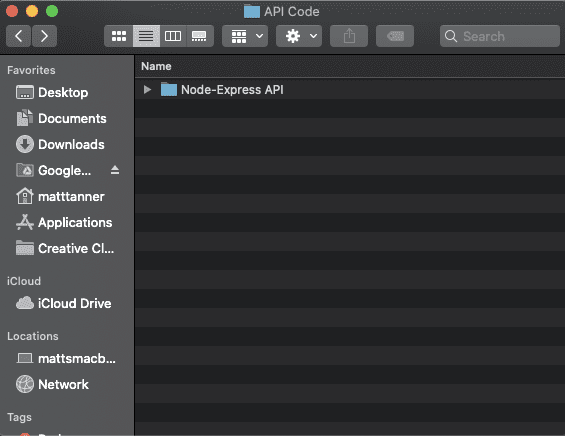
Create a new folder where you want your API application to live, this can be anywhere on your machine. Mine is called “Node-Express API” as noted in the screenshot below:
Step #2
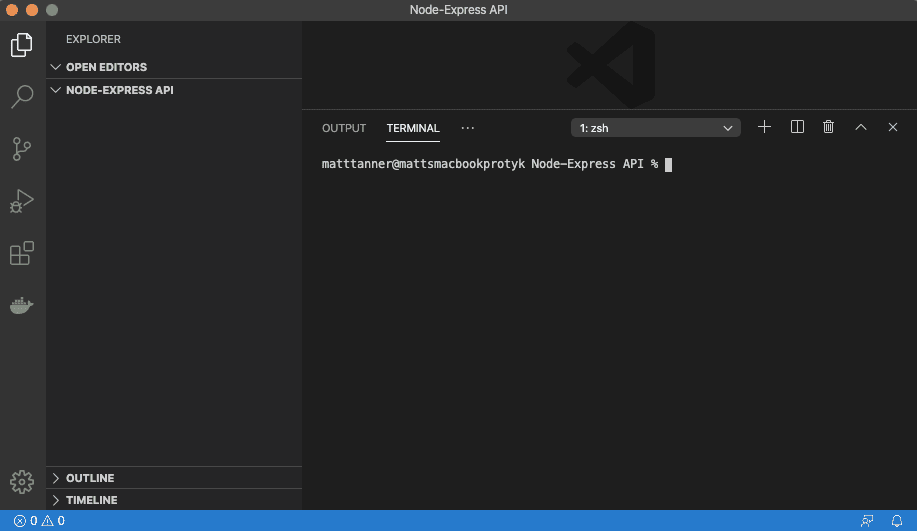
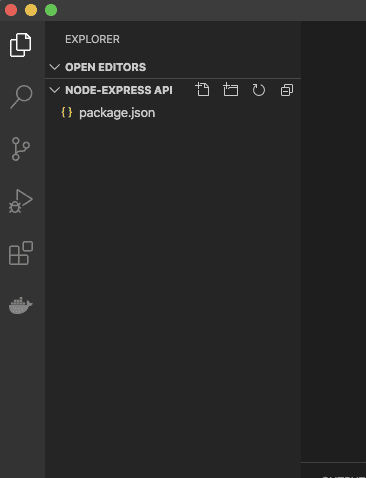
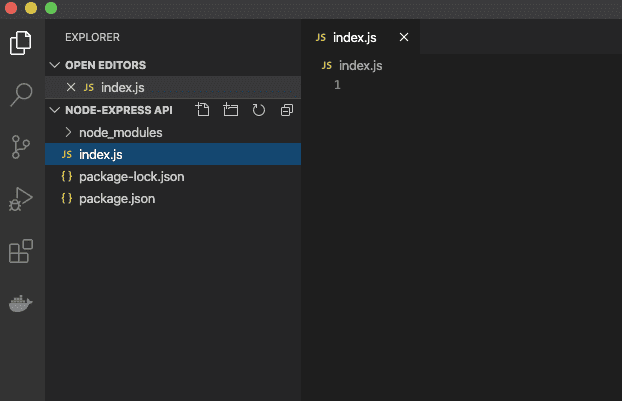
Next, Open up your new folder in VS Code (or whatever other IDE you prefer) so that we can begin to work with files that we create within the project. If you are using VS Code, after you open your project folder you should see it appear in VS Code with no contents:
Step #3
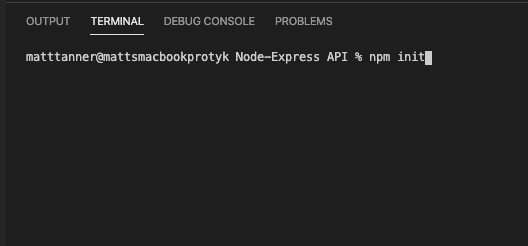
Using the VS Code terminal or another you prefer, while pointing at your current directory, run the npm init command.
After the command has started its execution you will be asked for some details regarding your project. You can fill out these as you would like or accept the default by pressing the ENTER/RETURN key. I have taken the defaults for all values except the description field, which I put a brief description in for the project, and the author field where I put my name. You should then see a summary of the options you have selected and input:
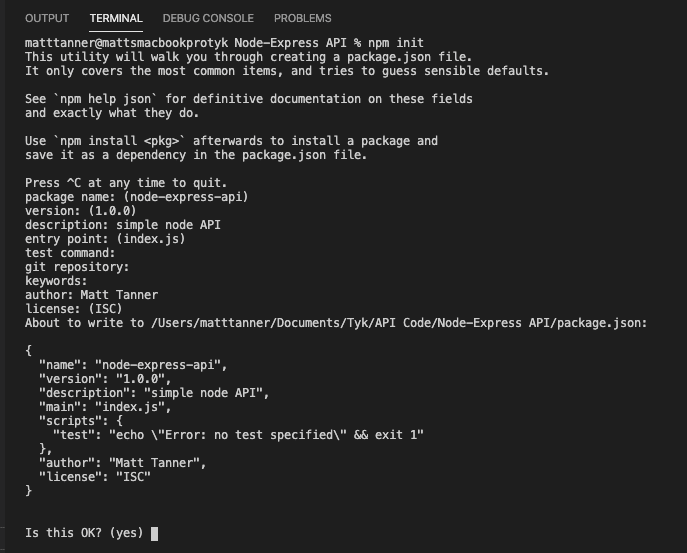
Pressing ENTER/RETURN will initialize your project and create your package.json to keep track of all your dependencies used in your project
Step #4
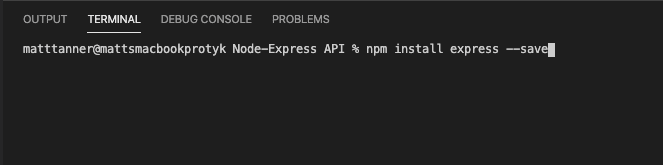
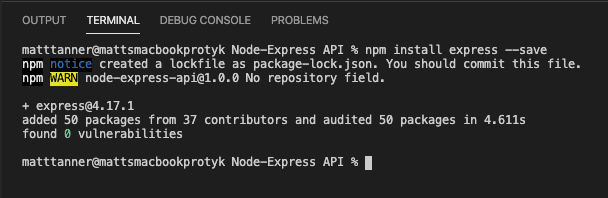
Now, with our terminal pointed to our root directory we will install Express using npm install express –save
After it has run successfully you will see the following in the terminal you ran the command in:
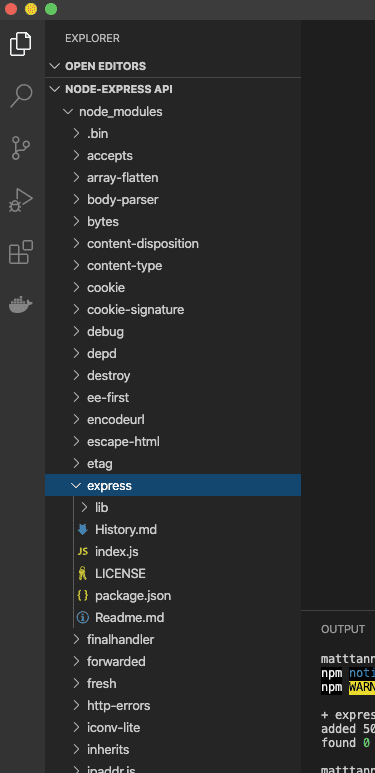
You will also now notice that you have a node_modules directory which will contain many dependencies including Express:
Step #5
Create a file called index.js in the root folder of your project (if not already created):
add in the following code which will create an Express app that will run on port 3030 and print out a simple message letting us know that it is up and running:
var express = require("express");
var app = express();

app.listen(3030, () => {
console.log("Server running on port 3030");
});
Be sure to save your code if your IDE does not do this by default!
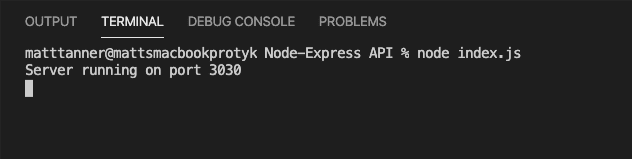
Run node index.js in your terminal to make sure that your app is able to run. You should see the following output:
You can then use Ctrl-c to stop the server when needed.
Step #6
Now we will add in our first dummy endpoint which will return a JSON response when the localhost:3030/url endpoint is queried with a GET request. The code will be added to our existing Express app. Your code will now look like so:
var express = require("express");
var app = express();

app.get("/url", (req, res, next) => {
res.json(
{
people: [
{ name: "Tammy", title: "Vice President" },
{ name: "Corey", title: "Developer" },
{ name: "Philip", title: "Project Manager" },
],
titles: [
"Vice President",
"Developer",
"Tech Lead",
"Project Manager",
]
}
);
});

app.listen(3030, () => {
console.log("Server running on port 3030");
});
After saving these changes, run the application again using the node index.js command. You will once again see the console output showing the server is up and running:
Step #7
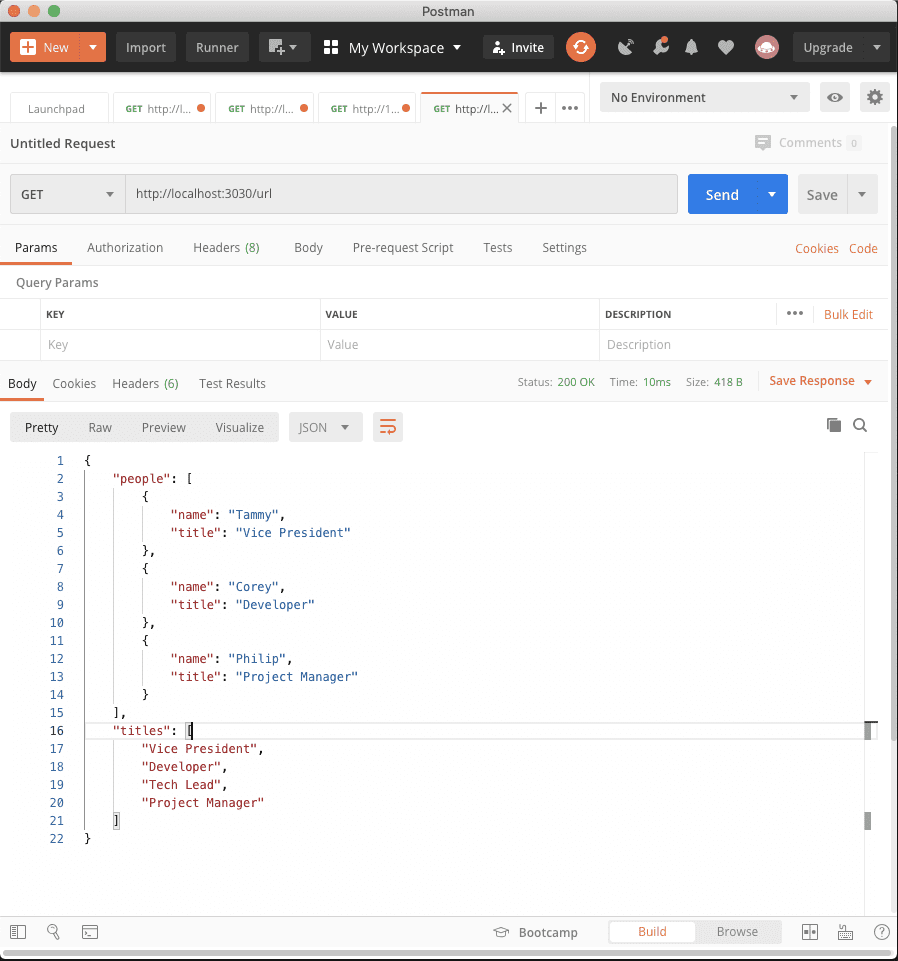
Check the endpoint for functionality by using Postman (you can also use the browser if Postman is not installed since we are doing a GET request) and hitting the endpoint: https://localhost:3030/url
In Postman you should see this:
And if you use a browser you should see this:
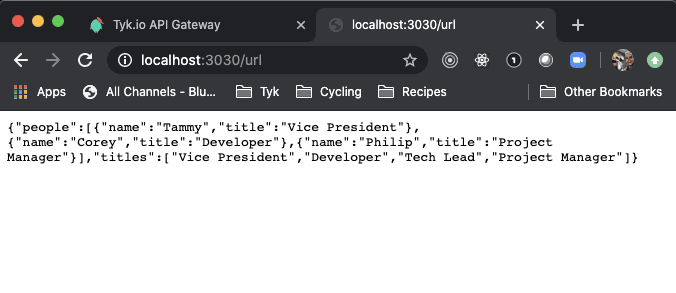
And with that you have now built your first simple API endpoint with Node and Express. Moving forward we will use this endpoint to explore more about Tyk.
Bringing up the Tyk stack in docker
Step #8
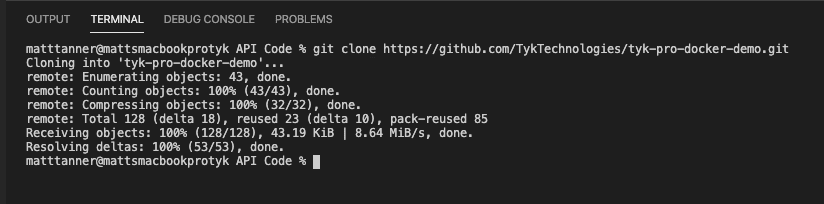
Next, we will clone the tyk-pro-docker-demo repository which will allow us to run the Tyk Gateway, Dashboard, and Portal on our local machine. To do this you’ll want to go to the Tyk github where this source is located (https://github.com/TykTechnologies/tyk-pro-docker-demo) and clone this repository somewhere on your local machine.
I have cloned this repository into the same directory where my Node-Express API directory lives. Once it is has pulled down successfully you should see this:
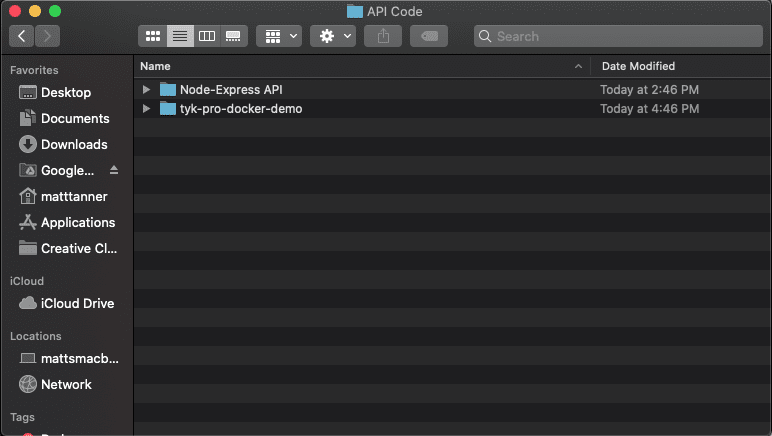
And if you cloned this down into the same directory as your API project you should also see it there:
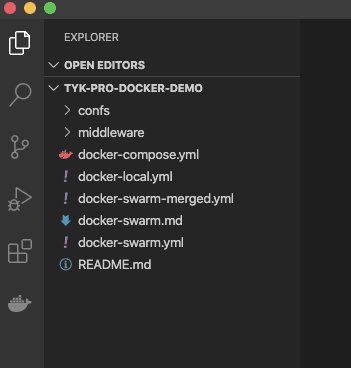
In a new window, we will now open this directory up in VS Code so that we can make a few tweaks to the configuration so we can run this locally.
The folder structure will look similar to this:
At this point you will want to make sure you are in possession of a valid licence key for Tyk since we are using the enterprise offering which, unlike the open source version, requires a licence key for usage of the dashboard and portal. To acquire a key visit our Getting Started page.
Step #9
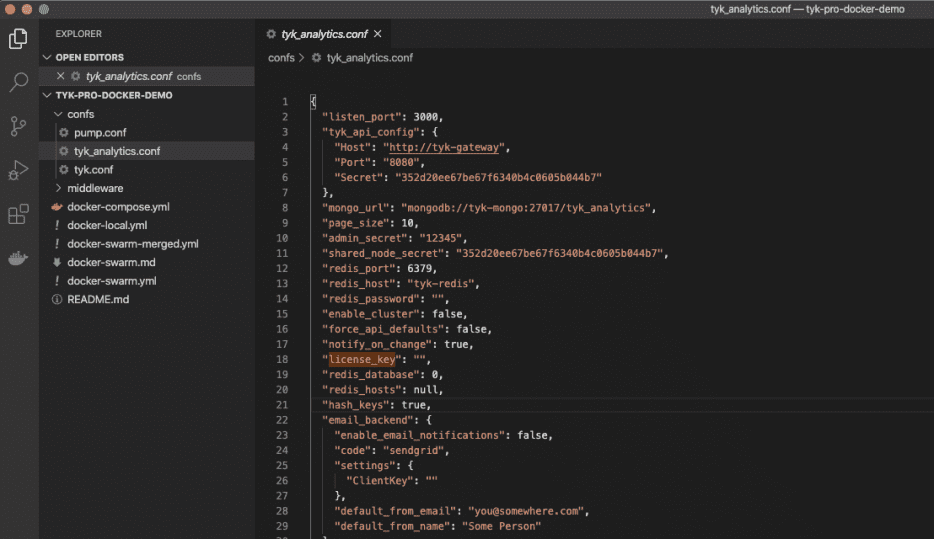
Now with the tyk-pro-docker-demo open in your IDE and a licence key available we will begin by applying our licence key and changing our host configuration in the tyk_analytics.conf file which is located under tyk-pro-docker-demo/confs/tyk_analytics.conf.
For the license, replace the empty string under the license_key variable with our key:
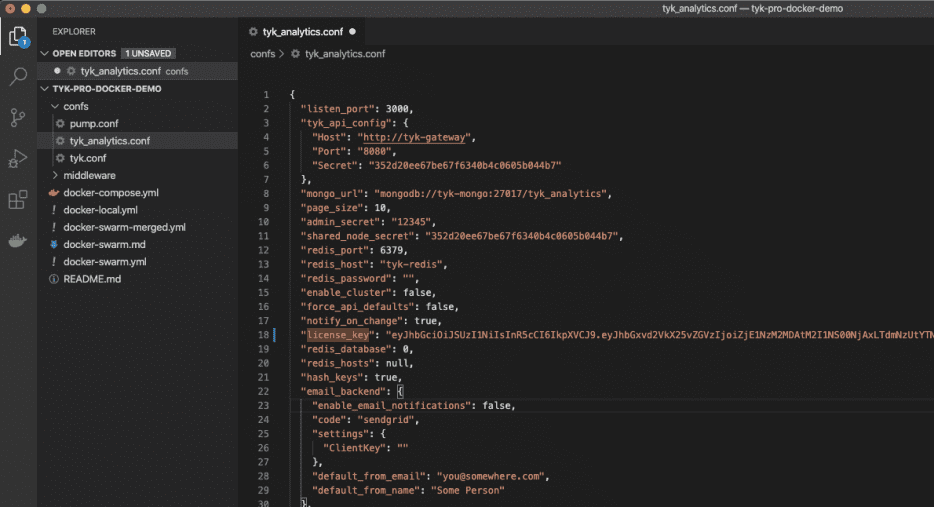
Paste the key into the quotations:
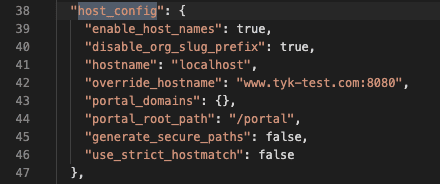
For the host configuration we will change the host_config object variables from this:
And change the hostname and override_hostname to this:
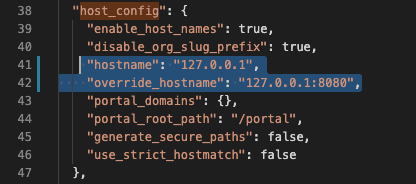
And finally, you’ll want to save these changes.
Step #10
We now will use the docker-compose file to bring up the Tyk stack. With your terminal in the tyk-pro-docker-demo folder, run: docker-compose -f docker-compose.yml -f docker-local.yml up -d

Press ENTER/RETURN, then you should see each of the images in the stack be started. If successful you should see this:

If the dashboard fails to start, you should attempt to restart it by running the following command: docker-compose restart tyk-dashboard
After this, you’ll want to make sure that the entire stack is up and running successfully by using the docker-compose ps command. The output should look similar to this:

If you continue to have issues with starting the Tyk dashboard you can also run: docker-compose logs –follow tyk-dashboard (this can also be used to find the logs of the other components in the stack). This will show you the dashboard logs and may help with any investigation needed into what the root cause is of the failure.
Bootstrapping the Tyk Dashboard
Step #11
Next, we will bootstrap the dashboard. To do this we will navigate to localhost:3000 (where we configured our dashboard to run in the tyk_analytics.conf) where we should be presented with the following registration screen:
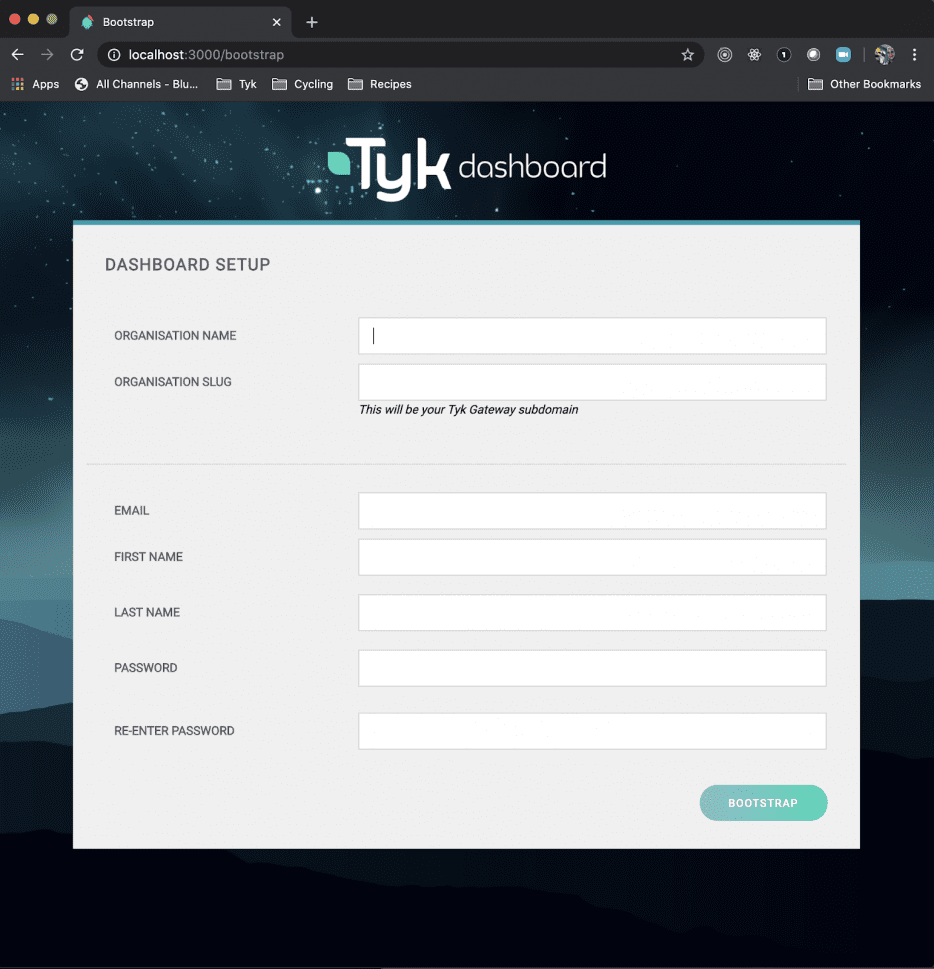
If this screen fails to show up you’ll want to make sure your licence key was entered and saved correctly in tyl_analytics.conf.
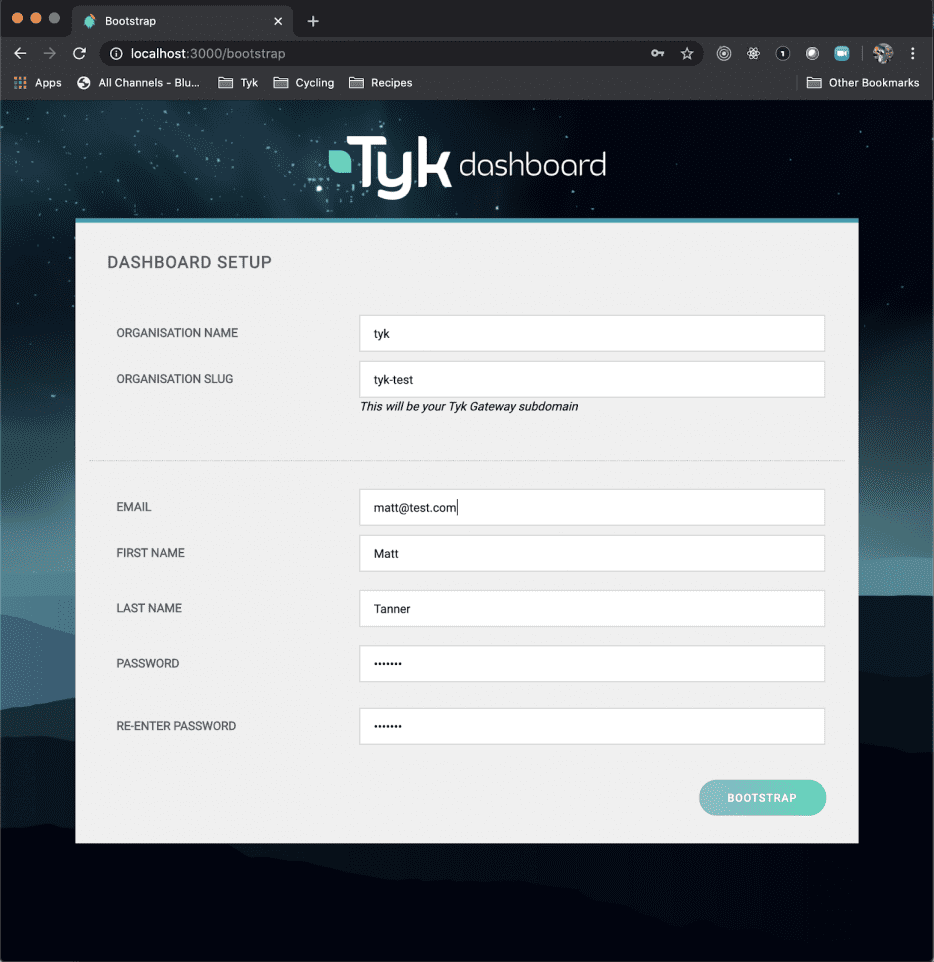
Fill in the fields based on your details and click BOOTSTRAP.
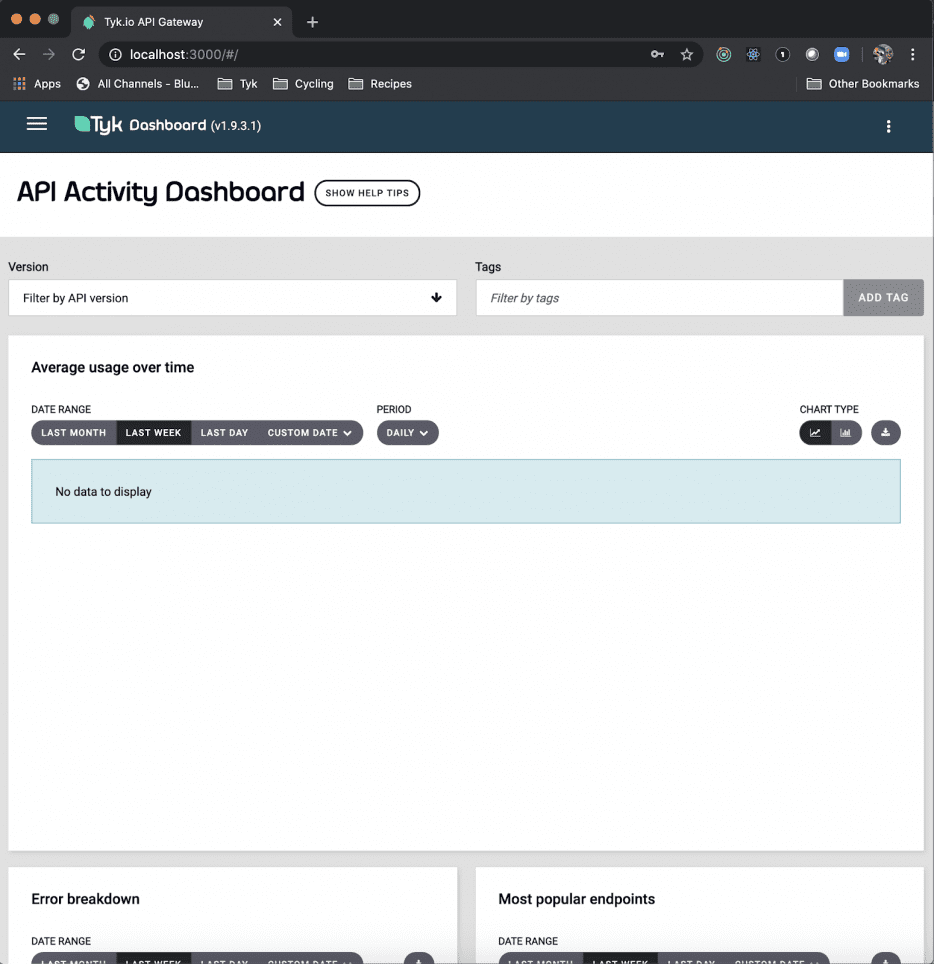
You will then be presented with the first dashboard screen which allows you to begin your journey with Tyk! This also confirms that the dashboard has been bootstrapped correctly and is now ready to use. The screen will look like this:
Creating our first API in Tyk
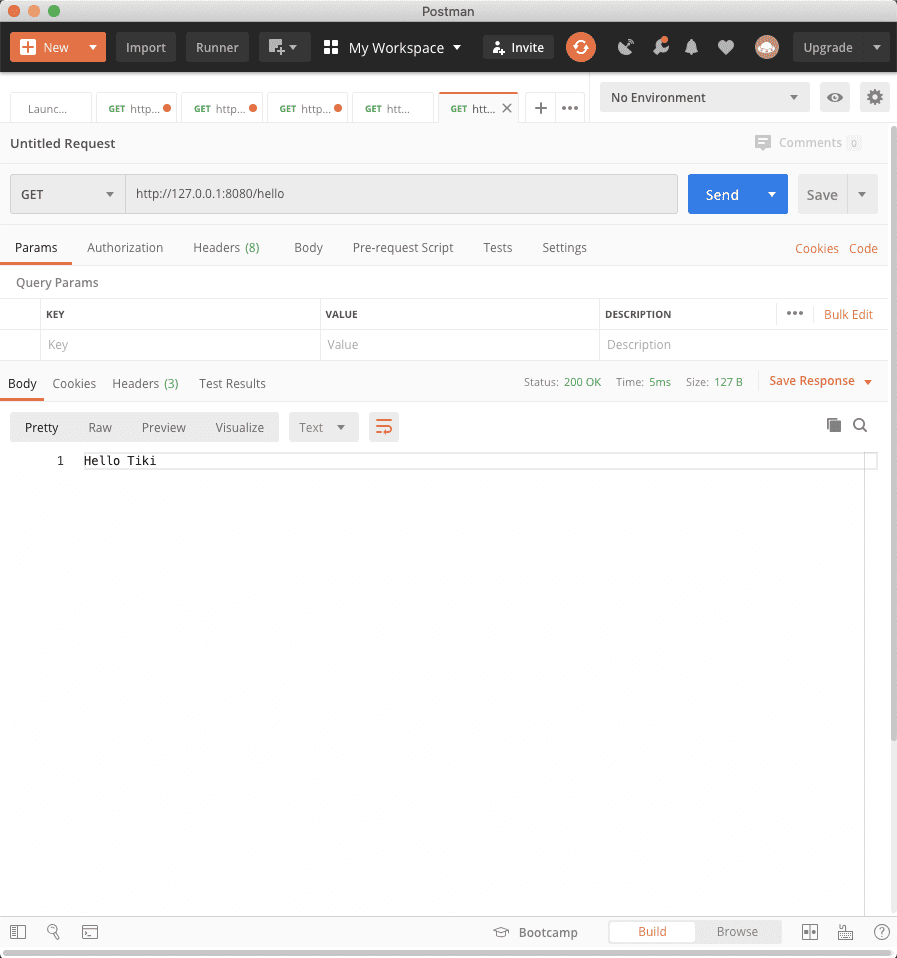
Before we continue we will quickly do a health check on our gateway to make sure it can successfully receive requests. This isn’t necessary but is a good step to do to ensure the gateway is working as expected before we start creating our own APIs. For this we will hit the https://127.0.0.1:8080/hello endpoint with a GET request which should return “Hello Tiki” which confirms the gateway received and responded to the request successfully. The results in Postman should look like this:
Step #12
We will now work toward setting up our first API in the dashboard that will proxy through the gateway to the Node API we built earlier.
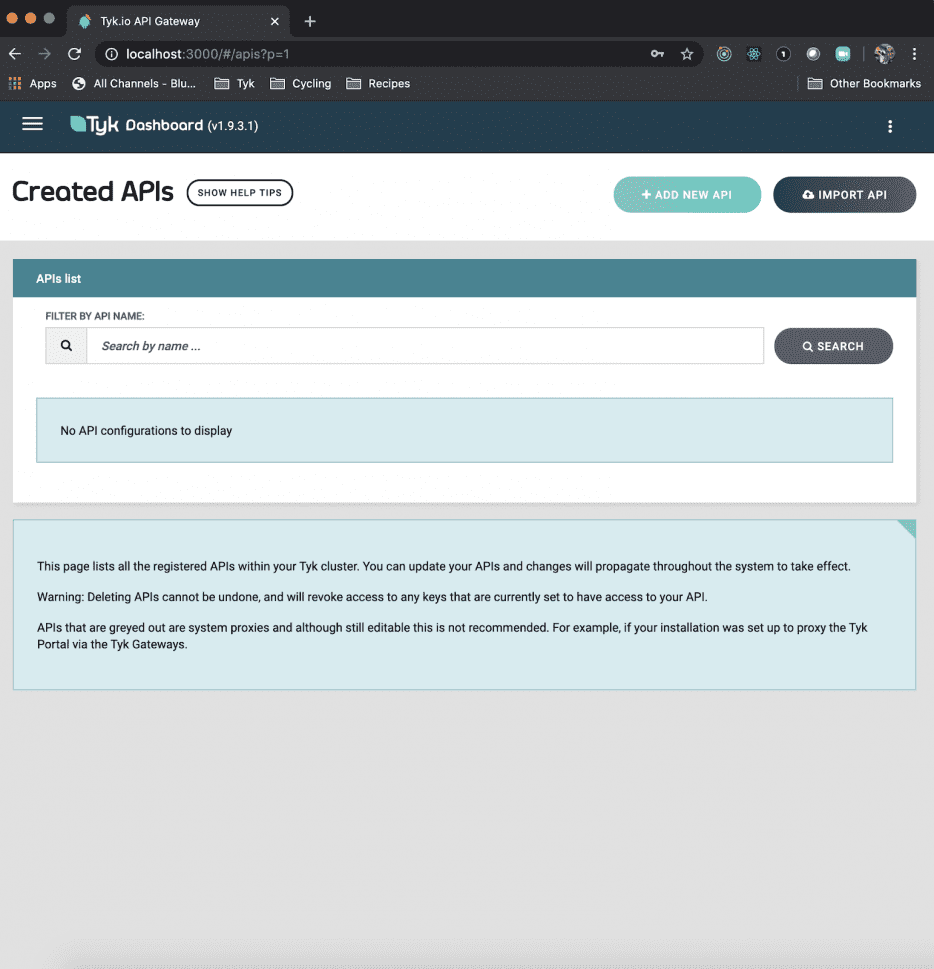
To do this, navigate to the API’s menu option. From there you will be brought to the following screen:
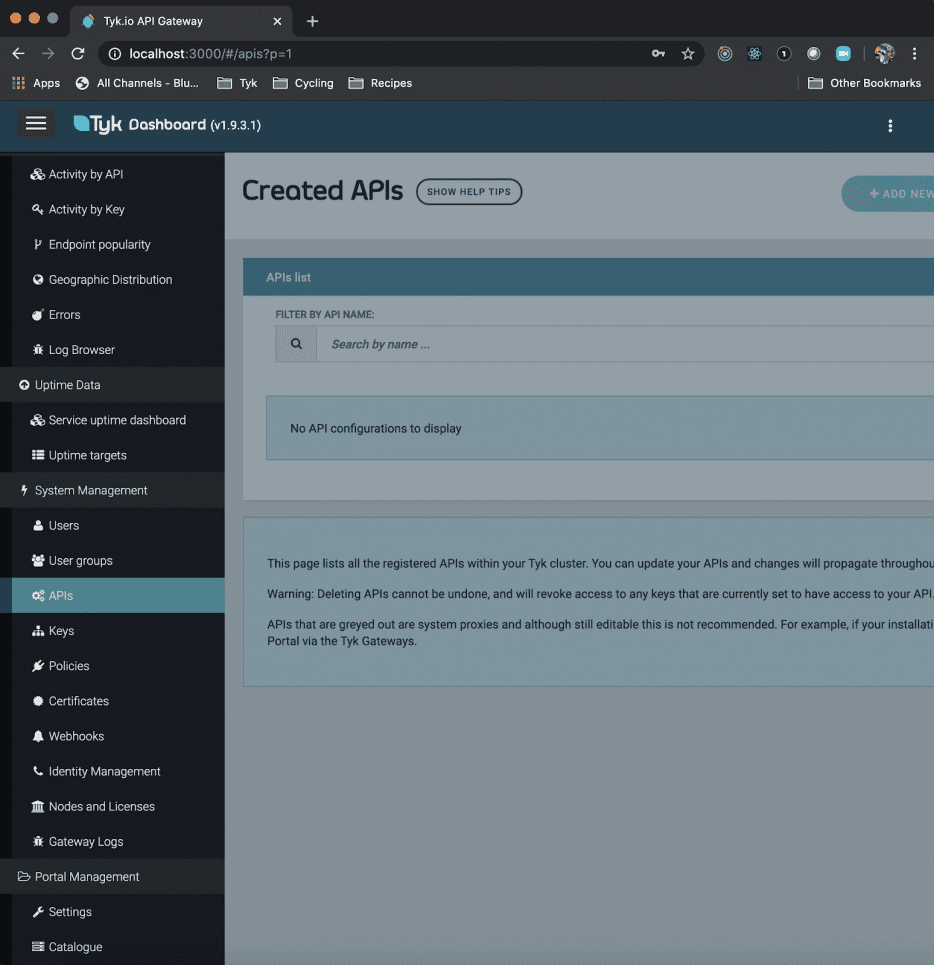
Then, while on the APIs screen, click the “Add New API” button.
After clicking on the button you will be brought into the API Designer where we will configure our first endpoint. Your screen will now look like this:
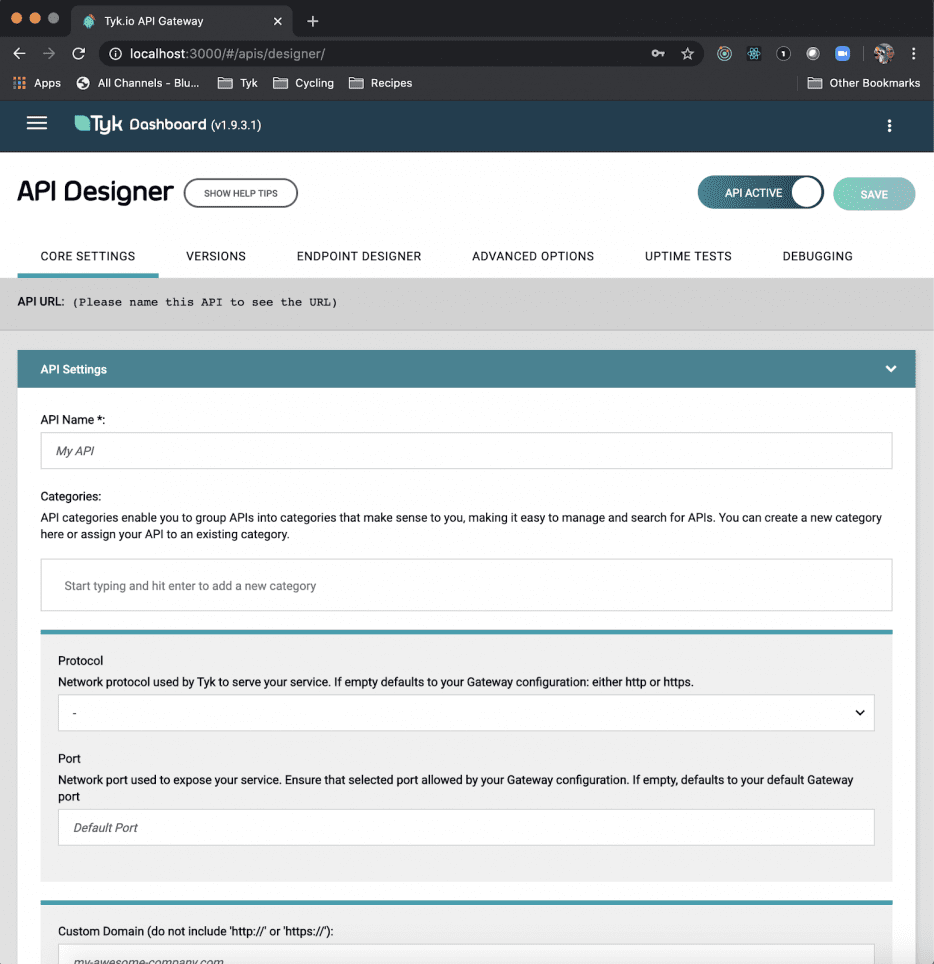
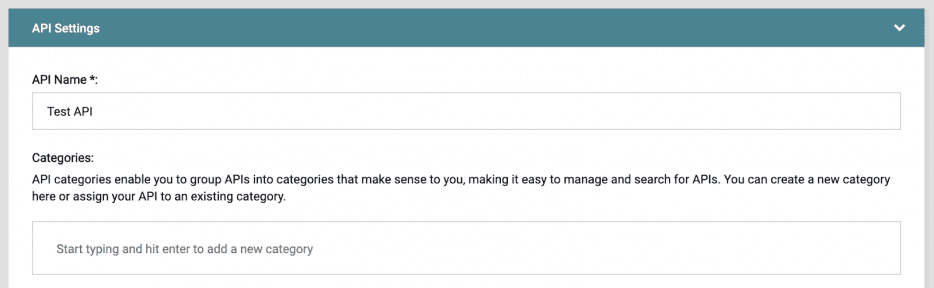
Now we will fill in the necessary fields to create the endpoint within this screen. For this we will need to fill in:
API Name – for this purpose we will call it “Test API”
Target URL – this is the URL for the endpoint we want the requests to be forwarded/proxied to. This will be our Node API:
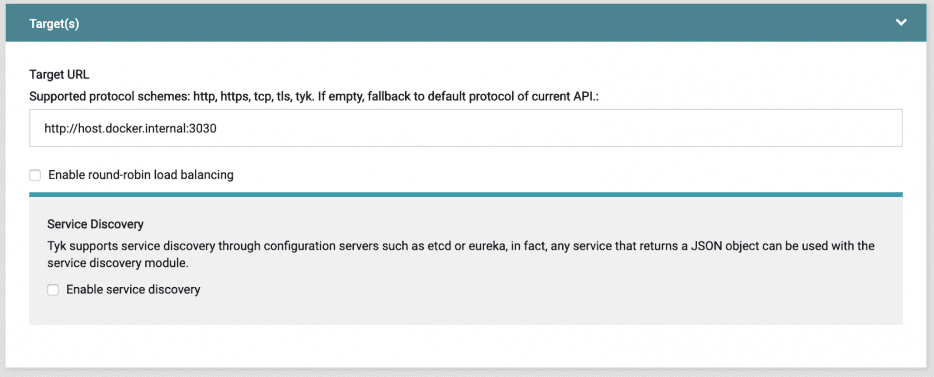
You’ll notice that we do not use localhost:3030 or 127.0.0.1:3030 to point to our Node API and instead use host.docker.internal. Since our Tyk setup is running within docker we need to explicitly say that we are using the host machine’s localhost and not the docker containers.
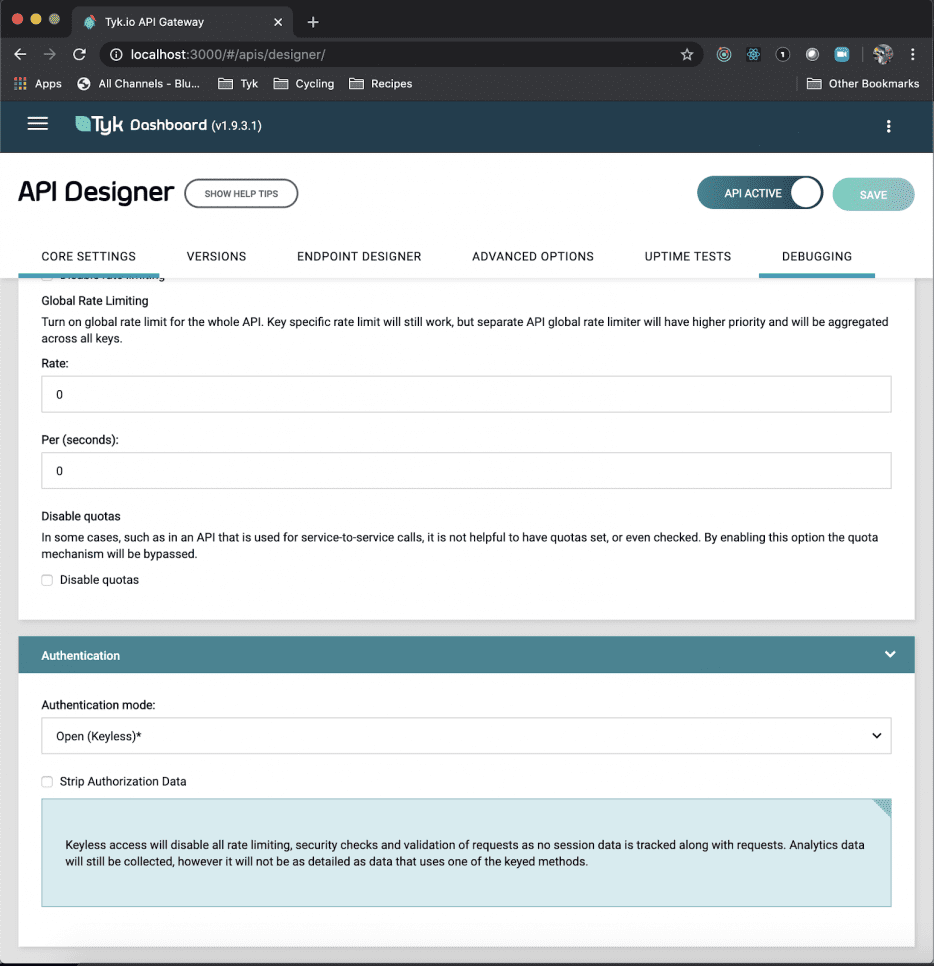
Authentication Mode – this is the type of authentication that will be used to authenticate the request to the endpoint. For our purposes we will just use an Open(Keyless) authentication mode which will allow us to use our new endpoint without any type of authentication.
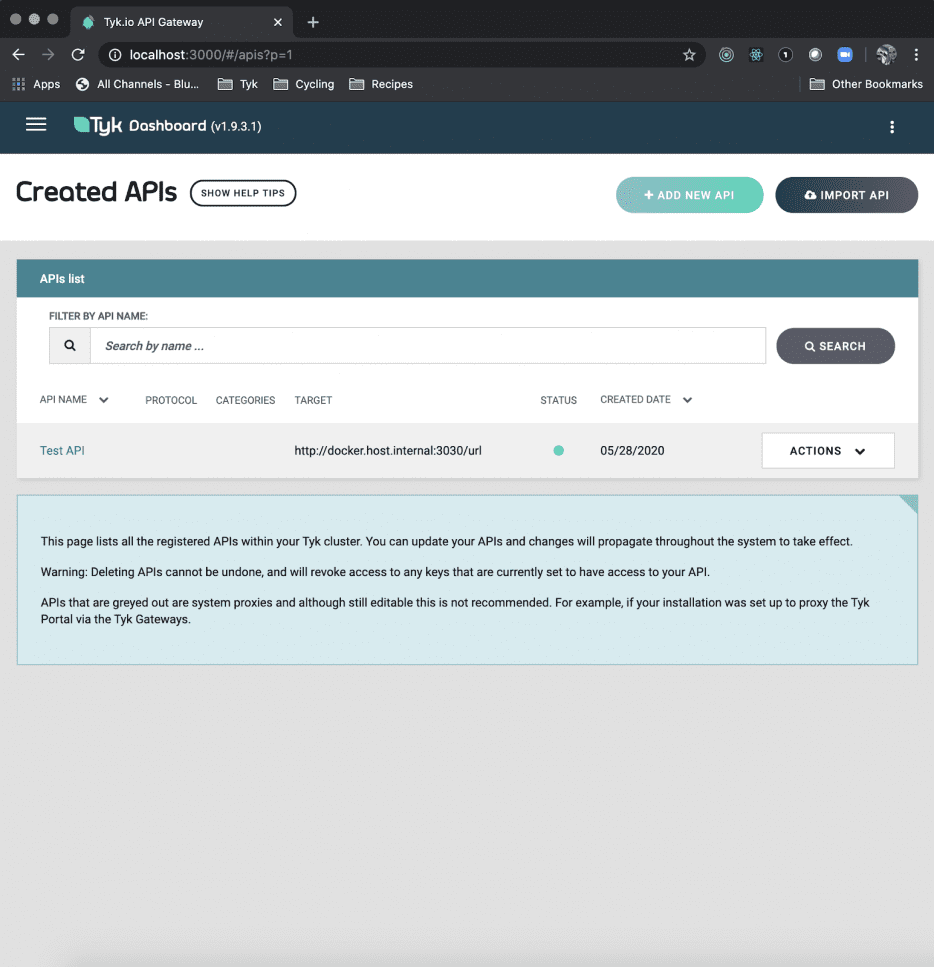
After all these are set, then click SAVE in the top right corner of the screen. After this you’ll see that the endpoint has been created and listed in the APIs list!
Step #13
Lastly we will now send a request to our new endpoint which should then reverse-proxy to our Node API and return our expected payload. To do this we need to hit our /test-api endpoint on the gateway, which points to our Node endpoint, with a GET request at /url. So our GET request will be to https://127.0.0.1/test-api/url and this should return our JSON payload. The result in Postman should look like this:
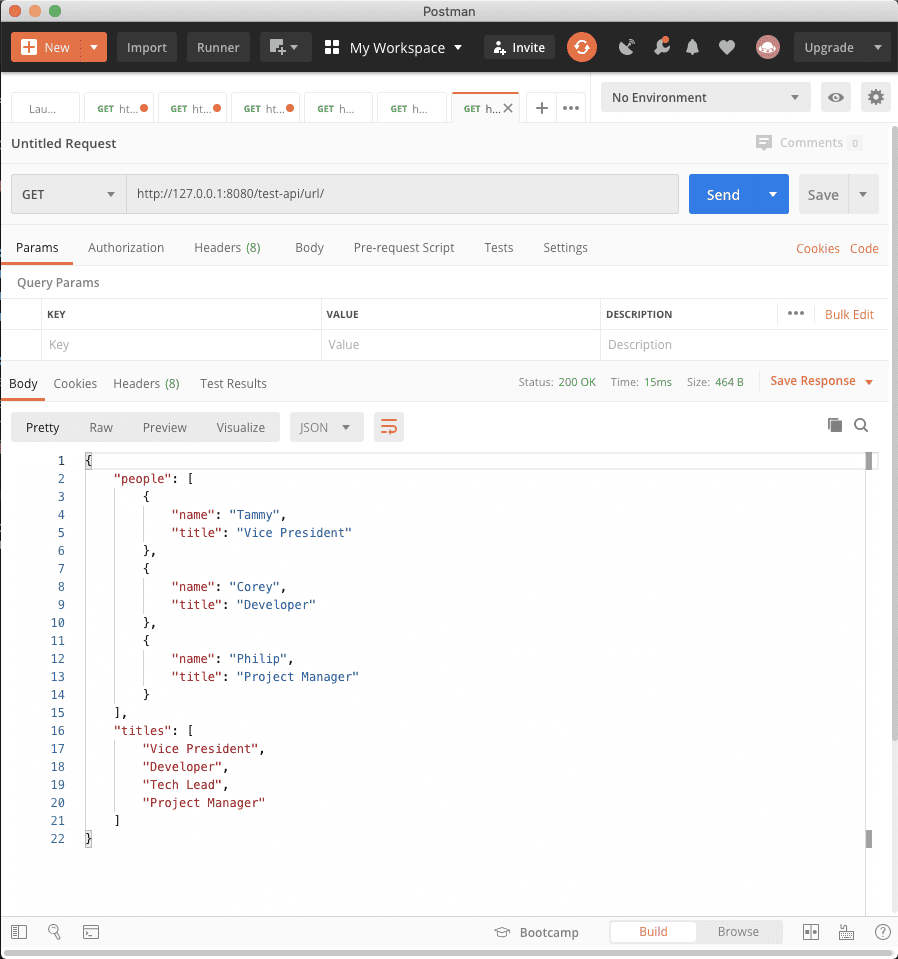
This means we have successfully routed a request through the Tyk Gateway to our upstream Node API and configured all of this through the Tyk Dashboard.
In this tutorial we covered creating a simple NodeJS API endpoint, setting up a basic Tyk stack via docker, bootstrapping the dashboard, and configuring an endpoint which reverse proxies to our upstream NodeJS API endpoint.
At this point you can now begin to play around with many different Tyk features including rate limiting, quotas, security, body transforms, and many other functionalities that can be found in our Tyk documentation.