In my previous blog post, Deploying an API gateway to Kubernetes with ArgoCD, we configured ArgoCD to deploy the Tyk self-managed platform in Kubernetes. ArgoCD, an open-source continuous delivery tool, operates on the GitOps methodology, synchronising Git repositories with Kubernetes clusters to streamline deployment, tracking, and rollback processes.
Let’s take the GitOps approach with ArgoCD a step further by deploying, securing, and managing APIs with Tyk Operator.
Tyk’s Kubernetes Operator brings CI/CD practices to API management lifecycle
Tyk Operator helps you manage declaratively defined configurations of the entire API management system within Kubernetes. This includes API definitions and security policies stored as Kubernetes custom resources.
By versioning these configurations in Git, organisations gain audit capabilities and facilitate seamless API versioning, updates, and rollbacks. Security configurations are stored alongside application source code, ensuring consistency and eliminating manual coordination during deployments.
Once changes are approved, they can applied to any Tyk installation using preferred continuous deployment tools, with the Tyk Operator managing the application of these configurations to the system. Here’s how to configure Tyk Operator with Argo CD.
Step-by-step walkthrough: Managing API definitions and security policies as custom resource files with Tyk Operator and Argo CD
Here, we will configure Argo CD to:
- Deploy Tyk Operator and its dependencies
- Deploy API definitions
You can follow along or refer to this demo repository to automate the deployment.
Installing Tyk Operator
There is a need to have a cert-manager installed for Tyk Operator.
Connect to the cert-manager Helm repository
- Access to the ArgoCD UI
- Go to the Settings tab
- Click on Repositories, then click on CONNECT REPO
- Choose your connection method as “VIA HTTPS”
- Type = helm
- Name = cert-manager
- Project = default
- Repository URL = https://charts.jetstack.io
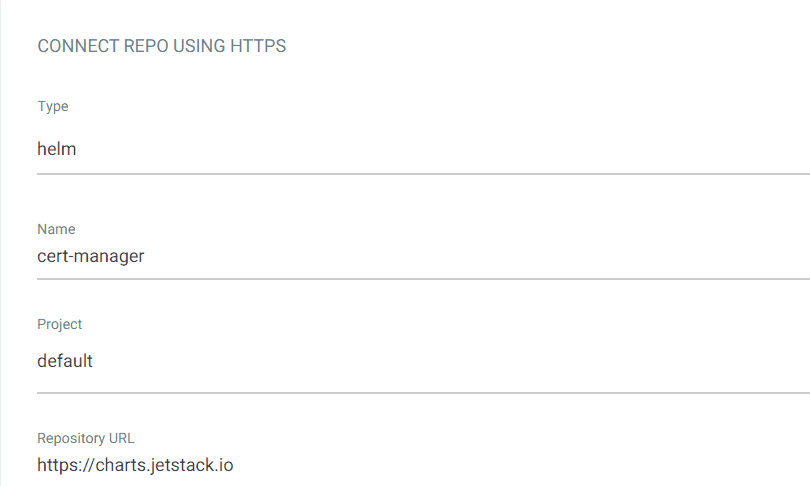
- Leave username and password empty and the rest of the values by default
- Click on CONNECT.
Create a new cert manager application
- Create a new application (go to applications and click on NEW APP)
- Application name = certmanager
- Project name = default
- Select AUTO-CREATE NAMESPACE if you don’t have one already

- Repository URL = https://charts.jetstack.io
- Chart = cert-manager and revision (pick latest)
- Cluster URL = https://kubernetes.default.svc
- Namespace = cert-manager
- Update installCRD value to true

- Keep the rest by default
- Click on CREATE.
Configure the Tyk Operator secret to connect to the Tyk stack
$ kubectl create secret -n tyk generic tyk-operator-conf

 --from-literal "TYK_AUTH={{ADD YOUR KEY}}"

 --from-literal "TYK_ORG={{ADD THE ORGANISATION IN YOUR DASHBOARD}}"

 --from-literal "TYK_MODE=pro"

 --from-literal "TYK_URL=https://dashboard-svc-tyk-stack-tyk-dashboard.tyk.svc.cluster.local:8080"

 --from-literal "TYK_TLS_INSECURE_SKIP_VERIFY=true"
Create a new Tyk Operator application
- Create a new application (go to applications and click on NEW APP)
- Application name = tyk-operator

- Project name = default
- Repository URL = https://helm.tyk.io/public/helm/charts/
- Chart = tyk-operator and latest revision

- Cluster URL = https://kubernetes.default.svc
- Namespace = tyk (choose whatever you would like to use)
- Keep the rest by default
- Click on CREATE
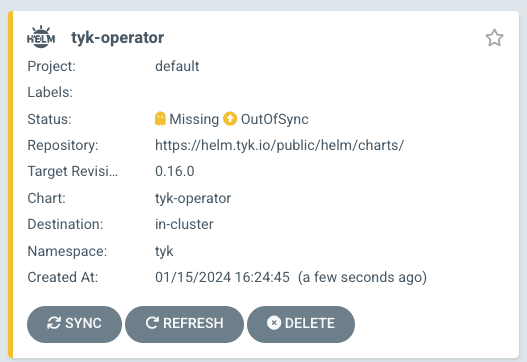
- Click on SYNC and SYNCRONISE
- Check that the pods are running by clicking on the tyk-operator application. There, you’ll find an image of the different deployed pods.

Create APIs using the Tyk Operator
- Create a new application (go to applications and click on NEW APP)
- Application name = api-specs
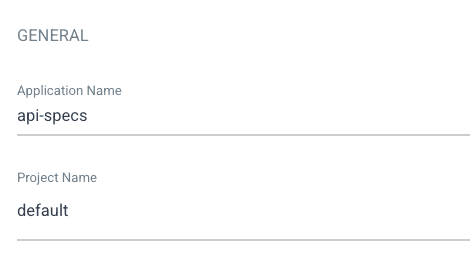
- Project name = default
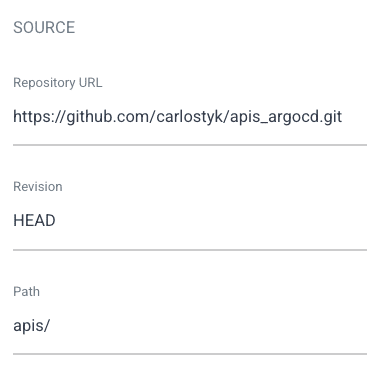
- Repository URL = https://github.com/carlostyk/apis_argocd.git (this is an example with a api specification for testing)
- Path = apis/
- Cluster URL = https://kubernetes.default.svc
- Namespace = tyk (in my case choose the one that you would like to use)
- Keep the rest by default
- Click on CREATE
- Click on SYNC and SYNCRONISE
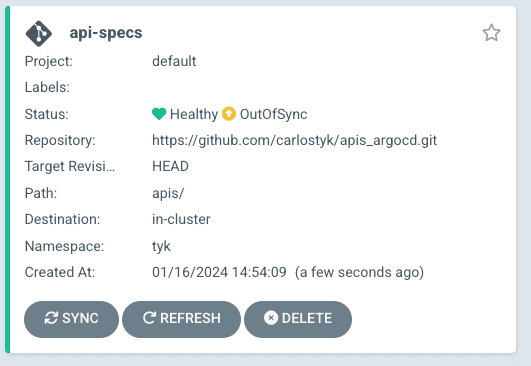
- Check that the apidefinition has been successfully created.
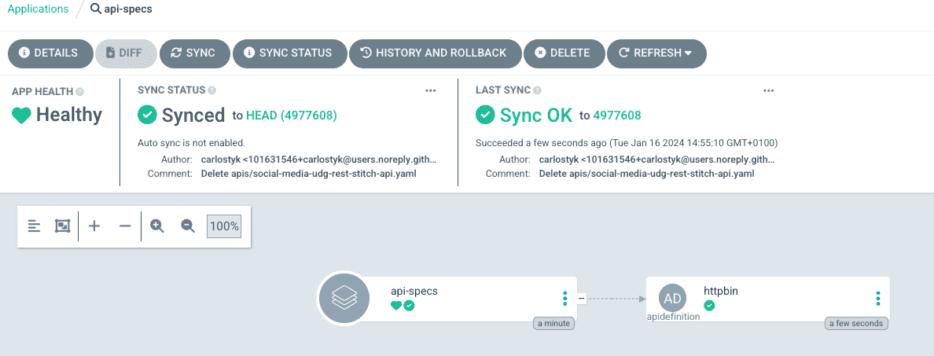
Final checks
- Make sure the API is proxying to httpbin.org mock server
- Check that this is working here – https://localhost:8080/httpbin.
And there you have it! You’ve successfully deployed, secured, and managed your APIs with Tyk Operator. If you’d like to discuss this process, or anything else I’ve covered further, get in touch with the Tyk team or you can find me on LinkedIn!
A version of Tyk Operator is available within the open-source repository, but it has been archived and will be unmaintained. The latest release of Tyk Operator will be available exclusively to paying customers