Google Cloud Platform is one of the most popular cloud platforms and getting started with Tyk on it has never been easier! For this tutorial we will be focusing on deploying Tyk within Red Hat Enterprise Linux 7.
For this demonstration we will set up a Virtual Machine instance, deploy Tyk using the tyk-pro-docker image via docker, bootstrap the dashboard, and create our first endpoint. By the end of this tutorial you’ll have a working version of Tyk that you can use to explore all of Tyk’s features!
Prerequisites:
- An active GCP account
Step 1: Create and launch your VM instance
Log into the GCP Dashboard
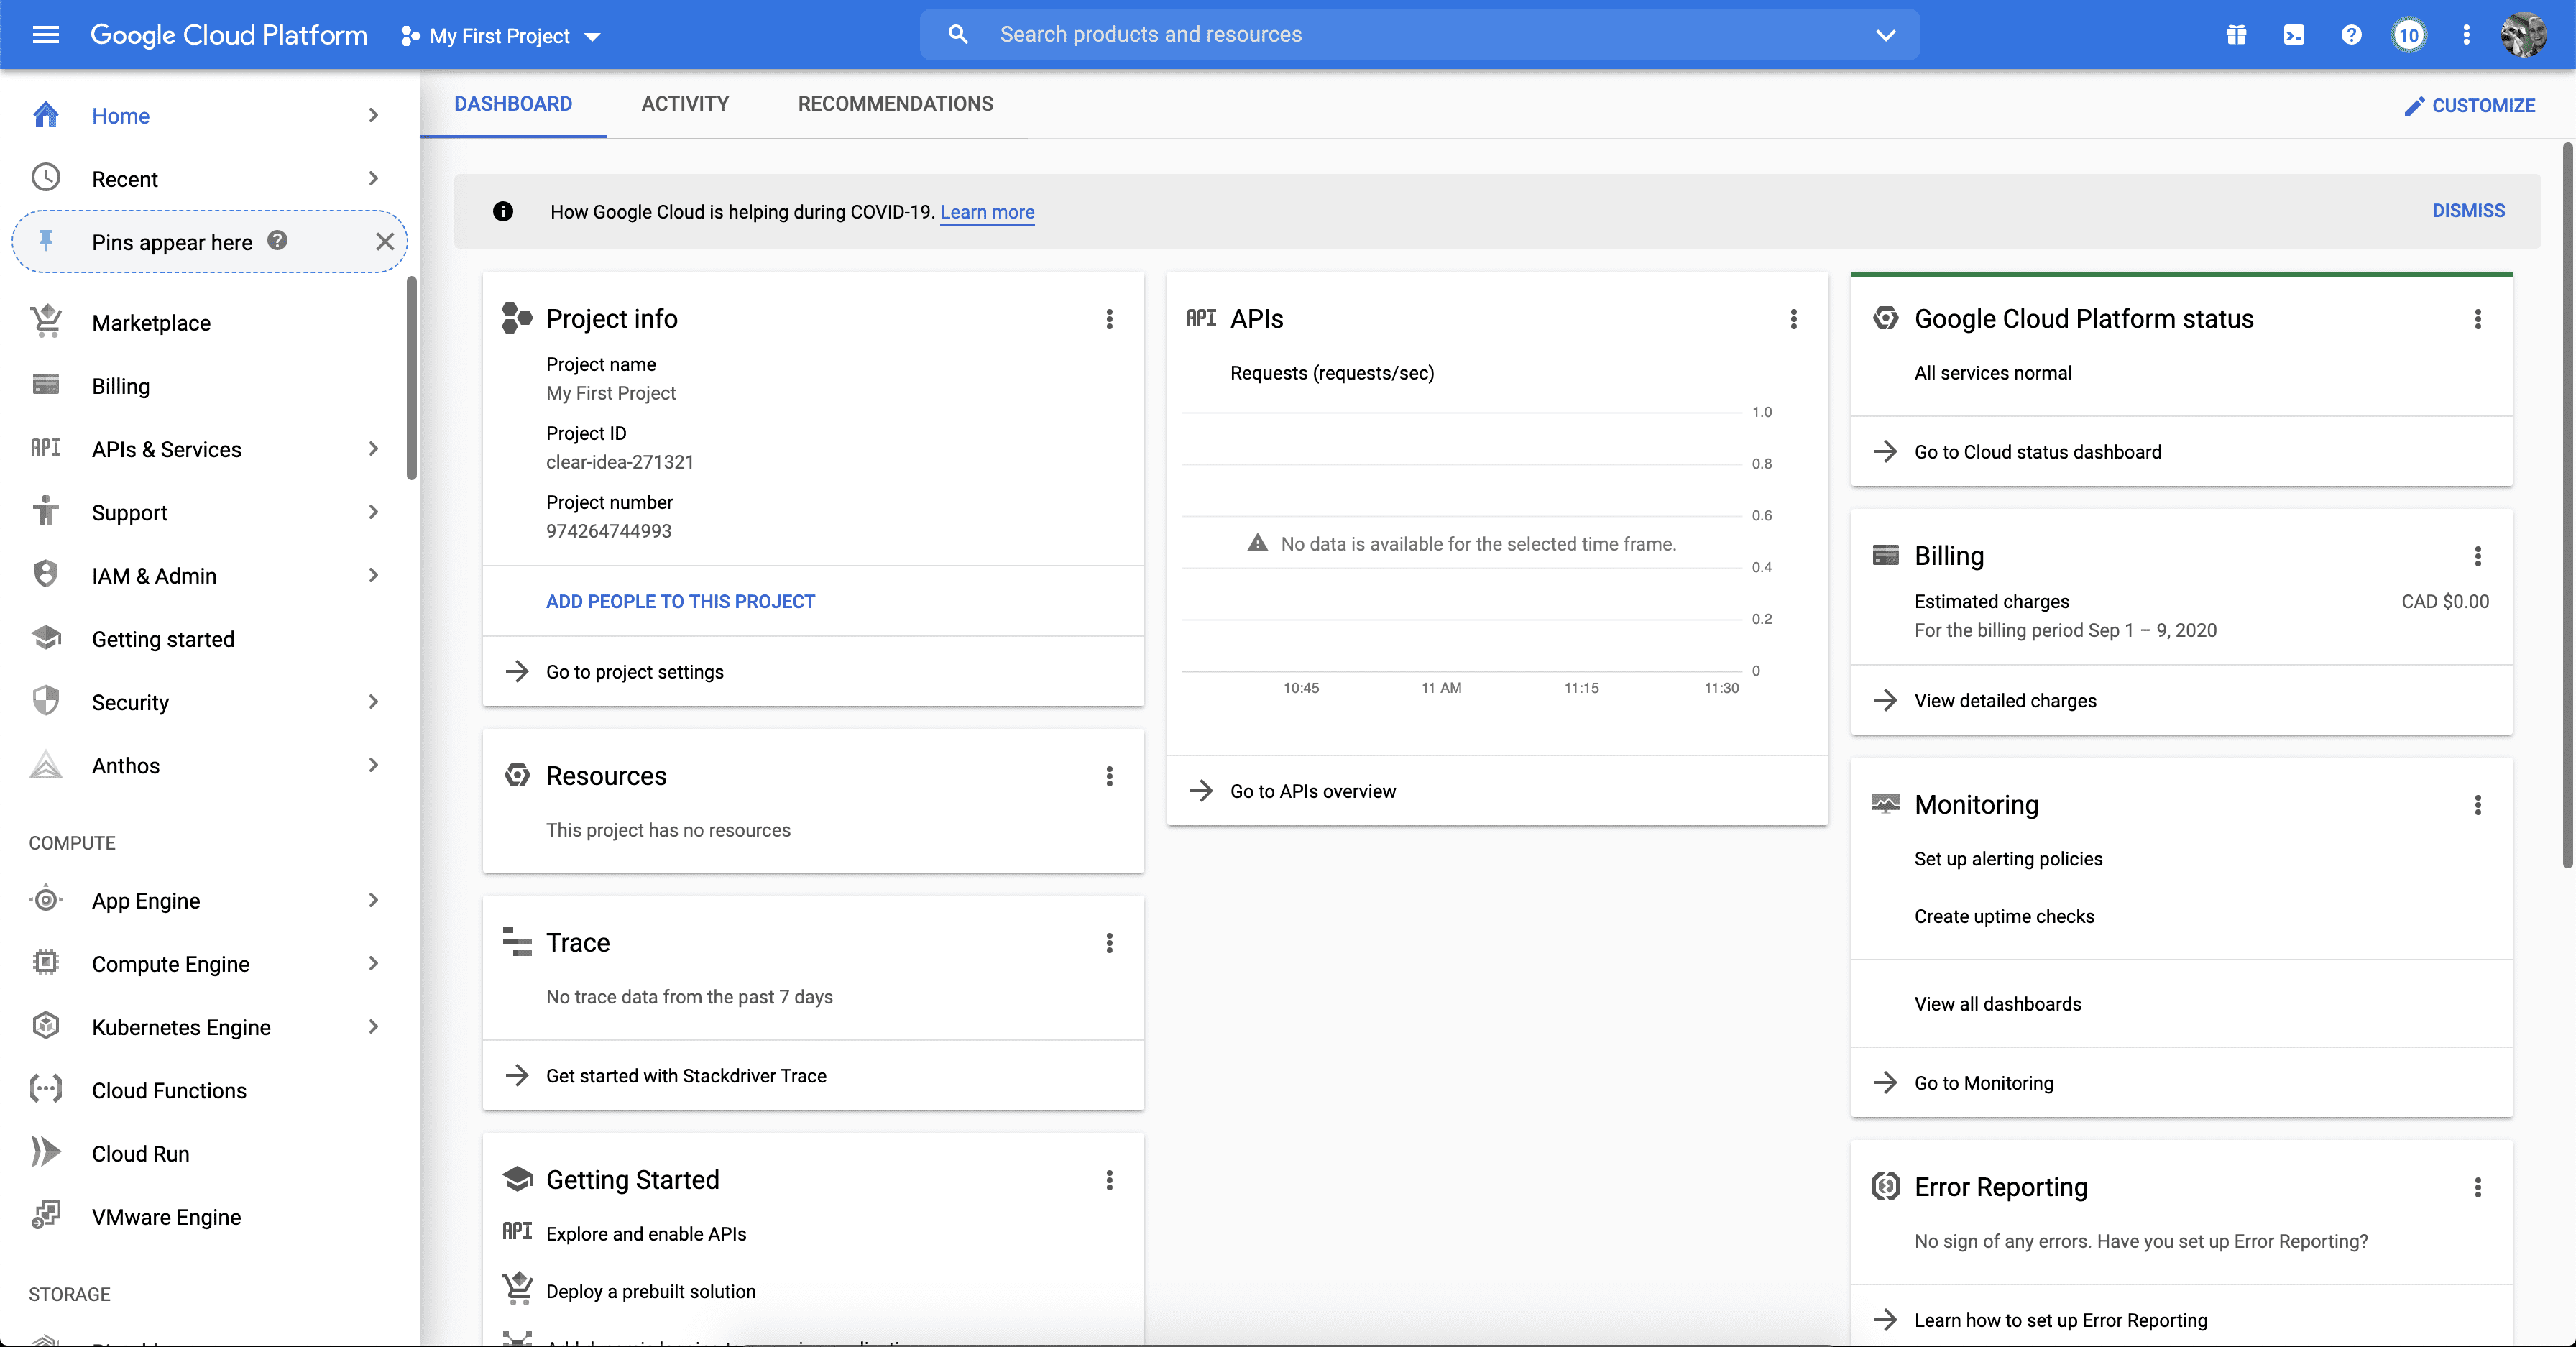
Once logged in, on the left-side menu select ‘Compute Engine > VM Instances’
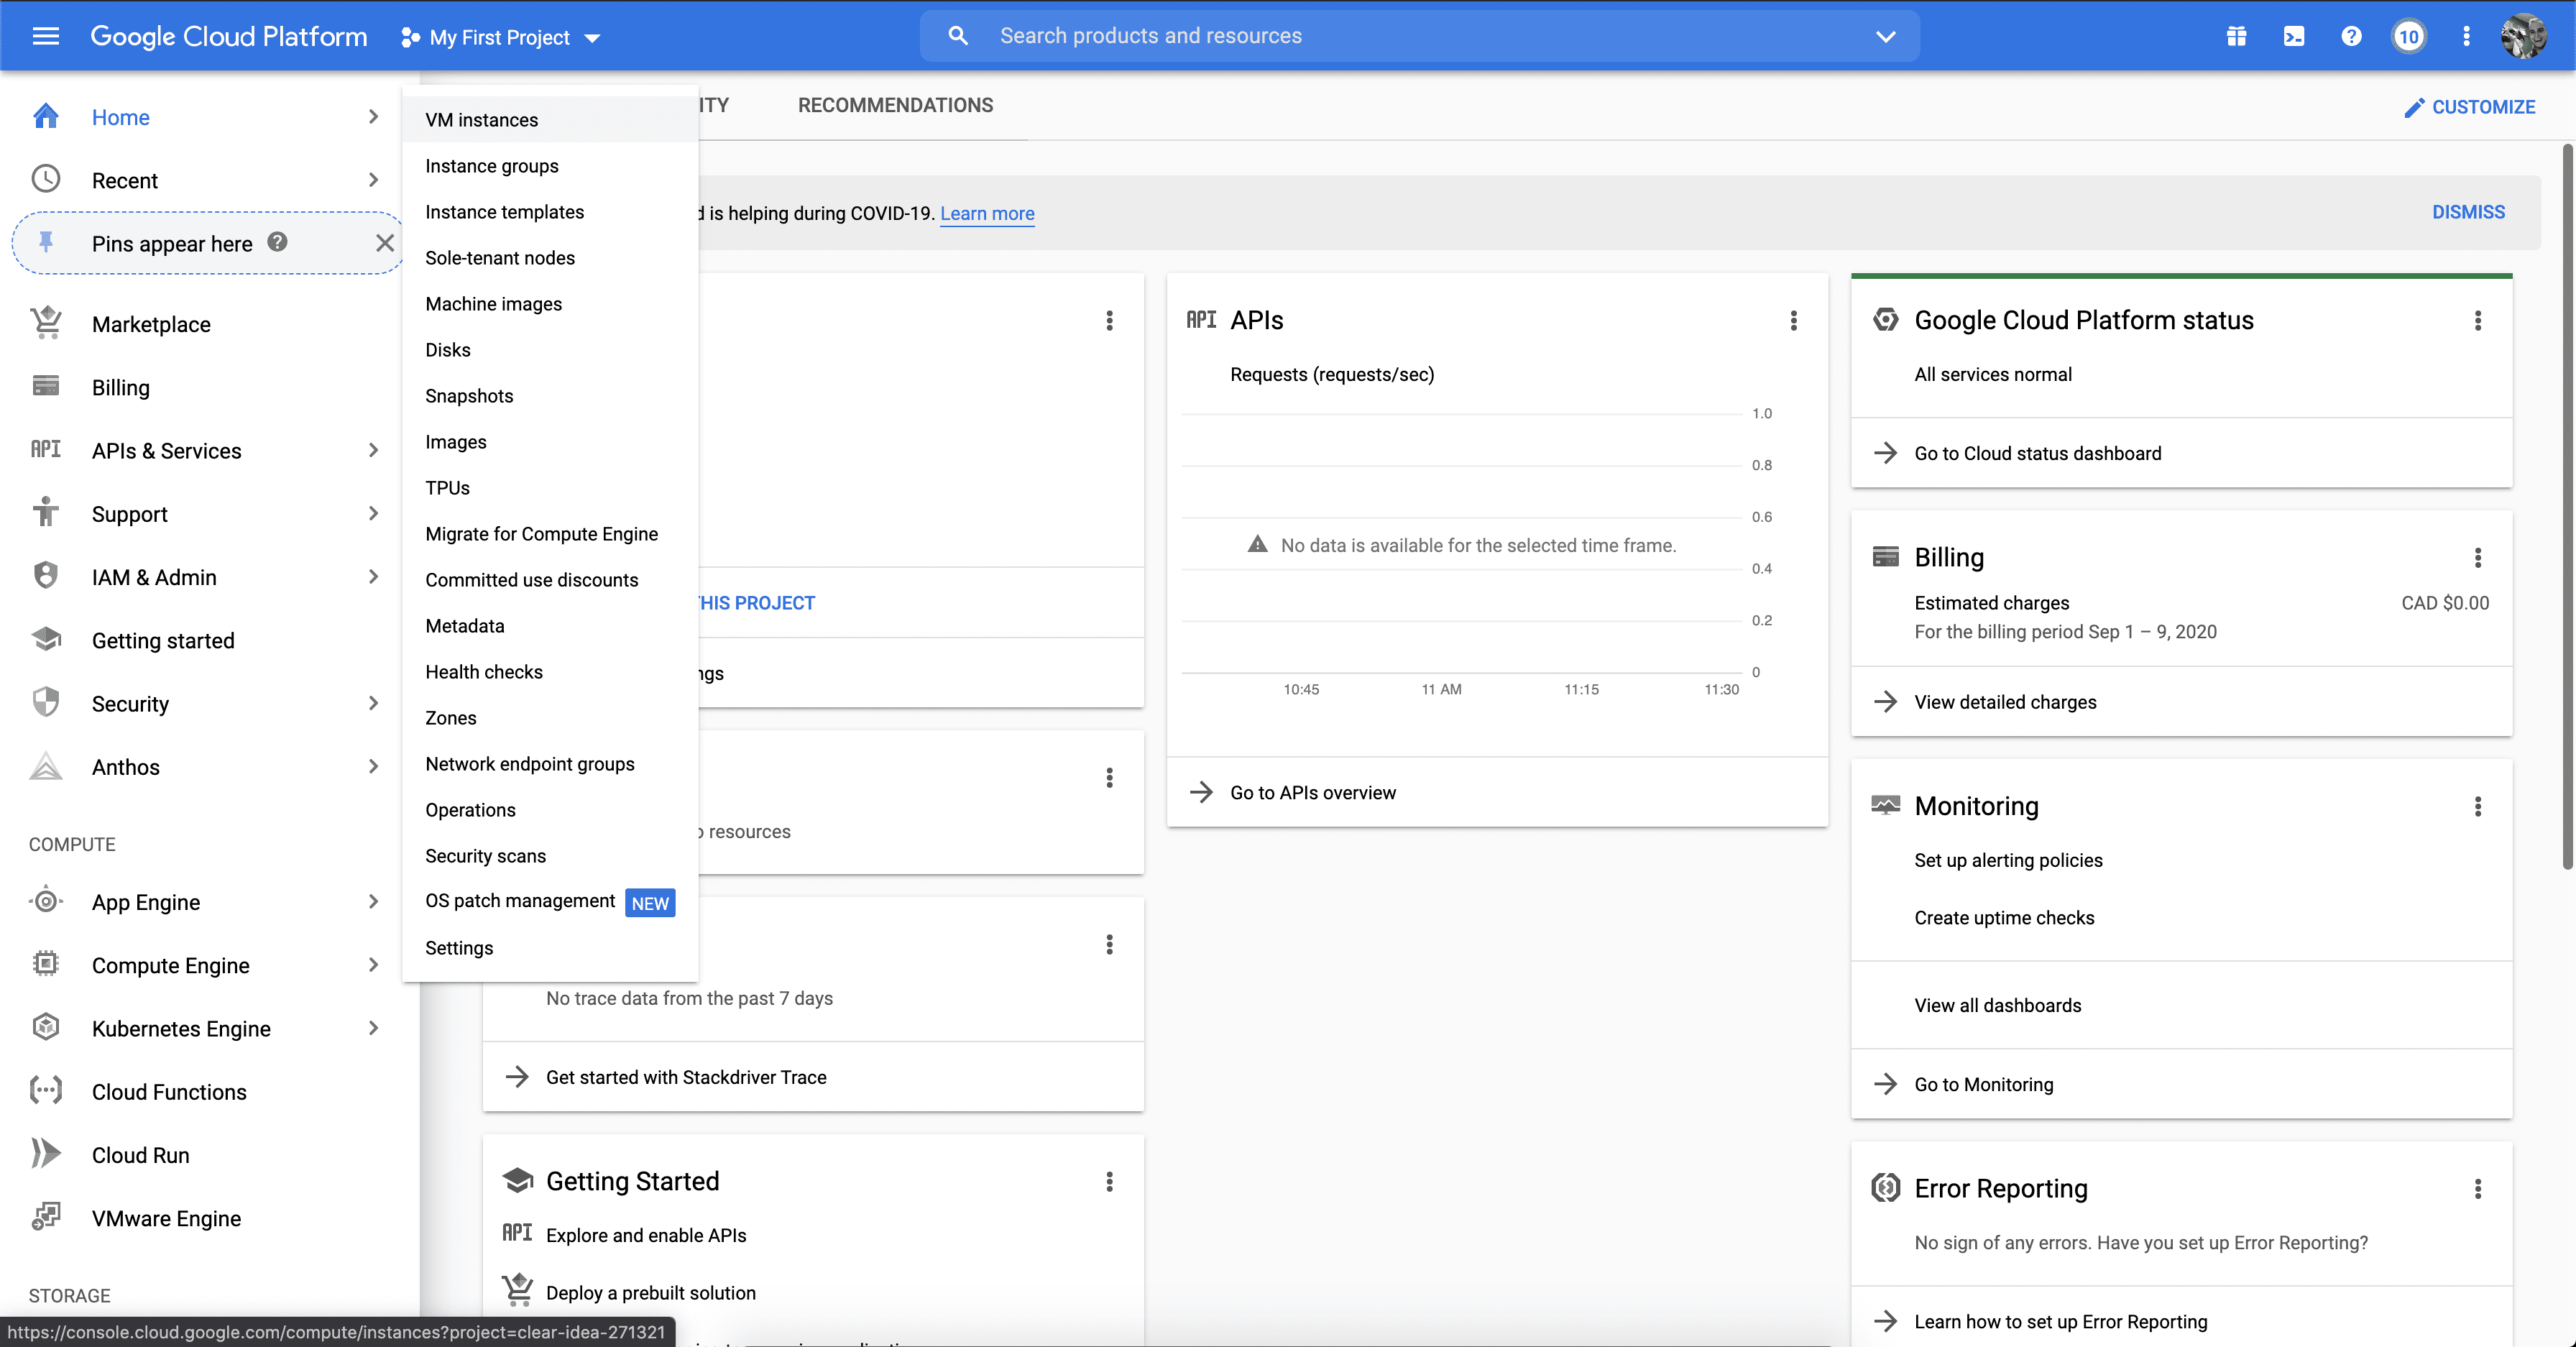
If this is your first time creating a VM in GCP, click “create”
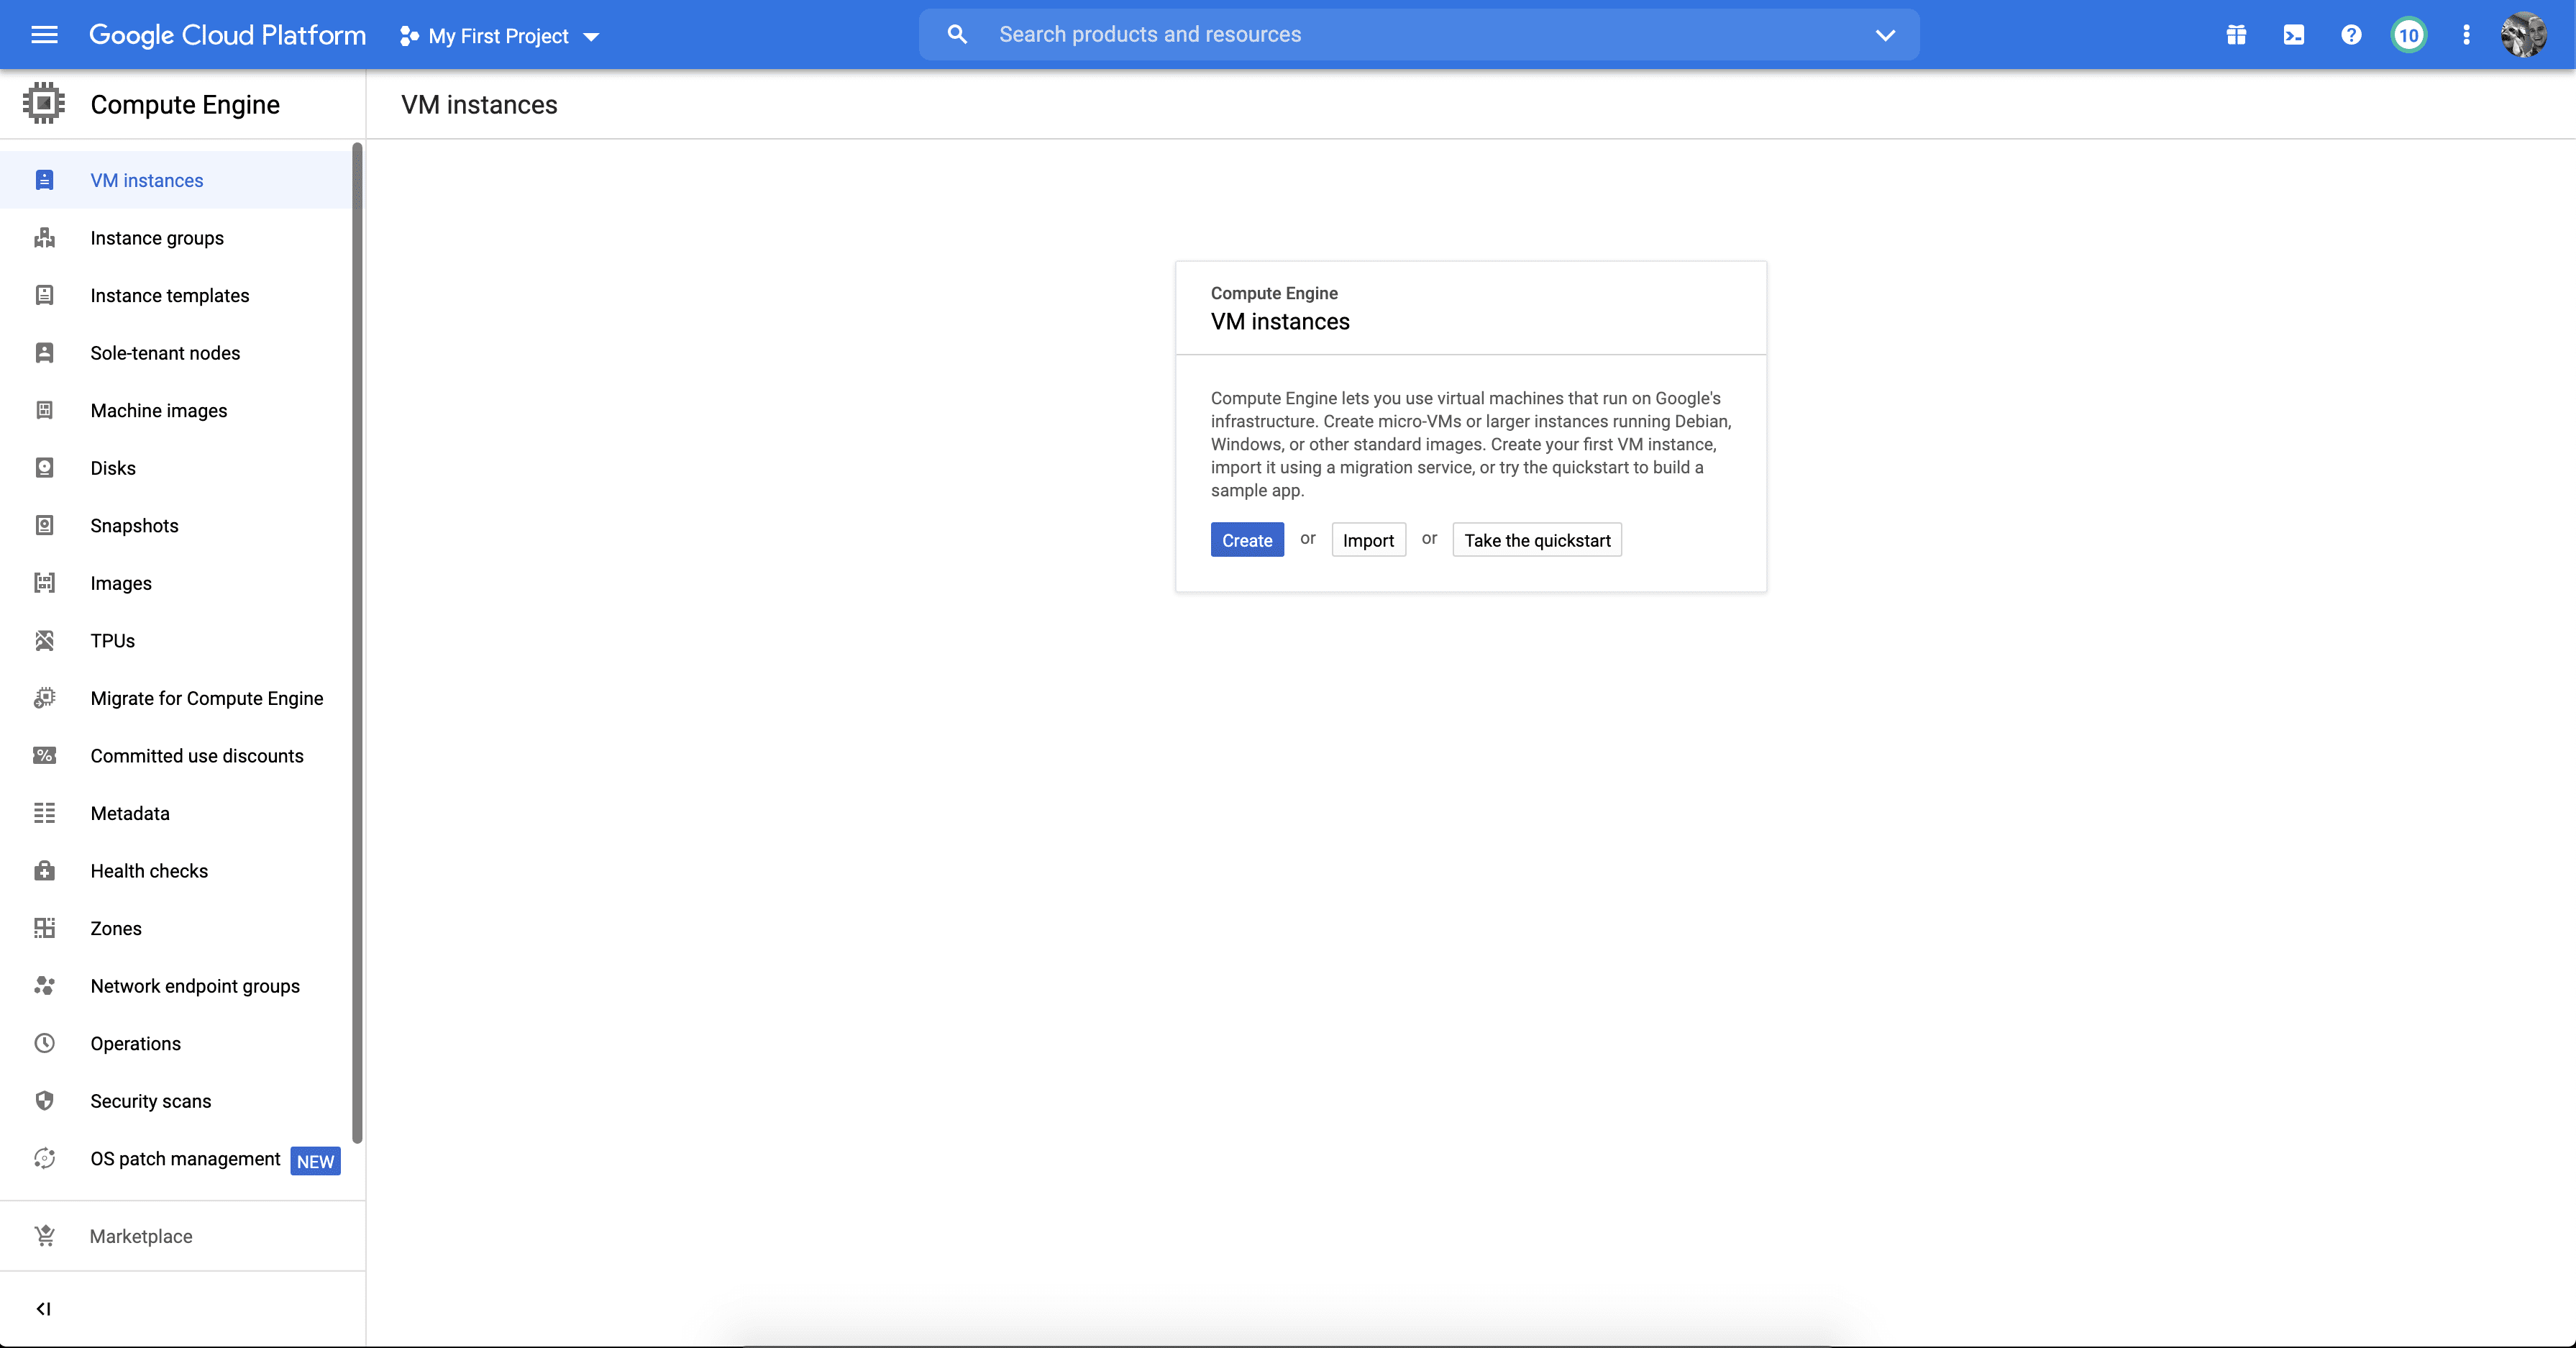
If you already have VMs created in GCP you’ll want to click “Create Instance” in the top menu.

Once on the Create an instance screen you’ll want to name your VM. I’ve called mine “tyk-poc”. You’ll also want to make sure that Red Hat Enterprise Linux 7 is the selected operating system under the “Boot disk” option and also ensure that “Allow HTTP traffic” and “Allow HTTPS traffic” are checked off.
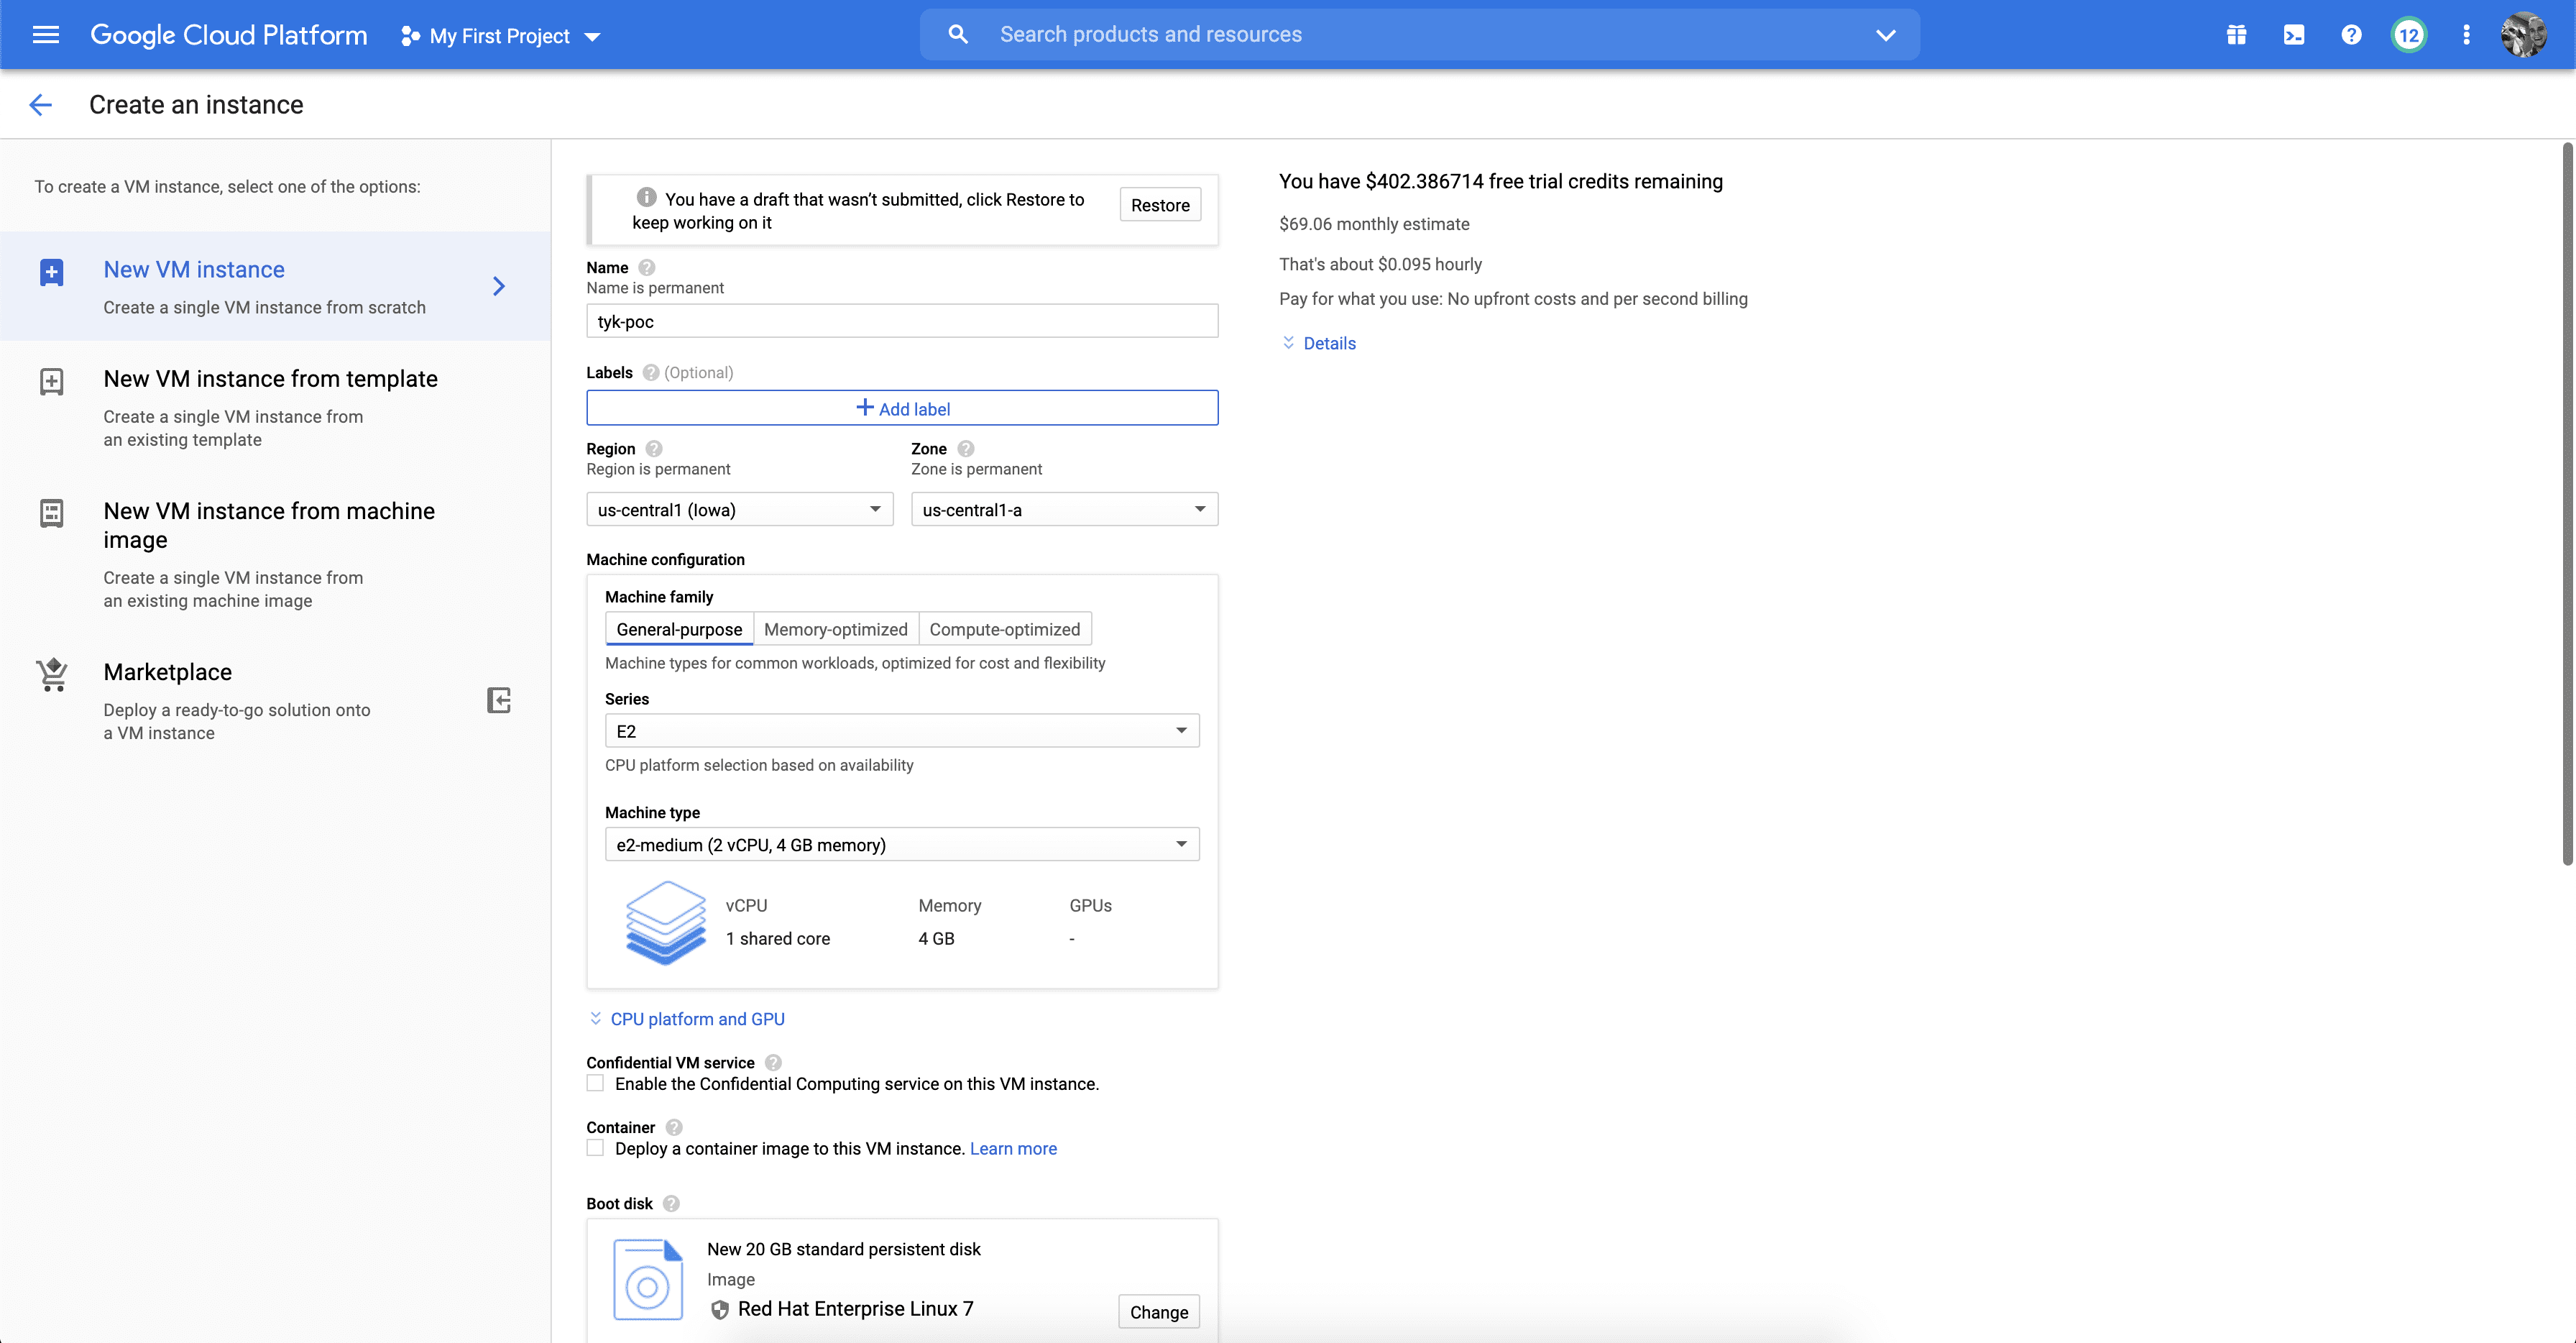
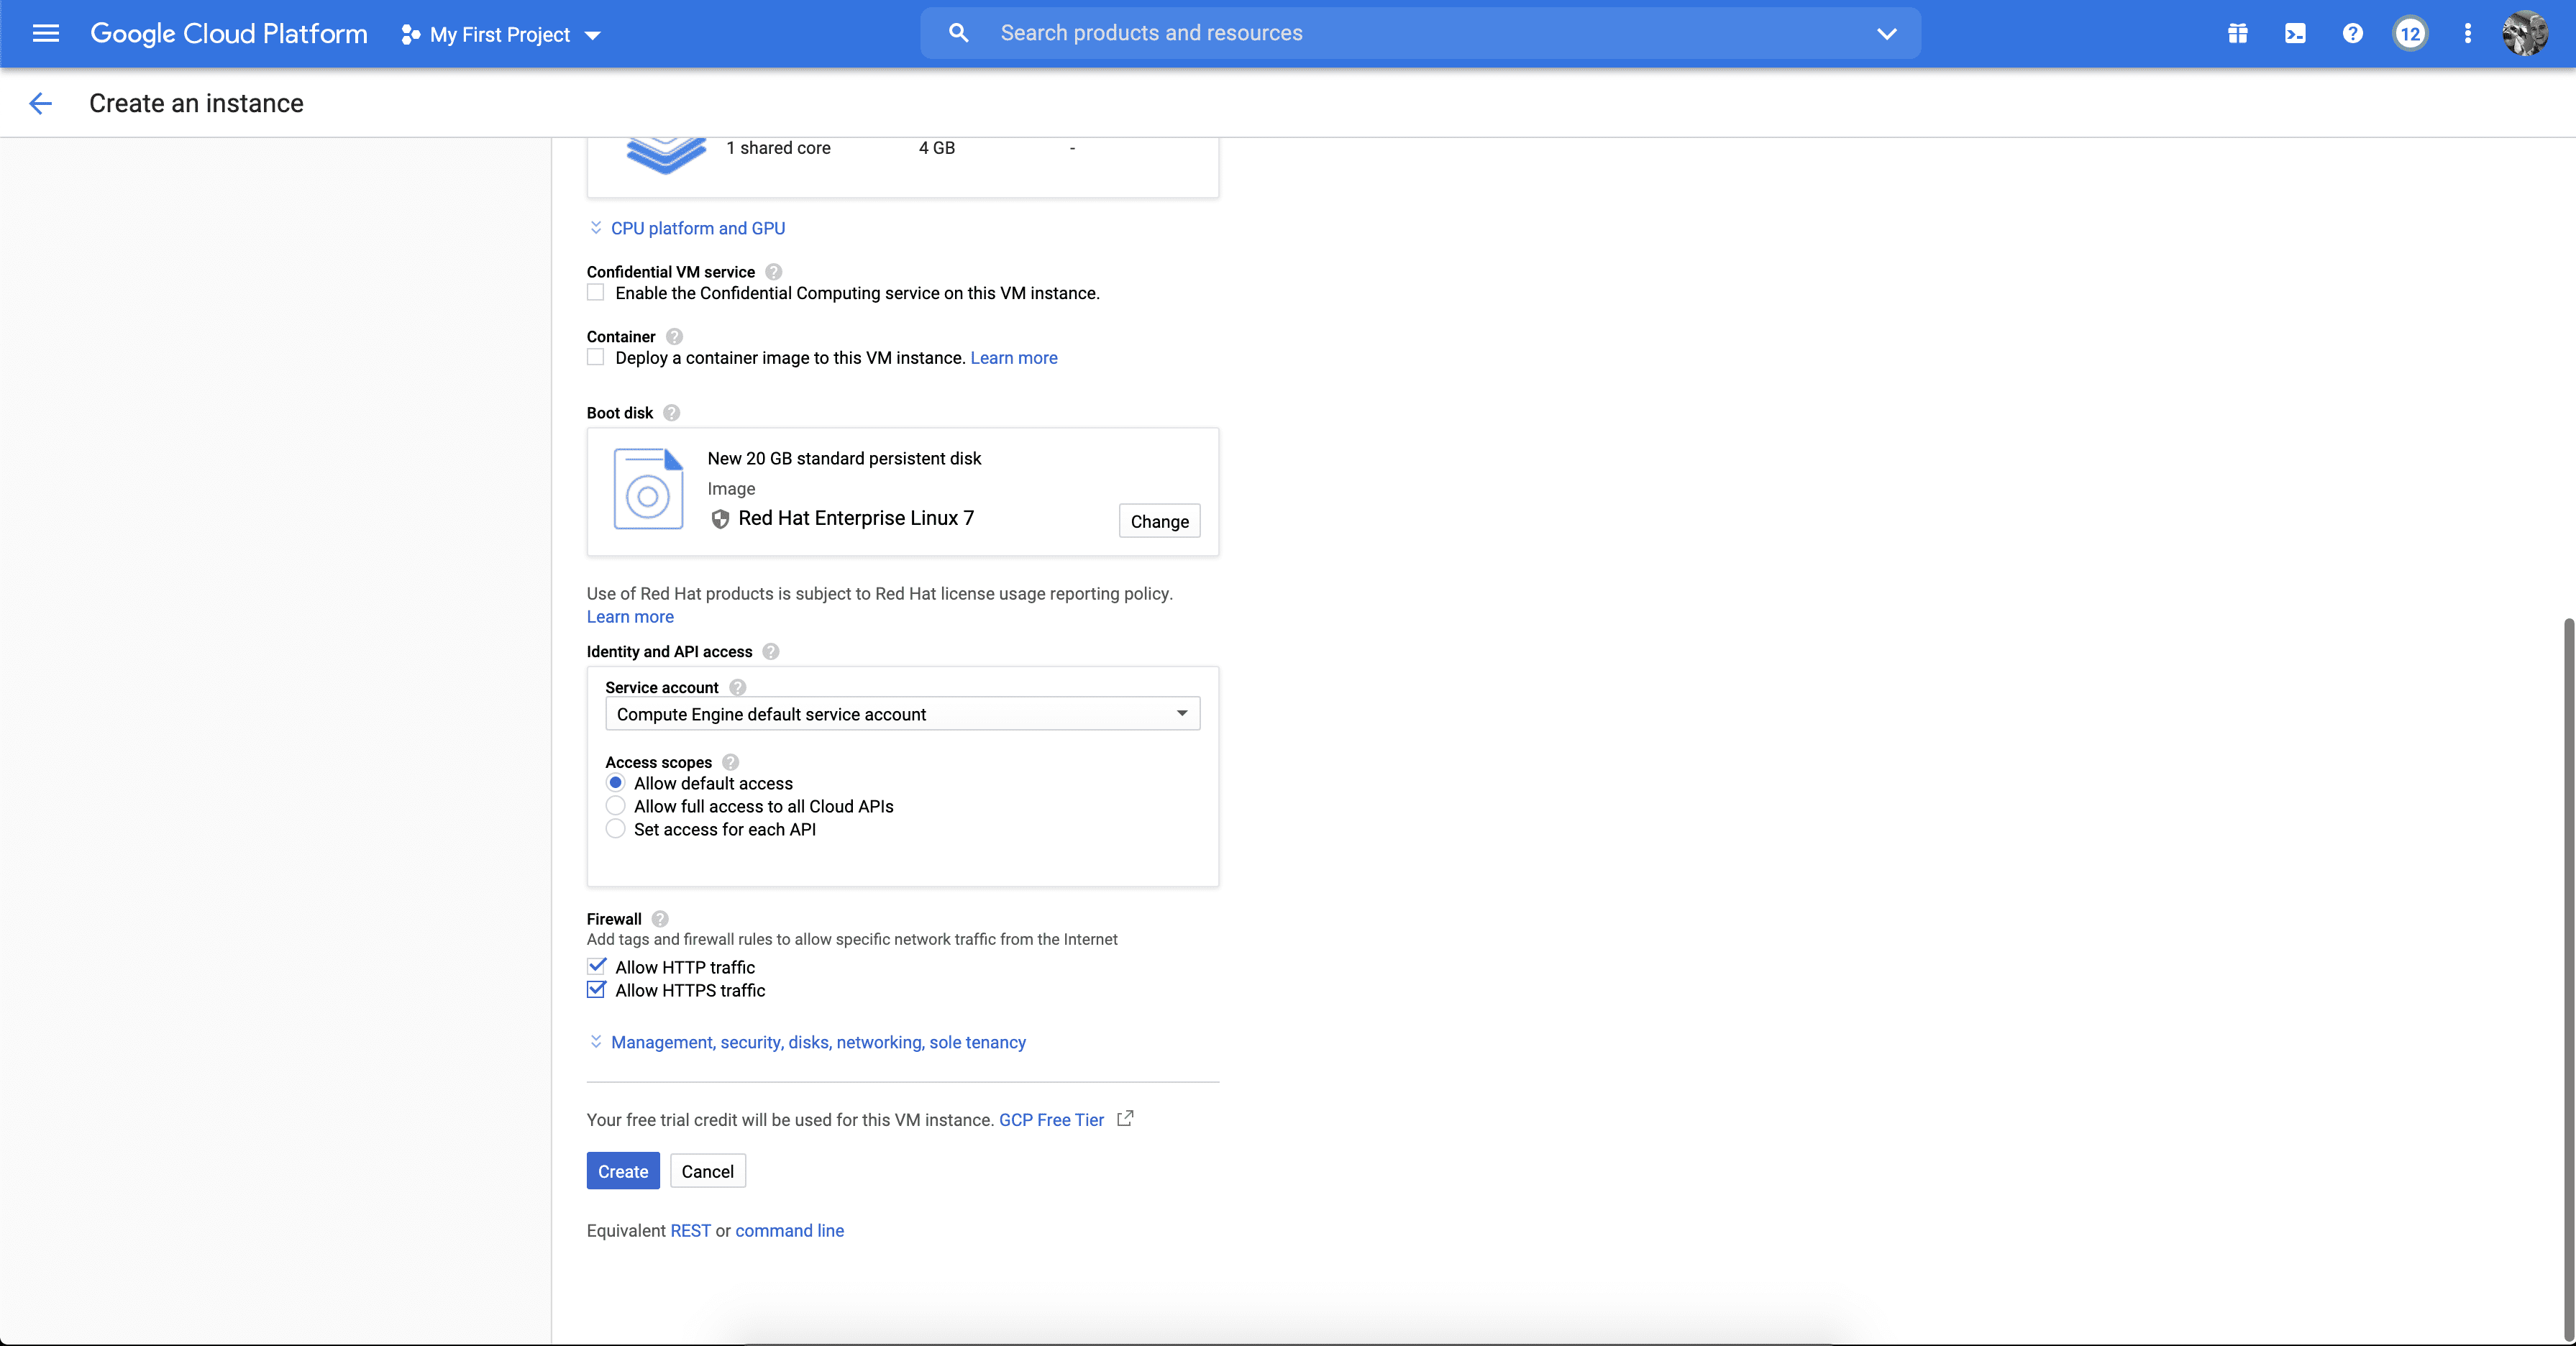
After this you can click “Create” at the bottom of the page
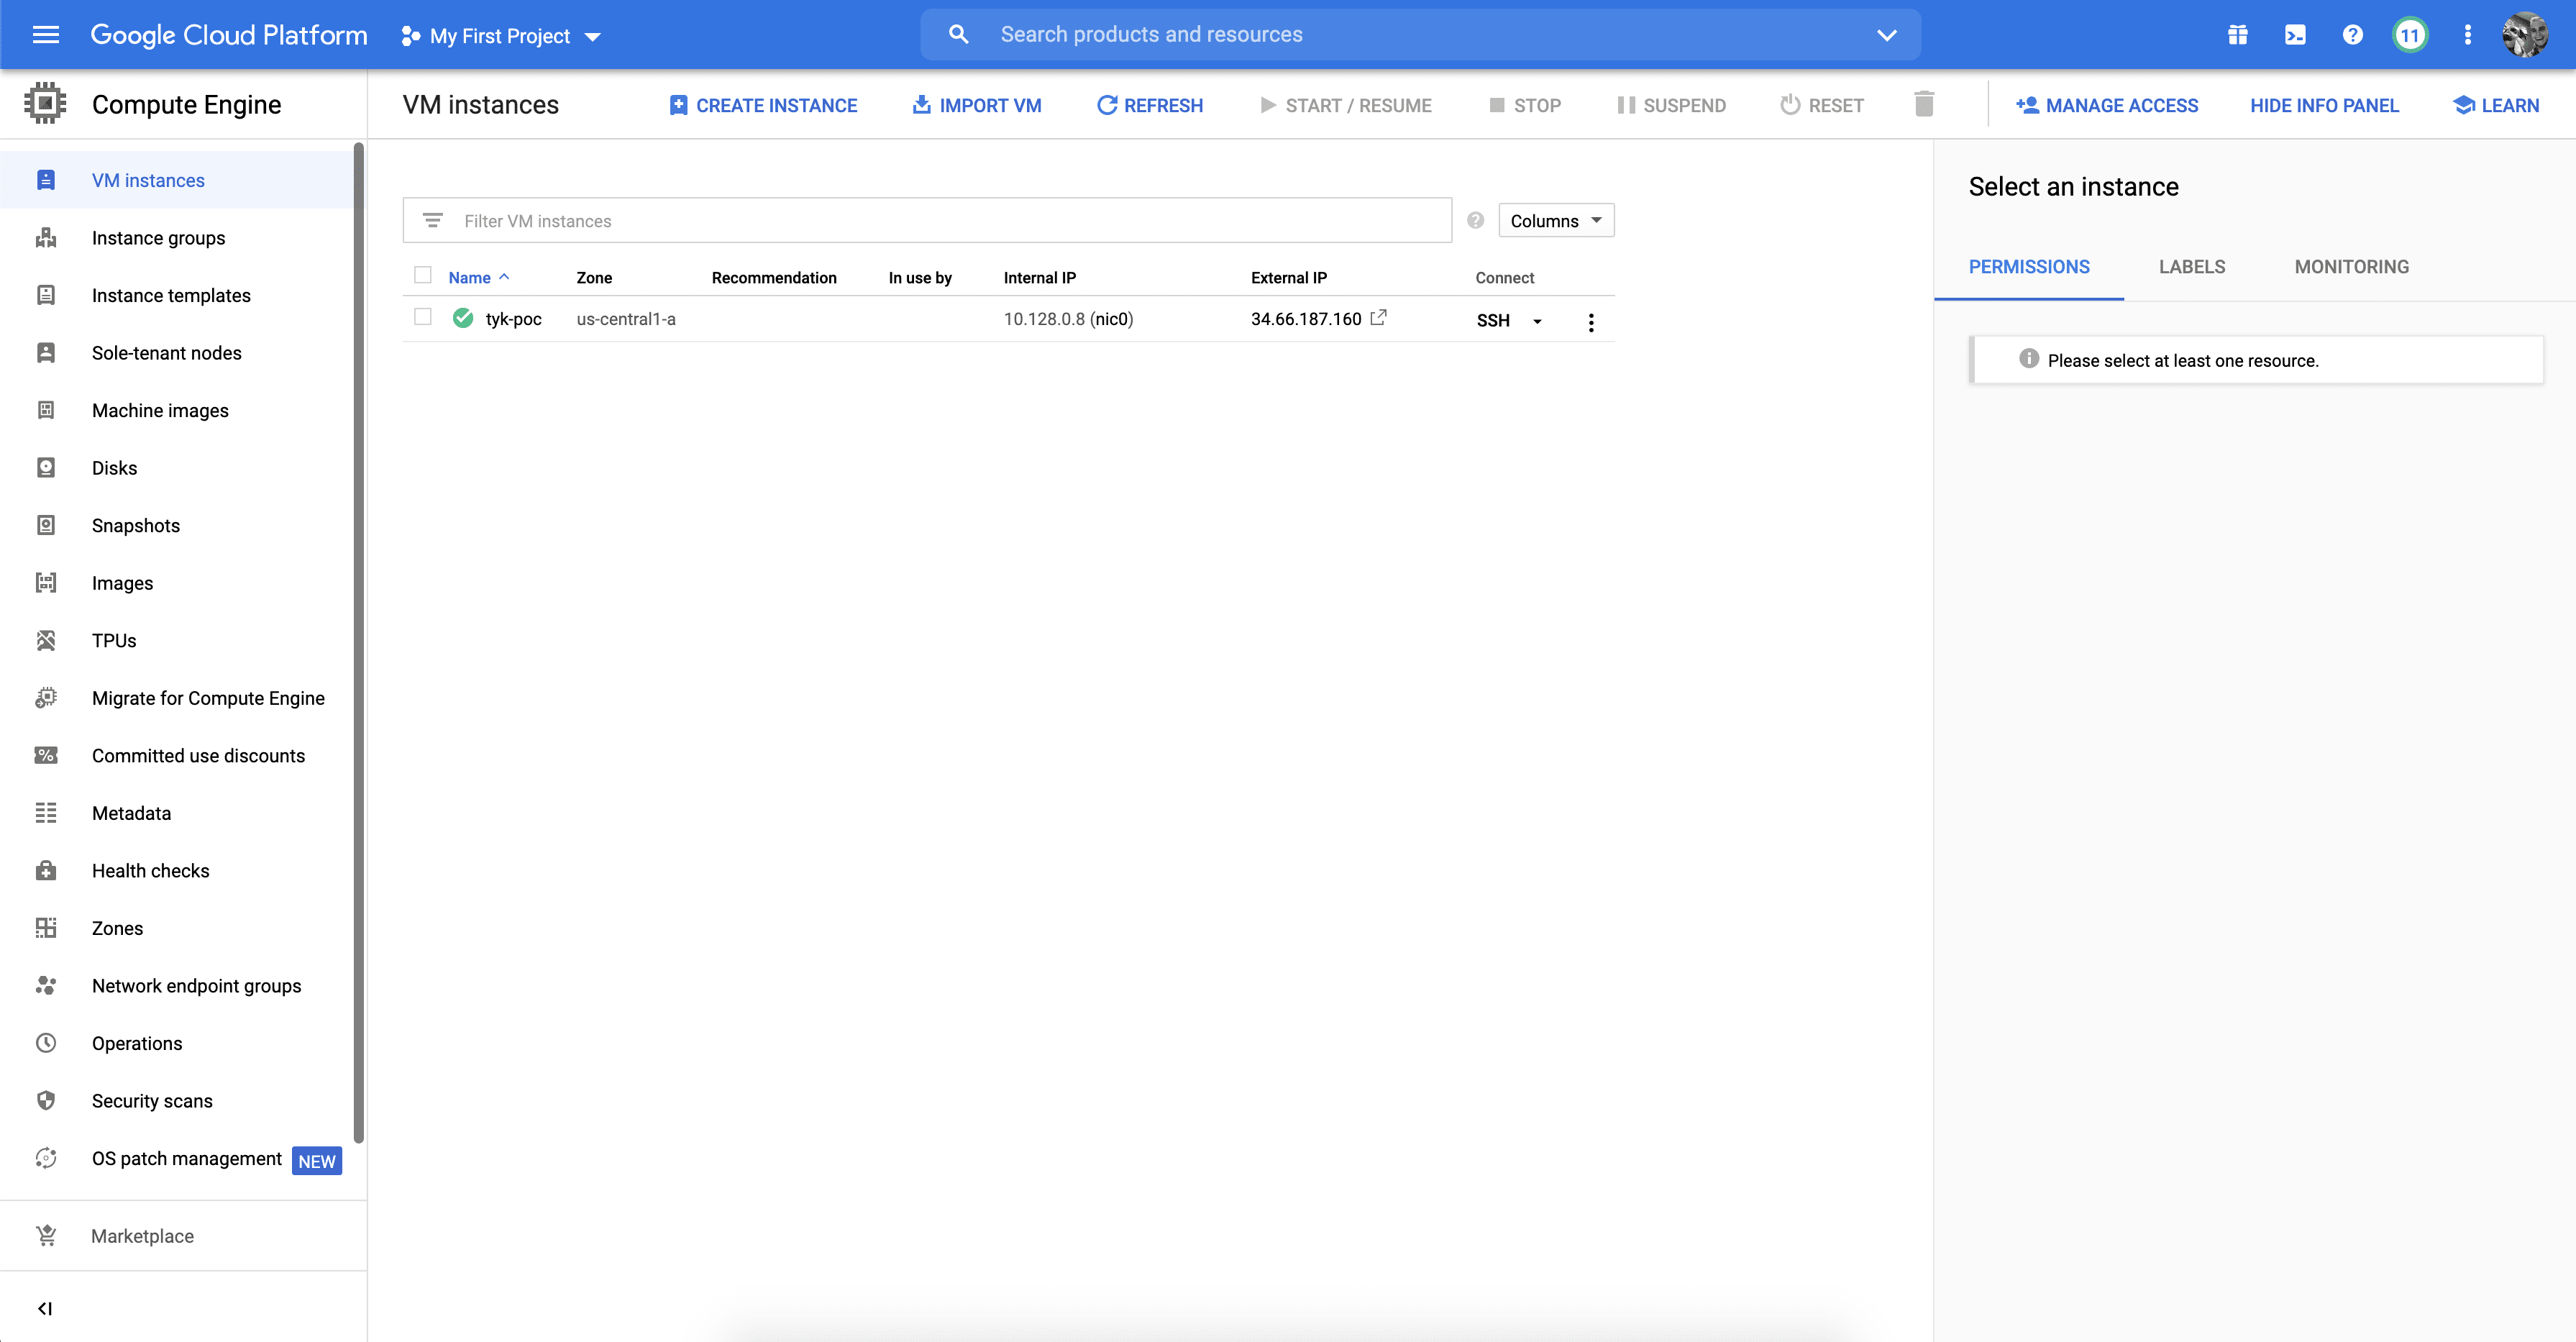
At this point GCP will redirect you back to the VM Instances screen and will spin up your new VM. You should see your new VM displayed in the table.
Step 2: Installing Tyk on our new GCP instance!
Now that we have an instance up and running, let’s log into it. On the VM Instances screen click the SSH button at the end of your VM entry in the instances table.

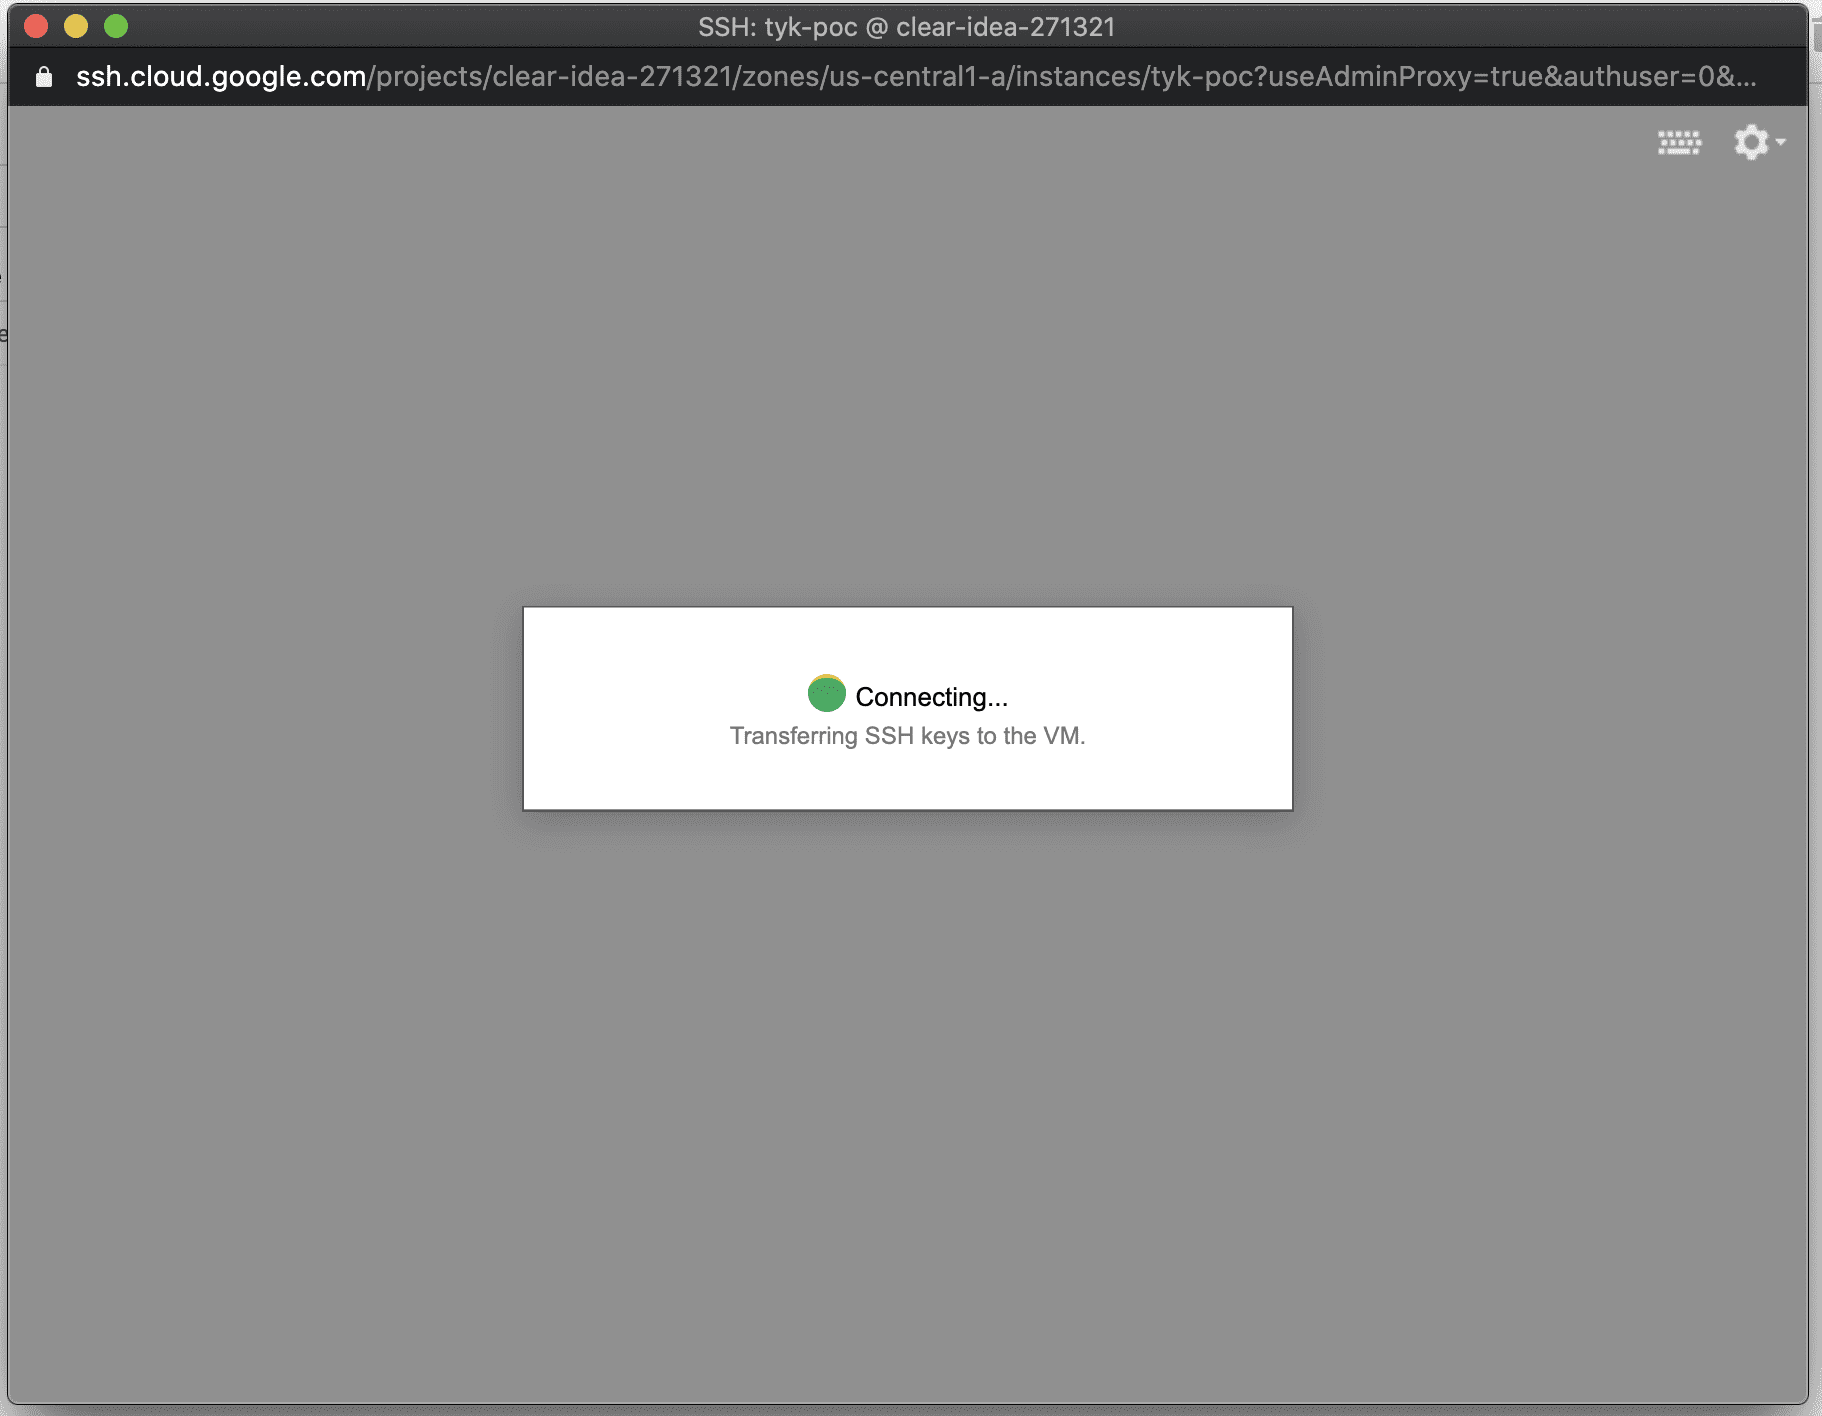
Clicking this will log us into our GCP instance and give us a convenient web-base terminal to securely work in.
Once you have successfully logged into the system you see the following screen now displaying in your terminal:
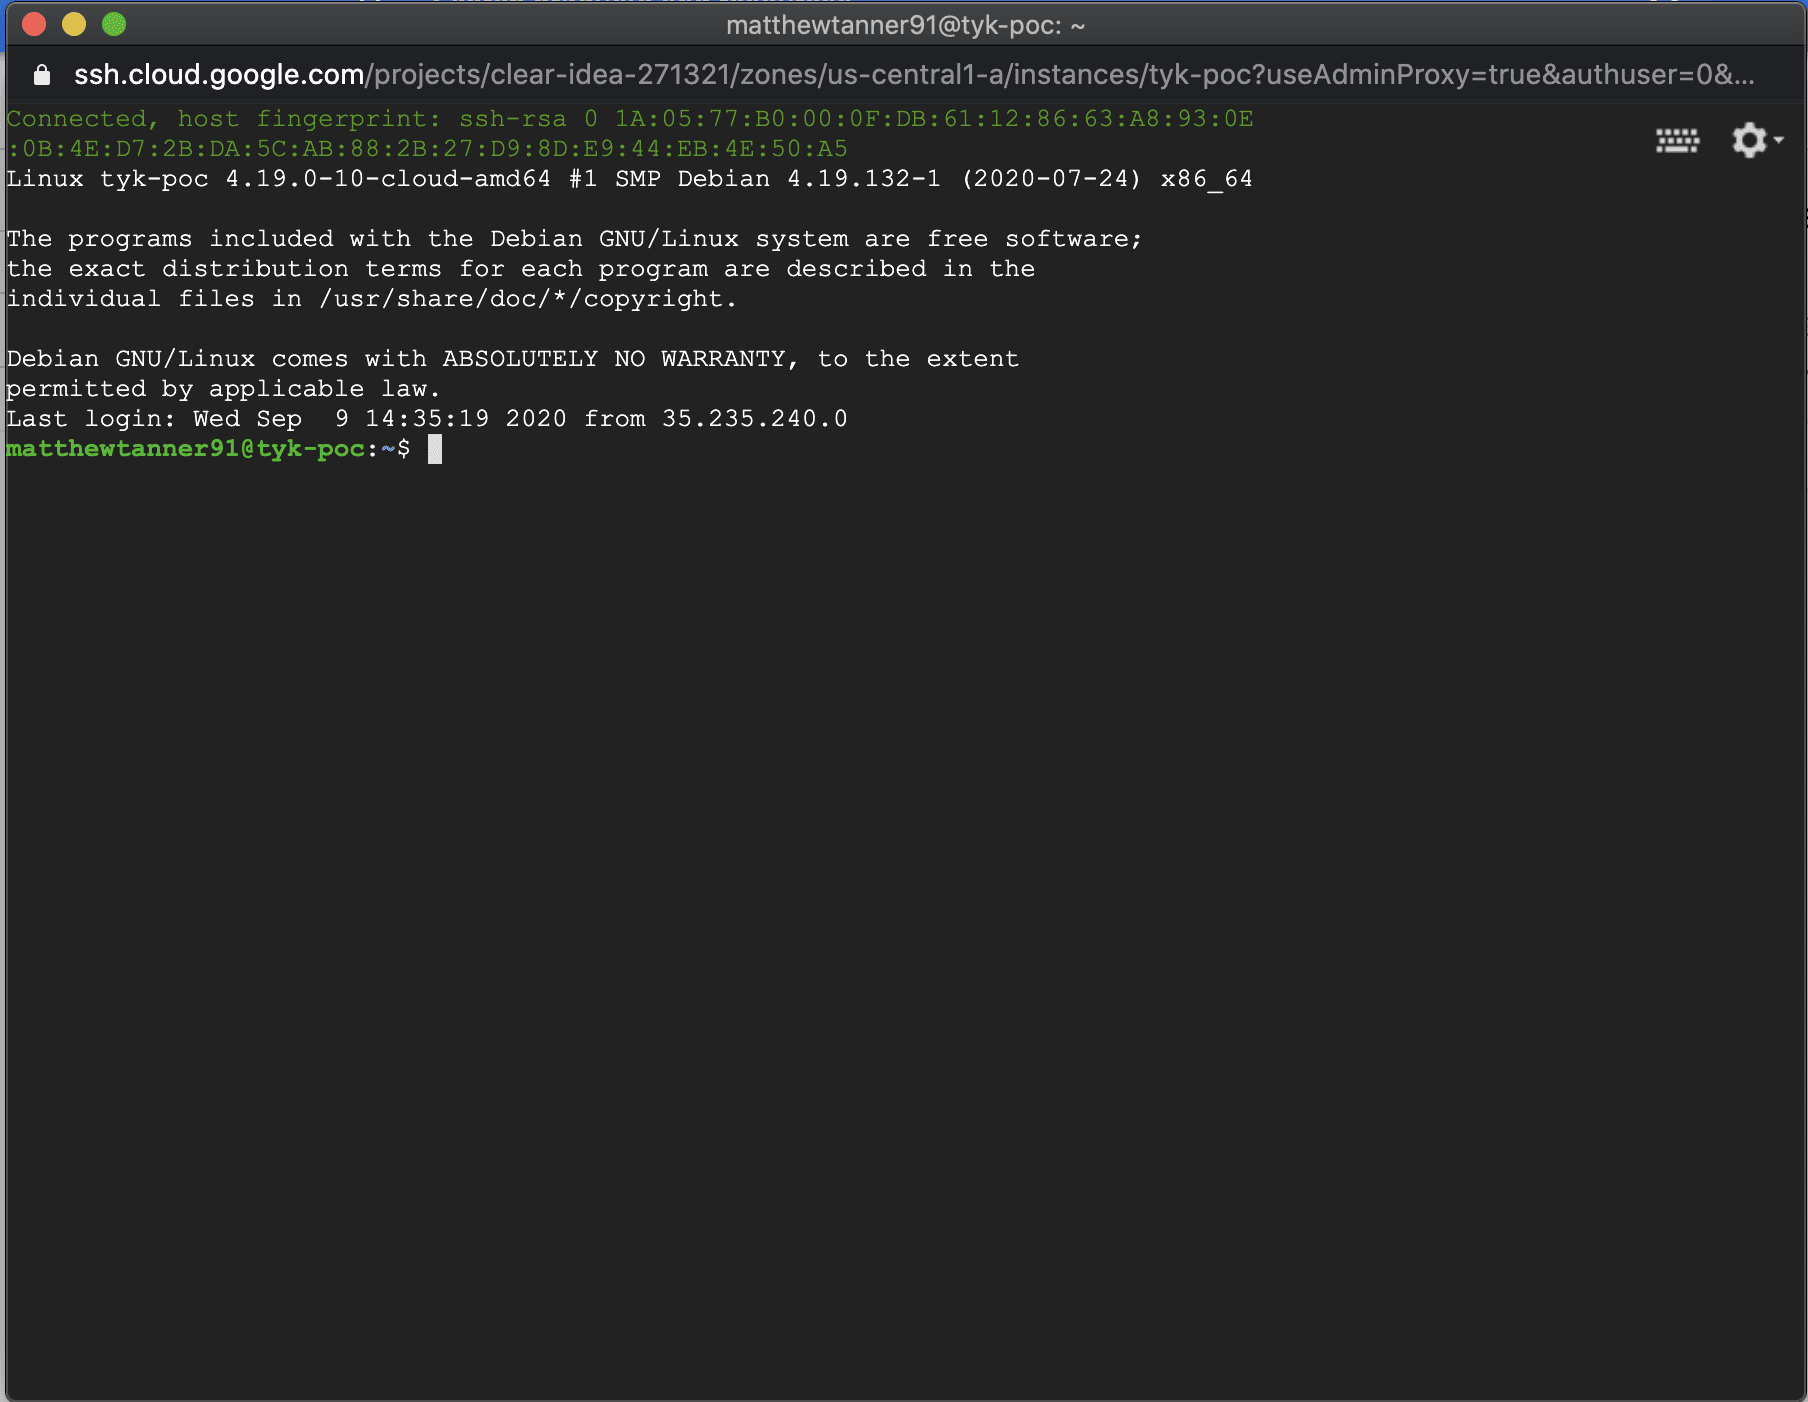
We are now at the point where we will start to install the required components on the instance.
First we update yum
sudo yum update -y
Then install git
sudo yum install git -y
Next we install Docker
sudo yum install -y docker
Then start docker
sudo systemctl start docker
Then we will download docker-compose
sudo curl -L
"https://github.com/docker/compose/releases/download/1.25.5/docker-compose-$(uname -s)-$(uname -m) -o /usr/local/bin/docker-compose
make docker-compose executable
sudo chmod +x /usr/local/bin/docker-compose
Create a docker-compose symlink
sudo ln -s /usr/local/bin/docker-compose /usr/bin/docker-compose
Next we clone the Tyk-Pro-Docker repo
git clone https://github.com/TykTechnologies/tyk-pro-docker-demo
Change to root user
sudo su
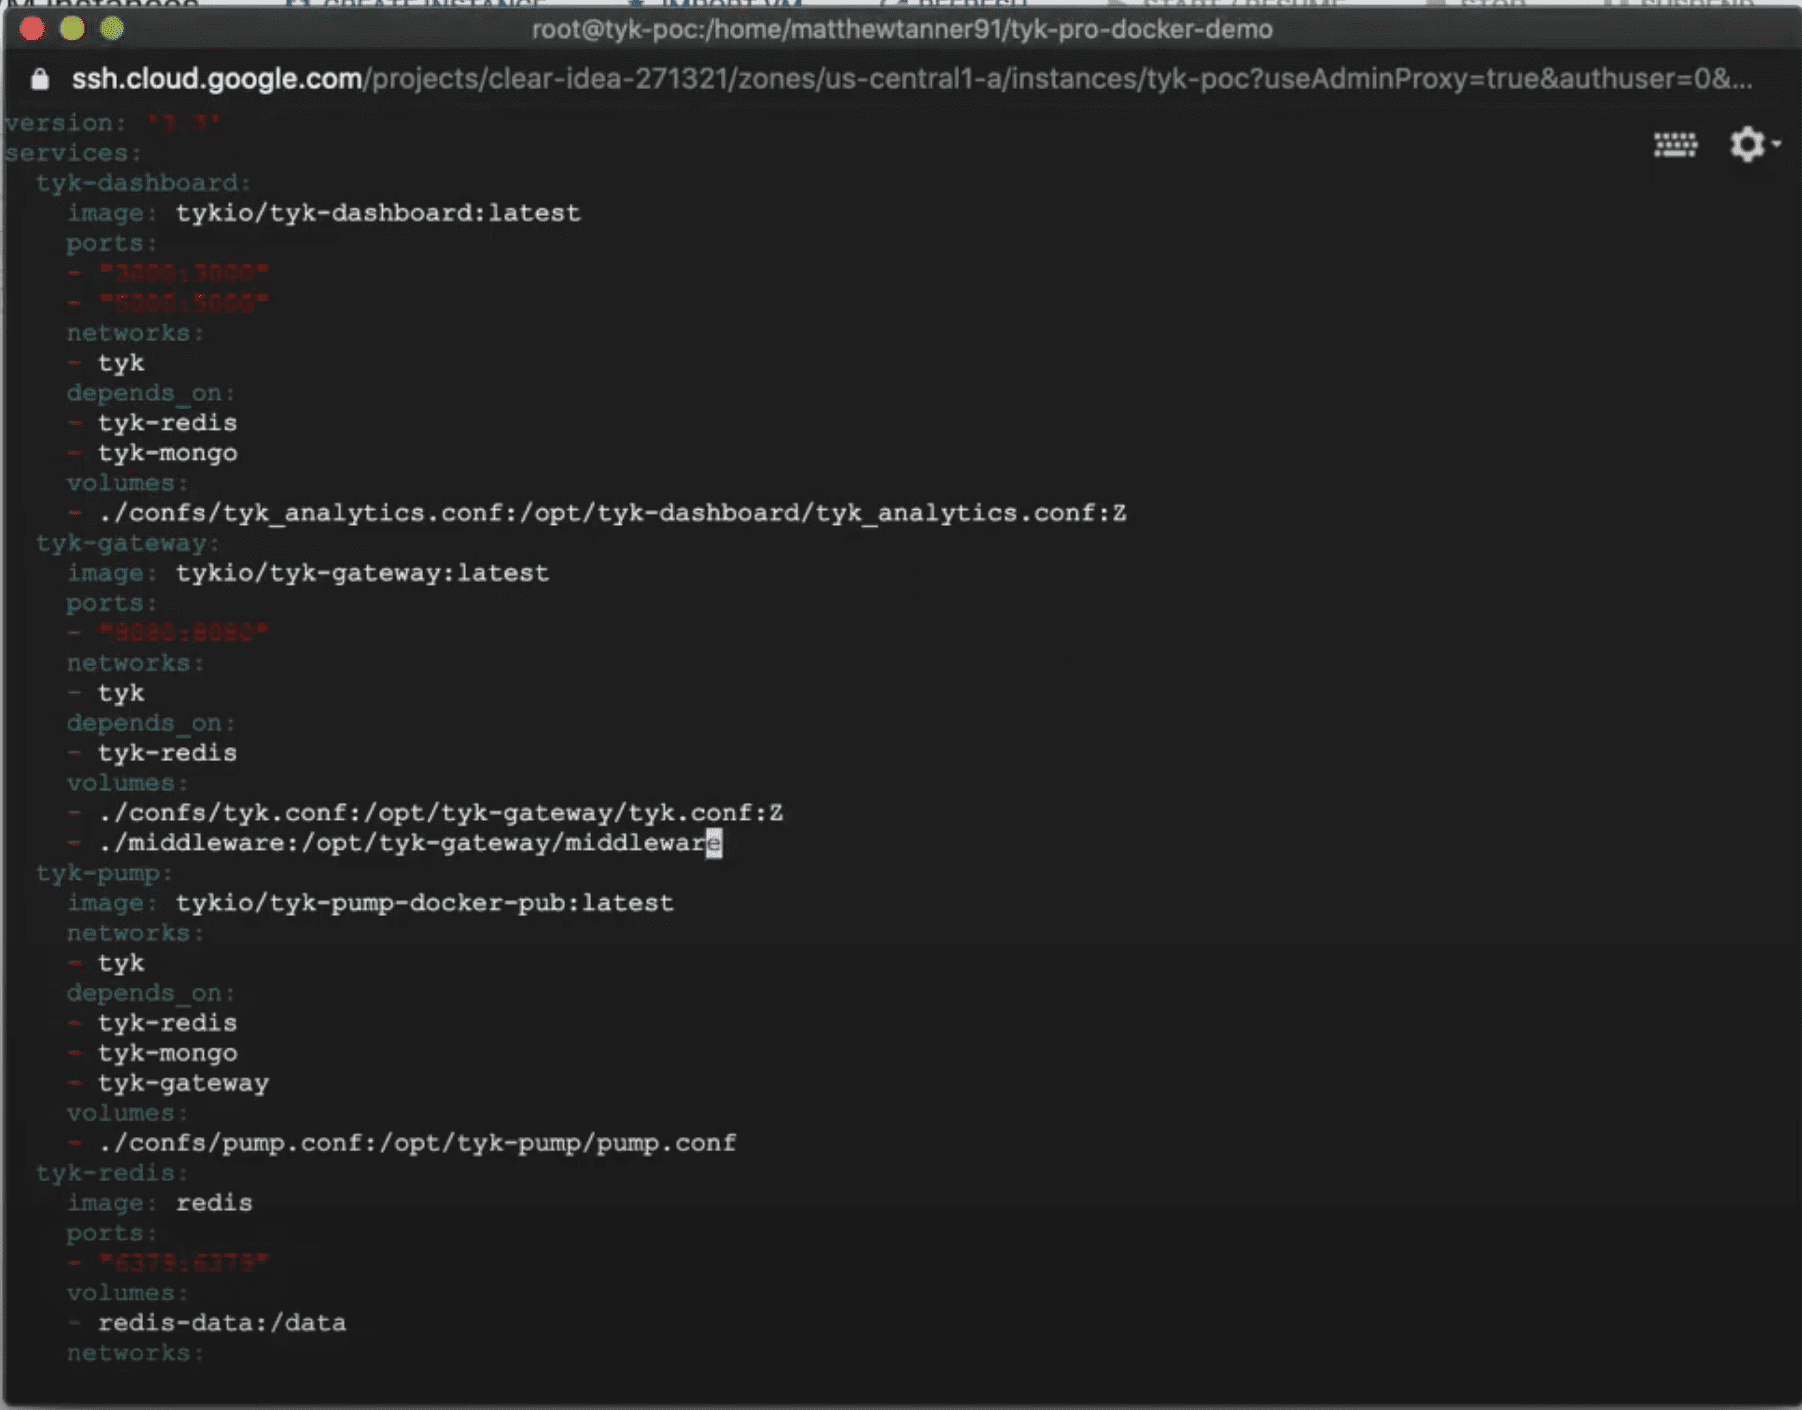
Next, edit docker-compose.yml in your preferred editor (check out the video above to see my step-by-step!)
Under volumes for tyk-dashboard, find the following line:
./confs/tyk_analytics.conf:/opt/tyk-dashboard/tyk_analytics.conf
Update it so it looks like this:
./confs/tyk_analytics.conf:/opt/tyk-dashboard/tyk_analytics.conf:Z
Under volumes for tyk-gateway, find the following line:
./confs/tyk.conf:/opt/tyk-gateway/tyk.conf
Update it so it looks like this:
./confs/tyk.conf:/opt/tyk-gateway/tyk.conf:Z
After these changes are in place you’re docker-compose.yml should look like this:
Now we will bring the stack up using:
docker-compose up -d
Once you press ENTER to run the command, the process will start to bring up the stack!
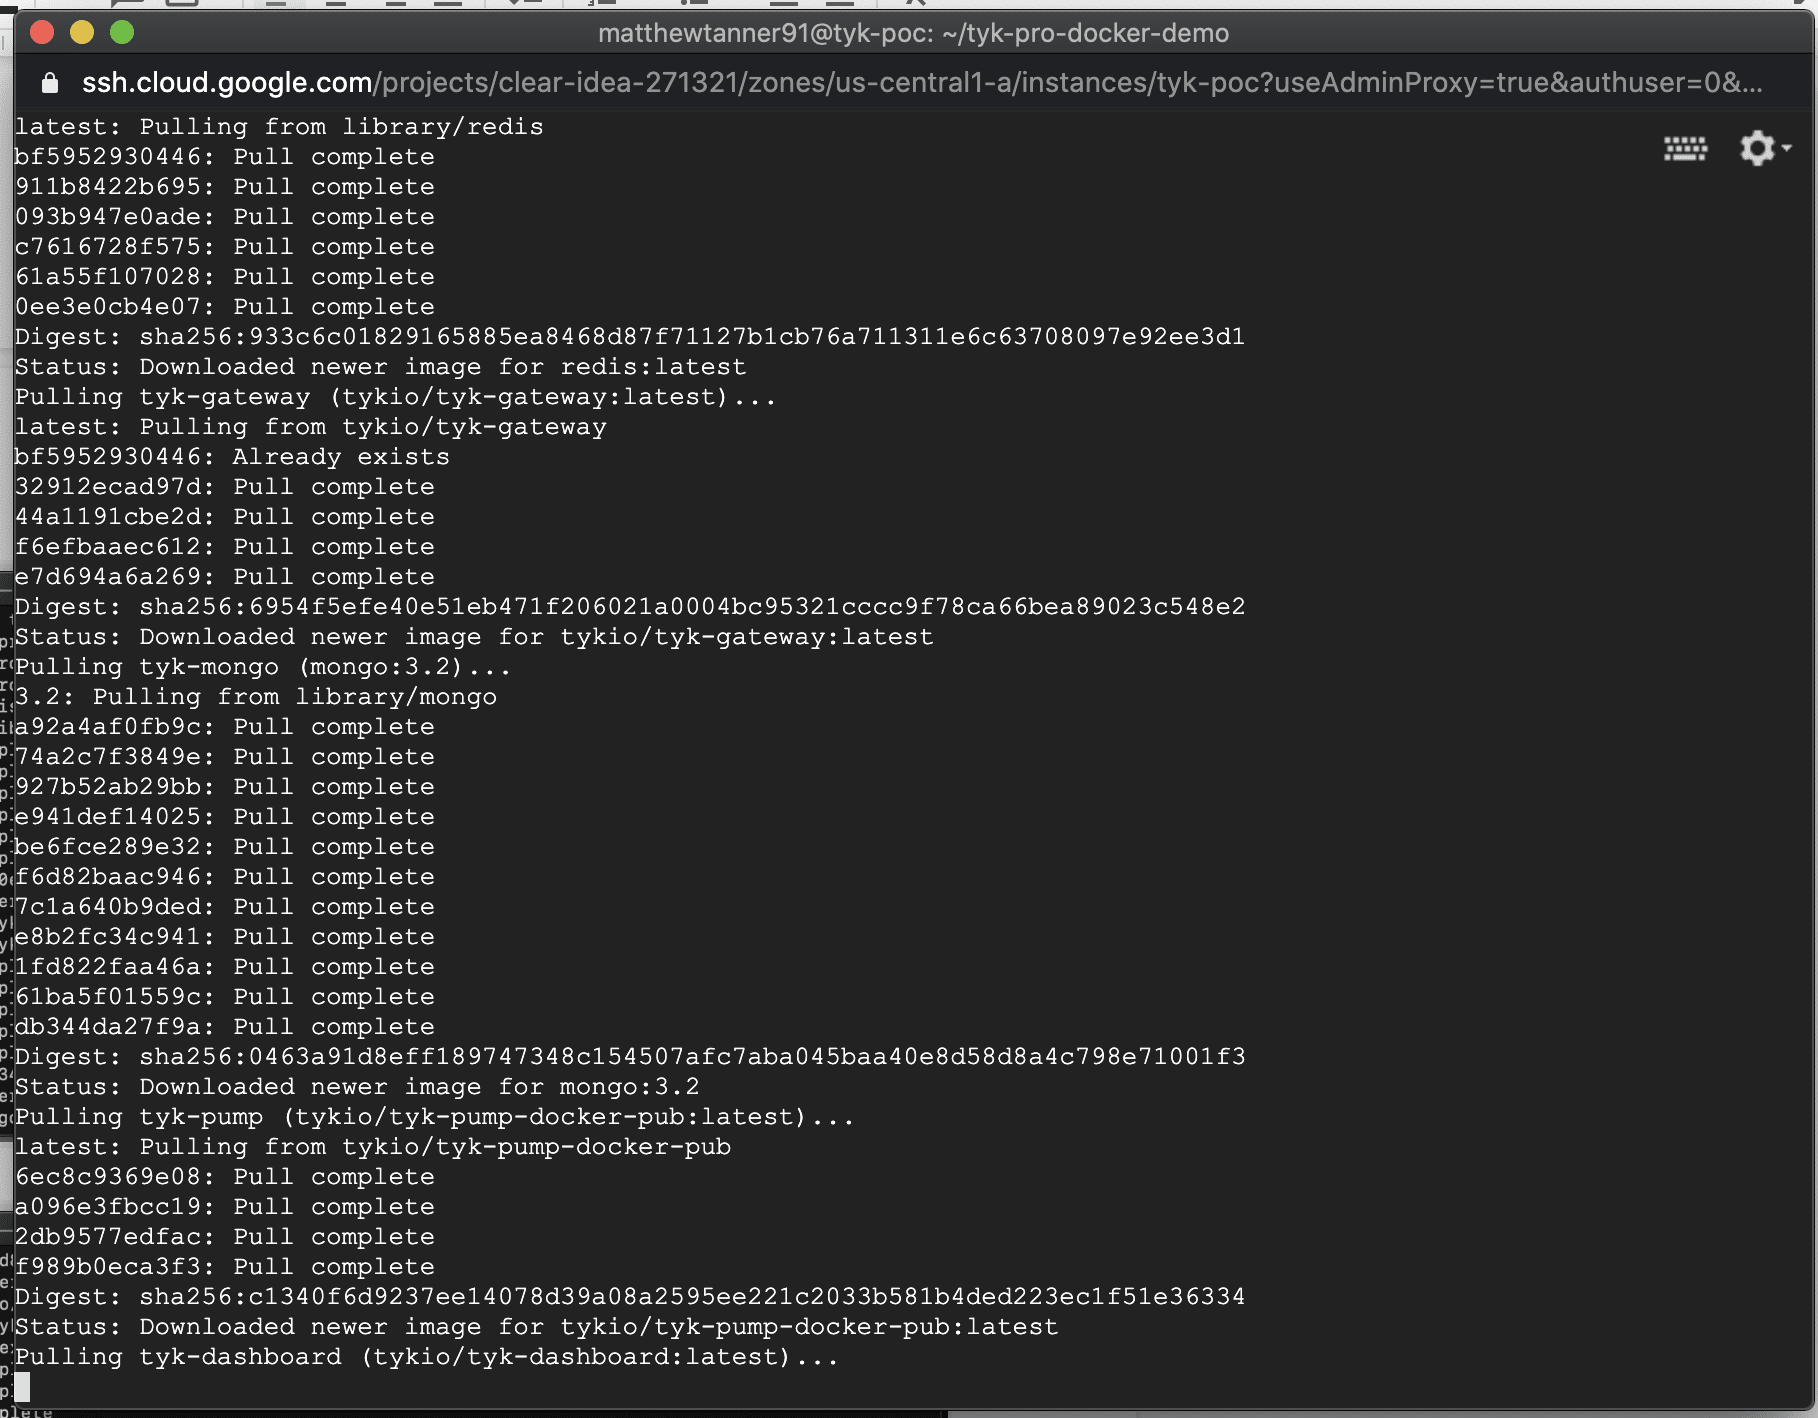
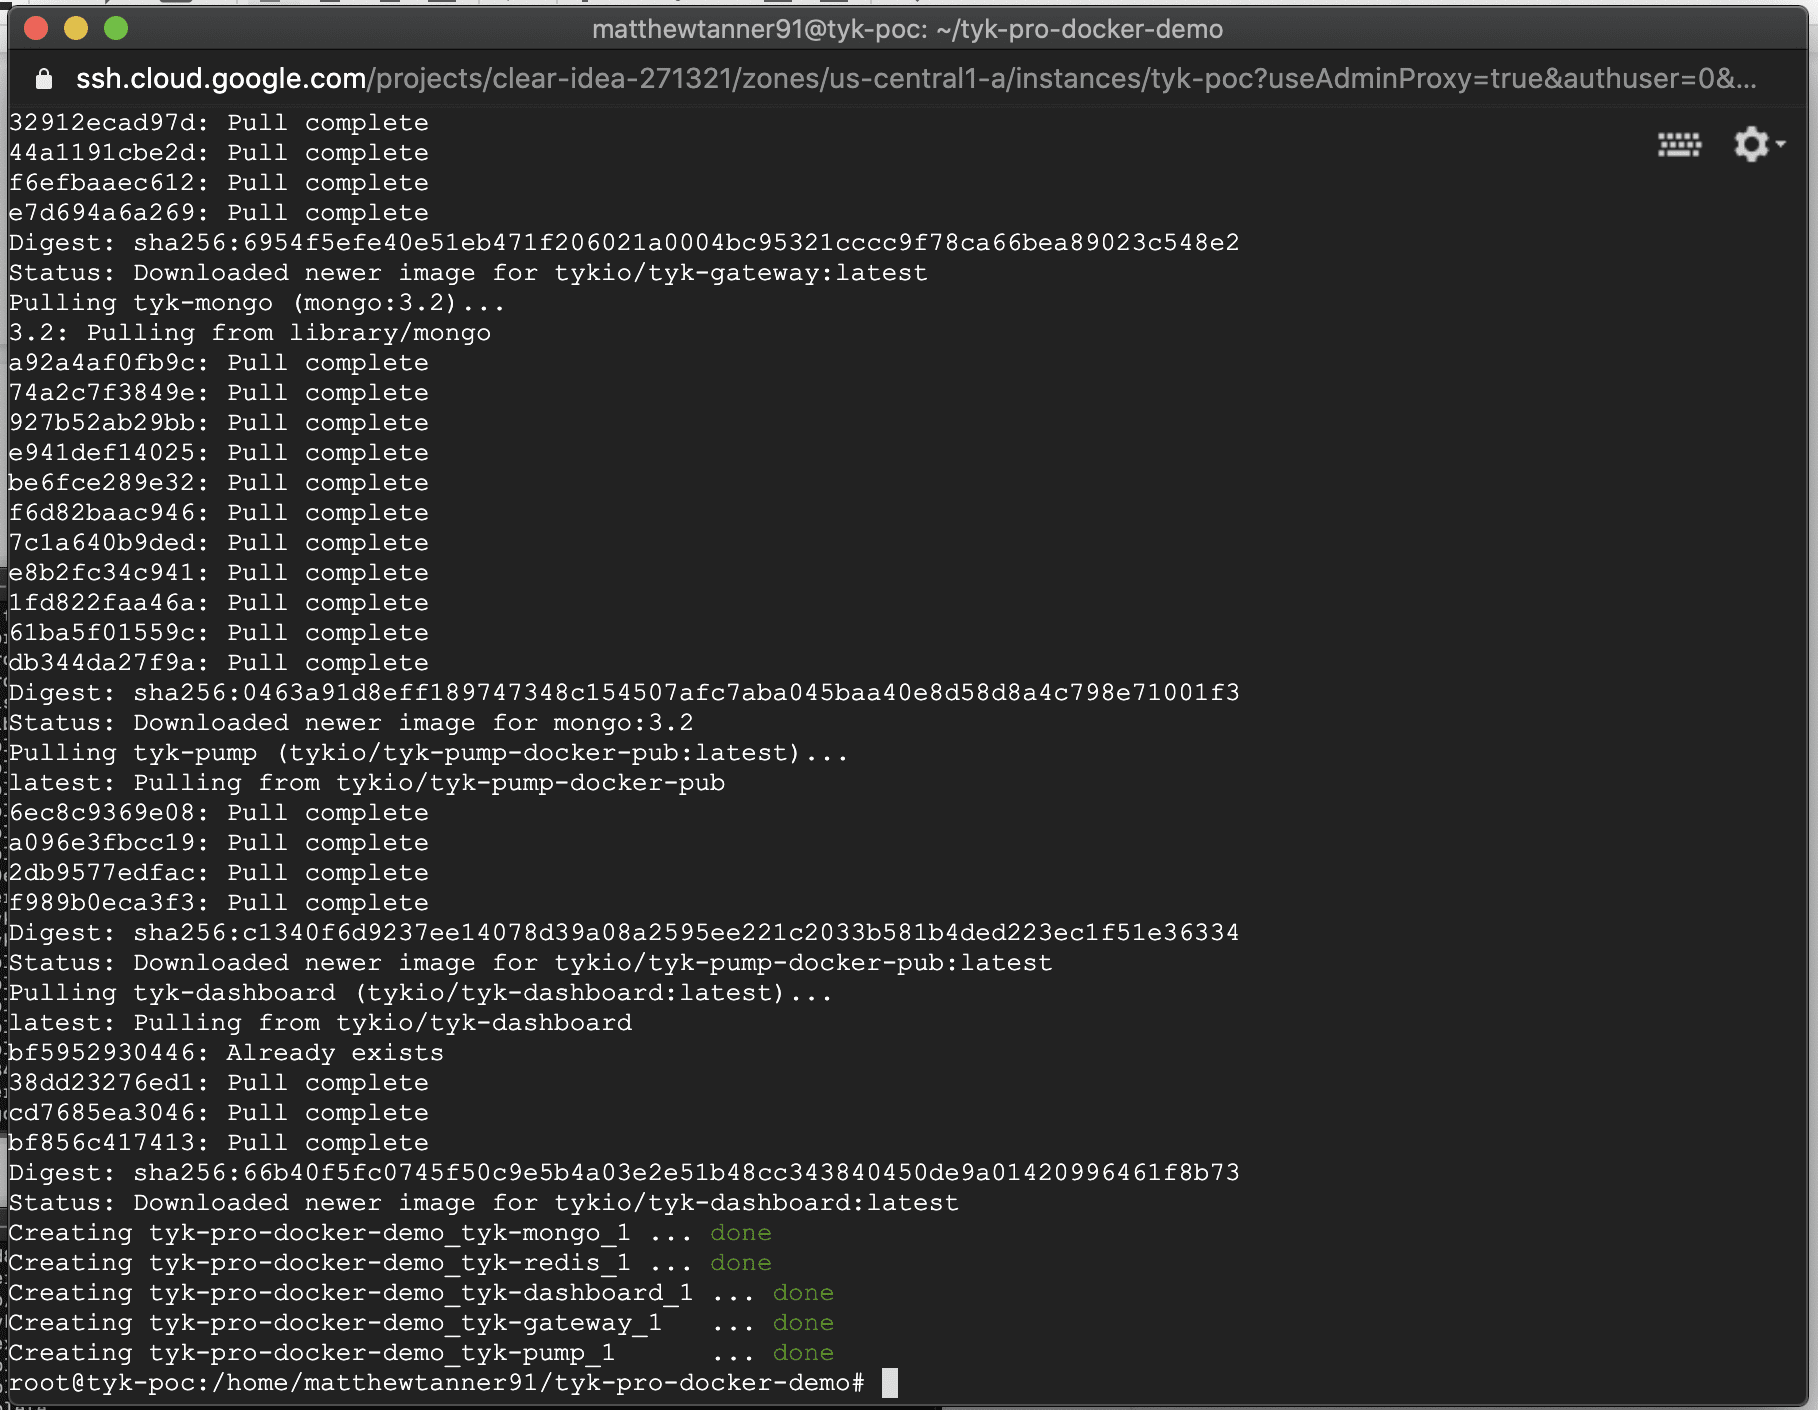
Once the process has brought up the stack you should see the following outlining that all components are up and running:

Now that we are up and running, let’s navigate to the dashboard to get started with Tyk! For this you’ll want to navigate to: https://<your GCP instance public IP>:3000

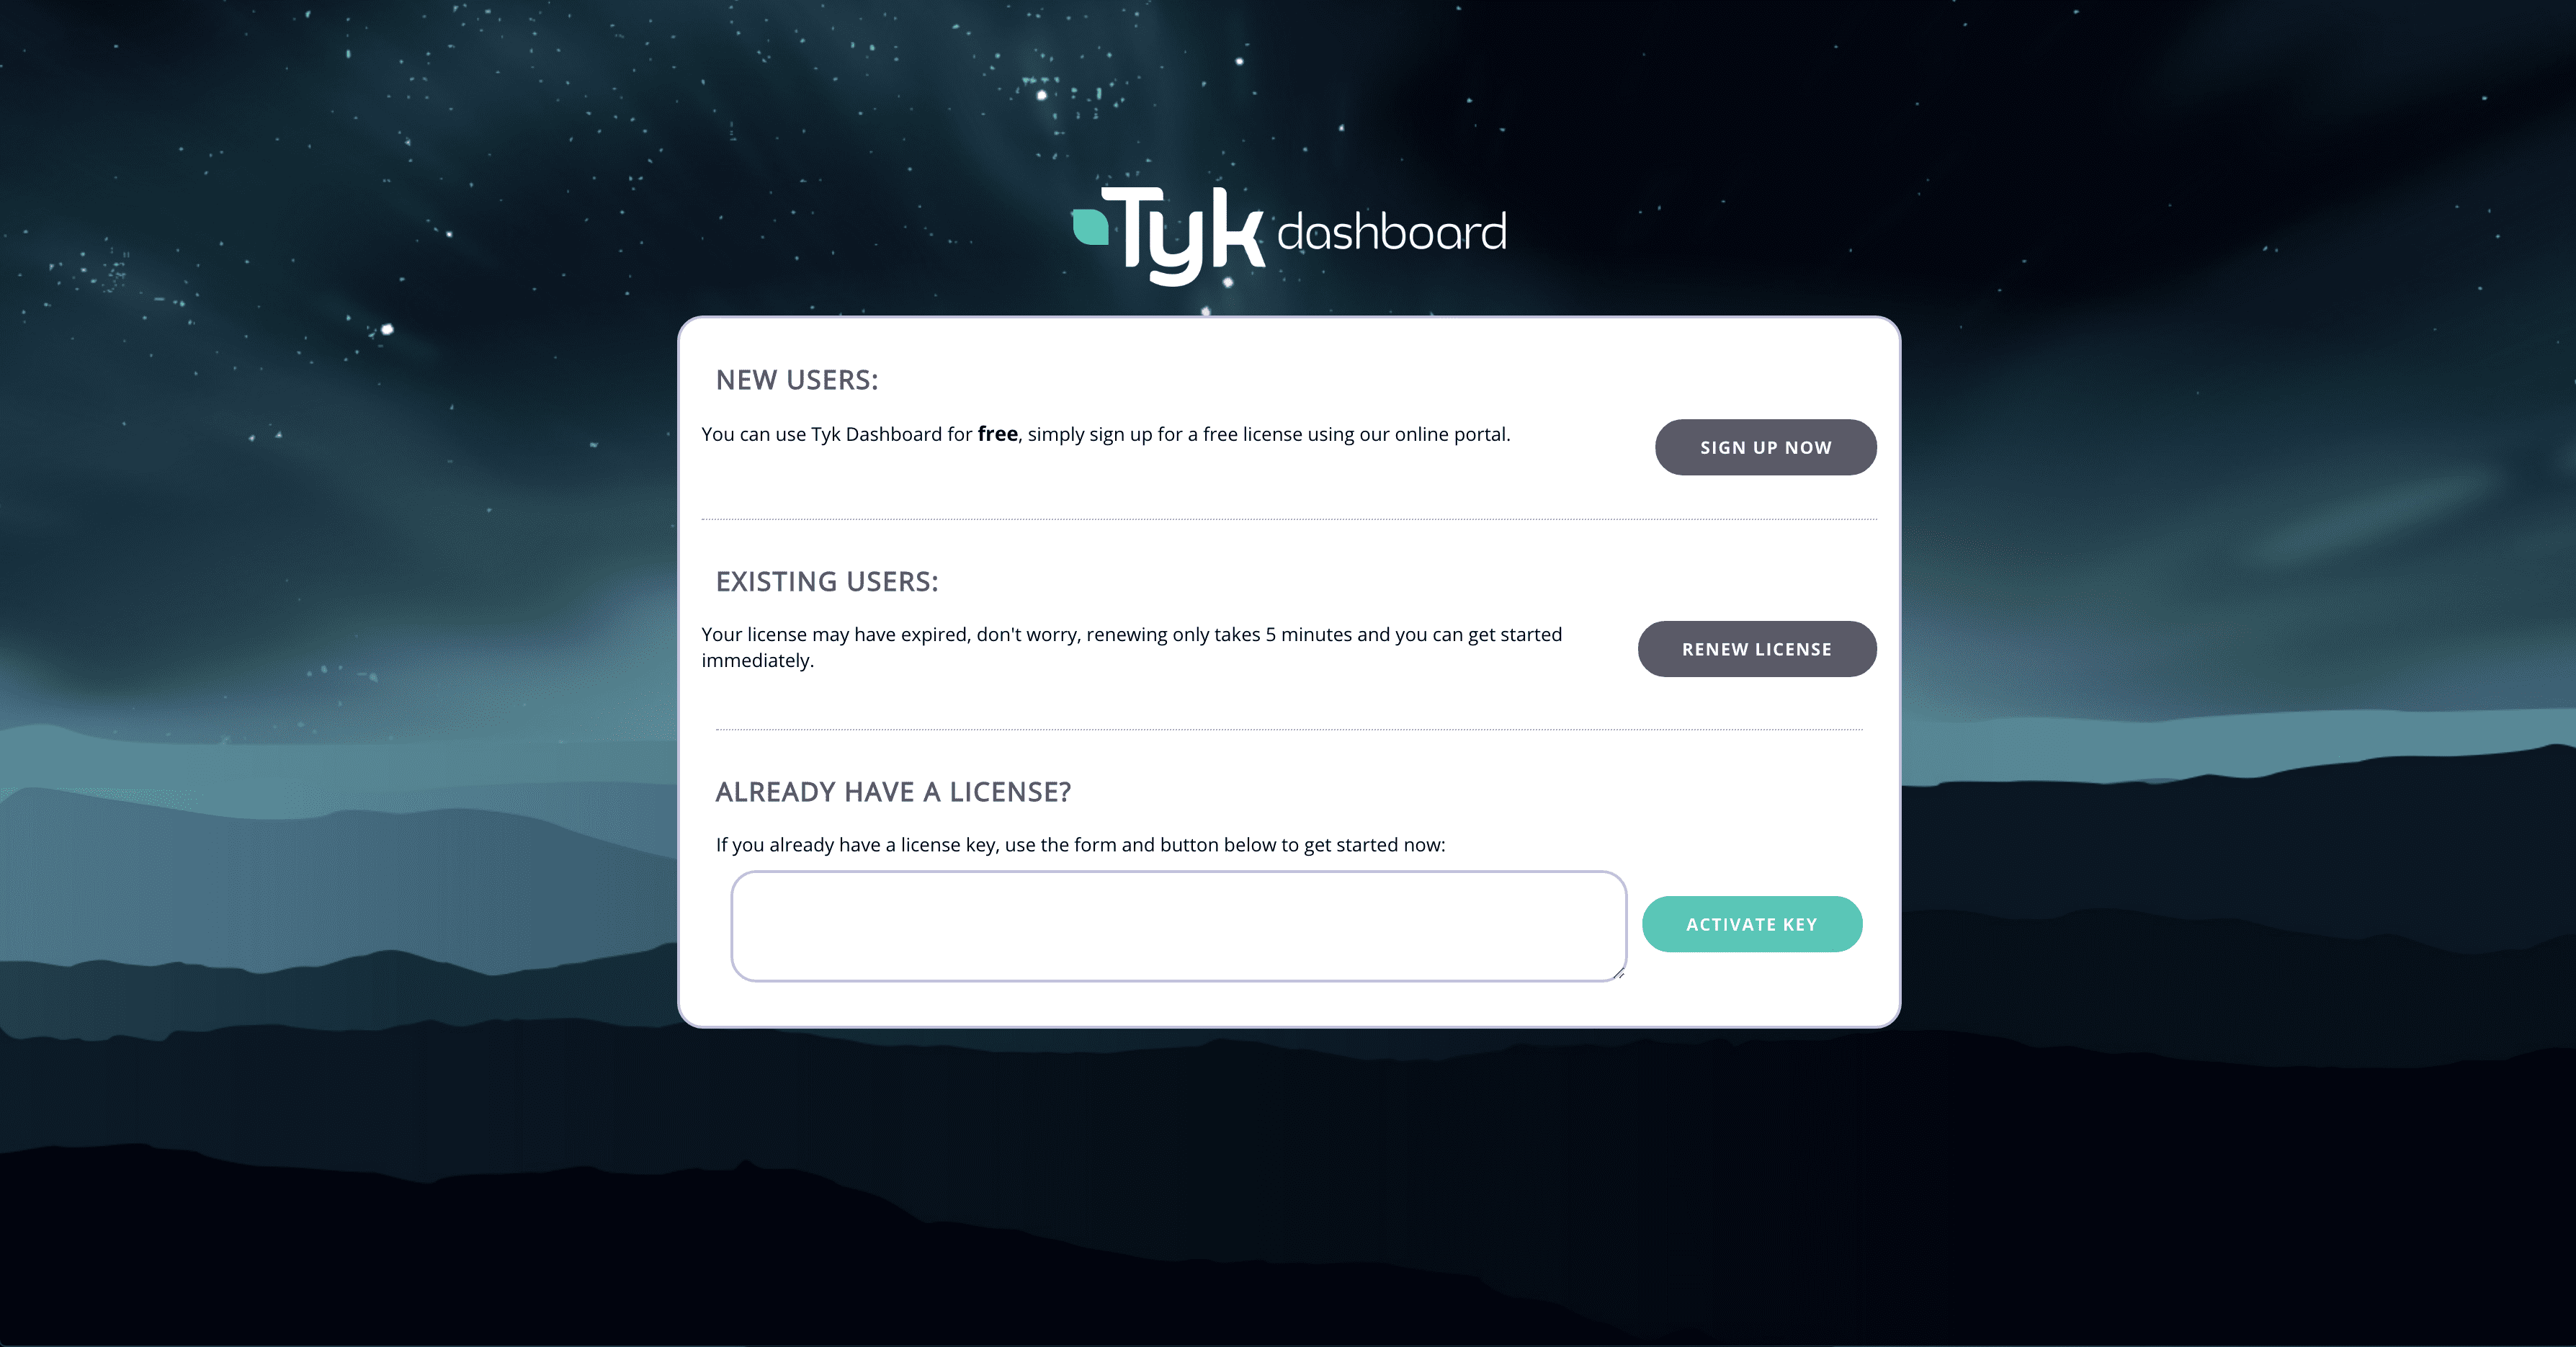
Step 3: Configuring and using your new Tyk instance!
Once we have navigated to the URL in the previous step you will come to the unlicensed dashboard screen. Here you will plug in your Tyk licence key and click “Activate key”.
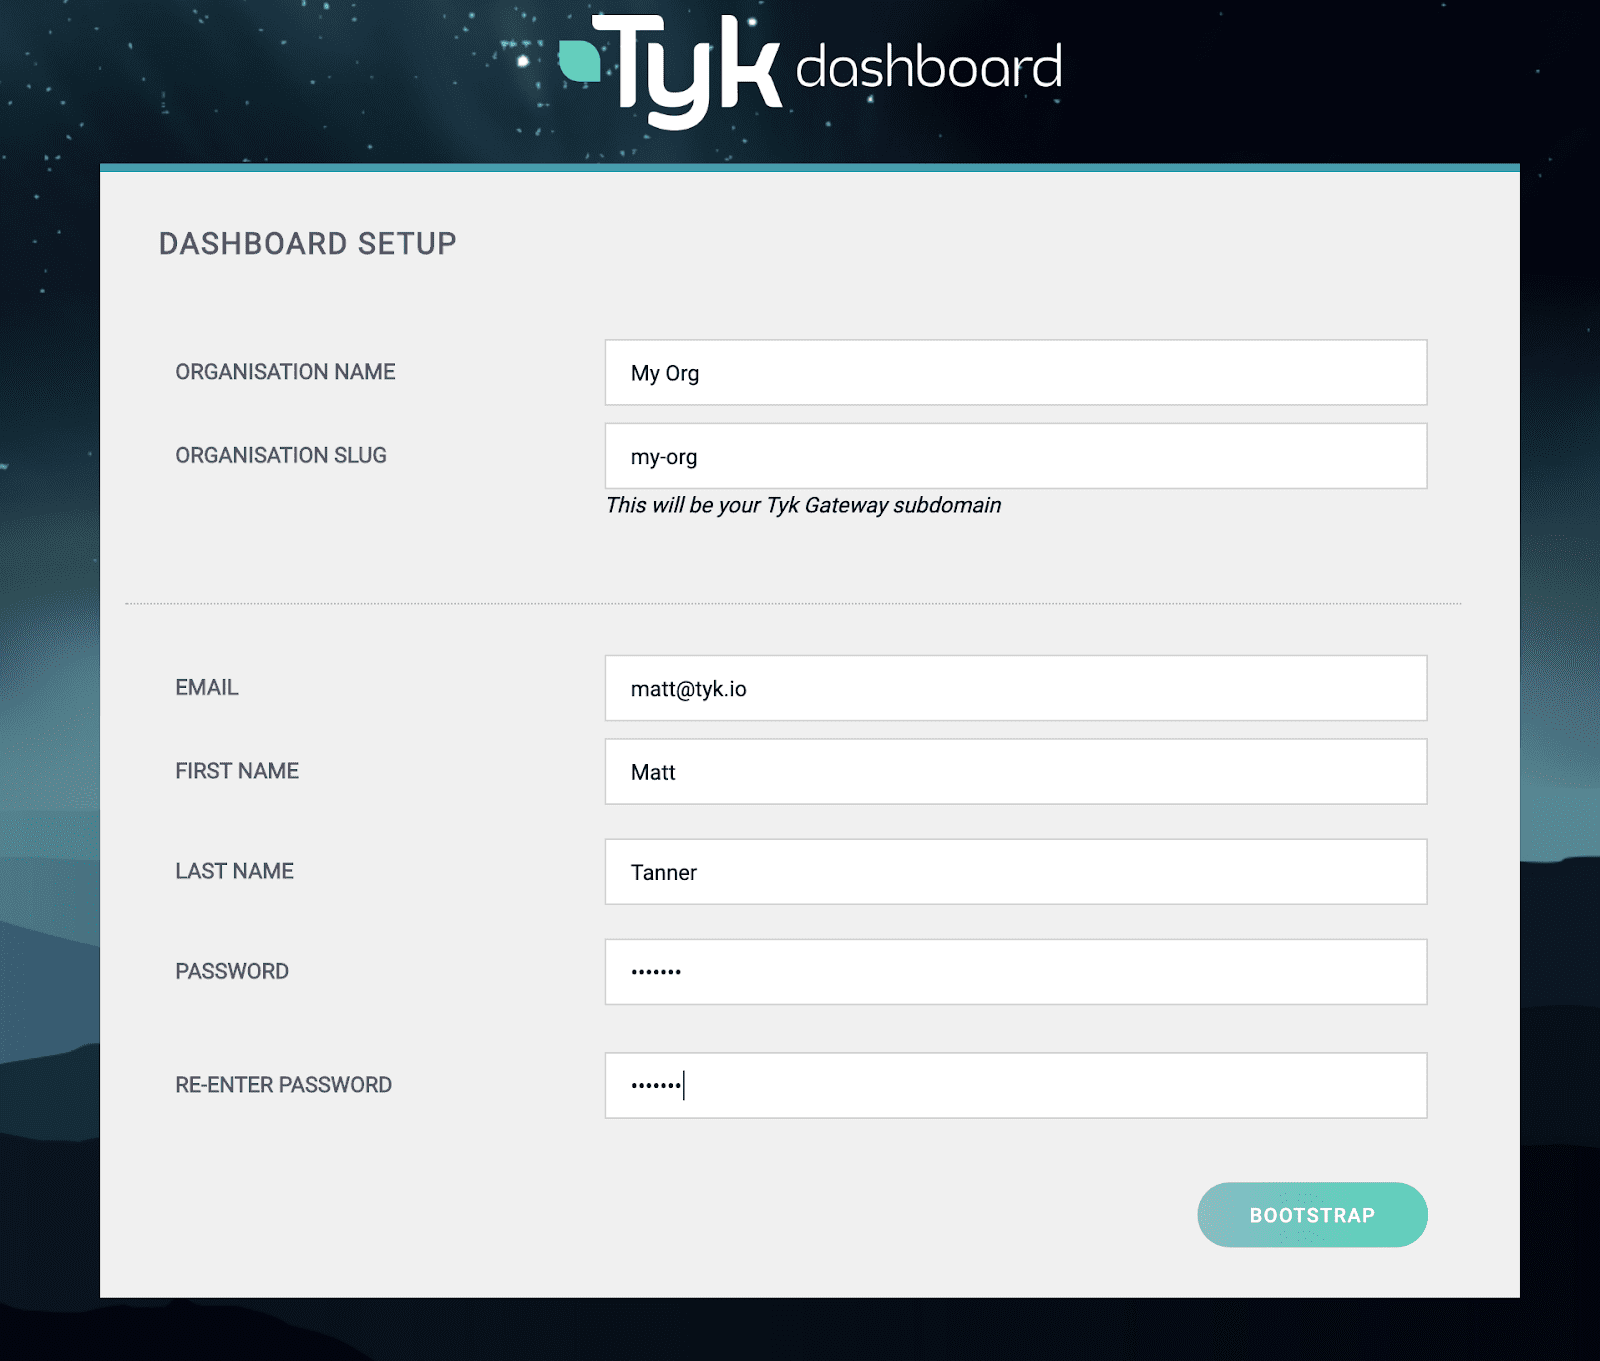
After this, we should see the Dashboard Setup screen. Here you’ll want to fill out your details and click “BOOTSTRAP”.
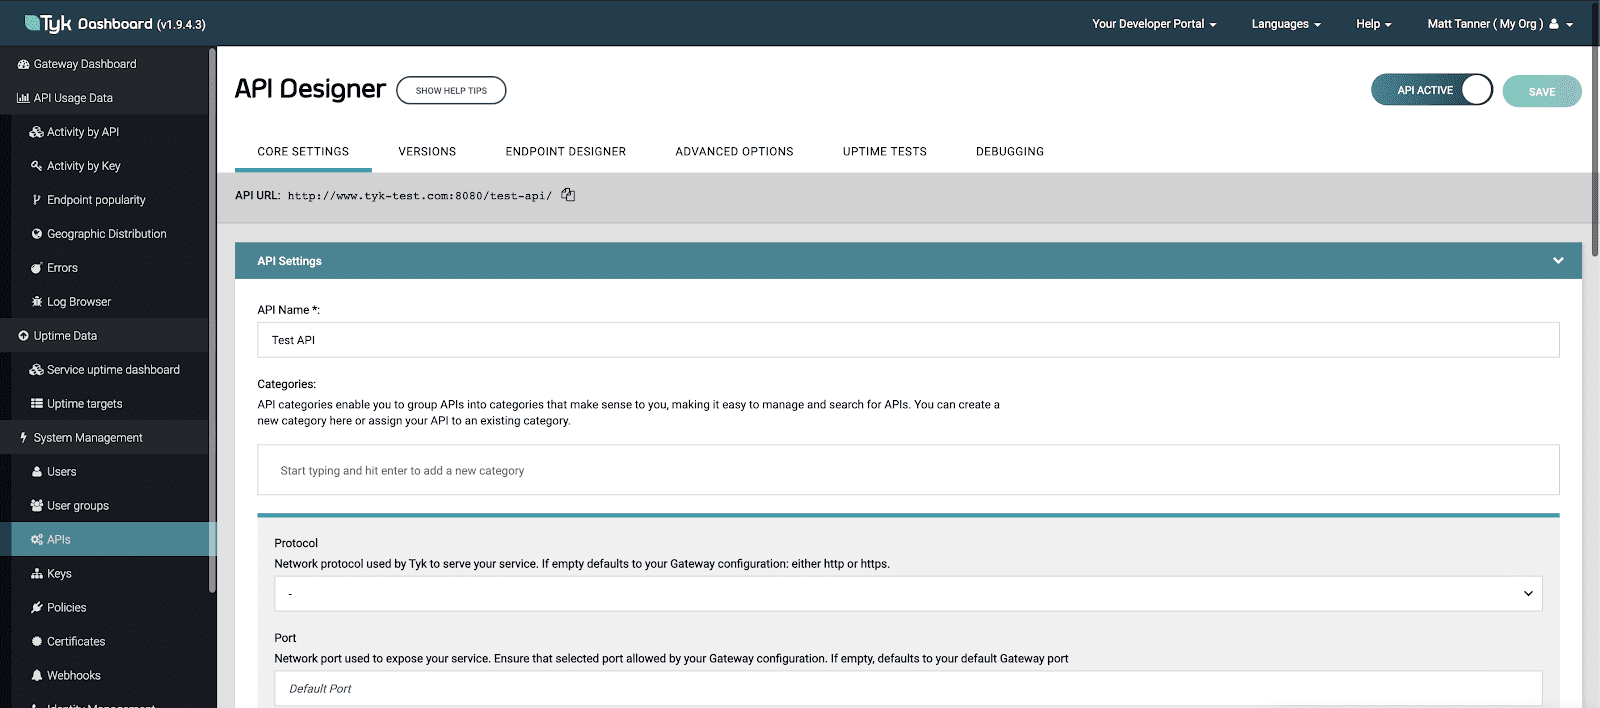
After the bootstrap has completed, you then are taken into your new Tyk installation. From here navigate to the API Designer screen by clicking the APIs menu item on the left of the screen.
Once in the API Designer screen, under API Name enter “Test API”
Scrolling down on the screen, we will put our Target URL as “https://httpbin.org”
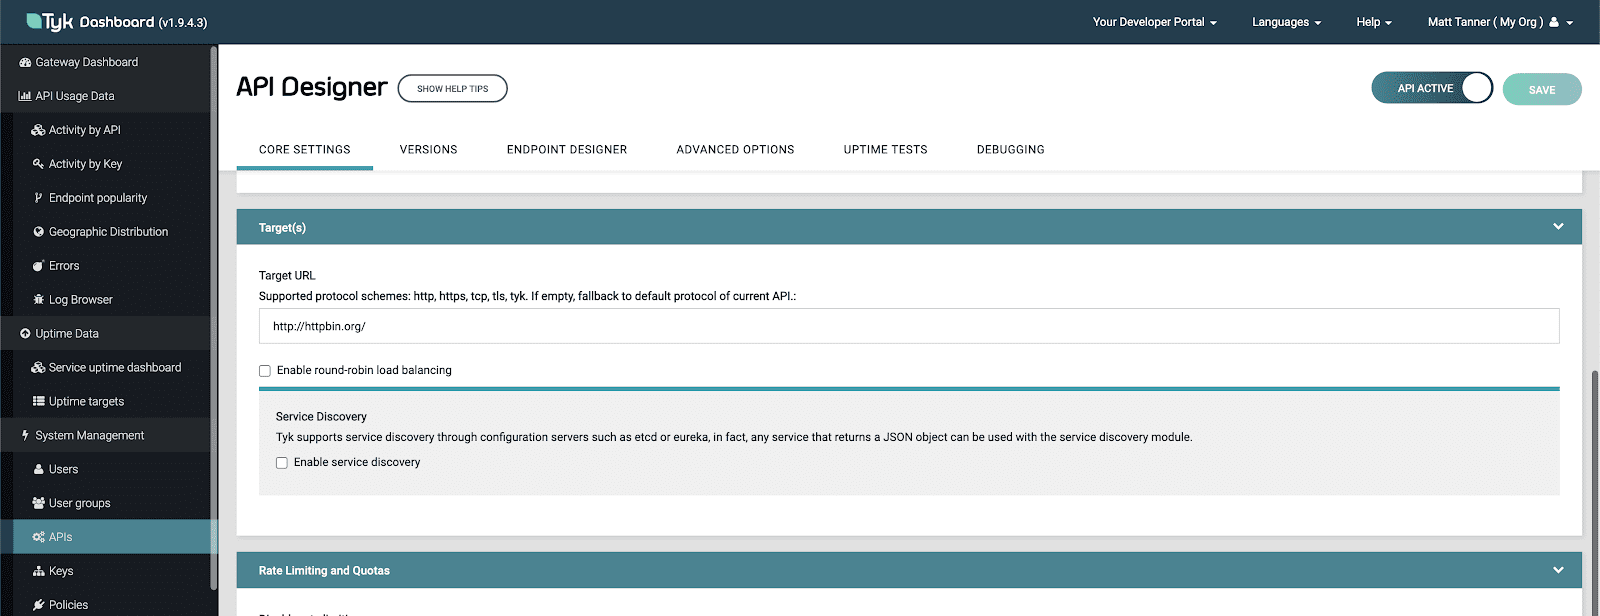
And lastly, at the bottom of the page under Authentication mode, select “Open (Keyless)” as your authentication type. Then click SAVE to create the endpoint.

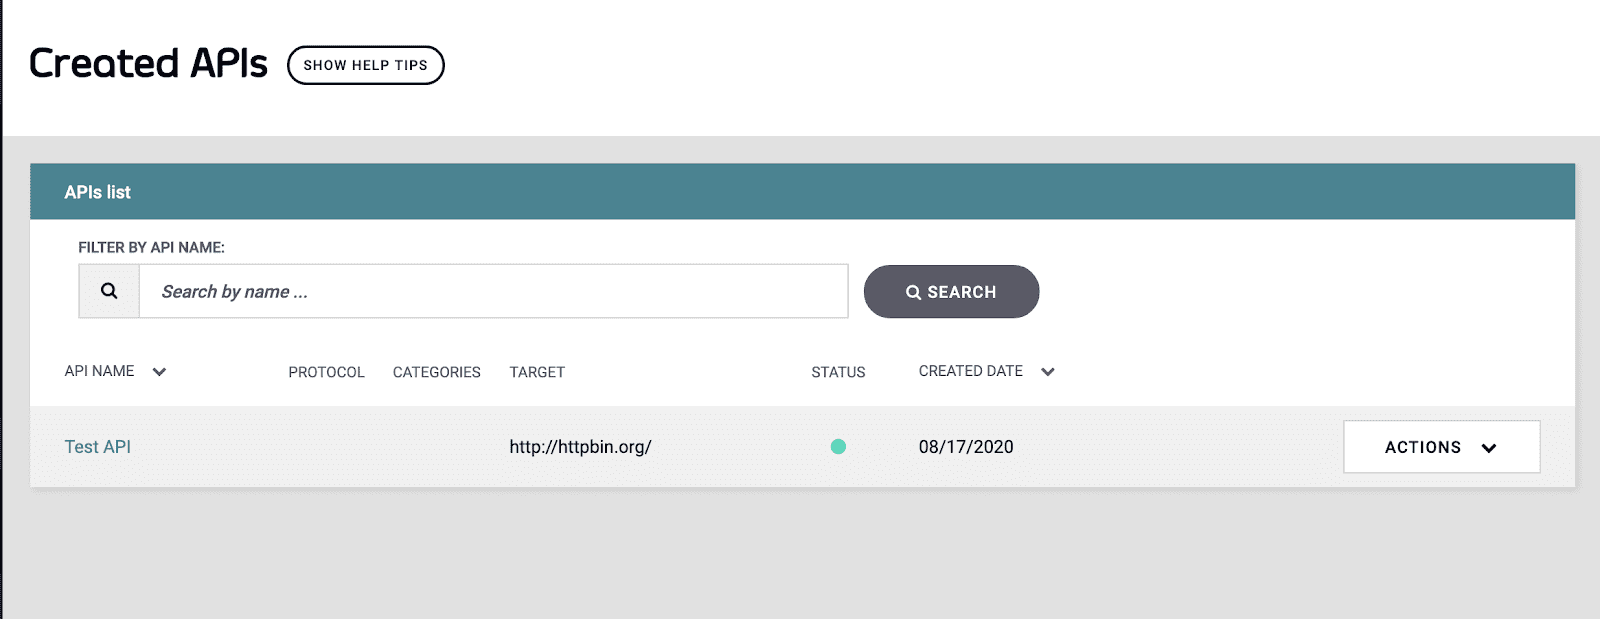
Now you should see your first endpoint created under the Created APIs list on the next screen.
Step 4: Test the endpoint!
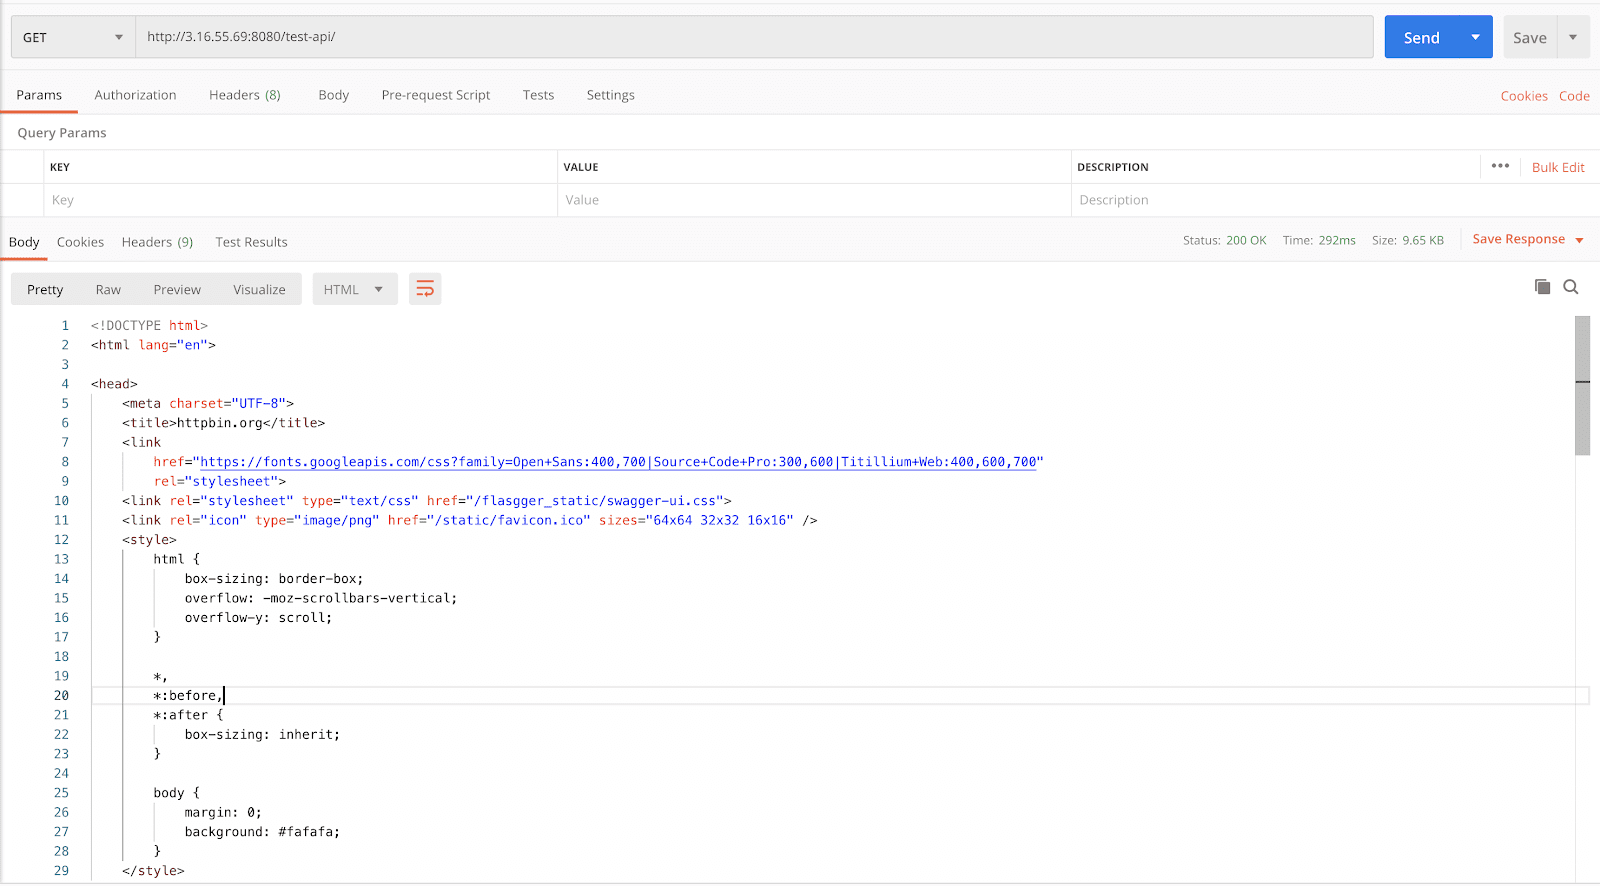
Lastly, using Postman (or another one of your favourite tools) we will send a GET request to our endpoint. The URL we will hit will be: https://<your GCP instance public IP>:8080/test-api
Your results should look like this:
And there you have it, a new instance of Tyk up and running on GCP and Debian. Now you can easily start to discover some of the great features that Tyk has to offer!