Tutorial: Add an API and Swagger based Docs to a Portal Catalog
You can use the Tyk Dashboard to create a portal that allows developers to access the APIs you create.Prerequisites for a portal catalog entry:
-
An API configured and live on your Tyk Gateway
-
The API must be Closed (i.e. it must use either Auth Token or Basic Auth security mechanisms)
-
A security policy configured to grant access to the API
If you intend to use the developer portal, you need to configure it with a different hostname to your dashboard. The developer portal cannot be accessed via an IP address.
Without these prerequisites, you may get a 404 error when trying to access the portal.
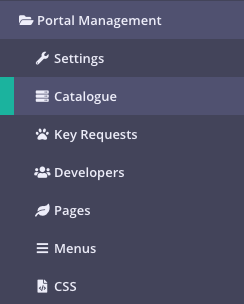
Step 1: Select “Catalog” from the “Portal Management” section
Step 2: Click ADD NEW API
This page displays all of the catalog entries you have defined, whether they have documentation attached and whether they are active on the portal or not. Click ADD NEW API.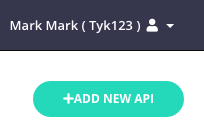
Add API Details
Step 3: Show the API
By default your entry will be published automatically to your Portal Catalog. Deselect this option to not publish it.Step 4: Set a Public API Name and associate a security policy
When publishing an API with Tyk, you are not publishing a single API, but instead you are publishing access to a group of APIs. The reason for this is to ensure that it is possible to compose and bundle APIs that are managed into APIs that are published. Tyk treats these as separate, so the thing that is published on the portal is not the same as the actual API being managed by Tyk, one is a logical managed API and the other (the published catalog version) is a facade.Since API policies allow the bundling of access control lists of multiple APIs, it is actually this that you are granting access to. Any developer that signs up for this API, will be granted a bearer token that has this policy as a baseline template, or as a “plan”.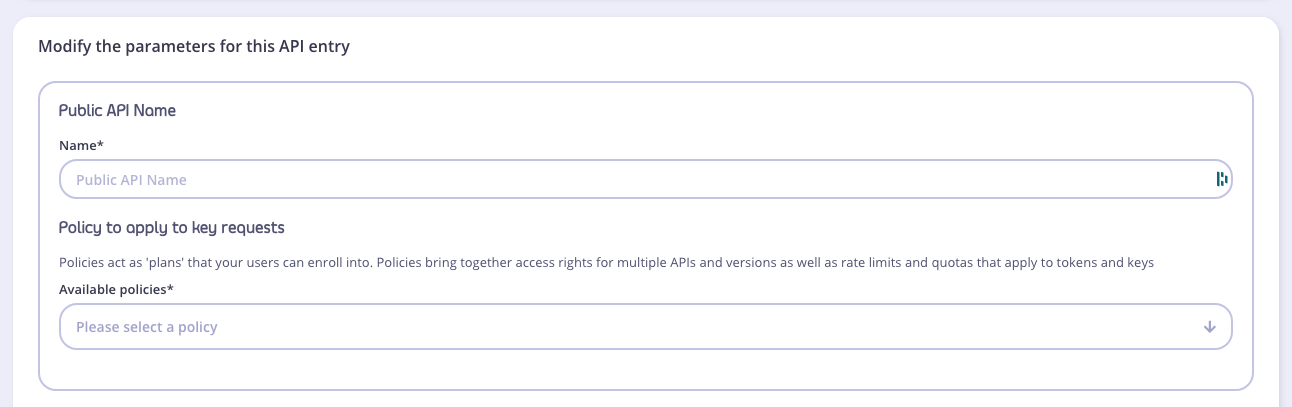 Please note:
- You will only see security policies for valid APIs in the Public API Name drop-down list for the policies
- The Available policies selected must be “closed” (see Prerequisites)
Step 5: Add a description
All catalog entries can have a description. You can use Markdown formatting in these fields: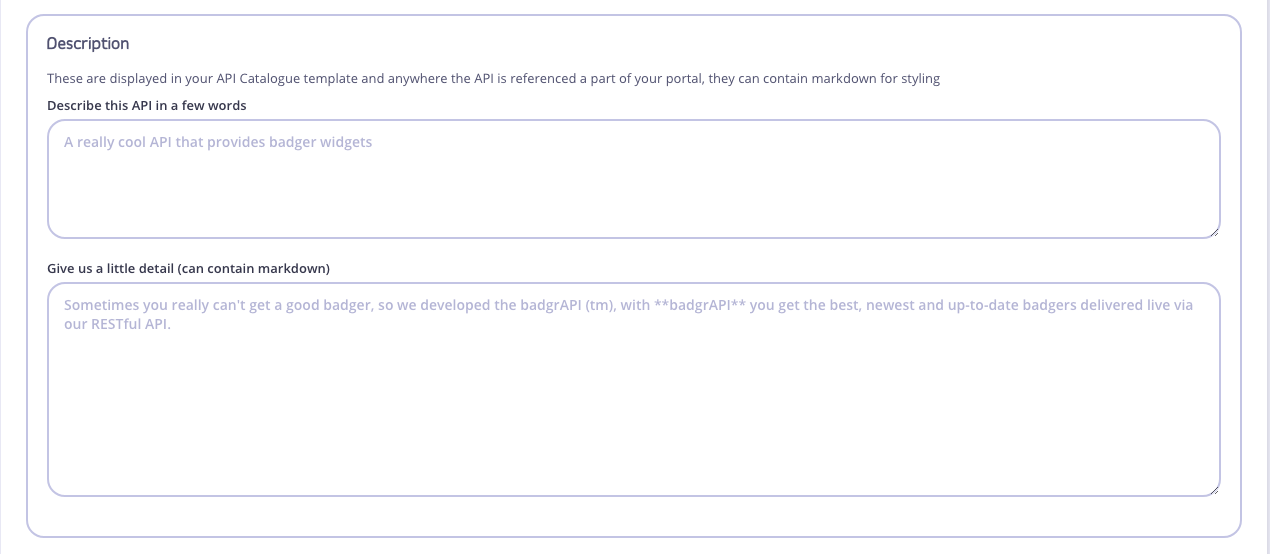 You can also add an email address if you require notification that an API subscription has been submitted or granted. We’ll leave that blank for this tutorial. The same goes for Custom Fields. See Custom Portal for an example of a Custom Field implementation.
Step 6: Attach Documentation
You can add import documentation in the following formats:
-
From a Swagger JSON file (OpenAPI 2.0 and 3.0 are supported)
-
From a Swagger URL
-
From API Blueprint
Support for API Blueprint is being deprecated. See Importing APIs for more details.
You can add your documentation before or after saving your API.Settings Options
We are not going to do anything with these options for this tutorial. For more information:
- See OAuth Clients for details of using OAuth with your catalog entry.
- See Portal Customizationfor details about redirection of key requests and developer signup customization.
Step 6: Save the API
To save the API, click SAVE.Step 7: Take a look
You can now visit your portal to see the API catalog entry. Select Open Your Portal from the Your Developer Portal menu: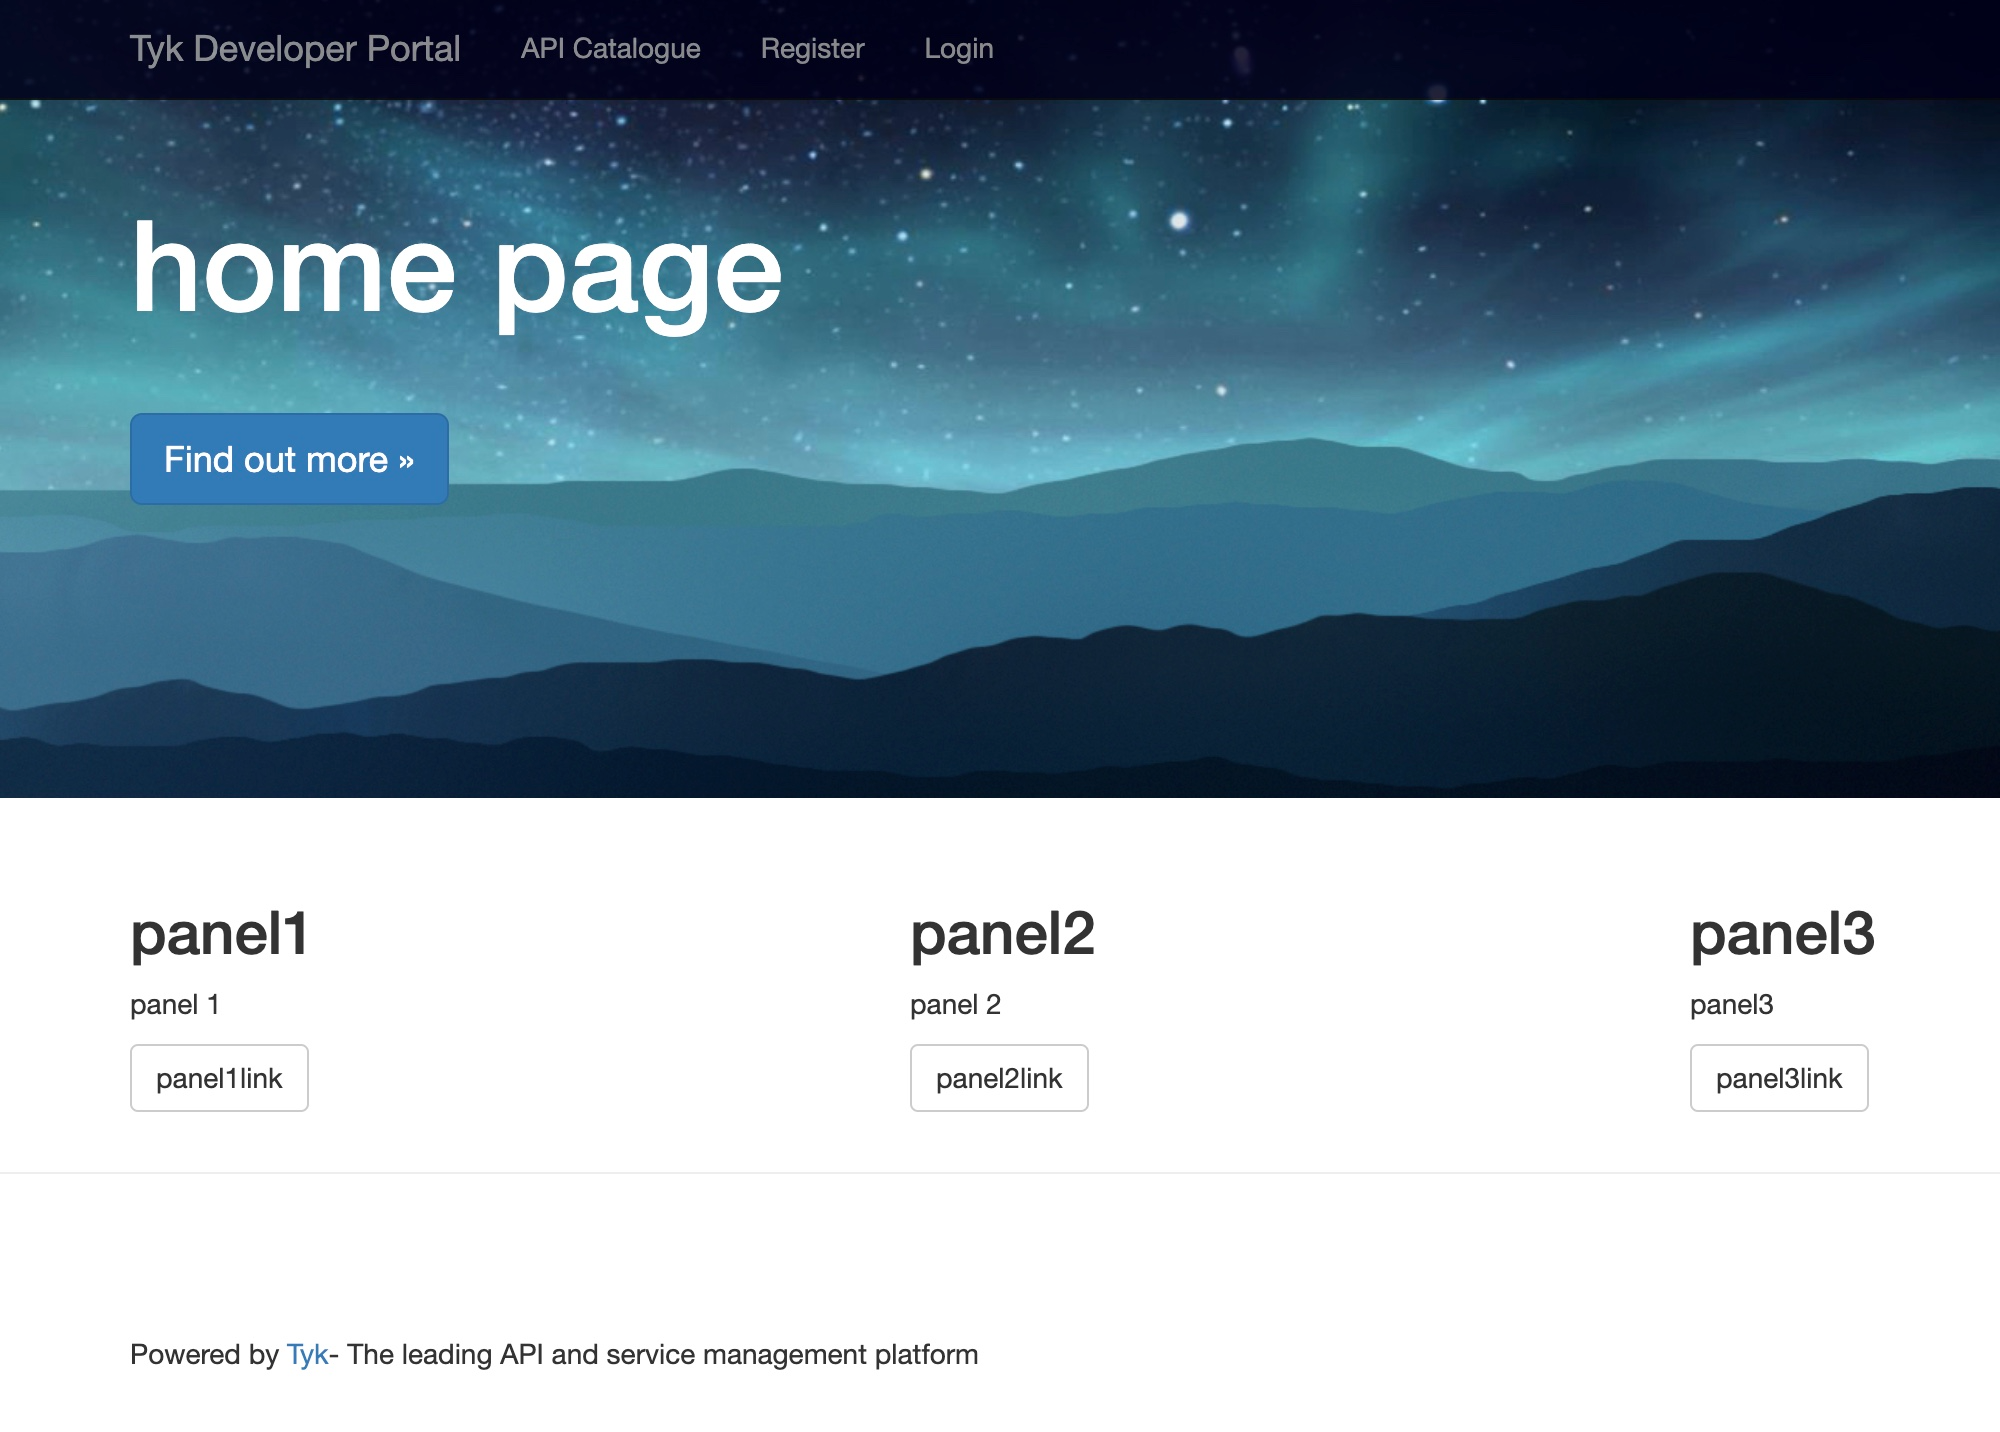
Add an API and Swagger based Docs to your Portal Catalog
Managing your portal is a key part of Tyk Dashboard, this tutorial helps you get started working with your portal and publishing your APIs to your developers.Step 1: Create your first API
If you haven’t already, create an API in your Dashboard, your Portal will not be visible or live until you have at least one live API being managed by Tyk. This tutorial assumes you’ve created your first API using the Dashboard and called it “Test API”.Step 2: Initialise all your portal settings
By default there is no Portal configured, you need to configure from the Portal settings screen, even if you don’t want to change the options. Select Portal Management > Settings. The notification view on the right will say that no configuration was detected so it was created. Your Portal won’t work without this step, so it’s important.That’s it, now you need to create the home page.Step 3: Create the home page
 From Pages” click Add Page and give it any title you like (e.g. “Welcome”) and select Default Home Page Template from the Page Type drop-down list. Ensure Check to make this page the home page is selected.Save the page.
Step 4: Create a Policy
When you publish an API to the Portal, Tyk actually publishes a way for developers to enroll in a policy, not the API directly.
Why?: A Tyk policy can grant access to multiple APIs (so long as they all use the same access control mechanism) and set a template for any keys that are generated for the portal for things such as Tags, Rate Limits and Quotas. Another useful feature with a policy and the Portal is that when the key is generated for a developer, it can be made to expire after a certain time - e.g. a trial key.
To create a policy for your test API, select New Policy from the Policies menu. You can leave all the defaults as is, except:
- Name the policy Default
- Select Test API API in the Access Rights > Add access rule drop-down list and click Add so it appears in the list
- Select Activate Policy
Save the policy by clicking Create.Step 5: Publish the API to the Portal
The API that you defined earlier is active and will work as you’ve seen in the previous tutorial, this time we want to use the Portal to generate a token for a named developer.Not all APIs are visible to the Portal, only the ones you tell it about, so from the Catalog menu, select Add API then:
- Select your Default policy
- Fill in the description fields
- Ensure the Enable this API is selected
Save the API Catalog entry by clicking Update.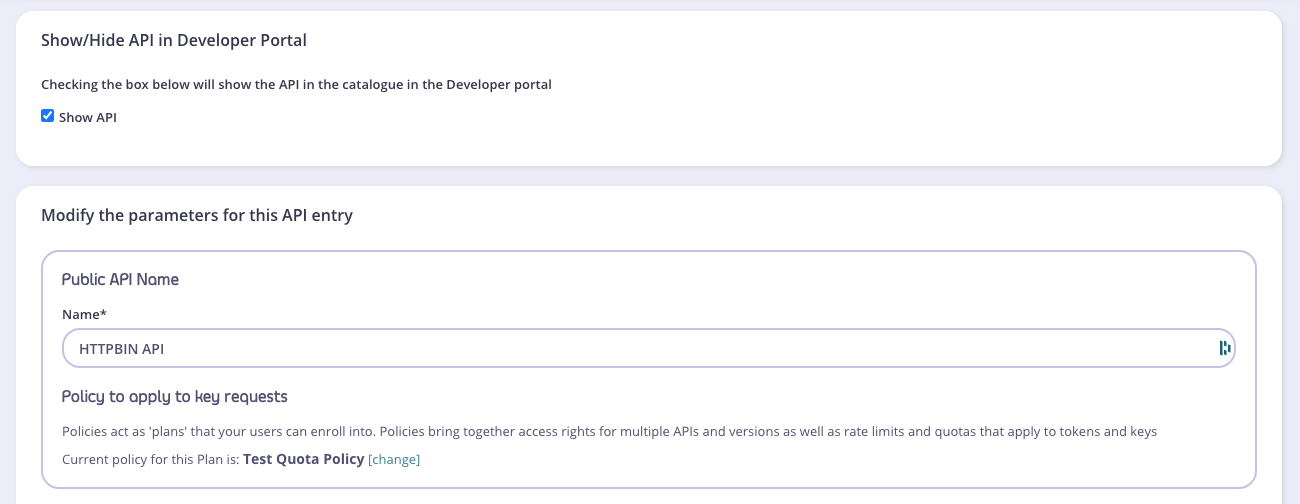
Step 6: Set your Portal hostname
When you set up your Tyk installation, you will have had to, at some point, define a hostname for your portal, either as a /etc/hosts file entry, or as a qualified hostname such as portal.domain.com. To make the Dashboard aware of this, from the Your Developer portal > Set Your Portal Domain enter the hostname and wait for Tyk to refresh.This process will bind your organizations’ Portal to the domain name you’ve specified.You need to restart your Dashboard service for the changes to take effect.
Step 7: Log into your Portal
Select Open Your Portal from the Your Developer Portal menu drop-down, a new page will open with your new (most likely empty) Portal home page.If you are using Docker, do not use the drop-down, instead, use the domain name you defined when you set up the forward proxy for your domains - if you followed the Docker setup guide, your Dashboard will be on: www.tyk-portal-test.com.