Introduction
API Consumers are the developers and organizations who discover, access, and use your APIs through the Developer Portal. They represent your API program’s audience - the very people for whom you’re creating and exposing APIs. Effectively managing API Consumers is essential for creating a thriving API ecosystem that delivers value to both your organization and your developer community. Unlike API Owners who administer the portal, API Consumers interact with your APIs through the Live Portal. They browse catalogs, request access to API Products, create applications, and use the credentials you provide to integrate with your services. The Developer Portal gives you powerful tools to organize these users, control their access, and facilitate collaboration among development teams. This guide focuses on managing individual API Consumer accounts. For information on organizing users into groups, see the Organisation and Teams page.API Consumer Roles
The Developer Portal supports two distinct roles for API Consumers:API Consumer Admin
API Consumer Admins have elevated privileges within their Organisation, allowing them to:- Manage Team membership for all users in their Organisation
- Invite new users to their Organisation (if enabled)
- View all users within their Organisation
- Access and manage shared Developer Apps
Team Member
Team Members have standard access to discover and use APIs:- Browse available API catalogs
- Request access to API Products
- Create and manage their own Developer Apps
- View API documentation
- Monitor their own API usage
- Collaborate with other members of their Teams
Creating API Consumer Accounts
The Developer Portal offers multiple ways to create API Consumer accounts, giving you flexibility in how you onboard developers to your API ecosystem. Whether you’re manually creating accounts for key partners, enabling team leaders to invite their colleagues, or allowing open self-registration, the Portal provides workflows to support your specific needs. Each creation method assigns appropriate default settings and permissions based on who initiates the process and where it takes place. Understanding these differences helps you choose the right approach for different user onboarding scenarios.Email Configuration RequiredBefore using invitation workflows or self-registration, you must configure the Developer Portal’s email settings. The portal relies on email communication to:
Without proper email configuration, these features will not function correctly. API Owners can still manually create accounts through the Admin Portal without email configuration, but you’ll need to communicate credentials to users through alternative channels.
- Send invitations to new API Consumer team members
- Deliver registration confirmation links
- Provide password reset functionality
Without proper email configuration, these features will not function correctly. API Owners can still manually create accounts through the Admin Portal without email configuration, but you’ll need to communicate credentials to users through alternative channels.
Manual Creation by API Owners
API Owners can create API Consumer Admin users from the Admin Portal as follows:- Log in to the Admin Portal as an API Owner
- Navigate to API Consumers > Users
- Select Add new user
-
Enter the required information:
- Email address (used for login)
- First and last name
- Organisation and Team assignments
- (optionally) Select the checkbox to activate the user immediately
- Initial Password
- (optionally) Select the checkbox to force the user to reset their password on first log in
- Select Save changes
-
If you did not set an initial password in step 4, you will need to use the “Send Invite” action to send an email to the new user with registration instructions
All API Consumer users created from the Admin Portal are granted the API Consumer Admin role.
Invitation by API Consumer Admins
API Consumer Admin users can invite additional API Consumer users from the Live Portal as follows:- Log in to the Live Portal as an API Consumer Admin
- Navigate to My Dashboard > Users
- Select Invite new user
- Complete their first name, last name and email address
- Select the role that will be assigned to the new user (Admin or Team Member)
- Select which Team(s) to which the new user should be assigned
- Select Send invite
-
Invitee receives an email with registration instructions
All API Consumer users invited from the Live Portal will be inactive until they complete the registration process. They will be assigned to the same Organisation as the Admin that invited them, as the Admin’s scope is limited to their Organisation.
Self-Registration
If enabled, developers can register themselves with your Live Portal:- Visit the Live Portal
- Select Register
-
Complete the registration form
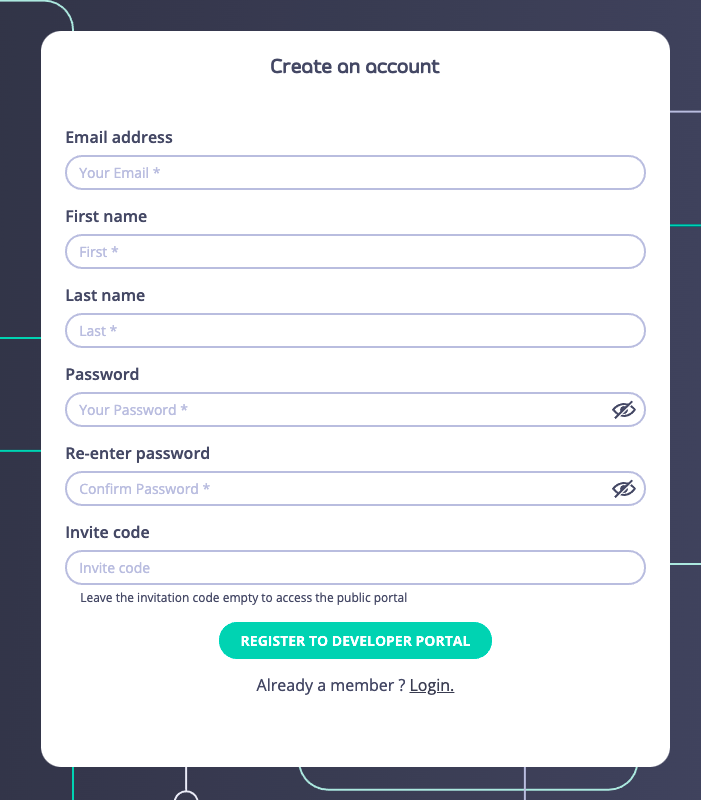
- Select Register to developer portal
-
If the portal requires an admin to approve registration requests, they will see the following message.
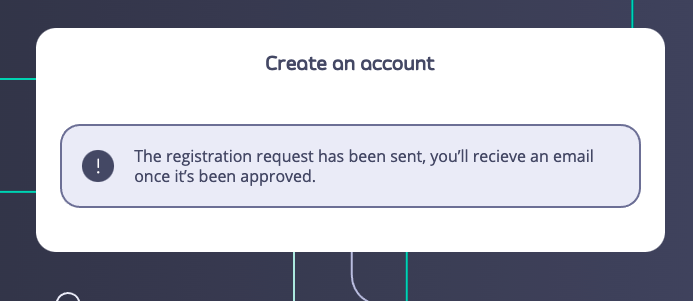
-
If the portal is configured for automatic approval, they will see a message that indicates that their account is active:
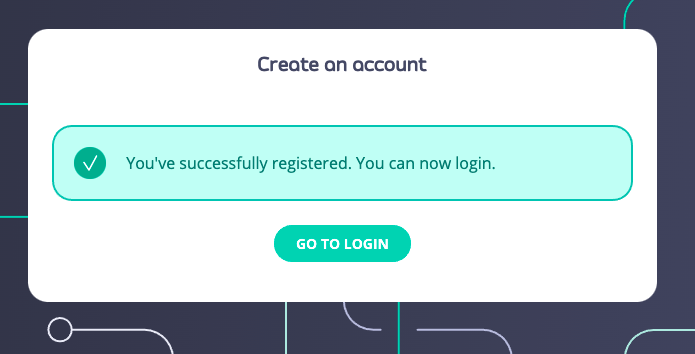 All API Consumer users created from the Self-Registration route are granted the API Consumer Team Member role.
Invite Codes
Invite codes can be used to simplify user onboarding. Using invite codes, users will be directly assigned to a Team and Organisation, giving them the same access rights as this team. For example you can use invite codes to:- Run a promotional campaign like a Hackathon and give access to specific plans to the users.
- Onboard a partner company into the portal by giving them this code for anyone registering.
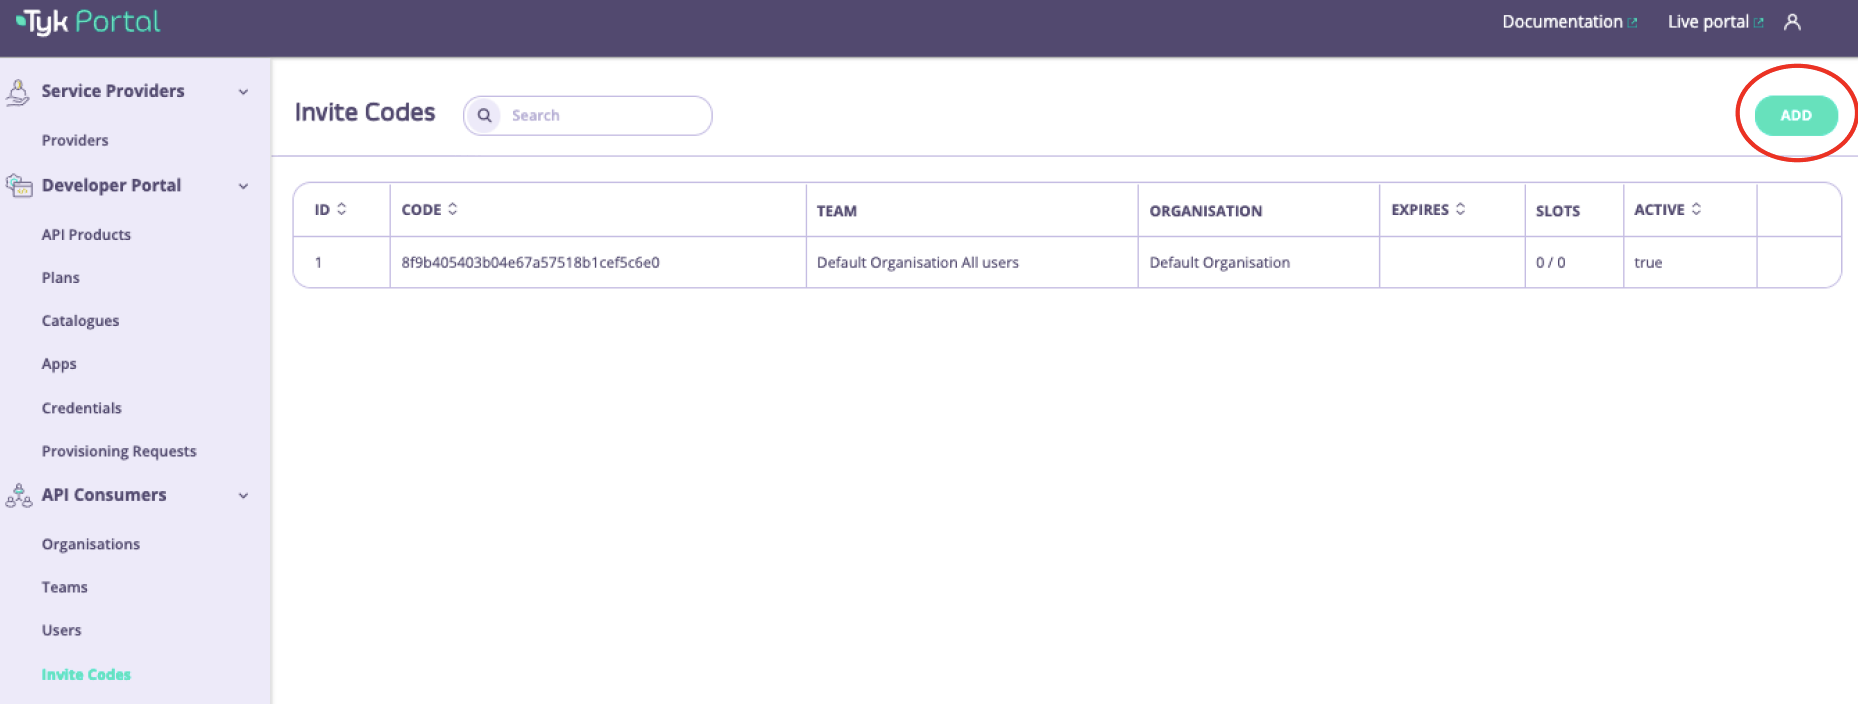
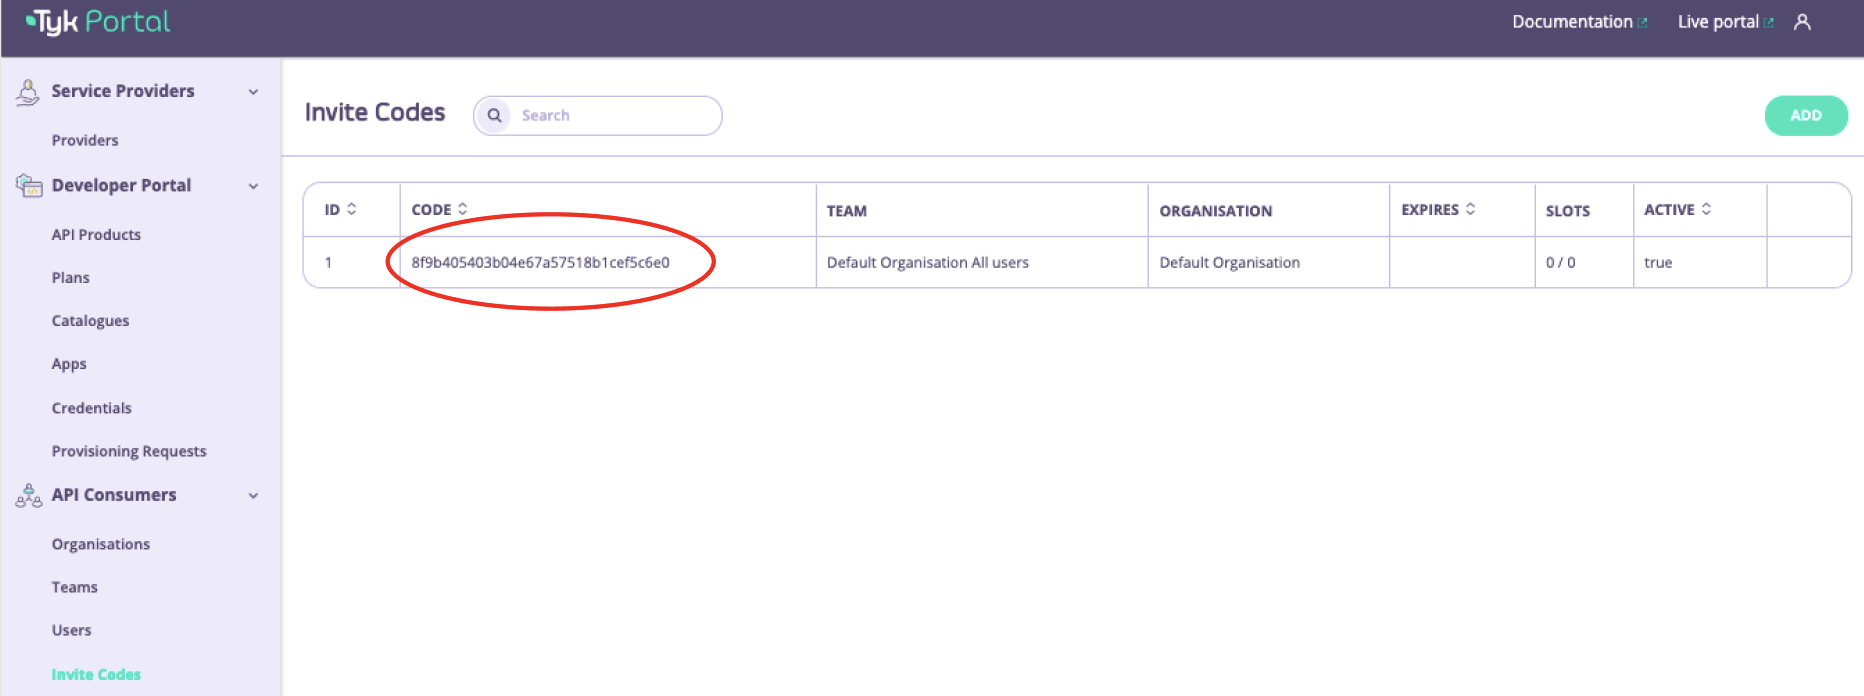
- Log in to the Admin Portal as an API Owner
- Navigate to API Consumers > Invite Codes
-
Select Add new invite code
-
Configure the invite code:
- Quota: this is the maximum number of times the code can be used to create Developer accounts
- Expiry date: this is the date on which the code will expire and no more users can sign up to it
- Active: if this option is selected, this means the code is avaliable for use and developers can start using it
- All Teams: select the Team to which any new users that register with this invite code will be added
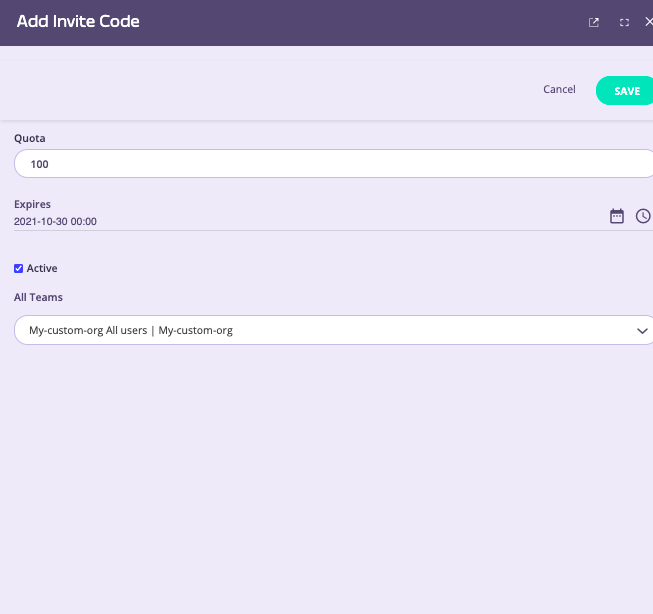
- Select Save changes
-
Copy and share the code for the Team that you wish the developer to join
Logging In
If you are not using Single Sign On then to access the Developer Portal, simply navigate to the Portal UI in your browser and select the Log in button.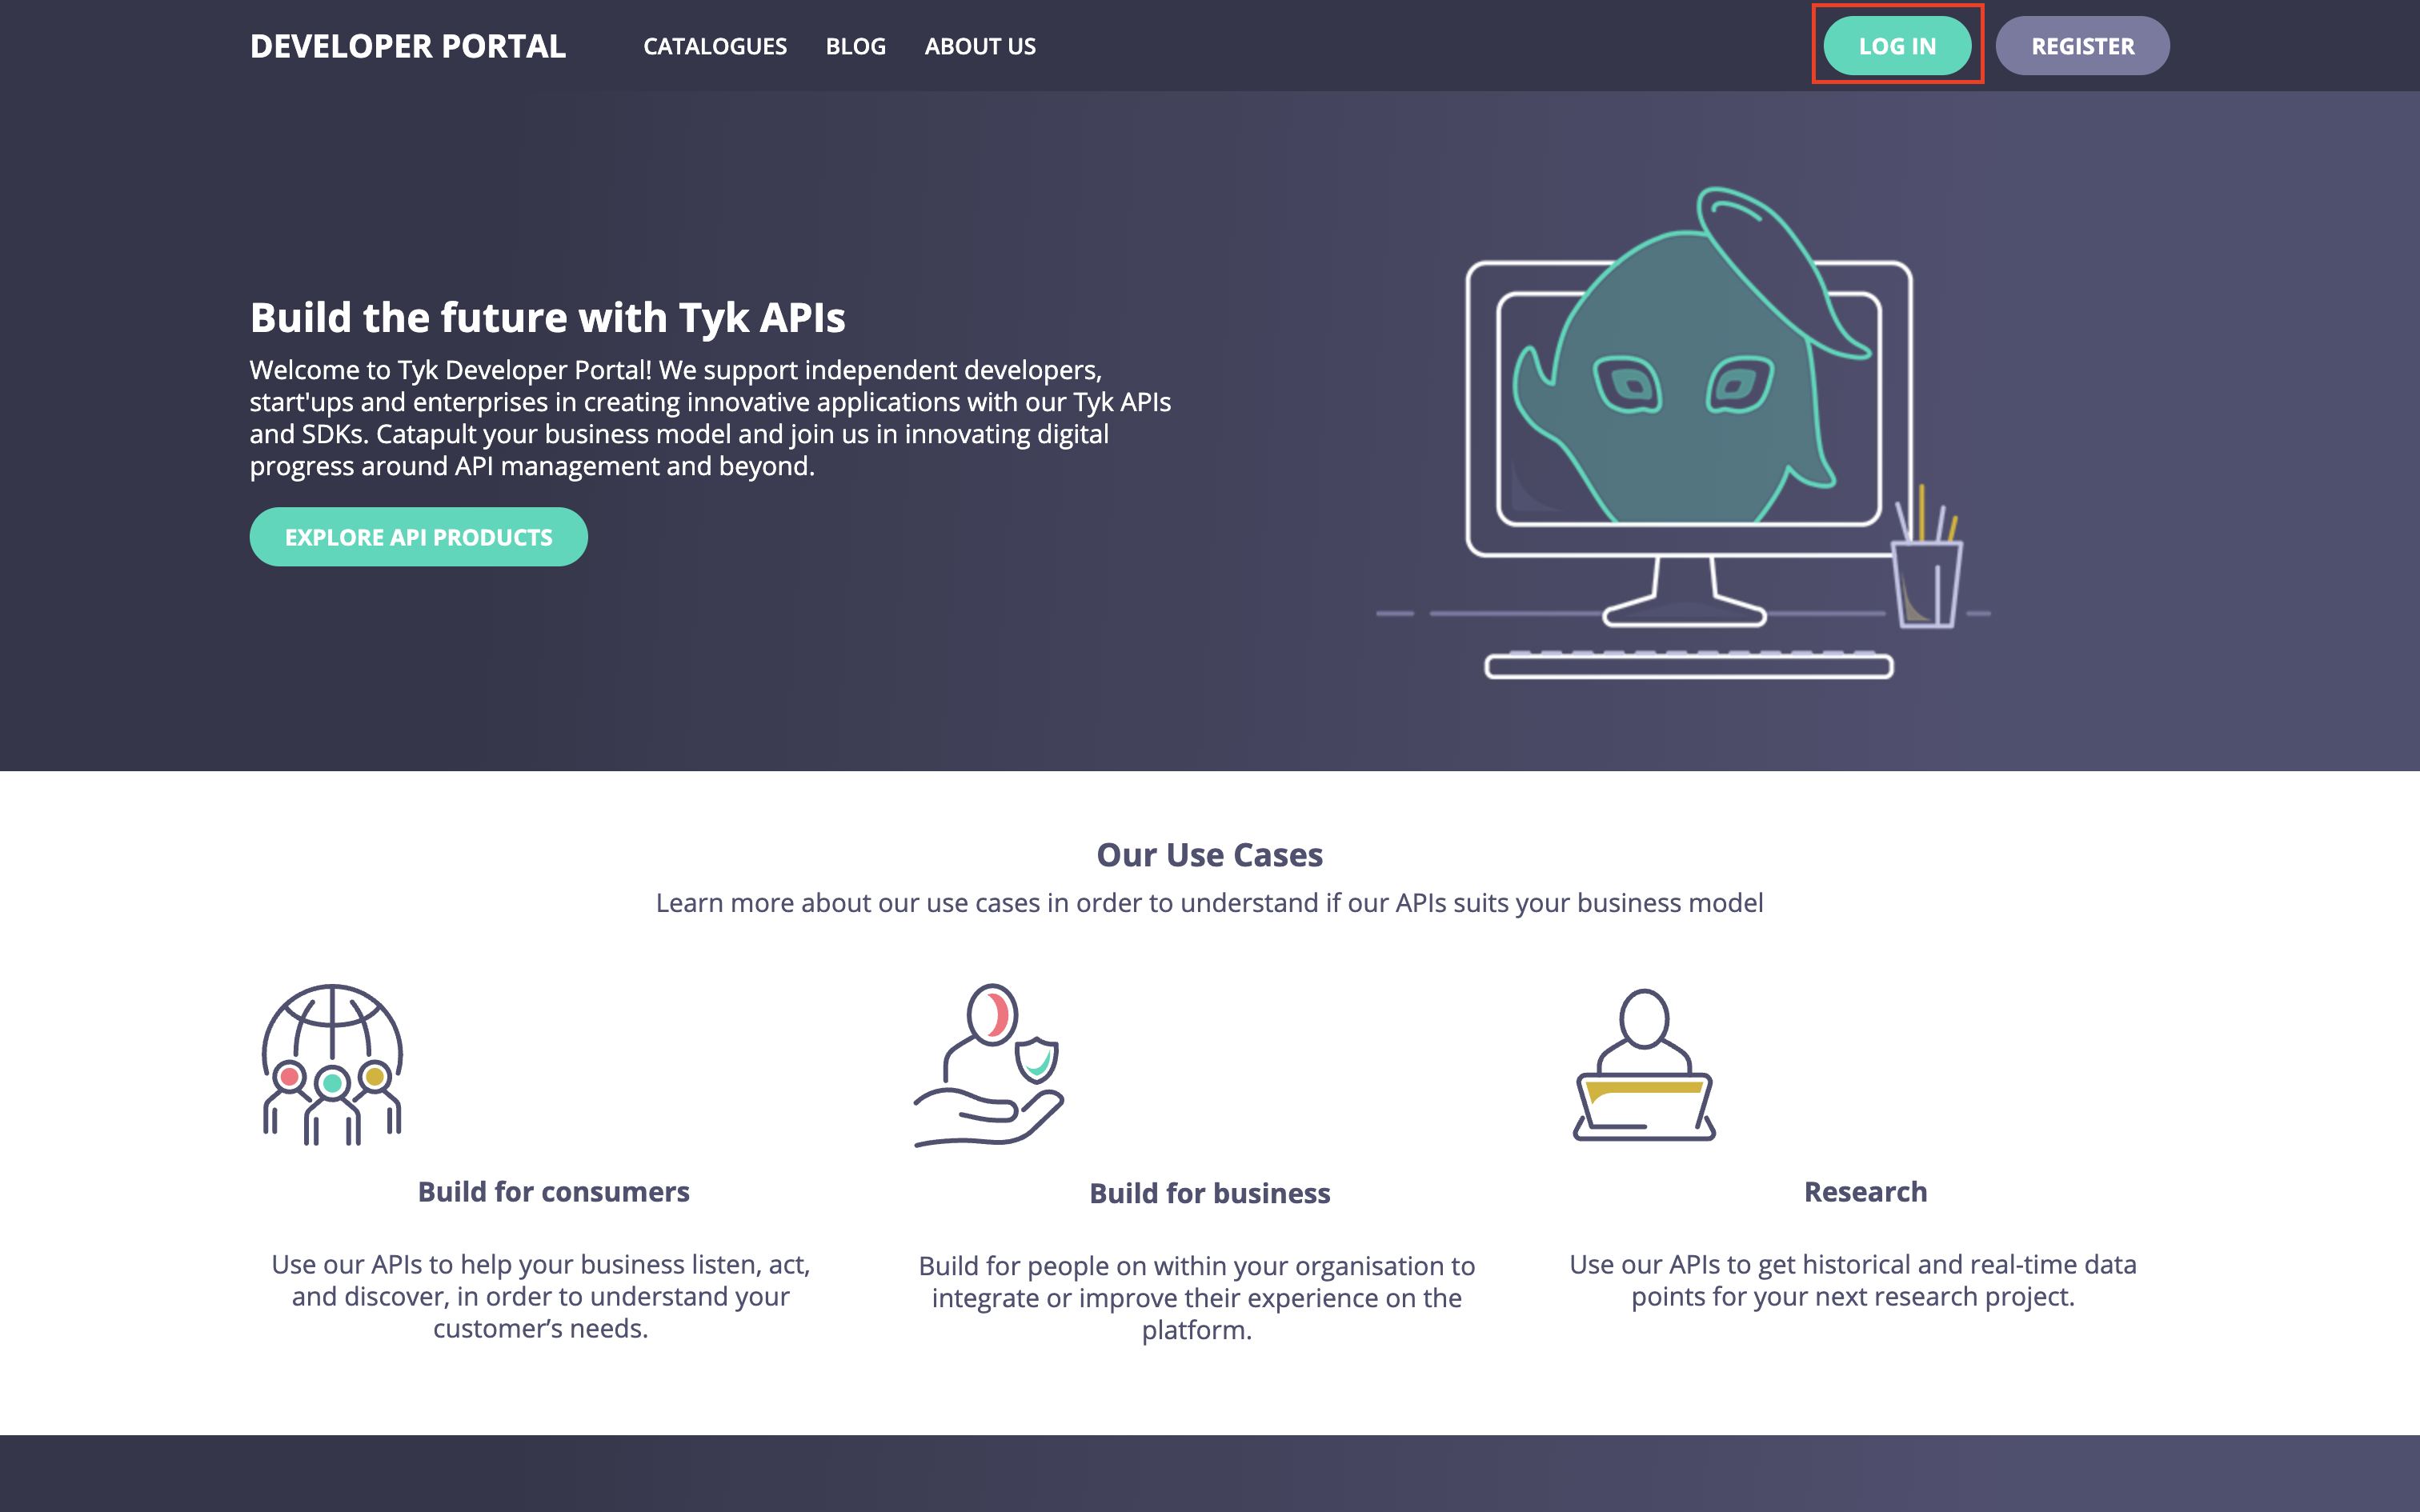
- Note that any Public Catalogs and Blogs will be available to you prior to logging in.
-
You will be taken to the log in page (
/auth/password/login) where you enter the email address and password registered for your account.If you are using Single Sign-On (SSO) then Tyk does not provide a log in page and you should create one.
Managing API Consumer Users in the Live Portal
In the Live Portal, users have visibility of Team Members and Admins with whom they share one or more Teams via the Users section of My Dashboard (accessed from the dropdown menu).- Team Members will see a read-only list of users (both active and inactive)
- Admins will can edit the details of other users, including switching between Team Member and Admin role, and reassignment to other teams
- Admins can only control membership of teams of which they are also members
- Admins cannot change the active status of other API Consumer users
- Navigate to My Dashboard > Users
- Use search to find the user you wish to view or manage (if required)
- Select Edit from the three dot menu, or Edit details after selecting the user’s name
- Edit information as needed:
- Personal details
- Team assignments
- Role (Admin or Team Member)
- Select Save changes
- The user’s permissions and details will update immediately
Access Control and Visibility
User Visibility Rules
API Consumers can only see other users who are in the same Teams. This ensures appropriate privacy and separation between different developer groups.Content Access
A user’s Organisation and Team memberships determine:- Which Catalogs they can access
- Which API Products they can see
- Which documentation they can view
Developer App Visibility
Access to Developer Apps is controlled by the App’s visibility setting:- Personal: Only visible to the owner (typically the creator) of the app
- Team: Visible to all members of the creator’s Teams
- Organisation: Visible to all members of the creator’s Organisation
Best Practices for API Consumer Management
- Clear Onboarding: Create a streamlined onboarding process for new developers
- Role Assignment: Grant Admin privileges selectively to trusted partners
- Regular Audits: Periodically review user accounts and deactivate or delete users as appropriate
- Documentation: Provide clear documentation about user roles and capabilities
- Support Channels: Establish clear support channels for API Consumers
- Feedback Loop: Create mechanisms for API Consumers to provide feedback
Troubleshooting Common Issues
- Login Problems: Verify email address, check account status
- Missing API Products: Check Team membership and Catalog visibility
- Permission Denied: Verify user role and Team assignments
- Cannot See Other Users: Confirm both users are in the same Team