Import an OAS API
Table Of Contents
Introduction
Tyk supports importing OAS API Definitions (In JSON format, version 3.0.x) from either the Tyk Gateway or the Dashboard. Below are the commands you can use to get Tyk to generate the respective Tyk OAS API definitions for OAS API Defintions.
We have a video that walks you through the process of importing an OAS API.
Open Source
Note
For the following tutorials, use your Tyk Gateway API secret stored in your tyk.conf file, the property is called secret, you will need to use this as a header called x-tyk-authorization to make calls to the Gateway API
| Property | Description |
|---|---|
| Resource URL | /tyk/apis/oas/import |
| Method | POST |
| Type | None |
| Body | Tyk OAS API Definition |
| Param | None |
Import an OAS API definition
Firstly, call the Tyk Gateway import endpoint with an OAS API definition.
Note
For the Tyk Gateway, the default{port} is 8080.
curl --location --request POST 'http://{your-tyk-host}:{port}/tyk/apis/oas/import' \
--header 'x-tyk-authorization: {your-secret}' \
--header 'Content-Type: text/plain' \
--data-raw '{
  "openapi": "3.0.3",
  "info": {
    "title": "Petstore",
    "version": "1.0.0"
  },
  "servers": [
    {
      "url": "https://petstore.swagger.io/v2"
    }
  ],
  "components": {},
  "paths": {
    "/pet": {
      "post": {
        "operationId": "addPet",
        "responses": {
          "405": {
            "description": "Invalid input"
          }
        },
        "summary": "Add a new pet to the store",
        "tags": [
          "pet"
        ]
      }
    }
  }
}'
Check request response
If the command succeeds, you will see the following response, where key contains the newly created API ID:
{
    "key": {api-id},
    "status": "ok",
    "action": "added"
}
What you have done is send a Tyk OAS API definition to the Tyk /apis/oas endpoint. Tyk OAS API definitions are discussed in detail in the OAS API section. These objects encapsulate all of the settings for an OAS API within your Tyk Gateway.
Restart or hot reload your Gateway
Once you have created your API, you will need to either restart the Tyk Gateway, or issue a hot reload command with the following curl command:
curl -H "x-tyk-authorization: {your-secret}" -s http://{your-tyk-host}:{port}/tyk/reload/group
Check your OAS API definition
Go to the /apps folder of your Tyk Gateway installation (by default in /var/tyk-gateway), and check your newly created Tyk OAS API Definition. You’ll notice that a x-tyk-api-gateway section has been added to the initial OAS API Definition, containing the minimum amount of information in order to have a valid Tyk OAS API Definition.
One thing to notice is that Tyk took the value from the servers section of the OAS API Definition and used as a value for the upstream URL.
{
  ...
  "servers": [
    {
      "url": "http://{your-tyk-host}:{port}/"
    },
    {
      "url": "https://petstore.swagger.io/v2"
    }
  ],
  ...
  "x-tyk-api-gateway": {
    "info": {
      "id": {api-id},
      "name": "Petstore",
      "state": {
        "active": true
      }
    },
    "upstream": {
      "url": "https://petstore.swagger.io/v2"
    },
    "server": {
      "listenPath": {
        "value": "/",
        "strip": true
      }
    }
  }
}
What did you just do?
You created a fully functional Tyk OAS API Definition by providing an OAS API Definition. Tyk worked out and added all the information it needed so you didn’t have to! Let’s see next how you can enable extra capabilities of the Gateway when importing an OAS API Definition.
Tutorial: Create An OAS definition with an upstream URL and listen path
| Property | Description |
|---|---|
| Resource URL | /tyk/apis/oas/import |
| Method | POST |
| Type | None |
| Body | Tyk OAS API Definition |
| Param | upstreamURL listenPath |
Import an OAS API definition
When calling the import Gateway API, you can provide a custom upstreamURL and listenPath values for your Tyk OAS API Definition:
- the listen path will default to
/iflistenPathis not provided - If
upstreamURLis not provided, the upstream URL defaults to the URL in the firstserverssection.
curl --location --request POST 'http://{your-tyk-host}:{port}/tyk/apis/oas/import?upstreamURL=http://tyk.io&listenPath=/oas-api' \
--header 'x-tyk-authorization: {your-secret}' \
--header 'Content-Type: text/plain' \
--data-raw '{
  "openapi": "3.0.3",
  "info": {
    "title": "Petstore",
    "version": "1.0.0"
  },
  "servers": [
    {
      "url": "https://petstore.swagger.io/v2"
    }
  ],
  "components": {},
  "paths": {
    "/pet": {
      "post": {
        "operationId": "addPet",
        "responses": {
          "405": {
            "description": "Invalid input"
          }
        },
        "summary": "Add a new pet to the store",
        "tags": [
          "pet"
        ]
      }
    }
  }
}'
Check request response
If the command succeeds, you will see the following response, where key contains the newly created API ID:
{
    "key": {api-id},
    "status": "ok",
    "action": "added"
}
Restart or hot reload your Gateway
Once you have created your API, you will need to either restart the Tyk Gateway, or issue a hot reload command with the following curl command:
curl -H "x-tyk-authorization: {your-secret}" -s http://{your-tyk-host}:{port}/tyk/reload/group
Check your OAS API definition
Go to the /apps folder of your Tyk Gateway installation (by default in /var/tyk-gateway) and check the newly created Tyk OAS API Definition. You’ll see that now Tyk doesn’t read the upstream URL from the server section of the OAS API Definition and that under the x-tyk-api-gateway section the upstream.url value points now to http://tyk.io and the server.listenPath. value has the /oas-api/ value, which are the values that you passed as query parameters.
{
  ...
  "servers": [
    {
      "url": "http://127.0.0.1:8181/oas-api"
    },
    {
      "url": "https://petstore.swagger.io/v2"
    }
  ],
  "x-tyk-api-gateway": {
    "info": {
      "id": {api-id},
      "name": "Petstore",
      "state": {
        "active": true
      }
    },
    "upstream": {
      "url": "http://tyk.io"
    },
    "server": {
      "listenPath": {
        "value": "/oas-api",
        "strip": true
      }
    }
  }
}
What did you just do?
You created a fully functional Tyk OAS API Definition by providing an OAS API Definition and passed a custom upstream URL and listen path.
Create a protected API when importing an OAS API definition
| Property | Description |
|---|---|
| Resource URL | /tyk/apis/oas/import |
| Method | POST |
| Type | None |
| Body | Tyk OAS API Definition |
| Param | authentication |
Tutorial: Import OAS API Defintion with defined security scheme
You’re going to send an OAS API Definition to the Tyk Gateway import API, but this time, your OAS definition contains information about how this API should be protected. In order for Tyk to read and apply the security policies we need to pass the authentication=true query parameter when calling the import endpoint.
curl --location --request POST 'http://{your-tyk-host}:{port}/tyk/apis/oas/import?authentication=true' \
--header 'x-tyk-authorization: {your-secret}' \
--header 'Content-Type: text/plain' \
--data-raw '{
  "openapi": "3.0.3",
  "info": {
    "title": "Petstore",
    "version": "1.0.0"
  },
  "servers": [
    {
      "url": "https://petstore.swagger.io/v2"
    }
  ],
  "components": {
    "securitySchemes": {
      "api_key": {
        "in": "header",
        "name": "api_key",
        "type": "apiKey"
      }
    }
  },
  "paths": {
    "/pet": {
      "post": {
        "operationId": "addPet",
        "responses": {
          "405": {
            "description": "Invalid input"
          }
        },
        "summary": "Add a new pet to the store",
        "tags": [
          "pet"
        ]
      }
    }
  },
  "basic-config-and-security/security": [
    {
      "api_key": []
    }
  ]
}'
Check request response
If the command succeeds, you will see the following response, where key contains the newly created API ID:
{
    "key": {api-id},
    "status": "ok",
    "action": "added"
}
Restart or hot reload your Gateway
Once you have created your API, you will need to either restart the Tyk Gateway, or issue a hot reload command with the following curl command:
curl -H "x-tyk-authorization: {your-secret}" -s http://{your-tyk-host}:{port}/tyk/reload/group
Check your OAS API definition
Go to the /apps folder of your Tyk Gateway installation (by default in /var/tyk-gateway) and check the newly created Tyk OAS API Definition. You’ll notice that within the x-tyk-api-gateway.server section, the authentication section has been configured, and for the api_key securityScheme, that was provided together with the OAS API Definition, the Authentication Token authentication mechanism has been applied.
For more information on how Tyk extracts data about security defined from the OAS API definition, and what authentication mechanisms can be configured, see Authentication.
{
  ...
  "x-tyk-api-gateway": {
    ...
    "server": {
      ...
      "authentication": {
        "enabled": true,
        "securitySchemes": {
          "api_key": {
            "enabled": true,
            "header": {
              "enabled": true
            }
          }
        }
      }
    }
  }
}
What did you just do?
You created a fully protected Tyk OAS API Definition by providing a OAS API Definition that has security information included within it.
Tutorial: Create an API and explicitly allow access to paths
| Property | Description |
|---|---|
| Resource URL | /tyk/apis/oas/import |
| Method | POST |
| Type | None |
| Body | Tyk OAS API Definition |
| Param | allowList |
Import OAS API Defintion with defined security scheme
You’re going to send an OAS API Definition to the Tyk Gateway import API, but this time you want to explicitly allow access just to paths defined in the OAS API Definition. For that we need to pass along with the request to the import API, the allowList=true query parameter.
curl --location --request POST 'http://{your-tyk-host}:{port}/tyk/apis/oas/import?allowList=true' \
--header 'x-tyk-authorization: {your-secret}' \
--header 'Content-Type: text/plain' \
--data-raw '{
  "openapi": "3.0.3",
  "info": {
    "title": "Petstore",
    "version": "1.0.0"
  },
  "servers": [
    {
      "url": "https://petstore.swagger.io/v2"
    }
  ],
  "components": {
    "schemas": {
      "Pet": {
        "properties": {
          "category": {
            "example": "dog",
            "type": "string"
          },
          "id": {
            "example": 10,
            "format": "int64",
            "type": "integer"
          },
          "name": {
            "example": "doggie",
            "type": "string"
          },
          "status": {
            "description": "pet status in the store",
            "enum": [
              "available",
              "pending",
              "sold"
            ],
            "type": "string"
          }
        },
        "required": [
          "name"
        ],
        "type": "object"
      }
    }
  },
  "paths": {
    "/pet": {
      "post": {
        "operationId": "addPet",
        "requestBody": {
          "content": {
            "application/json": {
              "schema": {
                "$ref": "#/components/schemas/Pet"
              }
            }
          },
          "description": "Update an existent pet in the store",
          "required": true
        },
        "responses": {
          "405": {
            "description": "Invalid input"
          }
        },
        "summary": "Add a new pet to the store",
        "tags": [
          "pet"
        ]
      }
    }
  }
}'
Check request response
If the command succeeds, you will see the following response, where key contains the newly created API ID:
{
    "key": {api-id},
    "status": "ok",
    "action": "added"
}
Restart or hot reload your Gateway
Once you have created your API, you will need to either restart the Tyk Gateway, or issue a hot reload command with the following curl command:
curl -H "x-tyk-authorization: {your-secret}" -s http://{your-tyk-host}:{port}/tyk/reload/group
Check your OAS API definition
Go to the /apps folder of your Tyk Gateway installation (by default in /var/tyk-gateway),and check the newly created Tyk OAS API Definition. You’ll notice that within the x-tyk-api-gateway.middleware section, the operations section has been configured, and that for each operationId of the path, the allowList middleware has been configured.
{
  ...
  "x-tyk-api-gateway": {
    ...
    "middleware": {
      "operations": {
        "addPet": {
          "allow": {
            "enabled": true
          }
        }
      }
    }
  }
}
What did you just do?
You created an API that which tells your Tyk Gateway to allow access just on the paths that are defined in your OAS API Definition.
Tutorial: Create an API that validates the request payload
| Property | Description |
|---|---|
| Resource URL | /tyk/apis/oas/import |
| Method | POST |
| Type | None |
| Body | Tyk OAS API Definition |
| Param | validateRequest |
Import OAS API Defintion with defined security scheme
You’re going to send an OAS API Definition to the Tyk Gateway import API, which also contains describes the /pet and POST how the payload should look like. In order for Tyk to read and validate any request agains the JSON schema provided, validateRequest=true query parameter is needed when calling the import endpoint.
curl --location --request POST 'http://{your-tyk-host}:{port}/tyk/apis/oas/import?validateRequest=true' \
--header 'x-tyk-authorization: {your-secret}' \
--header 'Content-Type: text/plain' \
--data-raw '{
  "openapi": "3.0.3",
  "info": {
    "title": "Petstore",
    "version": "1.0.0"
  },
  "servers": [
    {
      "url": "https://petstore.swagger.io/v2"
    }
  ],
  "components": {
    "schemas": {
      "Pet": {
        "properties": {
          "category": {
            "example": "dog",
            "type": "string"
          },
          "id": {
            "example": 10,
            "format": "int64",
            "type": "integer"
          },
          "name": {
            "example": "doggie",
            "type": "string"
          },
          "status": {
            "description": "pet status in the store",
            "enum": [
              "available",
              "pending",
              "sold"
            ],
            "type": "string"
          }
        },
        "required": [
          "name"
        ],
        "type": "object"
      }
    }
  },
  "paths": {
    "/pet": {
      "post": {
        "operationId": "addPet",
        "requestBody": {
          "content": {
            "application/json": {
              "schema": {
                "$ref": "#/components/schemas/Pet"
              }
            }
          },
          "description": "Update an existent pet in the store",
          "required": true
        },
        "responses": {
          "405": {
            "description": "Invalid input"
          }
        },
        "summary": "Add a new pet to the store",
        "tags": [
          "pet"
        ]
      }
    }
  }
}'
Check request response
If the command succeeds, you will see the following response, where key contains the newly created API ID:
{
    "key": {api-id},
    "status": "ok",
    "action": "added"
}
Restart or hot reload your Gateway
Once you have created your API, you will need to either restart the Tyk Gateway, or issue a hot reload command with the following curl command:
curl -H "x-tyk-authorization: {your-secret}" -s http://{your-tyk-host}:{port}/tyk/reload/group
Check your OAS API definition
Go to /apps folder of your Tyk Gateway installation (by default in /var/tyk-gateway),and check the newly created Tyk OAS API Definition. You’ll notice that within the x-tyk-api-gateway.middleware section, the operations section has been configured, and that for each operationId of the path, the validateRequest middleware has been configured.
For more information on how Tyk builds the middleware operations structure in order to configure middleware, see Paths.
{
  ...
  "x-tyk-api-gateway": {
    ...
    "middleware": {
      "operations": {
        "addPet": {
          "validateRequest": {
            "enabled": true,
            "errorResponseCode": 422
          }
        }
      }
    }
  }
}
What did you just do?
You created an API which tells your Tyk Gateway to validate any incoming request against the JSON schema defined in the OAS API Definition.
Tutorial: Using the Tyk Dashboard
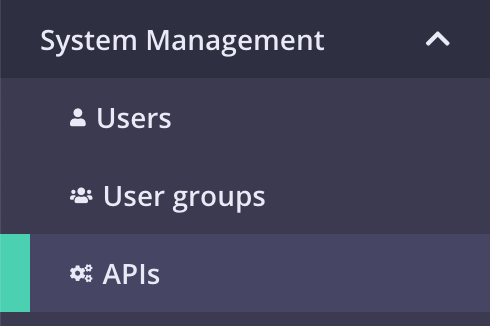
- Select “APIs” from the “System Management” section
- If you have a fresh Tyk installation with no other APIs added, click Import API:
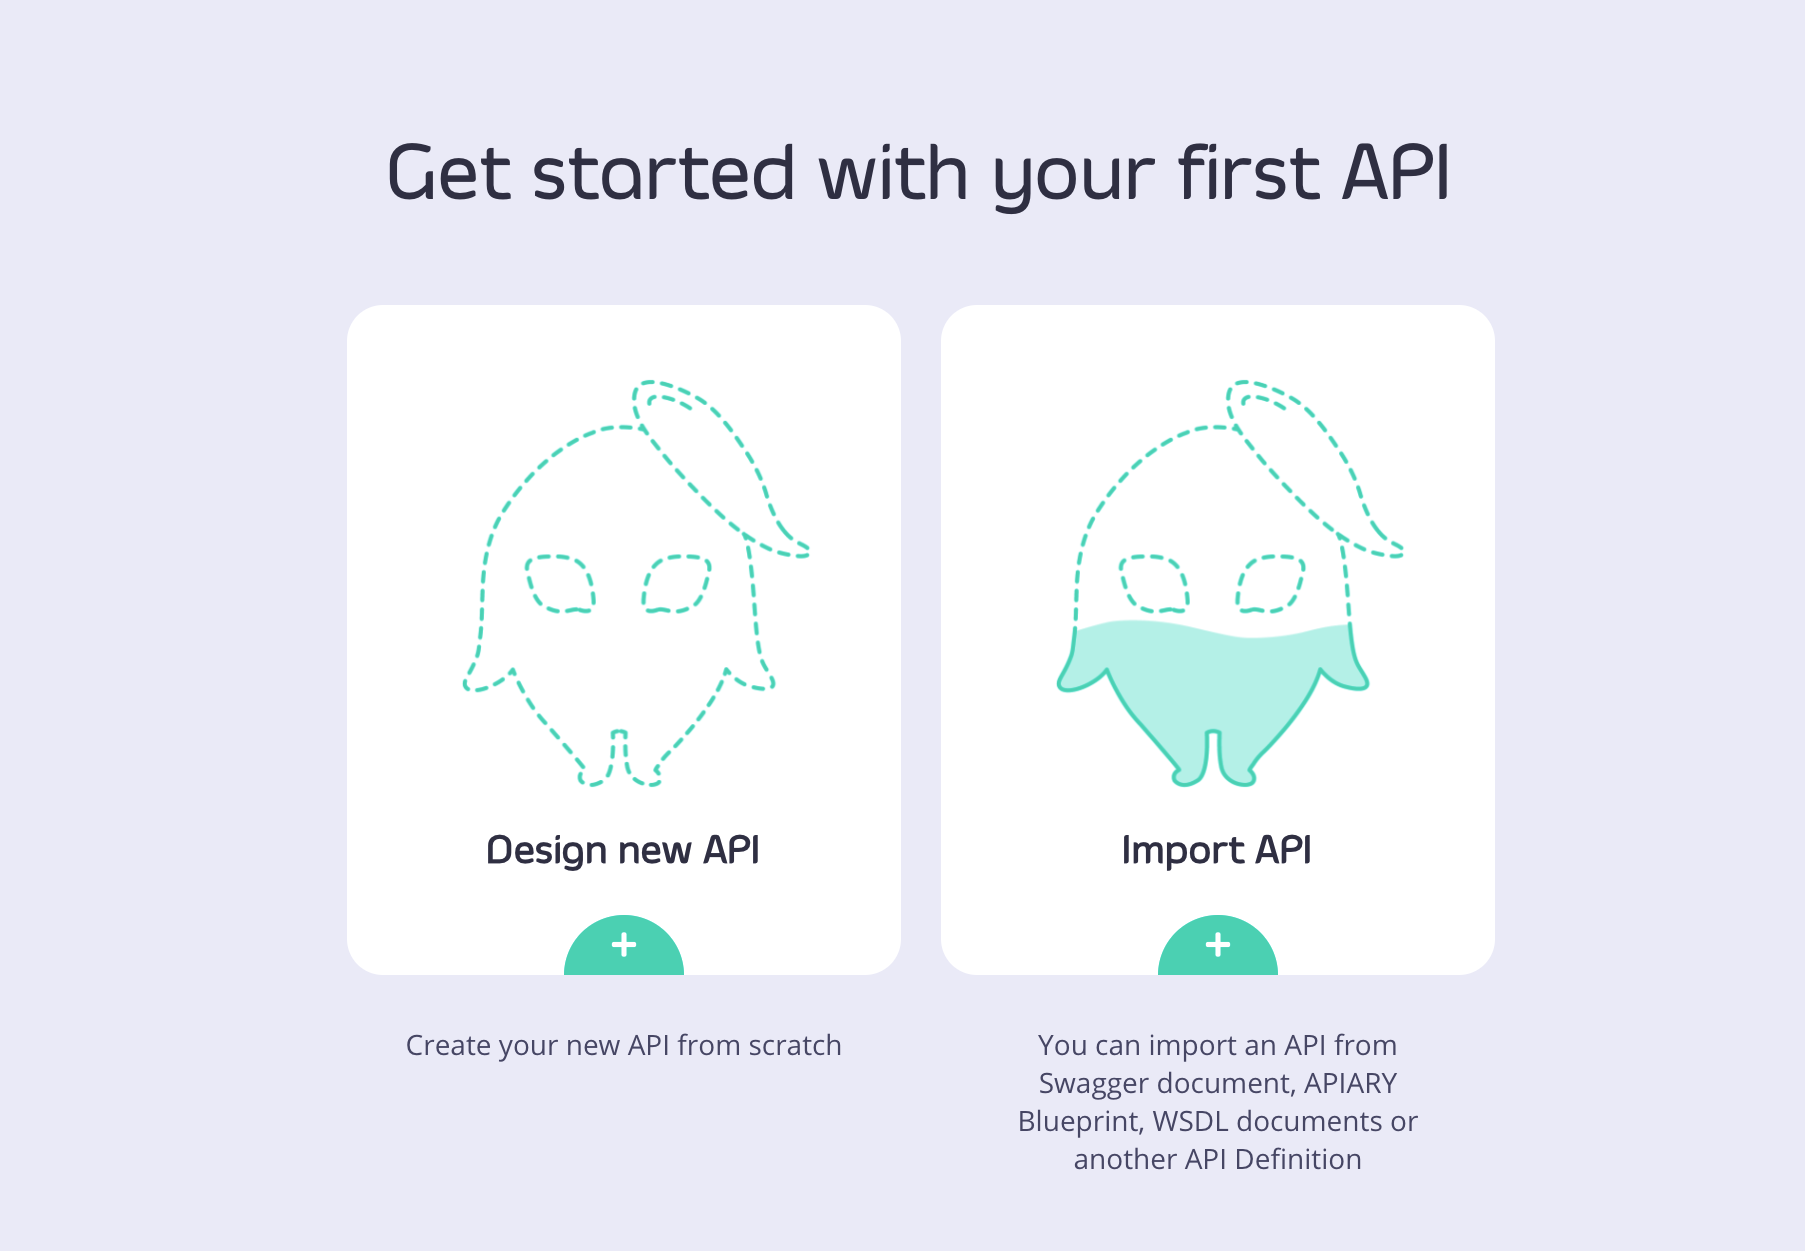
- If you already have APIs in your Tyk installation, click Import API:

Tyk supports the following import API options:
- From an OpenAPI (JSON format) file
- From an Existing Tyk API definition
- From a SOAP WSDL definition file
Importing an OpenAPI Definition
Tyk supports import of version 2.0 and 3.0.x OpenAPI documents to create an API Definition.
When importing OpenAPI documents using the Dashboard, Tyk detects the version of the document and generates either a Tyk classic API Definition (for OpenAPI 2.0) or the new Tyk OAS API Definition (for OpenAPI 3.0.x). There is an option to create a Tyk Classic API Definition from an OpenAPI 3.0.x document if you wish.
Import an OpenAPI 2.0 Definition
- From the Import API screen, select OpenAPI.

- Paste your OpenAPI 2.0 definition into the code editor.
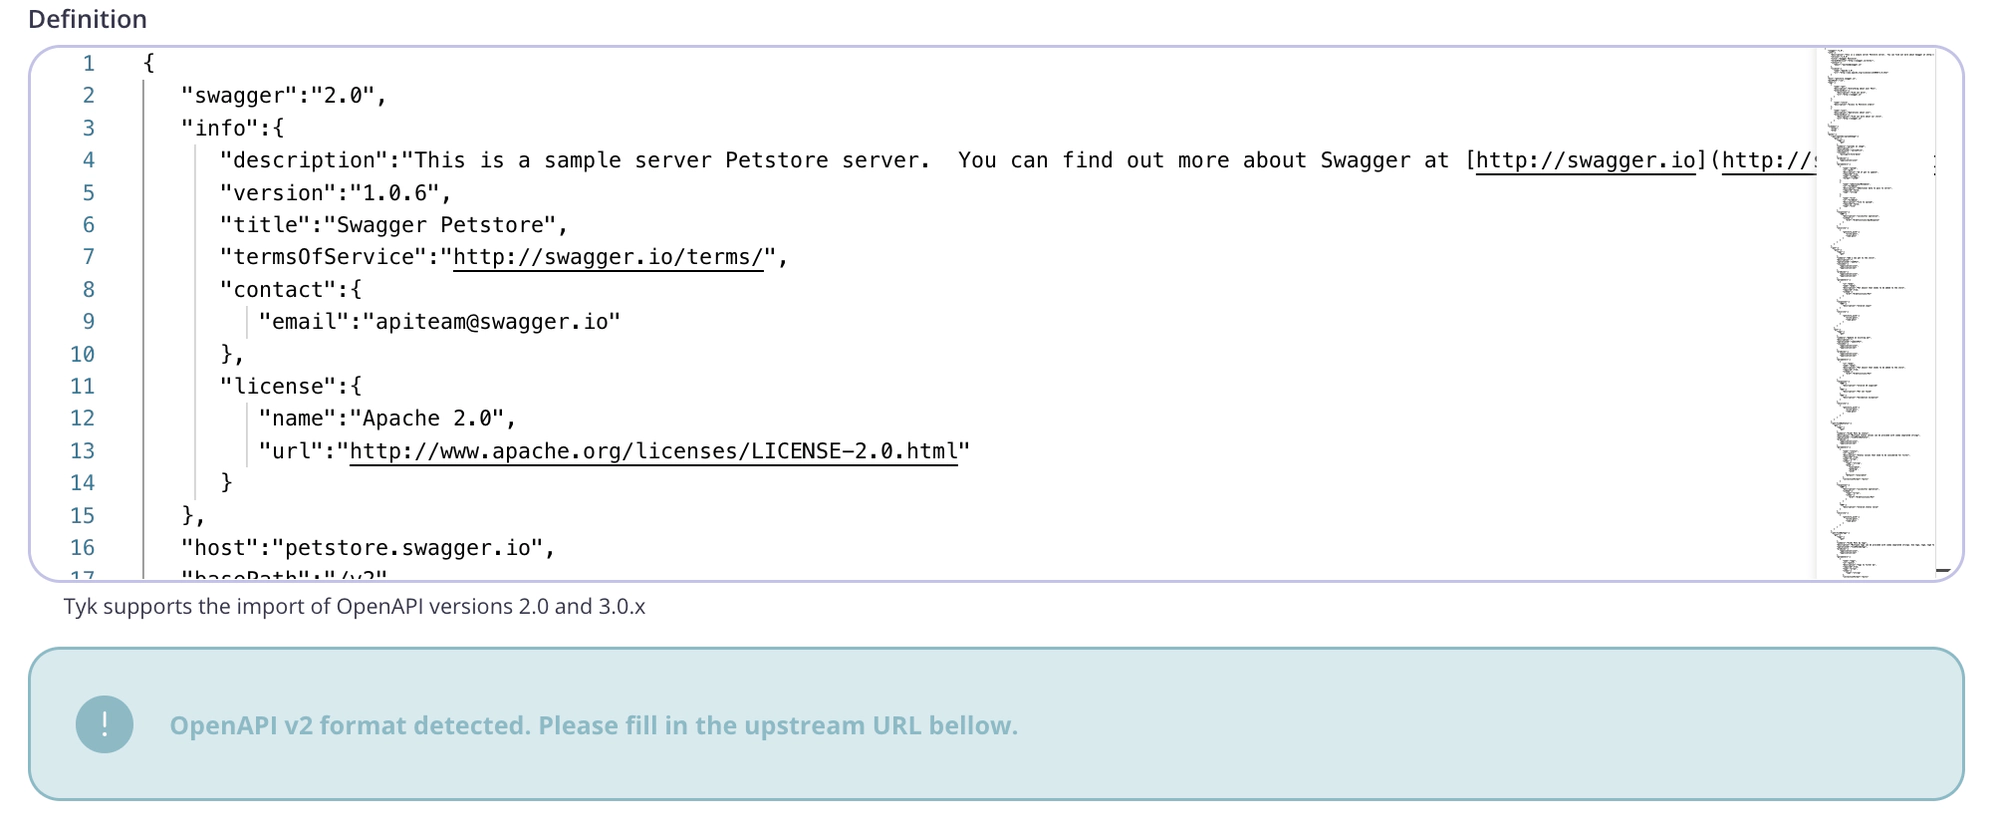
- Note that the Dashboard has detected that an OpenAPI 2.0 definition has been imported and you need to specify an upstream URL field to proceed.

- Click Import API.
Your API will be added to your list of APIs.
Import an OpenAPI 3.0 Definition
- From the Import API screen, select OpenAPI.
- Paste your OpenAPI 3.0 definition into the code editor.
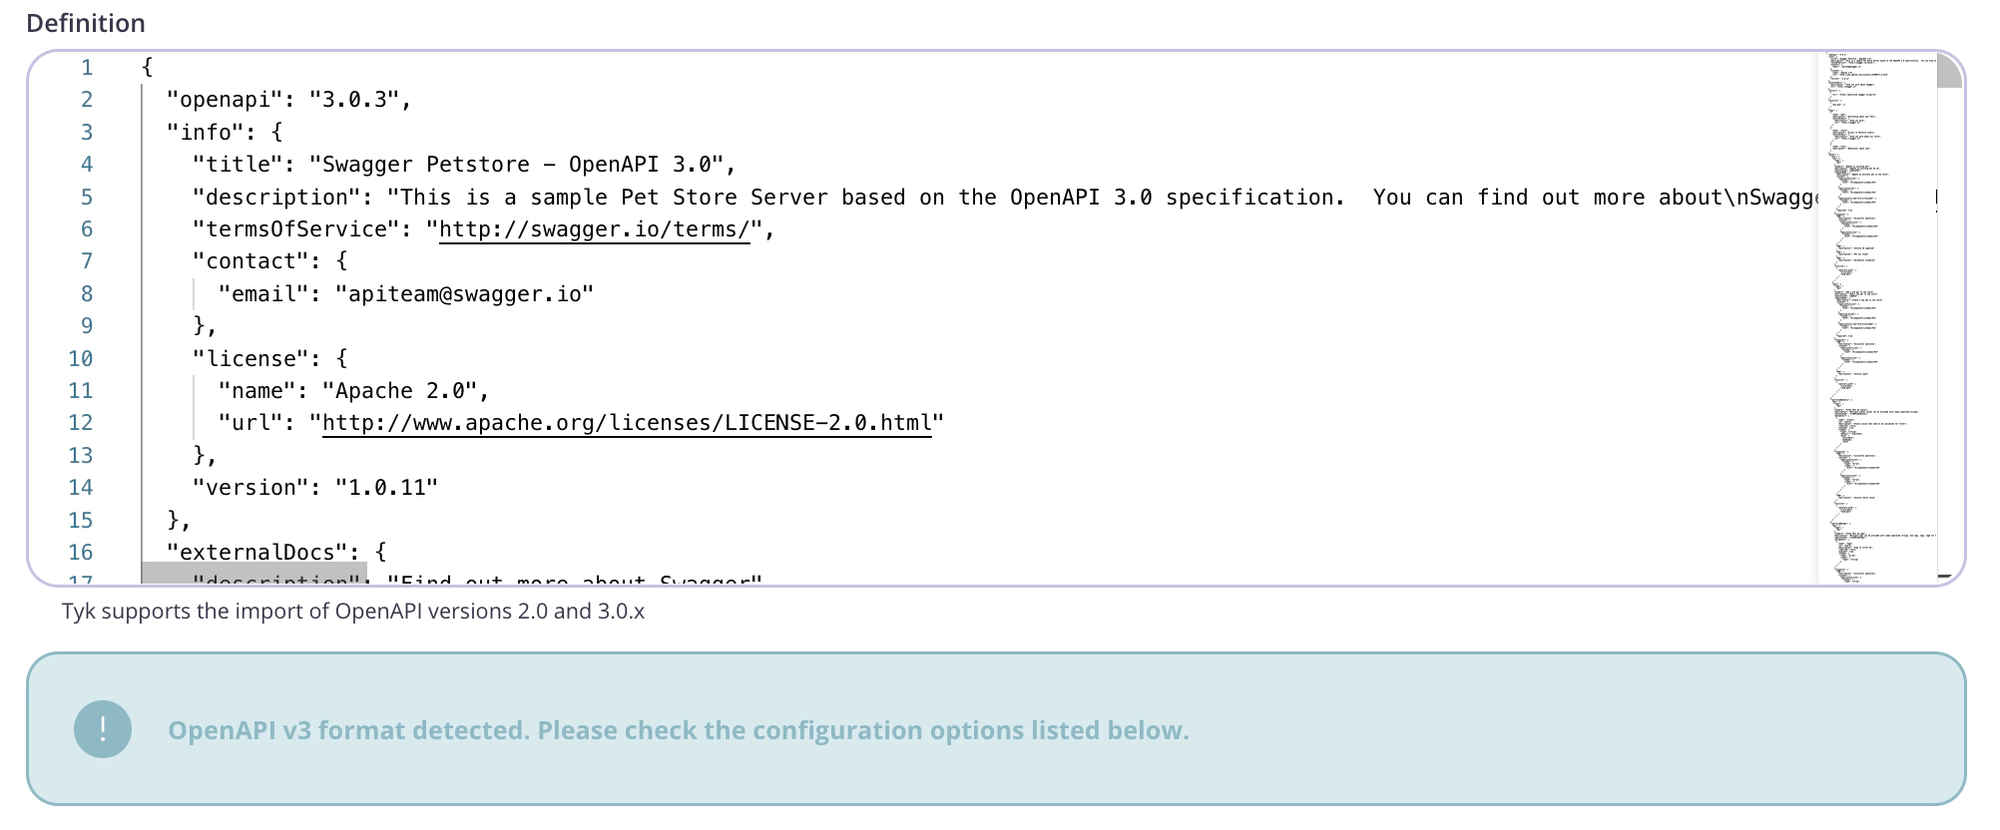
- Note that the Dashboard has detected that an OpenAPI 3.0 definition has been imported and you can now select between various manual and automatic configuration options.
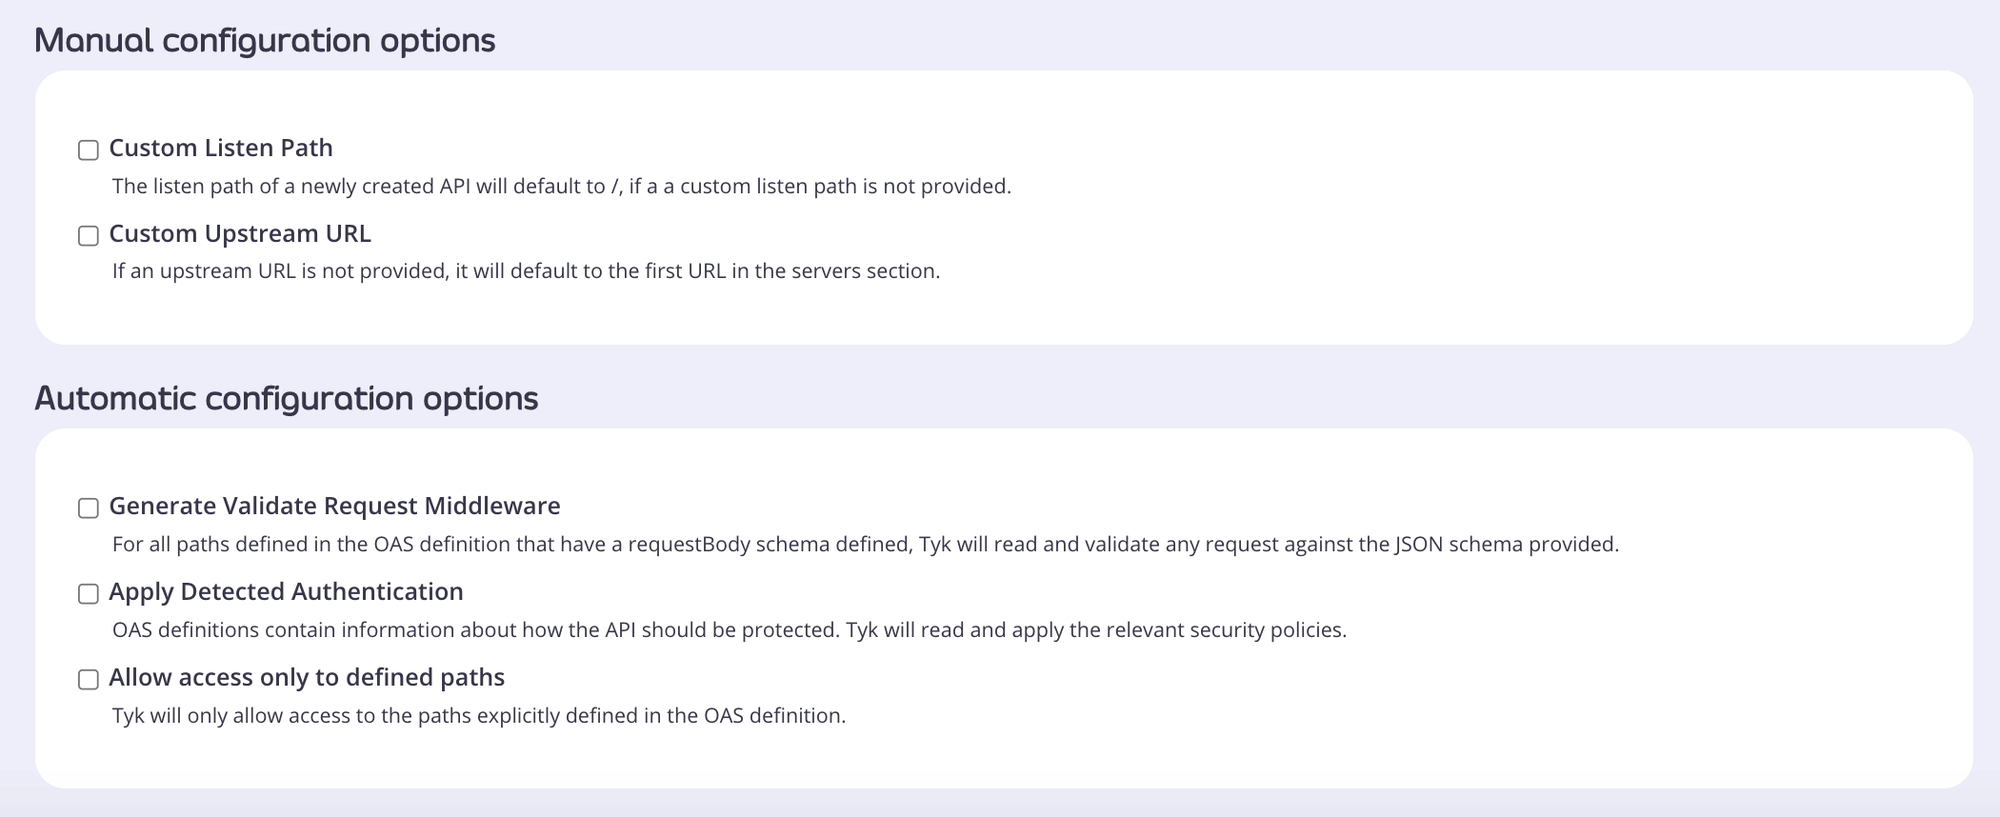
Manual Configuration options
- Custom Listen Path: A default listen path of of
/is set if you don’t configure this option - Custom Upstream URL: The first URL listed in your
serverssection is used if you don’t configure this option
Automatic Configuration options
- Generate Validate Request Middleware: You can automatically validate paths that have the
requestBodyandschemafields configured. This allows your Tyk Gateway to validate your request payload against the schema provided in your definition. See Request Validation for more details. - Apply Detected Authentication: You can automatically apply the authentication specified in the
securityandsecuritySchemessections of your definition. See Authentication for more details. - Allow access only to defined paths: You can restrict access to the paths documented in your definition. See Paths for more details.
- Click Import API.
Your API will be added to your list of APIs.
Import a Tyk API Definition
Tyk supports the import of both Tyk Classic and Tyk OAS API Definitions, and our Dashboard UI will automatically detect the one you are importing.
Note
Importing a Tyk Classic API definition will redirect you to the old API Designer while importing a Tyk OAS API Definition will redirect you to our new API Designer.
Import WSDL
Tyk supports import of WSDL documents to generate a Tyk Classic API Definition.
- You need to provide a valid WSDL document, Upstream URL and optionally a set of Service Names and ports to help with setting the Track Endpoint middleware.
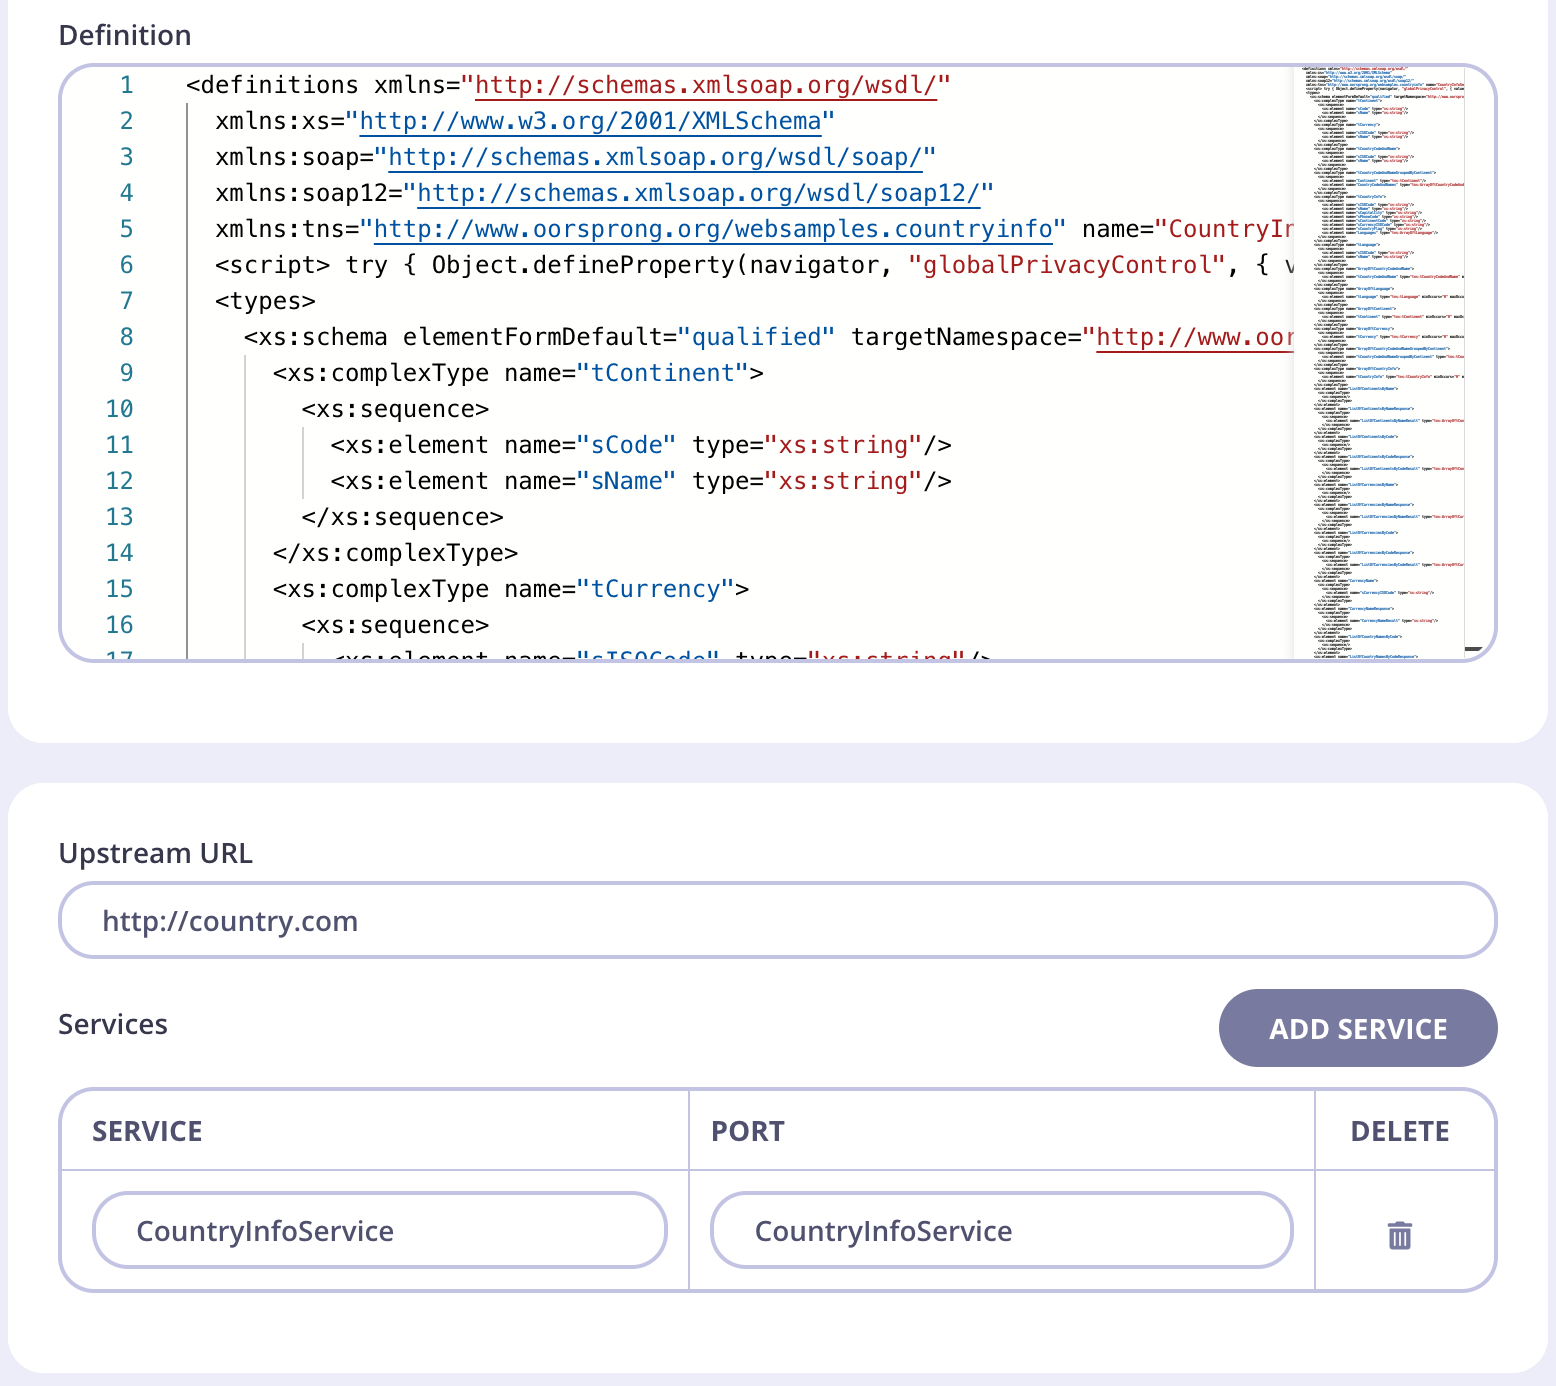
- Click Import API.
This will redirect to the old API Designer page using a Tyk Classic API Definition.
Import API Versions from the Dashboard
As well as importing new APIs, with Tyk, you can also use import to create a new version of an existing Tyk Classic API.
- Open the API Designer page and select Import Version from the Options drop-down.

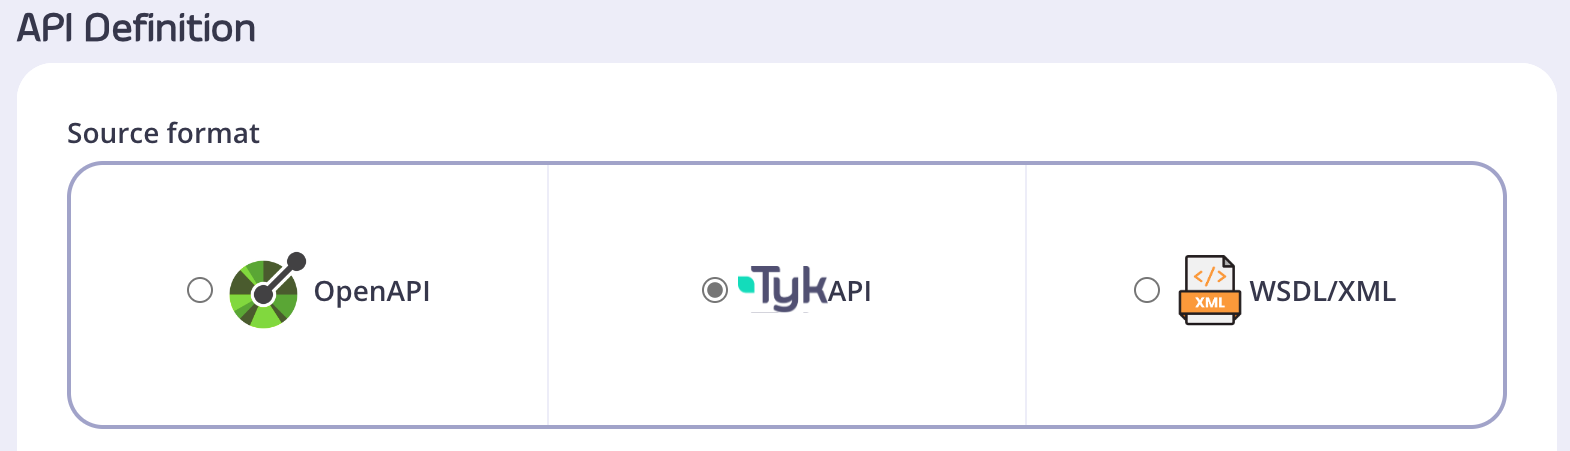
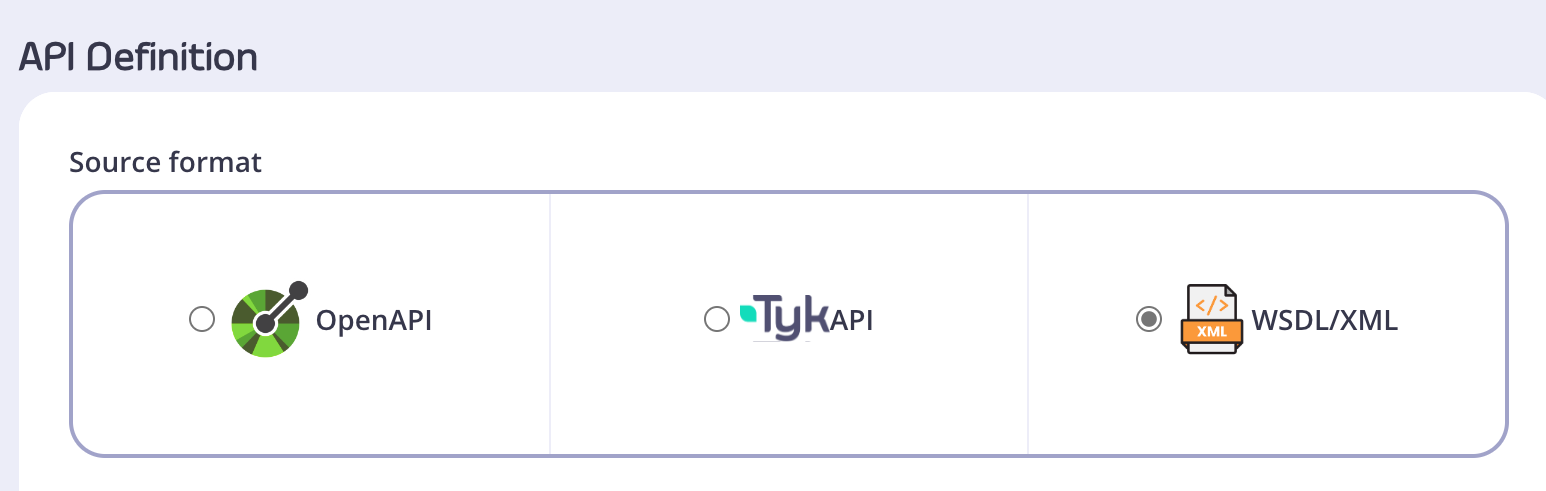
- Select either OpenAPI (v2.0 or 3.0) or WSDL/XML as your source API
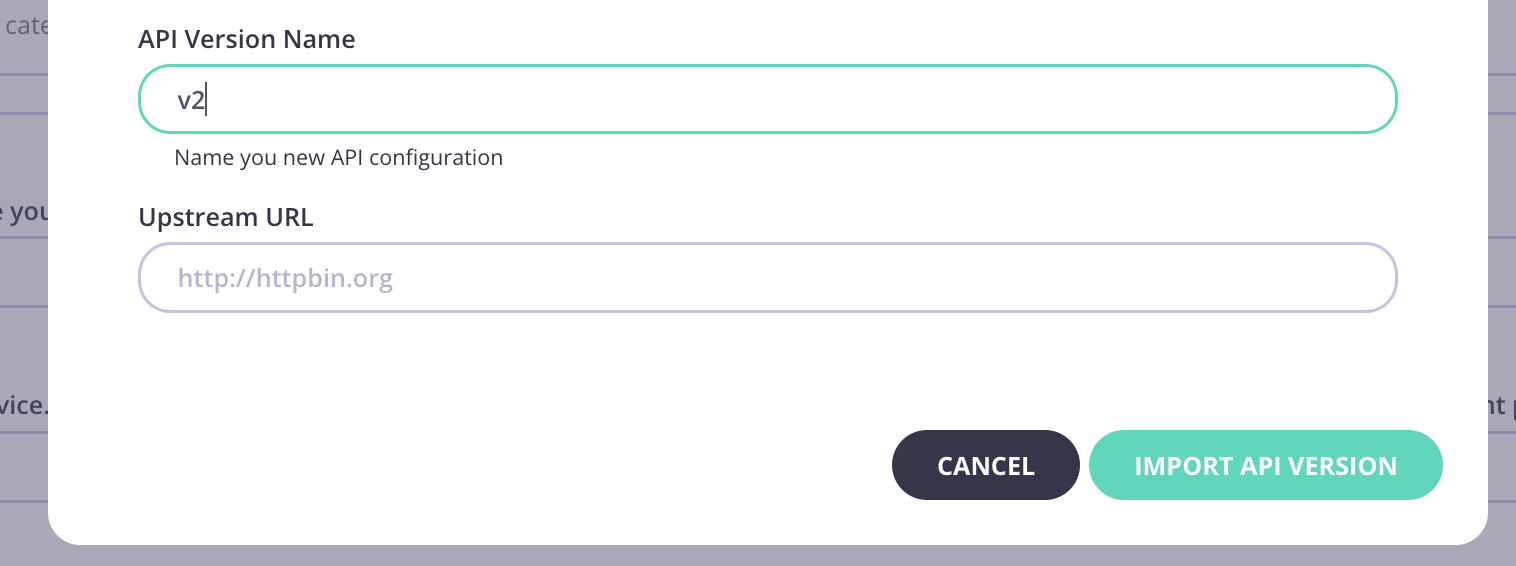
- You need to add a new API Version Name. Upstream URL is optional.
- Click Import API.
- Select the Versions tab and your new version will be available.
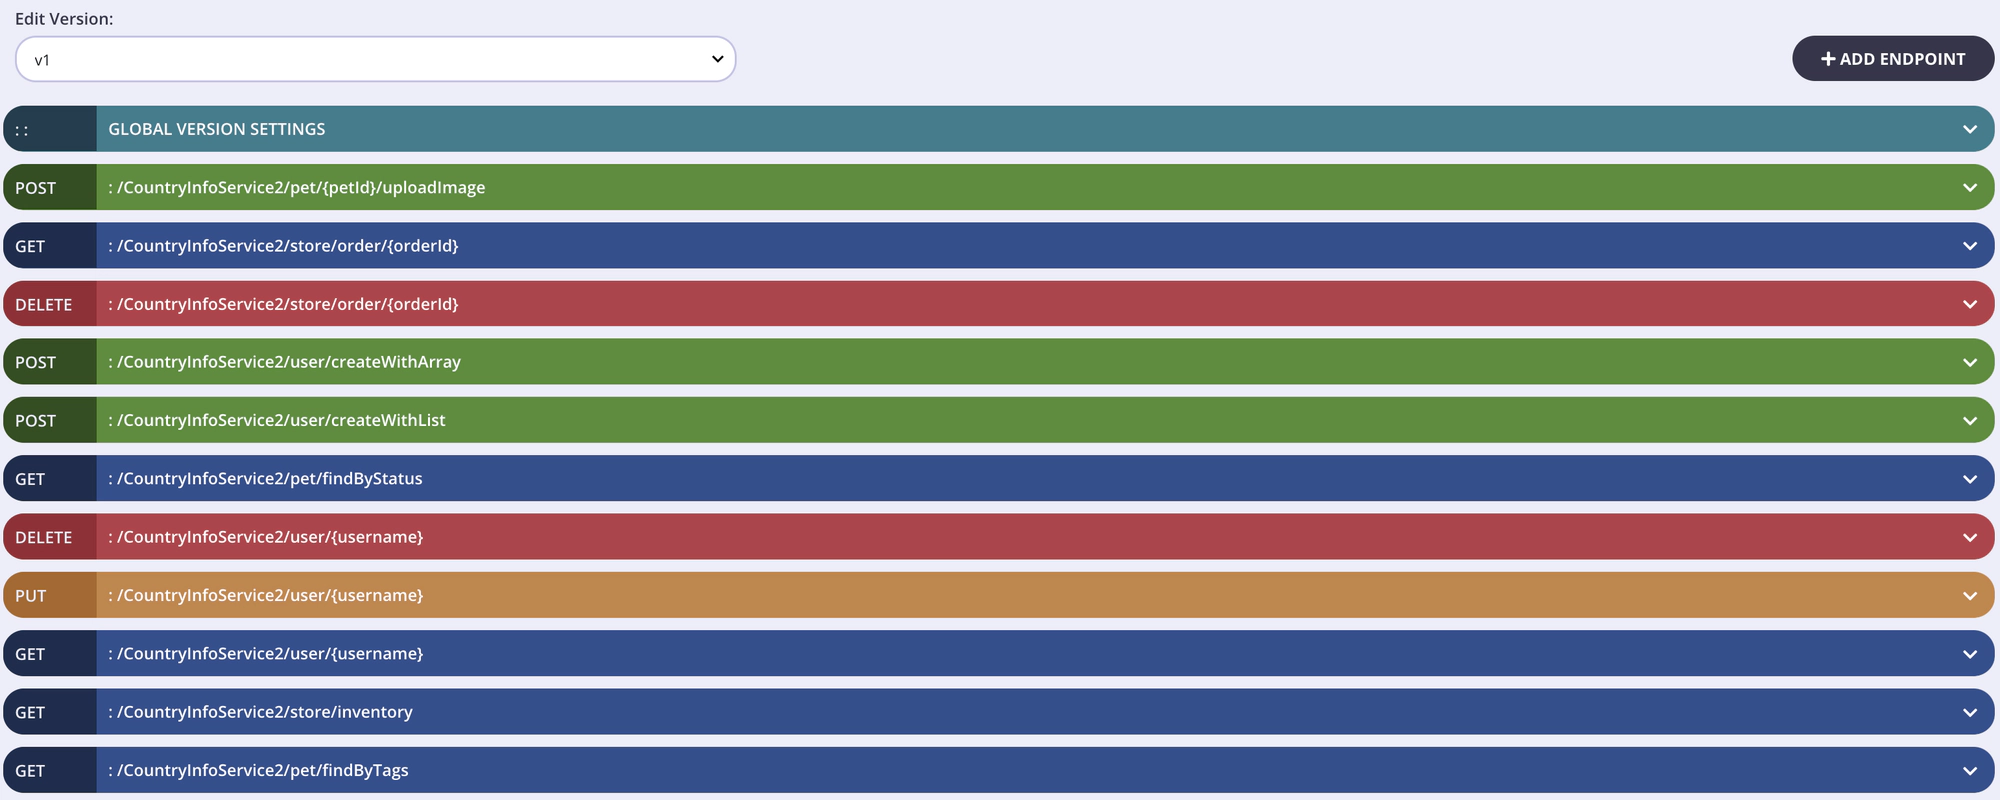
- Open the Endpoint Designer for your API and select your new version from Edit Version.
- You will see all the endpoints are saved for your new version.