Portal OAuth Clients
Last updated:
Legacy: Tyk Classic Portal
You’re viewing documentation for the Tyk Classic Portal, which is no longer actively maintained.
If you’re looking for the latest API documentation for the new Tyk Developer Portal, please refer to the Postman collection or visit the Tyk Developer Portal section.
The Classic Portal is in maintenance mode and will be deprecated soon. For questions or support, contact us at [email protected].
From Tyk Dashboard v1.8, you can now create and manage OAuth clients from the Developer Portal.
Prerequisites
- An API created in your Dashboard using Tyk’s ability to act as a OAuth provider. You need to have OAuth 2.0 selected as the Authentication mode. See Create an API for more details.
- A Policy created in your Dashboard with the API created above selected in the Access Rights > Add access rule drop-down. See Create a Security Policy for more details.
- A Portal Catalog entry for the API created above with the Policy you created selected from the Available policies drop-down. See Create a Portal Entry for more details.
- A developer account created in your Developer Portal.
Create the OAuth Client from the Portal
- Login to your Portal:
- Select OAuth Clients from the top menu
- If this is the first OAuth Client you are creating, the screen will be as below:
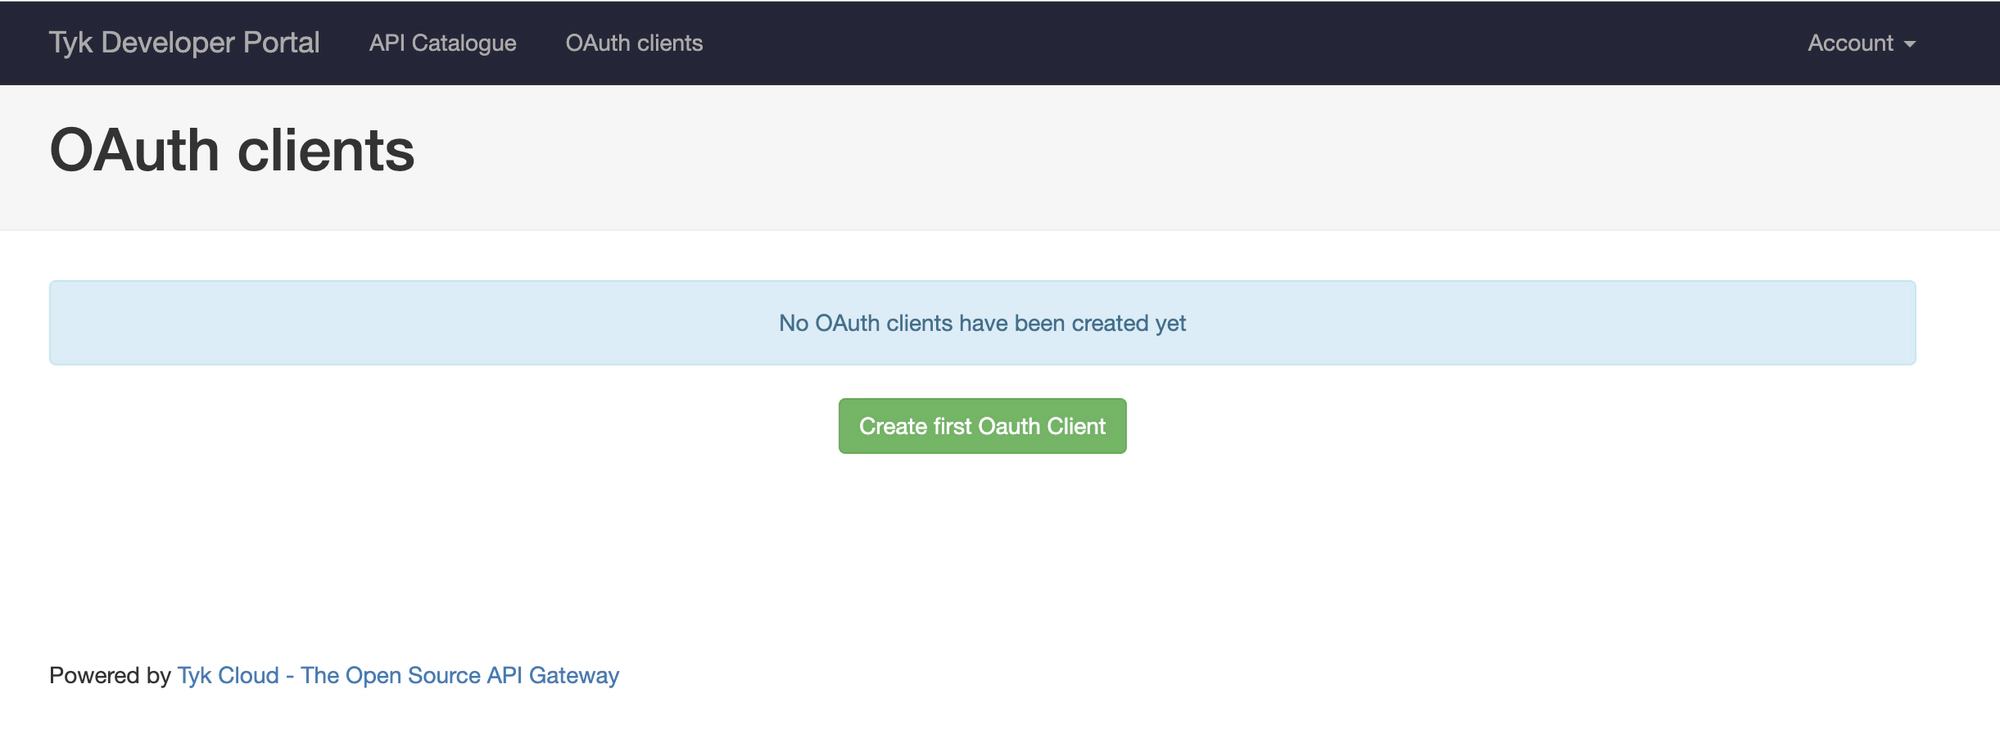
- Click Create first OAuth Client
- Hover over the API you added to the Catalog with OAuth Authentication mode from the drop-down list:
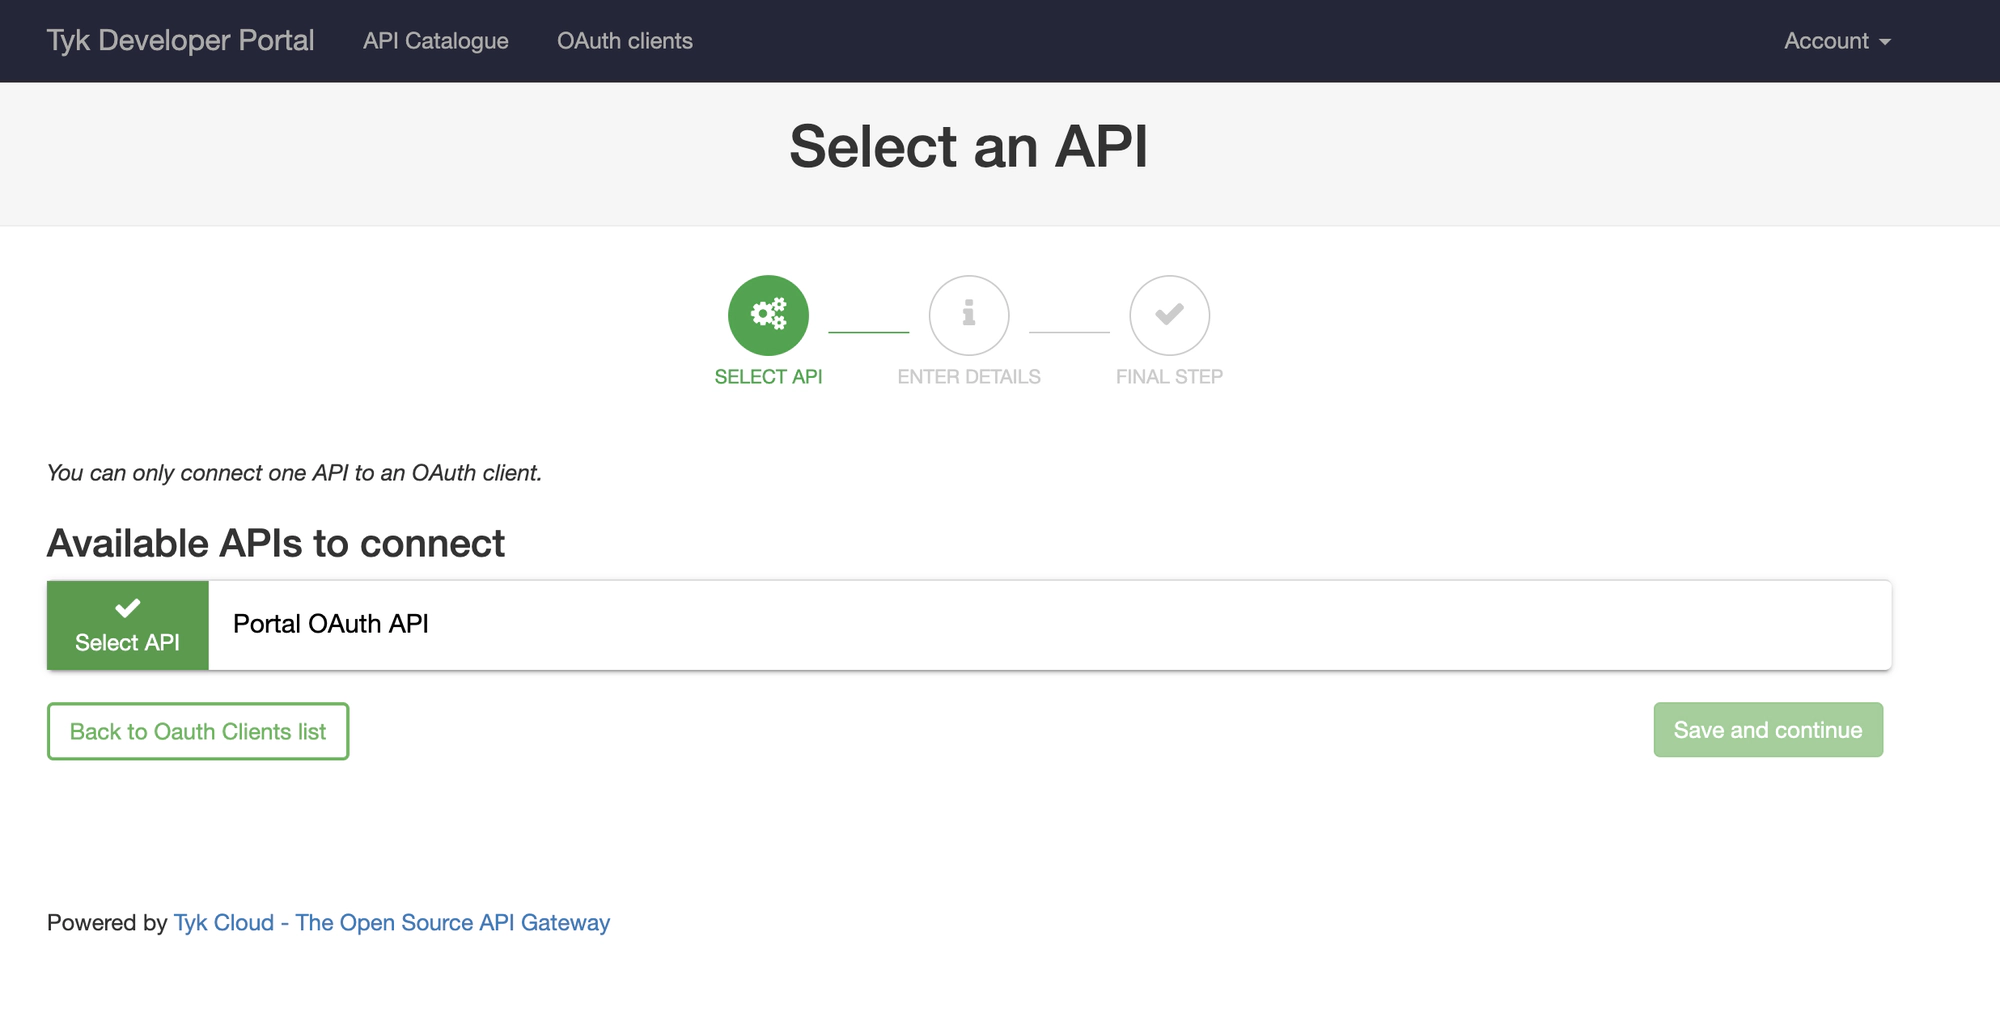
- Click Select API
- Then click Save and continue:
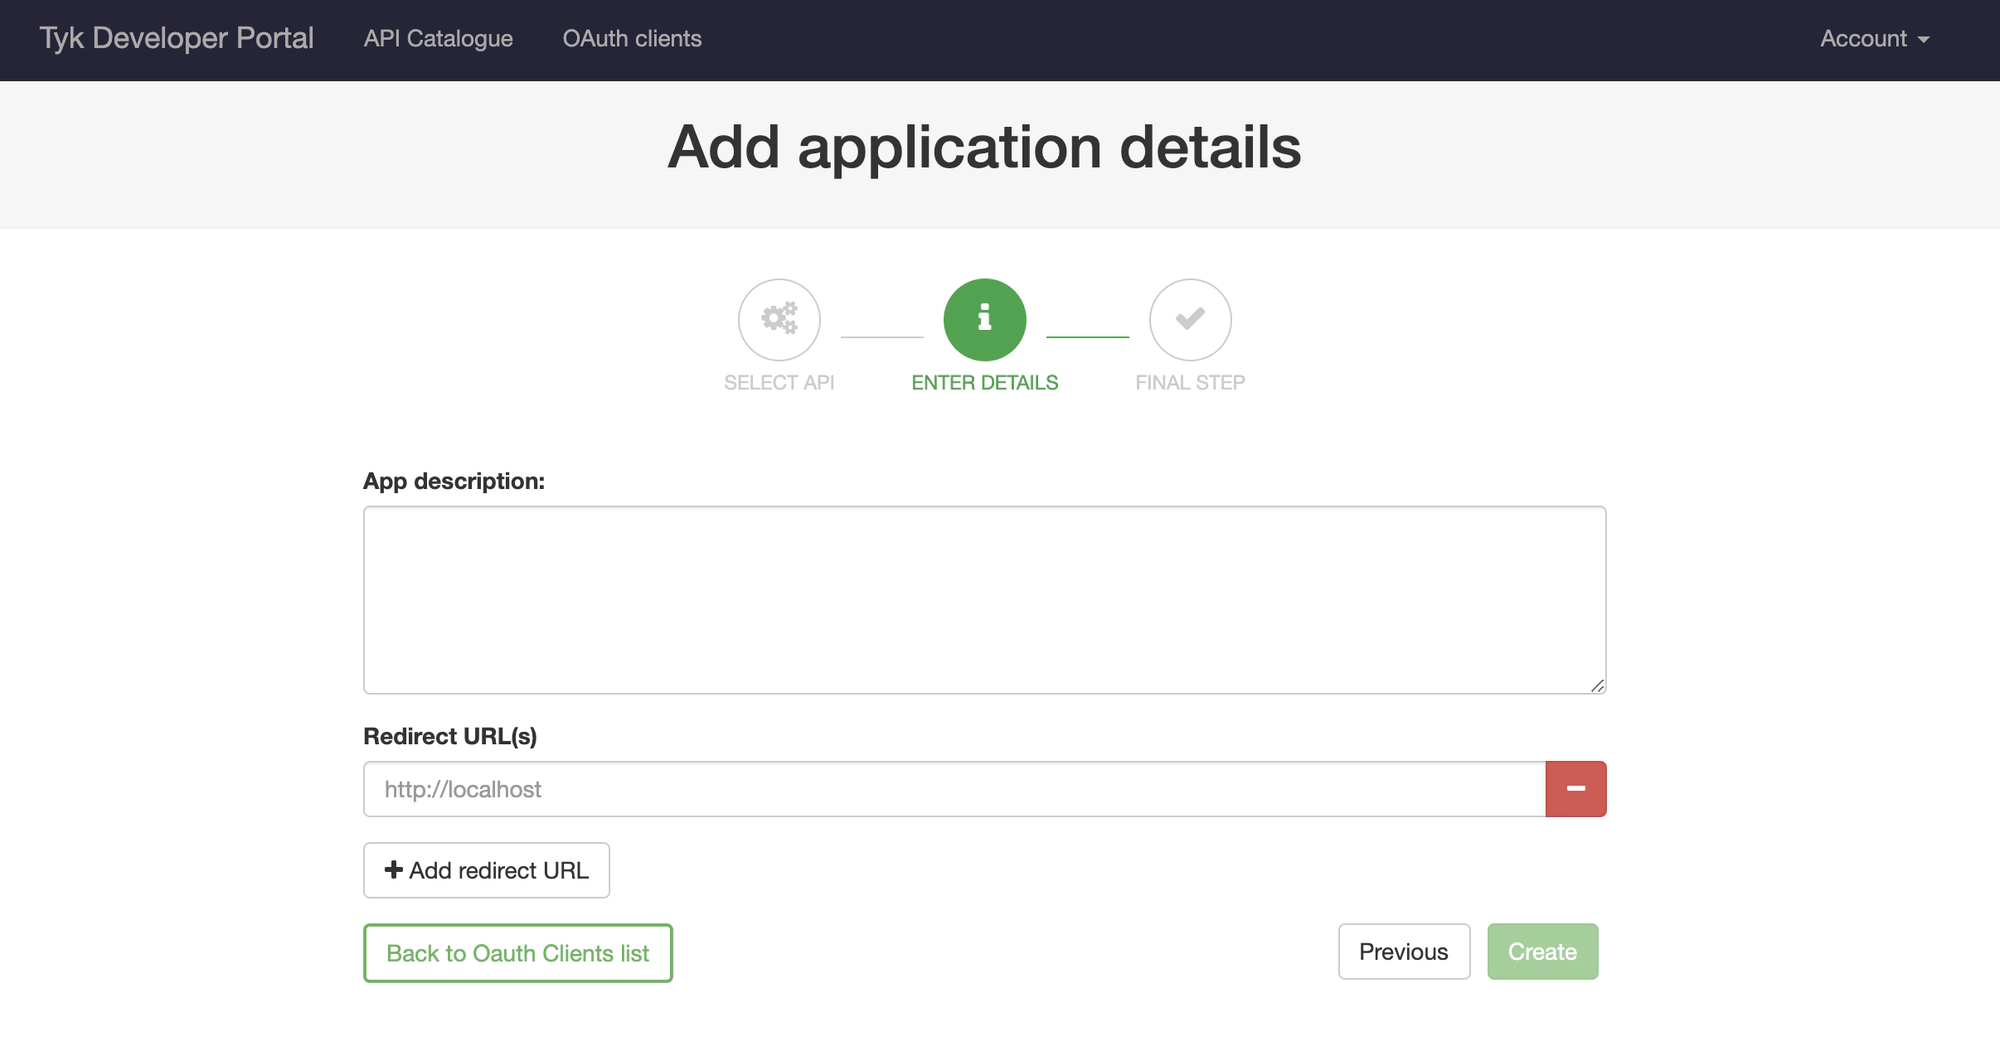
- You can now add details about your application, and set the redirect URL to the application. If you want to use this client for more than one application, you can add other redirect URLs as necessary.
- Click Create
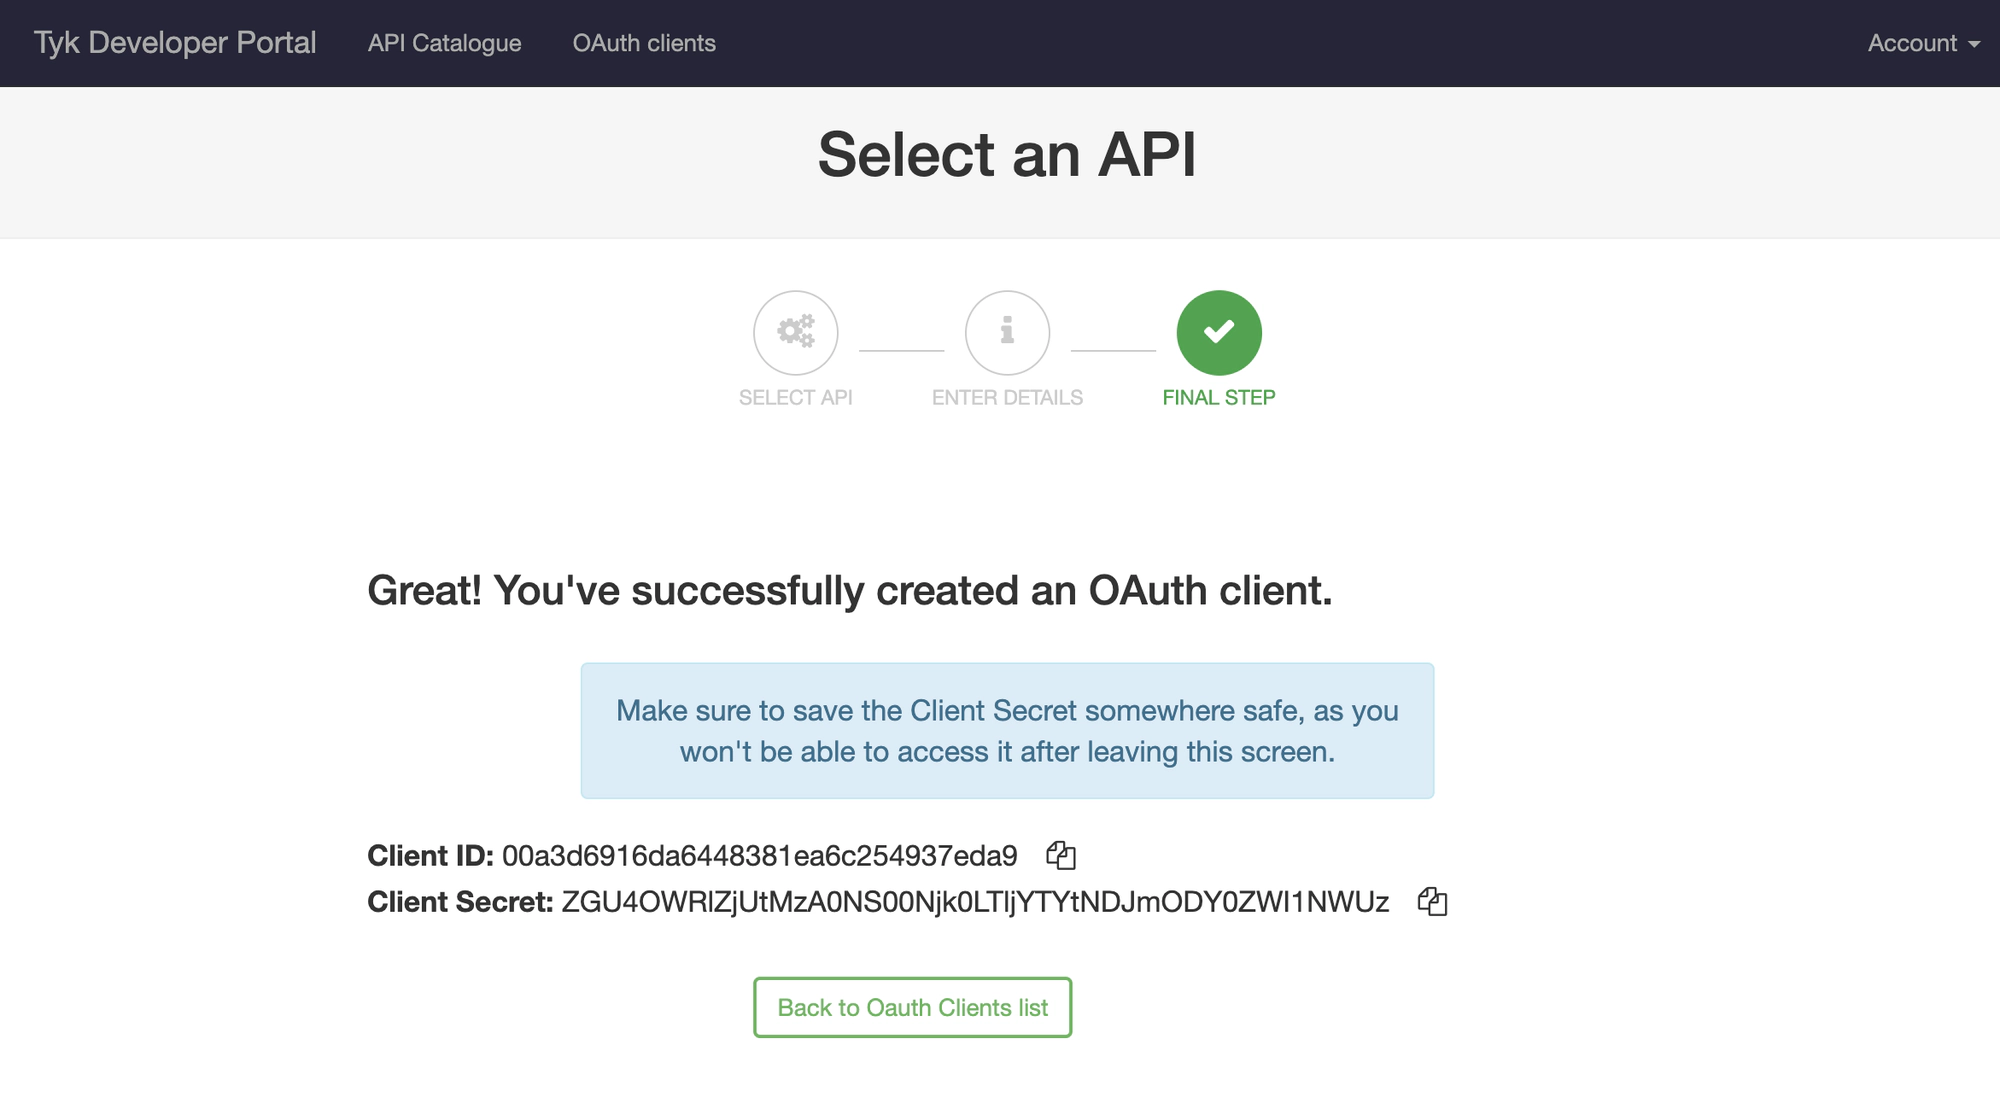
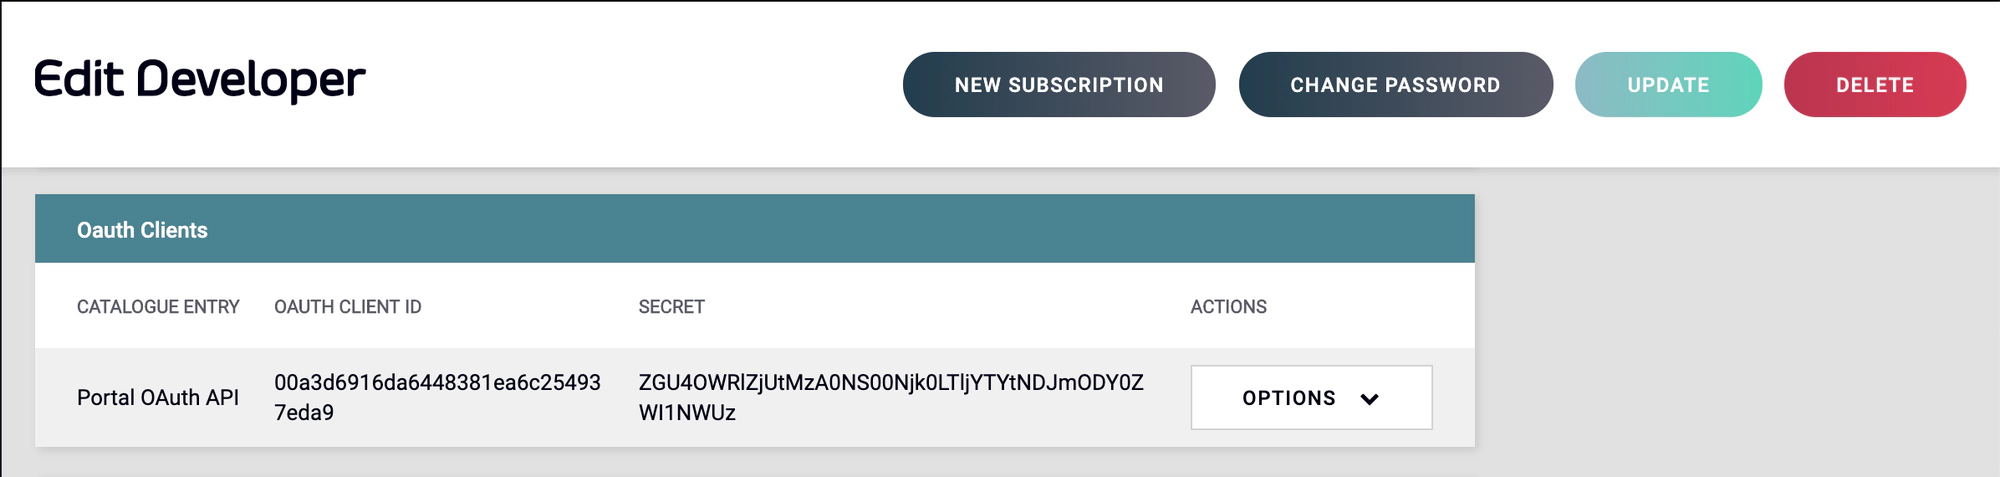
- You need to copy and save the displayed Client Secret, as you will not be able to view it from the Portal again. The secret is stored on the Dashboard and are listed for each developer under the Portal Management > Developers menu.
Revoke OAuth Client Tokens
See Revoke OAuth Tokens for more details.