

Available from Tyk Developer Portal 1.20.0
Before You Start
You need:- An API Owner account to manage Callouts, Pages and themes in the Admin Portal.
- A deployment with Callouts support and CSRF protection enabled.
- An enabled Callout using
POST, configured for a test endpoint you control. Follow Create a Callout if you do not have one. - An API Consumer account to test the form in the Live Portal.
- A custom theme based on the default theme. A theme contains the templates, styles and scripts used to display the Live Portal. Follow the Create a theme instructions if you do not have one.
Prepare the Target
The form sendssubject and description fields to Tyk Developer Portal. It wraps them in a JSON object called an envelope, with the submitted fields inside payload. See Request format for supported input formats and optional user identity.
For this example, make sure Include user identity is not selected on the Callout. The target receives:
201 with Content-Type: application/json and a request reference:
Optional: Adapt Requests and Responses with Tyk Gateway
A Callout does not transform its request envelope into a service-specific format or filter the target’s response. You can configure an API on Tyk Gateway to perform those operations between Portal and your service. For the support-request example:- Create an API on Tyk Gateway with your ticketing service as its upstream. Set the Callout’s Target URL to this API’s endpoint instead of the ticketing service URL.
- Configure request body transformation if the service expects a different format. Map
payload.subjectandpayload.descriptionfrom the Callout envelope to the fields your service accepts. - Configure response body transformation to return only the fields needed by the Page. For this example, return the
idfield shown above and omit internal notes or other service details. - Test successful requests and error responses. Check the full response that the browser receives, in addition to what the Page displays. Make sure sensitive fields and internal error details do not reach the browser.
id preserves the response expected by this tutorial’s JavaScript. Keep the X-Callout-Request-ID header when forwarding requests to the upstream service so you can trace the request across all three systems.
Add the Page Template
The template defines the form’s fields and where the result appears. When you assign the Callout to a Page, Tyk Developer Portal supplies its submission URL to the template as.calloutAction. The form uses that URL as its action.
Create views/support_request.tmpl in your custom theme:
theme.json file lists the templates available in the Page editor. Add this entry to its existing templates array:
portal_layout and Bootstrap styles. It does not require the legacy AllowFormSubmission field.
Add Submission Handling
The JavaScript sends the form data without navigating away from the Page, then displays the result. It checks two outcomes: whether the browser request succeeded and whether the target accepted the submission. A target error can arrive at the browser with HTTP200, so the script checks both response.ok and the returned result.ok value. See Handle the response for the full response format.
The request also needs the user’s session cookie and a cross-site request forgery (CSRF) token. The token helps prevent another website from submitting a request using the user’s session. The script reads it from the Page and sends it in the X-CSRF-Token header. Never add an Admin Portal API token or a target credential to this script.
Create assets/javascripts/support-request.js:
csrf-token meta element to every layout that has closing </head> and </body> tags, including the default portal_layout in this example. It also adds a hidden csrf_token field to each form that uses method="post". This form therefore sends the token in the request body and in the header. Tyk Developer Portal removes the field before it sends the data to the target.
The script converts FormData to URL-encoded data because Callouts do not accept multipart/form-data. It uses textContent to display the result as plain text, so the browser does not run it as HTML. It disables the button while the request is in progress but does not guarantee that repeated submissions create only one record. If your workflow needs that guarantee, the target must detect and handle duplicate submissions.
Upload the Theme and Create the Page
- Package your modified theme using the theme upload instructions.
- Upload it in Customise > Themes, then activate it in your test deployment.
- Open Customise > Pages and add a Page.
- Set its Page name to
Support, its Path URL to/support, and its Template to Support Request. - Select your enabled Callout, save the Page, and publish it.
- Log in as an API Consumer and open
/supportin the Live Portal. - Submit the form and confirm that the target creates the test record.
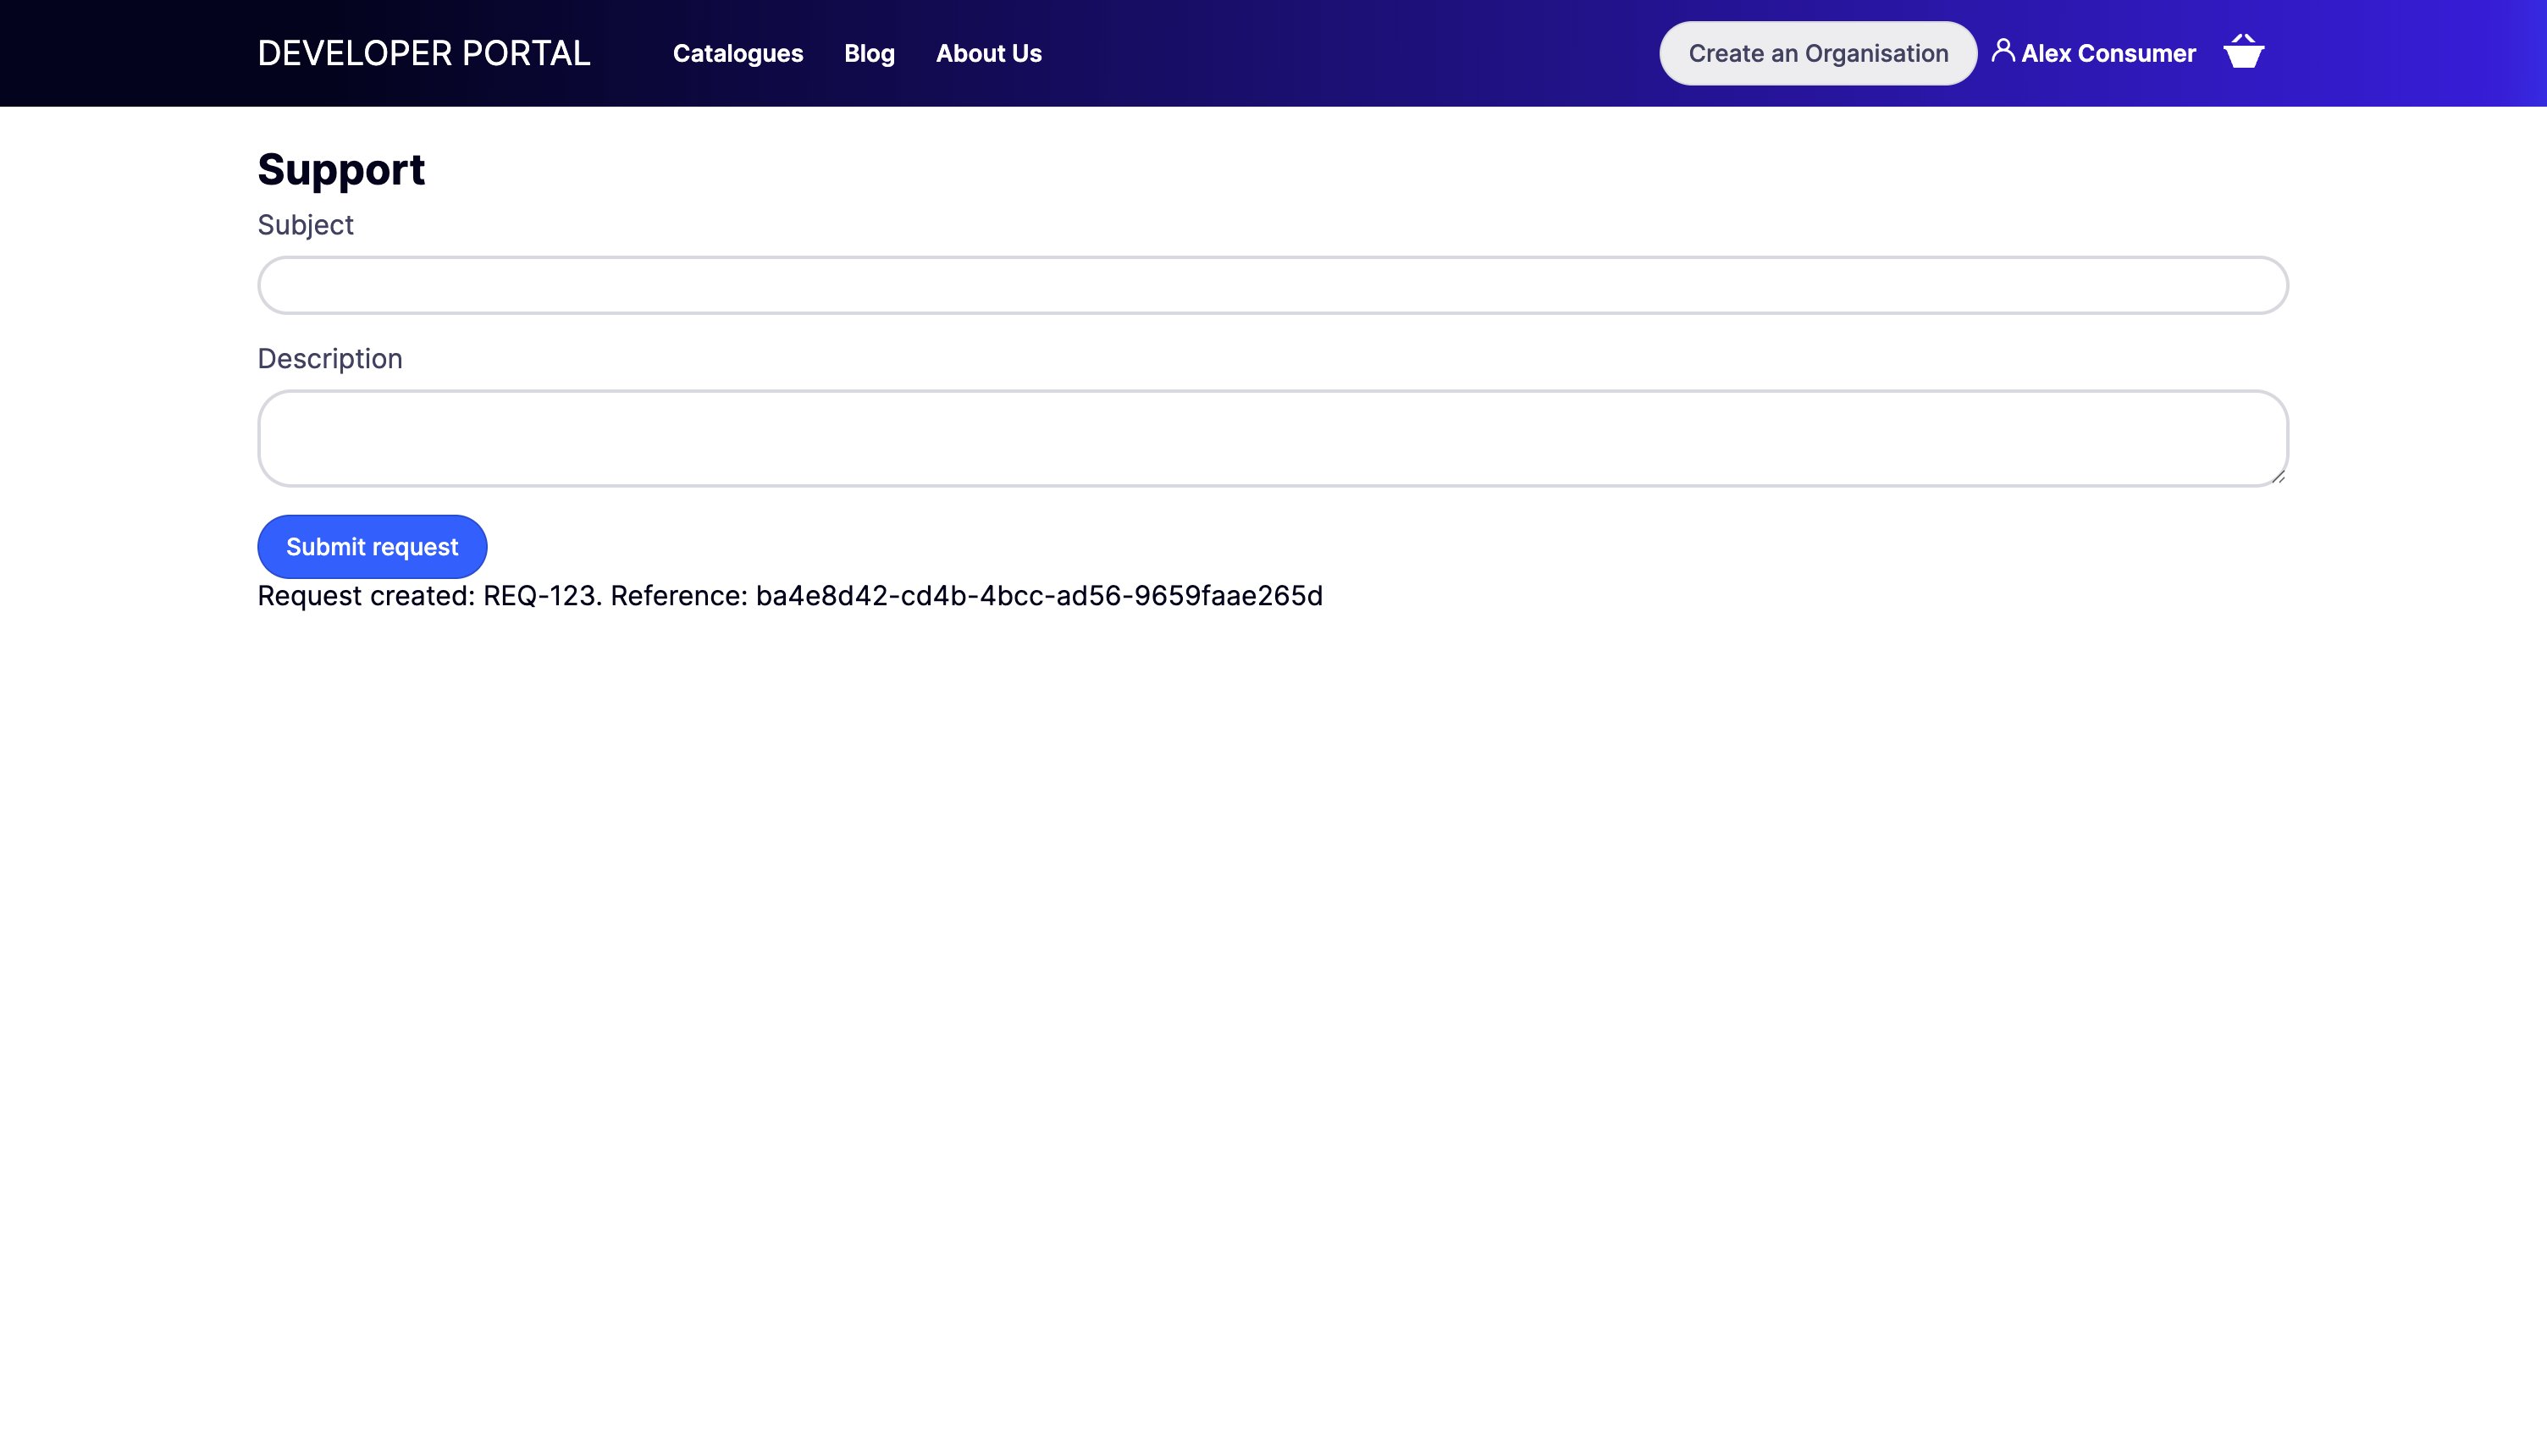
Request created: REQ-123., followed by a request ID. Check that the target also receives that ID in the X-Callout-Request-ID header. See Trace a request to follow the request through application logs.