

Prerequisites
- Docker installed on your machine
- Dynatrace account
- Dynatrace Token
- Gateway v5.2.0 or higher
- OTel Collector docker image
Instructions
Step 1. Generate Dynatrace Token
- In the Dynatrace console, navigate to access keys.
- Click on Create a new key
- You will be prompted to select a scope. Choose Ingest OpenTelemetry traces.
-
Save the generated token securely; it cannot be retrieved once lost.
Example of a generated token (taken from Dynatrace website):
Step 2. Configuration Files
-
OTel Collector Configuration File
Create a YAML file named
otel-collector-config.yml. In this file replace<YOUR-ENVIRONMENT-STRING>with the string from the address bar when you log into Dynatrace. Replace<YOUR-DYNATRACE-API-KEY>with the token you generated earlier. Here’s a sample configuration file:
- Docker Compose File Create a file named docker-compose.yml. Here is the sample Docker Compose file:
Step 3. Testing and Viewing Traces
- Launch the Docker containers: docker-compose up -d
- Initialize your Tyk environment.
- Deploy a simple HTTP API on your Tyk Gateway.
- Use cURL or Postman to send requests to the Gateway.
-
Navigate to Dynatrace -> Services -> Tyk-Gateway.
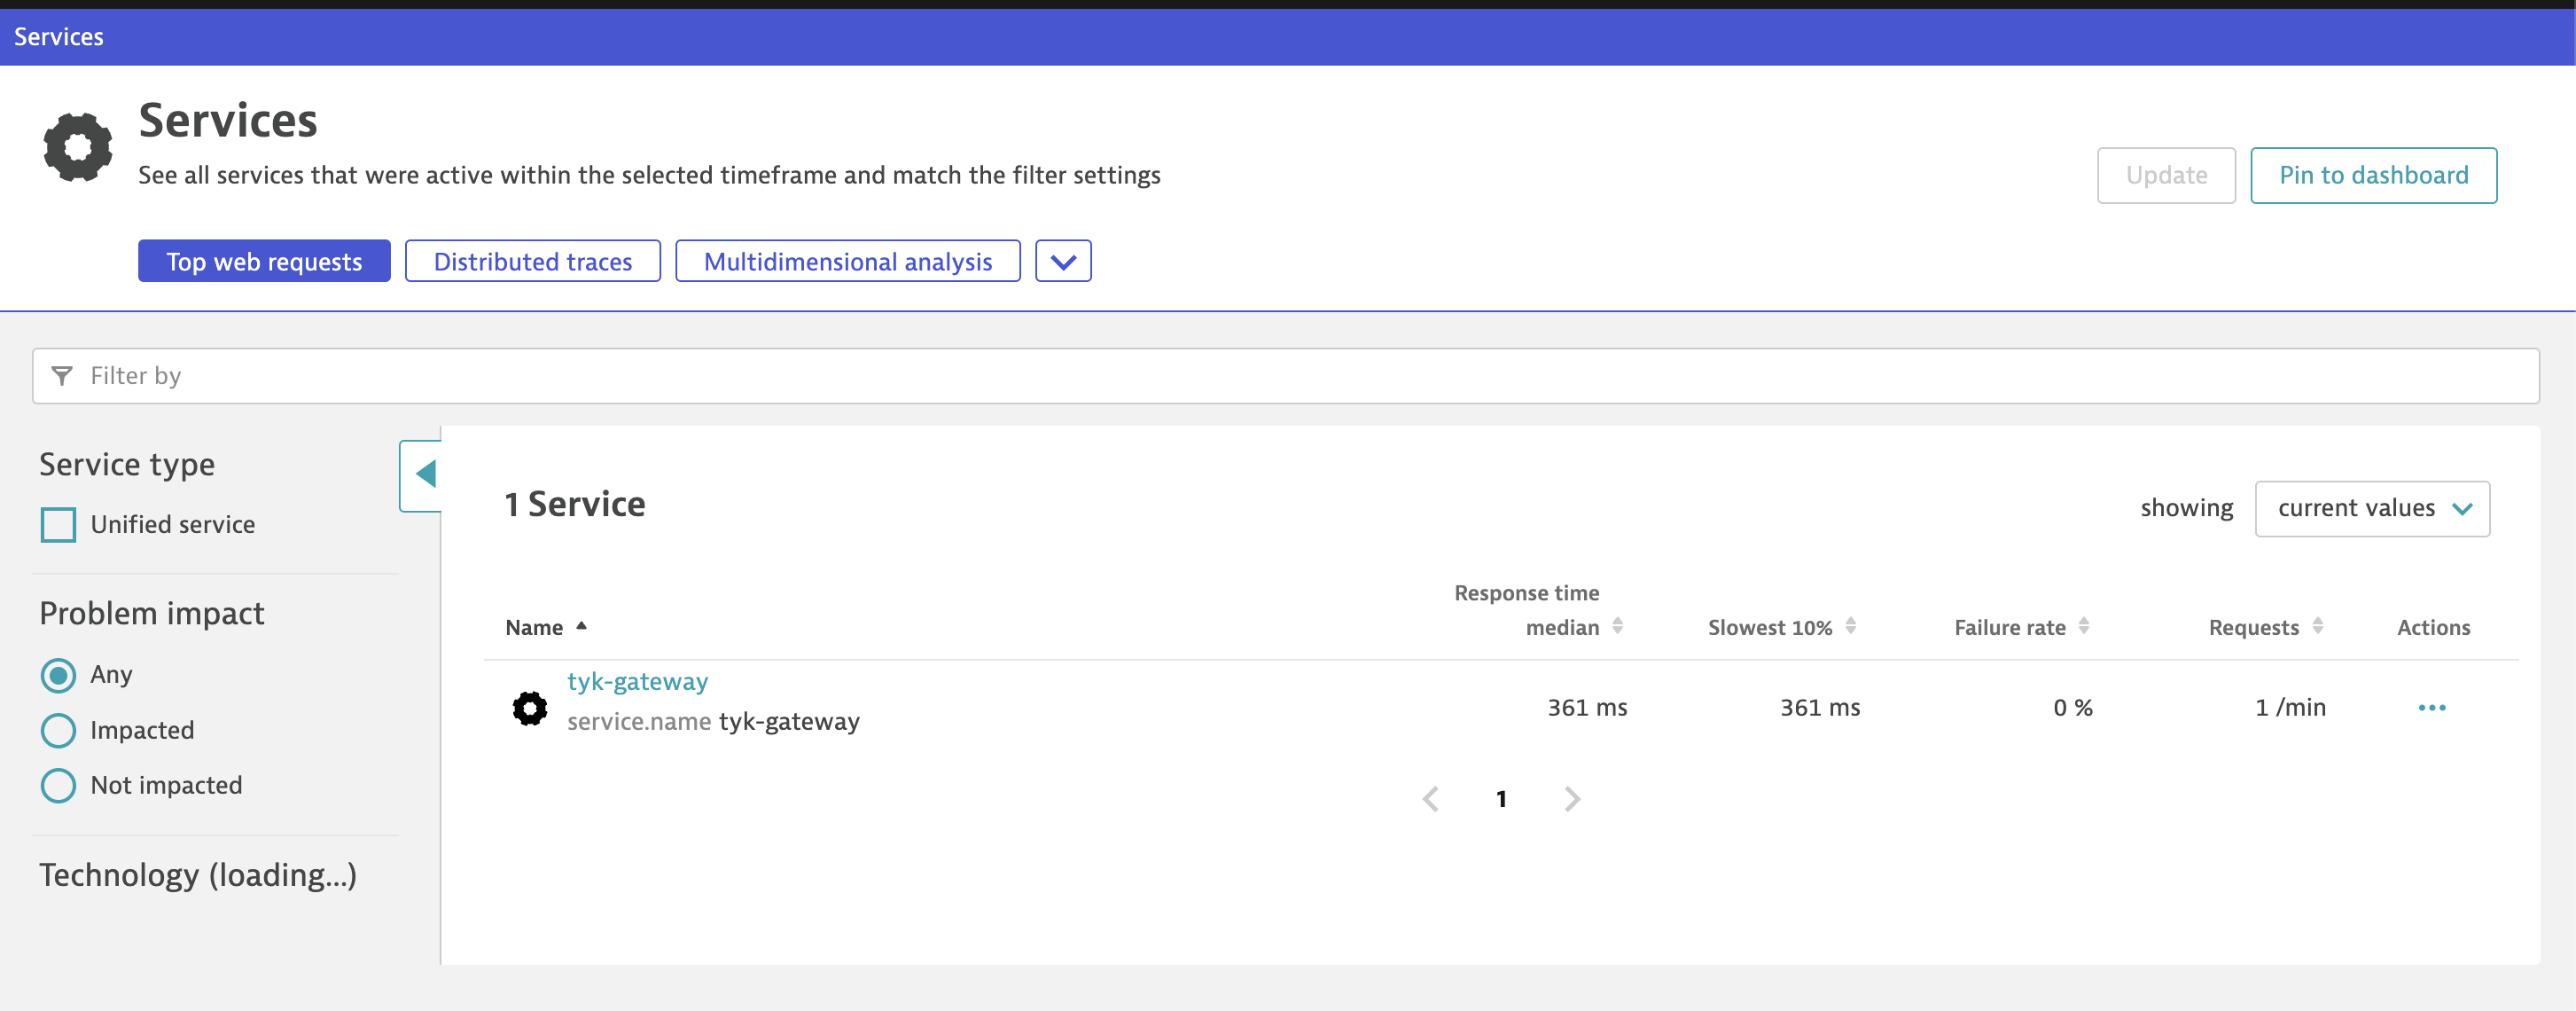
- Wait for 5 minutes and refresh.
-
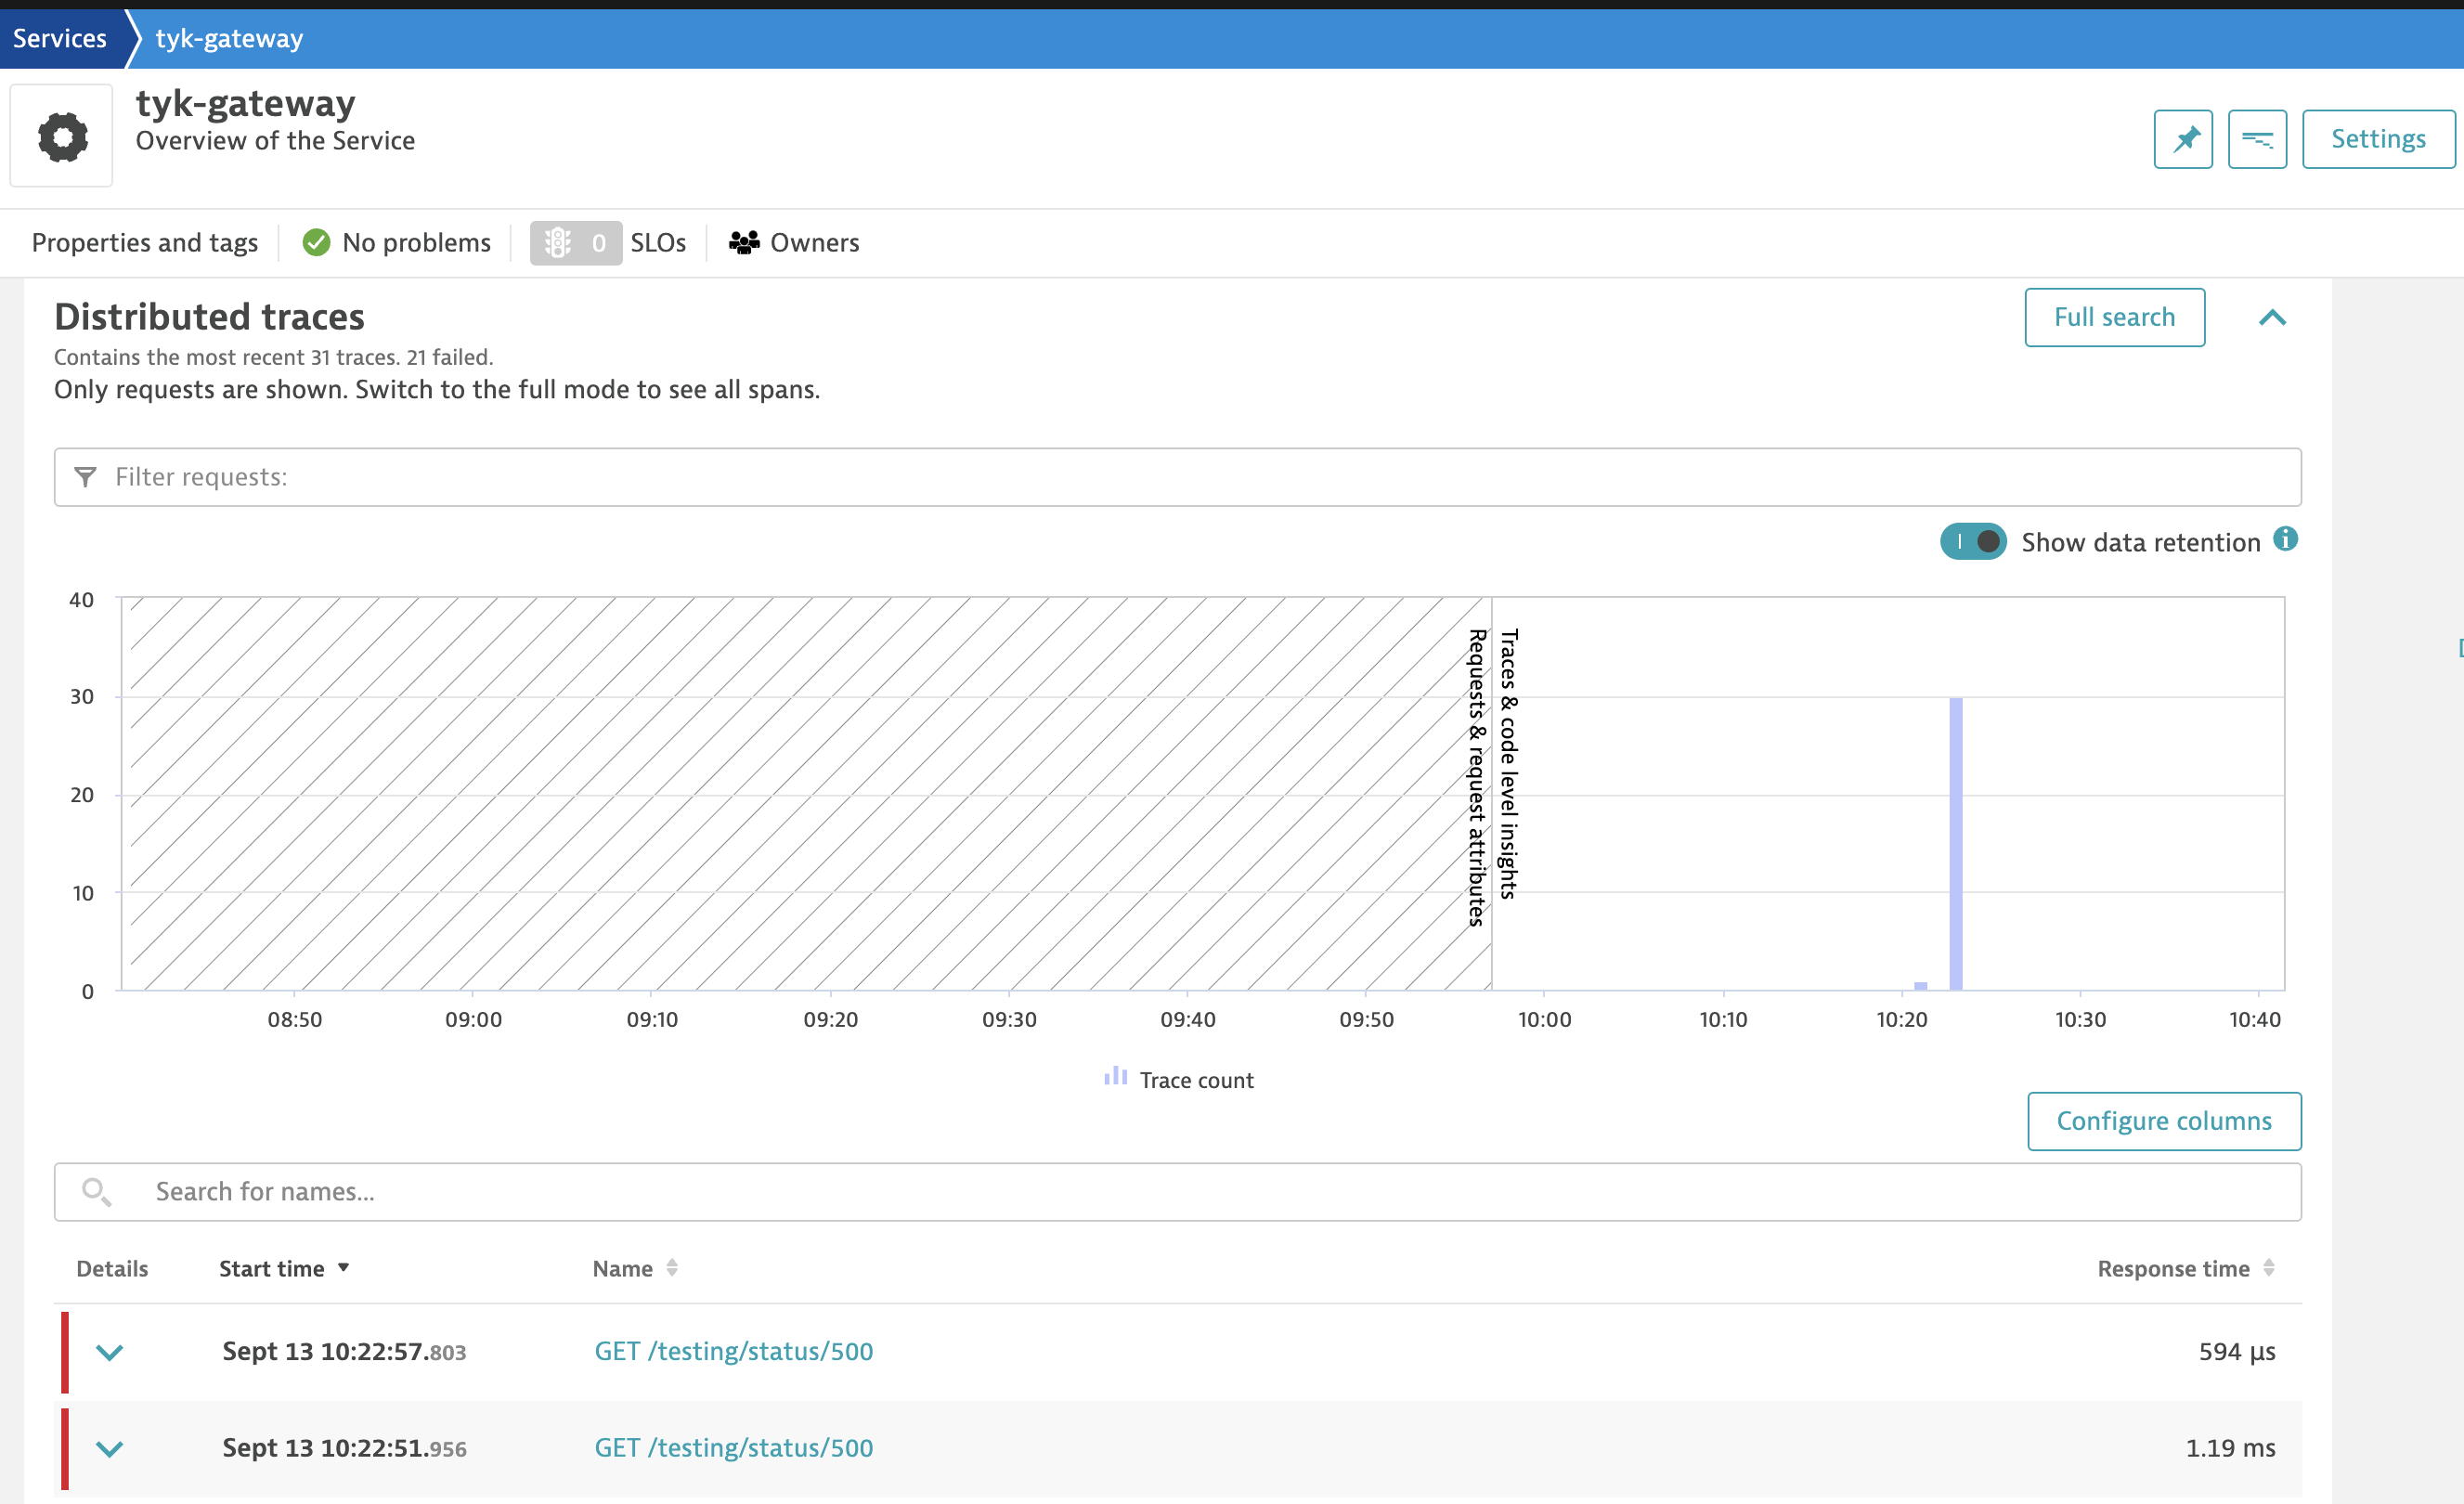
Traces, along with graphs, should appear. If they don’t, click on the “Full Search” button.
Use Dynatrace OneAgent Instead of the OTel Collector
Dynatrace OneAgent can run on your Tyk Gateway hosts in Full-Stack Monitoring or Infrastructure Monitoring mode. In this case, Tyk Gateway can send traces to the local OTLP endpoint of OneAgent. OneAgent then sends the traces to Dynatrace. You do not need the OTel Collector.The OneAgent OTLP endpoint is not available for container deployments. If Tyk Gateway runs in a container, use the OTel Collector setup on this page.
tyk.api.name and tyk.api.id, or middleware spans. To get Tyk Gateway spans in Dynatrace, use the steps below.
To send traces to OneAgent:
- Enable the OneAgent OTLP endpoint. In Dynatrace, enable the Extension Execution Controller for your Tyk Gateway hosts. See Use OneAgent with OpenTelemetry data. For an environment-level setup, also turn on the Enable local HTTP Metric, Log and Event Ingest API setting.
-
Configure tracing in Tyk Gateway. Use the
httpexporter and the OneAgent port. The OneAgent endpoint accepts OTLP over HTTP only. The default port is14499. -
Set the
OTEL_EXPORTER_OTLP_TRACES_ENDPOINTenvironment variable for the Tyk Gateway process.Tyk Gateway uses only the host and port from opentelemetry.traces.endpoint, and sends traces to the/v1/tracespath. The OneAgent endpoint uses the/otlp/v1/tracespath. This environment variable sets the correct path. - Restart Tyk Gateway.
Trace Retention in Dynatrace
In Dynatrace environments that use Grail, Dynatrace keeps traces for 10 days by default. It keeps logs for 35 days and metrics for 15 months. To keep trace data for a longer time, create a custom span bucket with a longer retention period and route spans to it. See How to organize your data stored in Grail and Configure data storage and retention for Distributed Tracing.Troubleshooting
If traces are not appearing:- try clicking on the “Full Search” button after waiting for 5 minutes.
- Make sure your Dynatrace token is correct in the configuration files.
- Validate the Docker Compose setup by checking the logs for any errors:
docker-compose logs