Login into the Dashboard using Azure AD - Guide
This is an end-to-end worked example of how you can use AzureAD and our Tyk Identity Broker (TIB) to log in to your Dashboard. This guide assumes the following:
You already have authorised access to Tyk’s Dashboard. If you haven’t, get the authorisation key by following this guide.
Azures’s side
- Access your Azure Portal and navigate to the Azure Active Directory page.
- Go to app registrations and create or access an application you want to use for Dashboard access.
- If you are creating an application, give it a name and register it
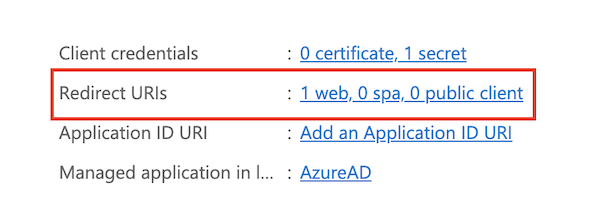
- Add a redirect URL to your application as callback to TIB in your Azure application:
-
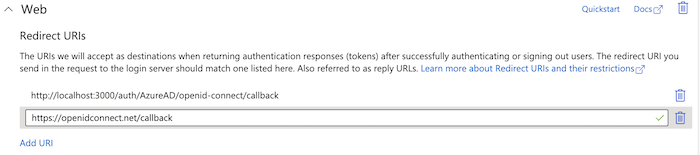
In your app, either via the Authentication menu or the redirect URL shortcut navigate to and add the redirect to TIB in the Web category i.e.
http://localhost:3000/auth/{PROFILE-NAME-IN-TIB}/openid-connect/callback.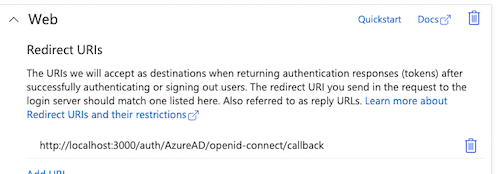
-
Go to Overview and add a secret in Client Credentials. Don’t forget to copy the secret value, not the secretID.

Check Microsoft’s documentation for more detail.
Dashboard’s side
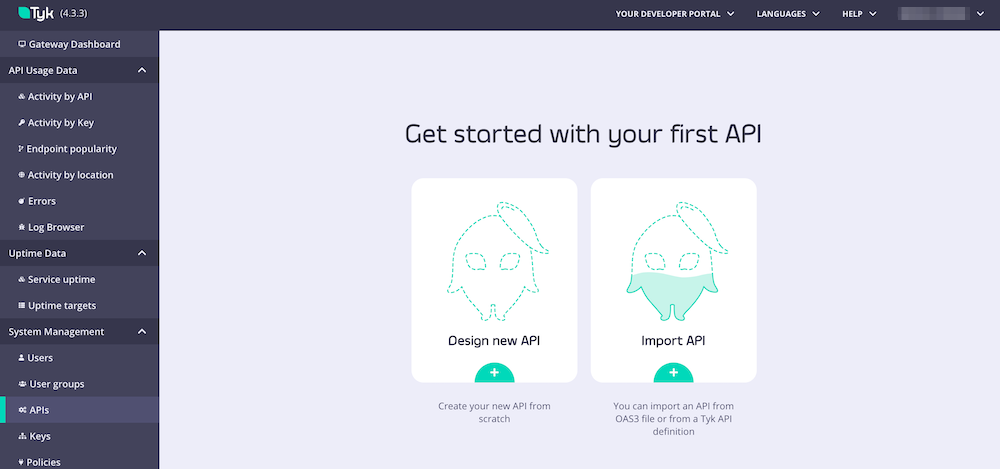
- Log in to your dashboard and select Identity Management, located under System Management
- Create a profile and select OpenID Connect as the provider type
- Under Profile Configuration, paste the secret value, clientID, and well-known endpoint URL from the Azure site.
- Profile Configuation may look something like this:
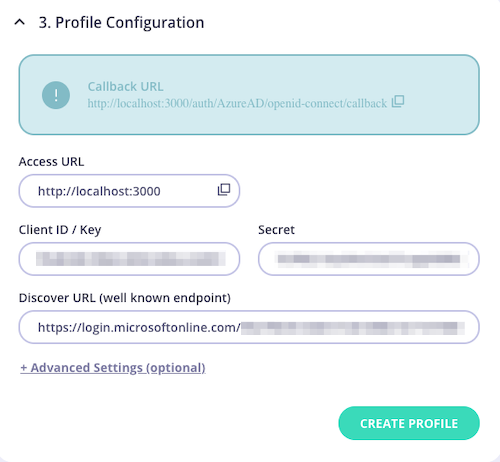
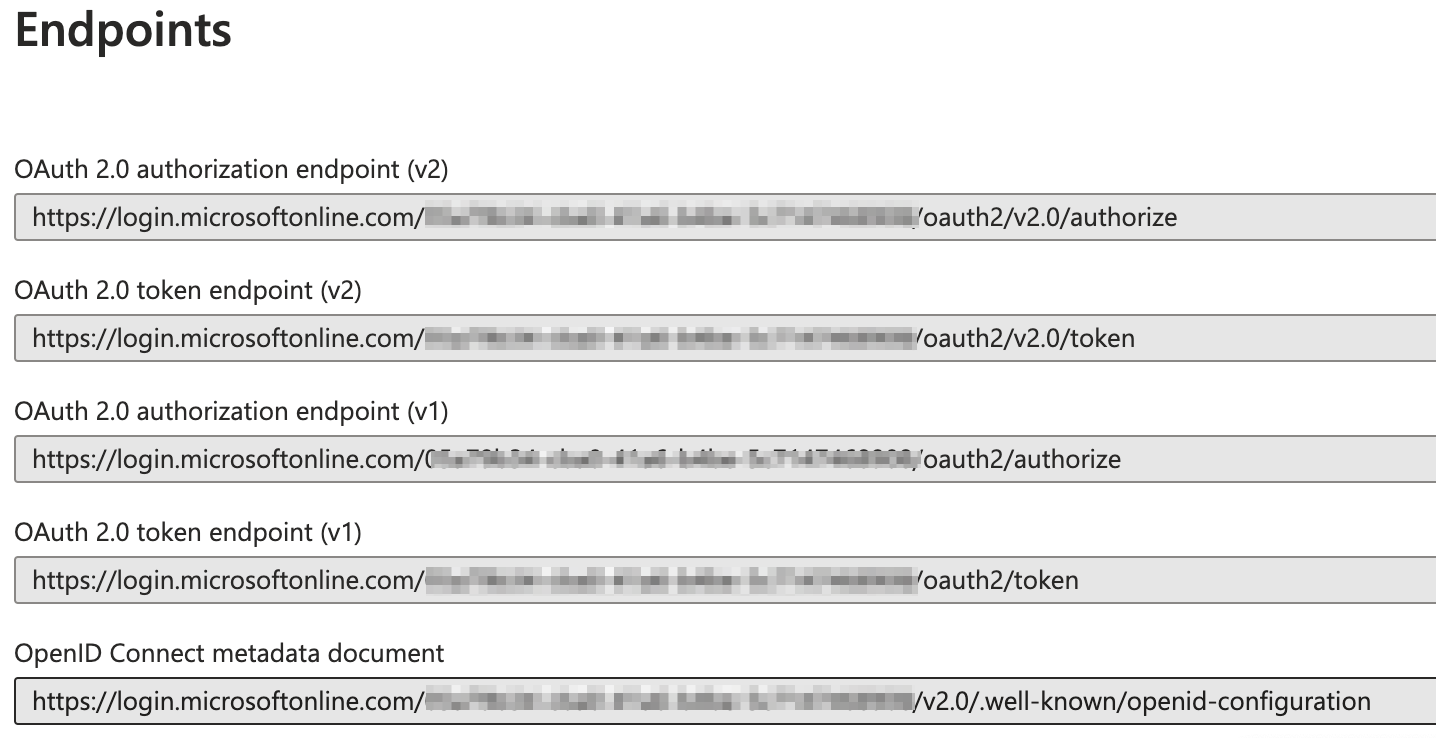
- The well-known endpoint URL is created by Azure and can be located by selecting Endpoints on their site
Test your Azure Login:
From the browser call http://localhost:3000/auth/{PROFILE-NAME-IN-TIB}/openid-connect
- If it’s working you’ll be redirected to Azures’s web page and asked for your username and password.
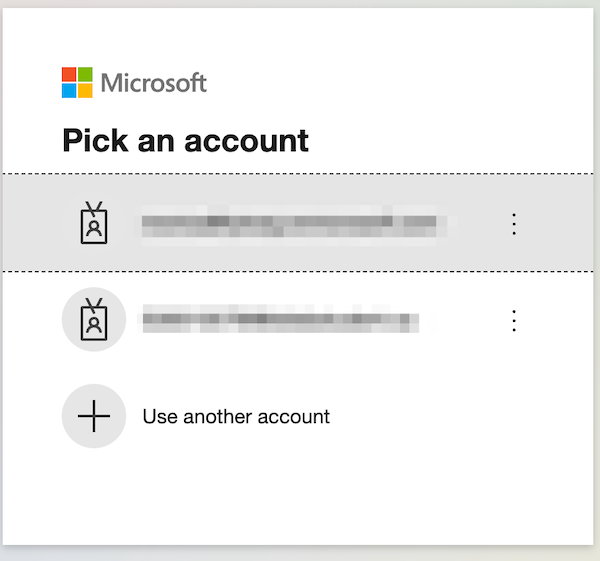
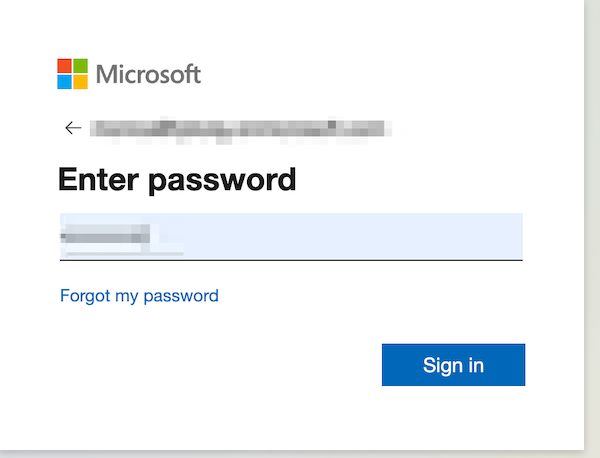
- If it’s working you’ll be redirected to Azures’s web page and asked for your username and password.
Enhancements
Once it’s working you can also add more enhancements such as automatic user group mapping from your AzureAD security groups or users groups to Tyk Dashboards groups.
User group mapping
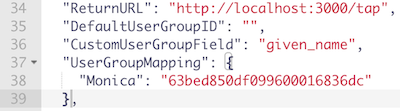
Group mapping can be managed from Advanced Settings section of the Profile Configuration screen.
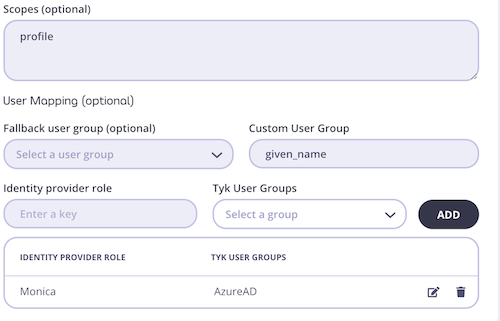
As illustrated in the screen below the following information must be provided:
- Identity provider role
- Tyk User Group: This can be created from the User Groups section of the dashboard (reference a link to a page in tyk docs here to show how to create a user group). When creating your User Group, one can also select and adjust the permissions for each group.
For more information on how to set and change user permissions, head to this guide
You can select the scopes you would like your request to include. By default, Tyk will provide the connectid scope, anything additional must be requested.
OpenID Connect Example
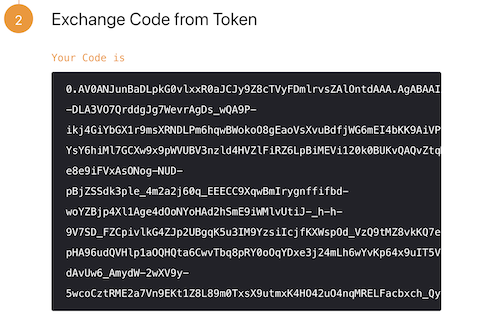
For debugging purposes, you can find an example we created using the OpenID Connect playground.
- Add the redirect url found on the OpenID Connect site to the redirect urls found under the Web section
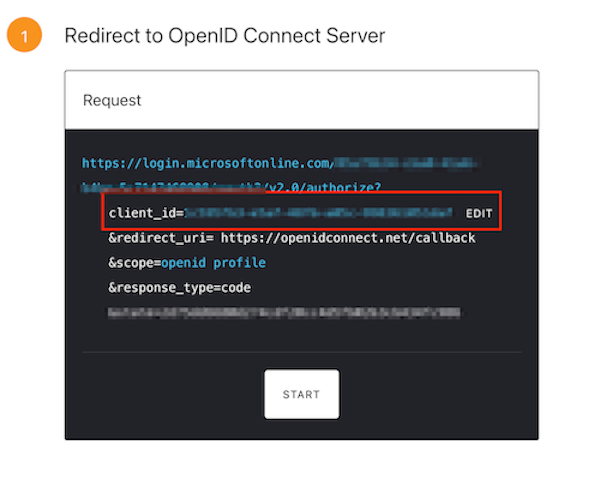
- Copy the OpenID Connect endpoint from the Azure site
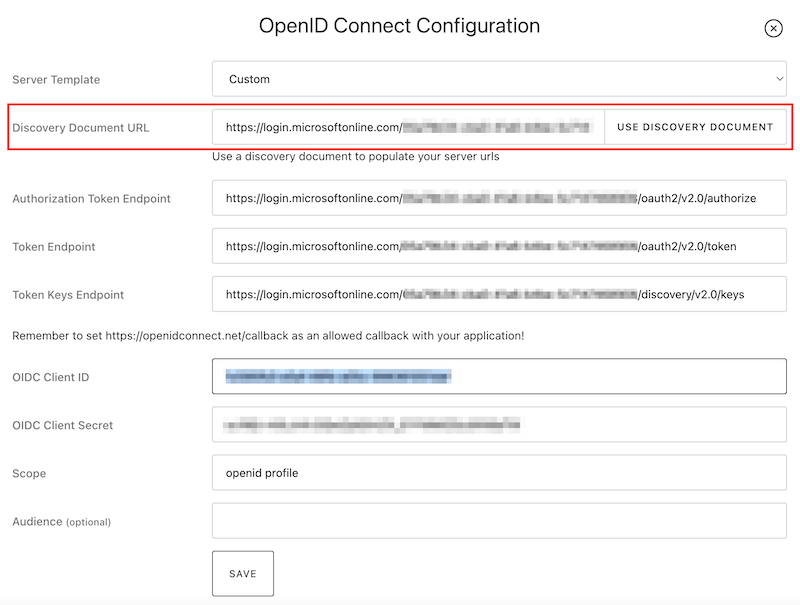
- On the OpenID Connect site select Edit. In the Server Template dropdown menu select the Custom option and paste the endpoint in the Discovery Document URL.
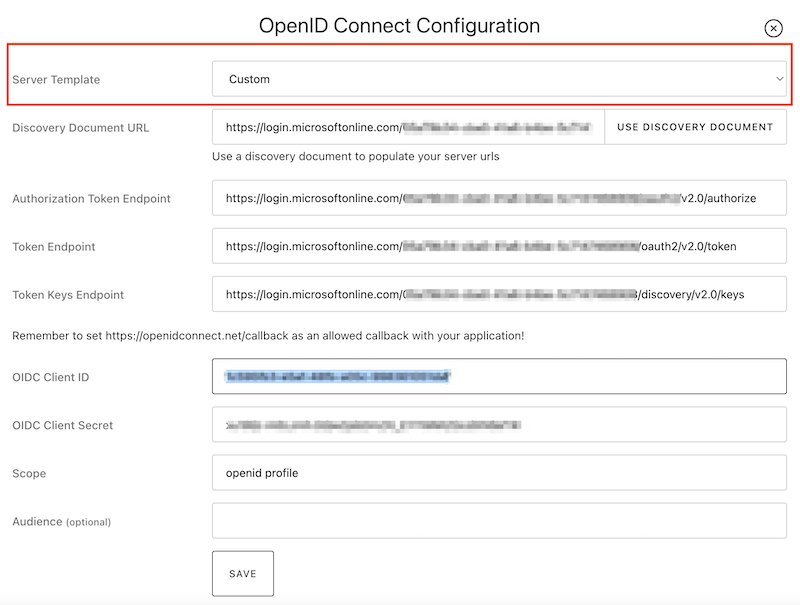
- Press the Use Discovery Document button and this will autofill Authorization Token Endpoint, Token Endpoint, and Token Keys Endpoint
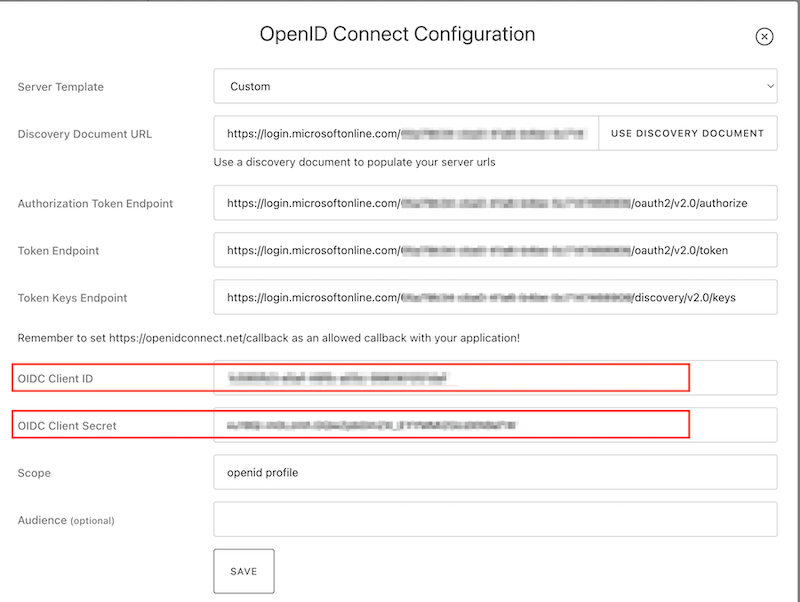
- Copy and paste the Client ID and Client Secret from the Azure site to your ConnectID. Scope is autofilled for you and save the configuration.
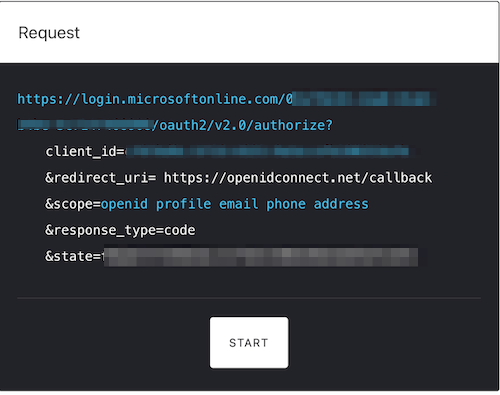
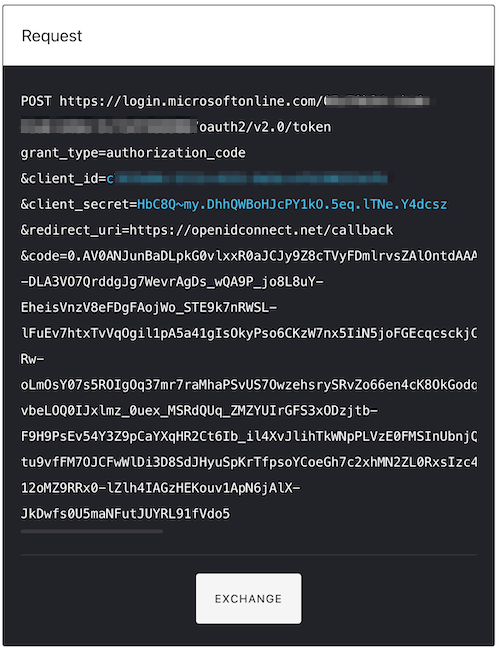
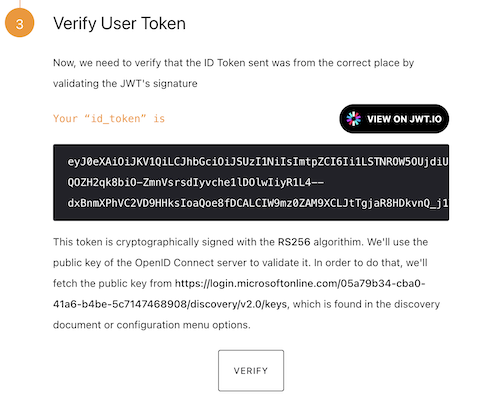
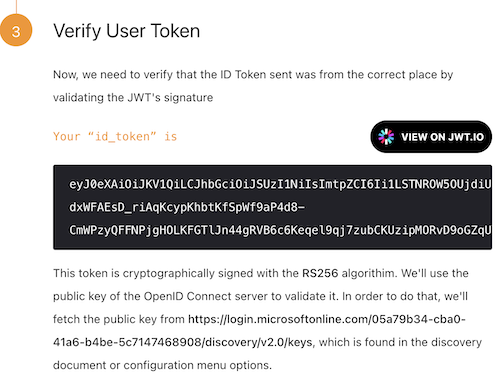
To try this yourself, we have included the link: https://openidconnect.net/