Create a Tyk OAS API
Introduction
These tutorials will take you through the process of creating a Tyk OAS API from scratch.
Note
Tyk OAS API support is currently in Early Access and some Tyk features are not yet supported. You can see the status of what is and isn’t yet supported here.
Tutorial 1: Create a Tyk OAS API using the Tyk Gateway API
In this tutorial we show you how to create a minimal Tyk OAS API using the Tyk Gateway API, starting with a Tyk OAS API Definition.
Click to expand tutorial
When making calls to the Tyk Gateway API you’ll need to set the domain name and port for your environment and, in the API request header, must provide credentials in the x-tyk-authorization field for Tyk to authorise your request, as follows:
| Interface | Port | Authorization Header | Authorization credentials |
|---|---|---|---|
| Tyk Gateway API | 8080 | x-tyk-authorization |
secret value set in tyk.conf |
To create the API in Tyk, you simply send your Tyk OAS API Definition to the apis/oas endpoint of your Tyk Gateway API.
| Property | Description |
|---|---|
| Resource URL | /tyk/apis/oas |
| Method | POST |
| Type | None |
| Body | Tyk OAS API Definition |
| Parameters | None |
Using this minimal API definition it is possible to create a Tyk OAS API on your Tyk Gateway using only 30 lines:
curl --location --request POST 'http://{your-tyk-host}:{port}/tyk/apis/oas' \
--header 'x-tyk-authorization: {your-secret}' \
--header 'Content-Type: text/plain' \
--data-raw
'{
  "info": {
    "title": "Petstore",
    "version": "1.0.0"
  },
  "openapi": "3.0.3",
  "components": {},
  "paths": {},
  "x-tyk-api-gateway": {
    "info": {
      "name": "Petstore",
      "state": {
        "active": true
      }
    },
    "upstream": {
      "url": "https://petstore.swagger.io/v2"
    },
    "server": {
      "listenPath": {
        "value": "/petstore/",
        "strip": true
      }
    }
  }
}'
Check request response
If the command succeeds, you will see the following response, where key contains the unique identifier (id) for the API you have just created:
{
    "key": {NEW-API-ID},
    "status": "ok",
    "action": "added"
}
What you have done is to send a Tyk OAS API definition to Tyk Gateway’s /apis/oas endpoint resulting in the creation of the API in your Tyk Gateway. The Tyk OAS API definition object encapsulates all of the settings for a Tyk OAS API within your Tyk Gateway.
Restart or hot reload
Once you have created your API you will want it to be loaded into the Gateway so that it can serve traffic. To do this you simply restart the Tyk Gateway or issue a hot reload command:
curl -H "x-tyk-authorization: {your-secret}" -s http://{your-tyk-host}:{port}/tyk/reload/group
You can go to the /apps folder of your Tyk Gateway installation (by default in /var/tyk-gateway) to see where Tyk has stored your Tyk OAS API Definition.
Tutorial 2: Create a Tyk OAS API using the Tyk Dashboard API
You can also create APIs using the Tyk Dashboard API, starting with a Tyk OAS API Definition.
In this tutorial we will also show you how to test and protect your new API by enforcing an authentication requirement when making calls to the API.
Click to expand tutorial
When making calls to the Tyk Dashboard API you’ll need to set the domain name and port for your environment and, in the API request header, must provide credentials in the Authorization field for Tyk to authorise your request, as follows:
| Interface | Port | Authorization Header | Authorization credentials |
|---|---|---|---|
| Tyk Dashboard API | 3000 | Authorization |
From Dashboard User Profile |
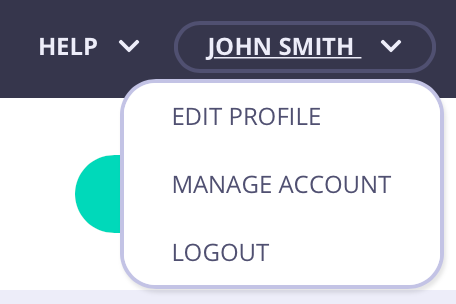
From the Tyk Dashboard, select Users from the System Management section. Click Edit for your user, then scroll to the bottom of the page. Your Dashboard API Key is the first entry:
We recommend that you store your Dashboard API Key, Dashboard URL & Gateway URL as environment variables so you don’t need to keep typing them in:
export DASH_KEY=db8adec7615d40db6419a2e4688678e0

# Locally installed dashboard
export DASH_URL=http://localhost:3000/api

# Tyk's Cloud Dashboard
export DASH_URL=https://admin.cloud.tyk.io/api

# Locally installed gateway
export GATEWAY_URL=http://localhost:8080

# Your Cloud Gateway
export GATEWAY_URL=https://YOUR_SUBDOMAIN.cloud.tyk.io
Check which APIs are already loaded
You can query the /api/apis endpoint to see what APIs are already loaded on your Tyk deployment.
| Property | Description |
|---|---|
| Resource URL | /apis |
| Method | GET |
| Type | None |
| Body | None |
| Parameters | None |
curl -H "Authorization: ${DASH_KEY}" ${DASH_URL}/apis
{"apis":[],"pages":1}
Note
For a fresh install, you will see that no APIs currently exist
Create your first Tyk OAS API
To create the API in Tyk, you simply send your Tyk OAS API Definition to the apis/oas endpoint of your Tyk Gateway API.
| Property | Description |
|---|---|
| Resource URL | /tyk/apis/oas |
| Method | POST |
| Type | None |
| Body | Tyk OAS API Definition |
| Parameters | None |
Using this API definition it is possible to create a Tyk OAS API on your Tyk Gateway that forwards requests to the Swagger Petstore request/response service.
curl -H "Authorization: ${DASH_KEY}" -H "Content-Type: application/json" ${DASH_URL}/apis/oas -d "$(wget -qO- https://bit.ly/39jUnuq)"
If the command succeeds, you will see the following response, where key contains the unique identifier (id) for the API you have just created:
{
    "Status": "OK",
    "Message": "API created",
    "Meta": {NEW-API-ID}
}
Test your new API
The Swagger Petstore provides plenty of endpoints to allow you to test different REST methods and operations. In this tutorial we will first add (POST) a new pet to the store and then retrieve (GET) the details of that pet back. Note that, as an API client, there is no difference between calling a Tyk OAS API and a Tyk Classic API.
Create a new pet in the store using this curl command:
curl --location --request POST '${GATEWAY_URL}/petstore-test/pet' \
--header 'accept: */*' \
--header 'Content-Type: application/json' \
--data-raw '{
  "id": 123,
  "category": {
    "id": 0,
    "name": "dogs"
  },
  "name": "doggie",
  "tags": [
    {
      "id": 0,
      "name": "family_dogs"
    }
  ],
  "status": "available"
}'
Retrieve the pet that has just been created using this curl command:
curl --location --request GET '${GATEWAY_URL}/petstore-test/pet/123' \
--header 'accept: */*' \
--header 'Content-Type: application/json'
What you have done is send a request to the Tyk Gateway on the listen path /petstore-test. Using this path-based-routing, the Gateway is able to identify the API the client intended to target.
The Gateway stripped the listen path, and reverse proxied the request to https://petstore3.swagger.io
Tutorial 3: Create a Tyk OAS API using the Tyk Dashboard GUI
Tyk Dashboard has a new and improved API Designer that you’ll use when working with Tyk OAS APIs. In this tutorial we guide you through the steps to create a new Tyk OAS API using the GUI.
Click to expand tutorial
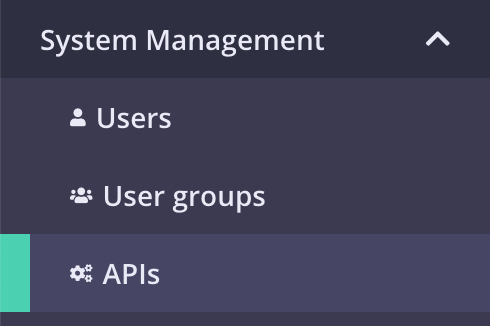
Select “APIs” from the “System Management” section
Add new API
If you have a fresh Tyk installation with no other APIs added, click Design new API:
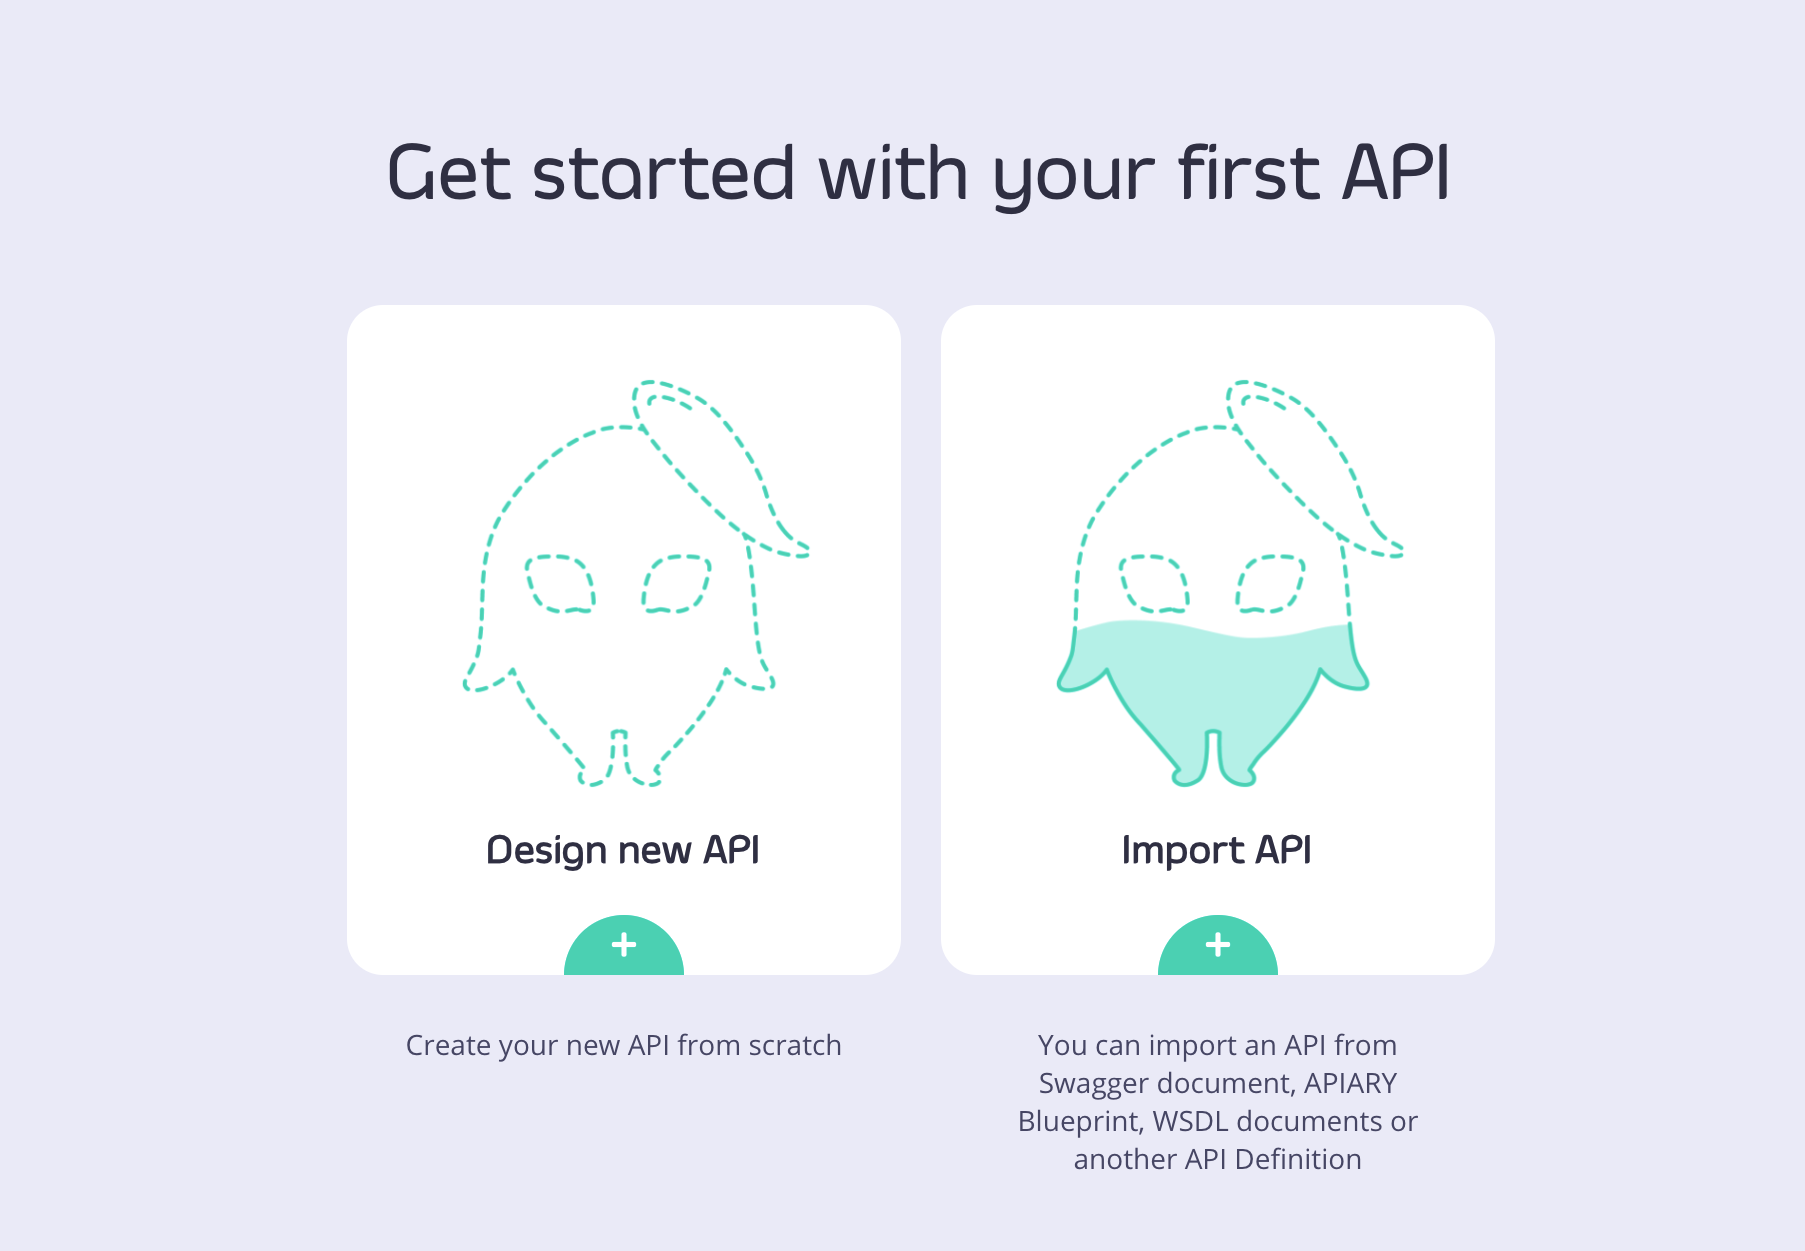
If you already have APIs in your Tyk installation, click Add new API:

Set up the Base Configuration for your API
- From the Overview section, add your API Name and your API Type (for this tutorial, select OAS HTTP).
- From the Details section, add your Target URL. This will set the upstream target that hosts the service you want to proxy to. For this tutorial you can use https://petstore3.swagger.io.
- Click Configure API when you have finished.

Set the Gateway Status and Access
- You need to set the Gateway status to Active
- You need to set the Access setting to Internal (within your installation only) or External (available to external sources)

Click Save Changes.
Once saved, you will be redirected to the newly created API screen.
Note
To see the URL given to your API, check the Info section displayed at the top of the page:

Set up the Authentication for your API
From the API page:
- Click Edit
- Scroll down to the Authentication section and enable it.
- Select Auth Token from the drop-down list
- Enter a Authentication Configuration Name
- Select the Authentication Token Location to be picked up from the header
- Note that the header default value will be Authorization
- Save your API
Test your API
From the Settings tab of your API, copy the API URL and request the API without providing an authorization token:
curl --location --request GET 'http://localhost:8181/petstore/' \
--header 'Authorization: wrongkey'
Note that the Gateway will respond with the following error message:
{
    "error": "Access to this API has been disallowed"
}
Add new endpoints to your Tyk OAS API using the Tyk Dashboard
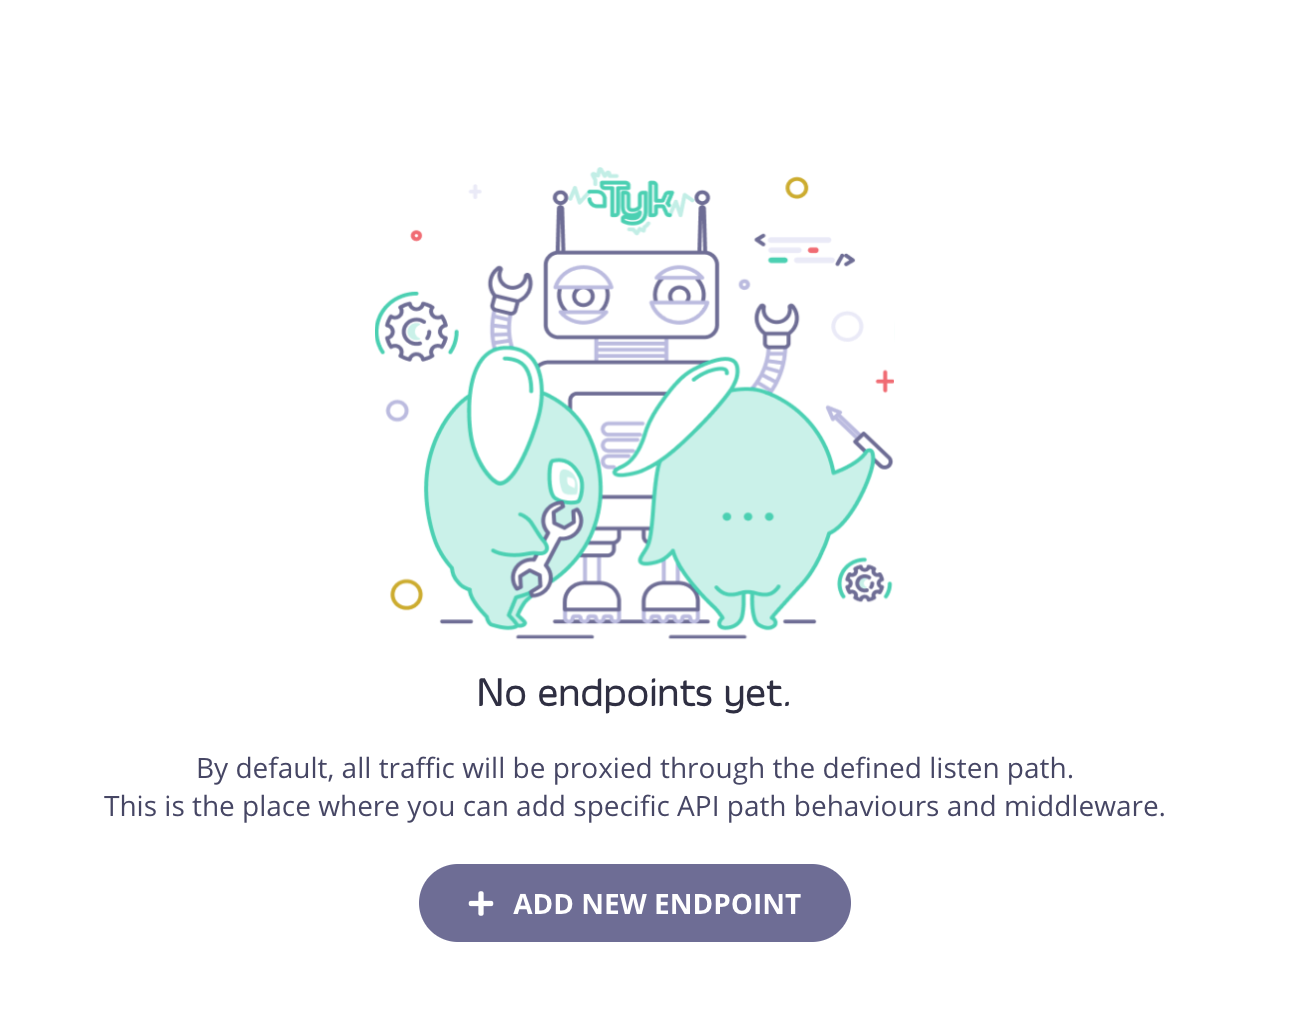
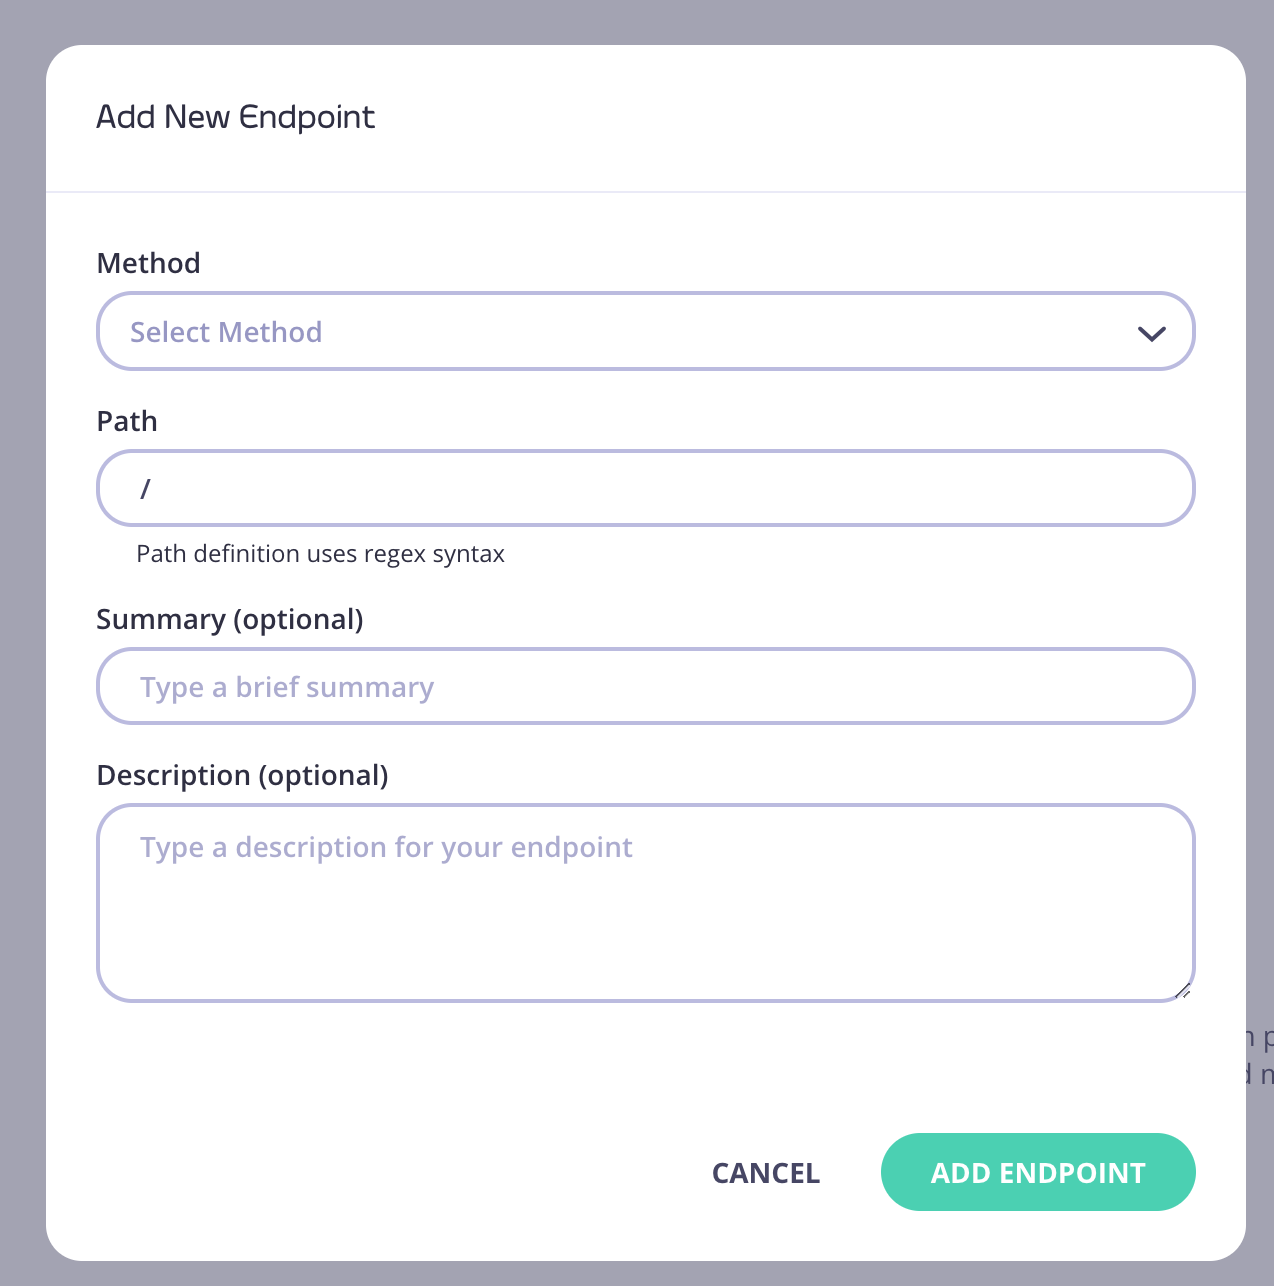
- After creating your Tyk OAS API, select the Endpoints tab.
- Click ADD NEW ENDPOINT
- Add the following details for your new endpoint:
- Select a method from the drop-down list
- Add a path for your endpoint
- Add an optional summary and description
- Click ADD ENDPOINT
- Your new endpoint will now be listed in the Endpoints tab
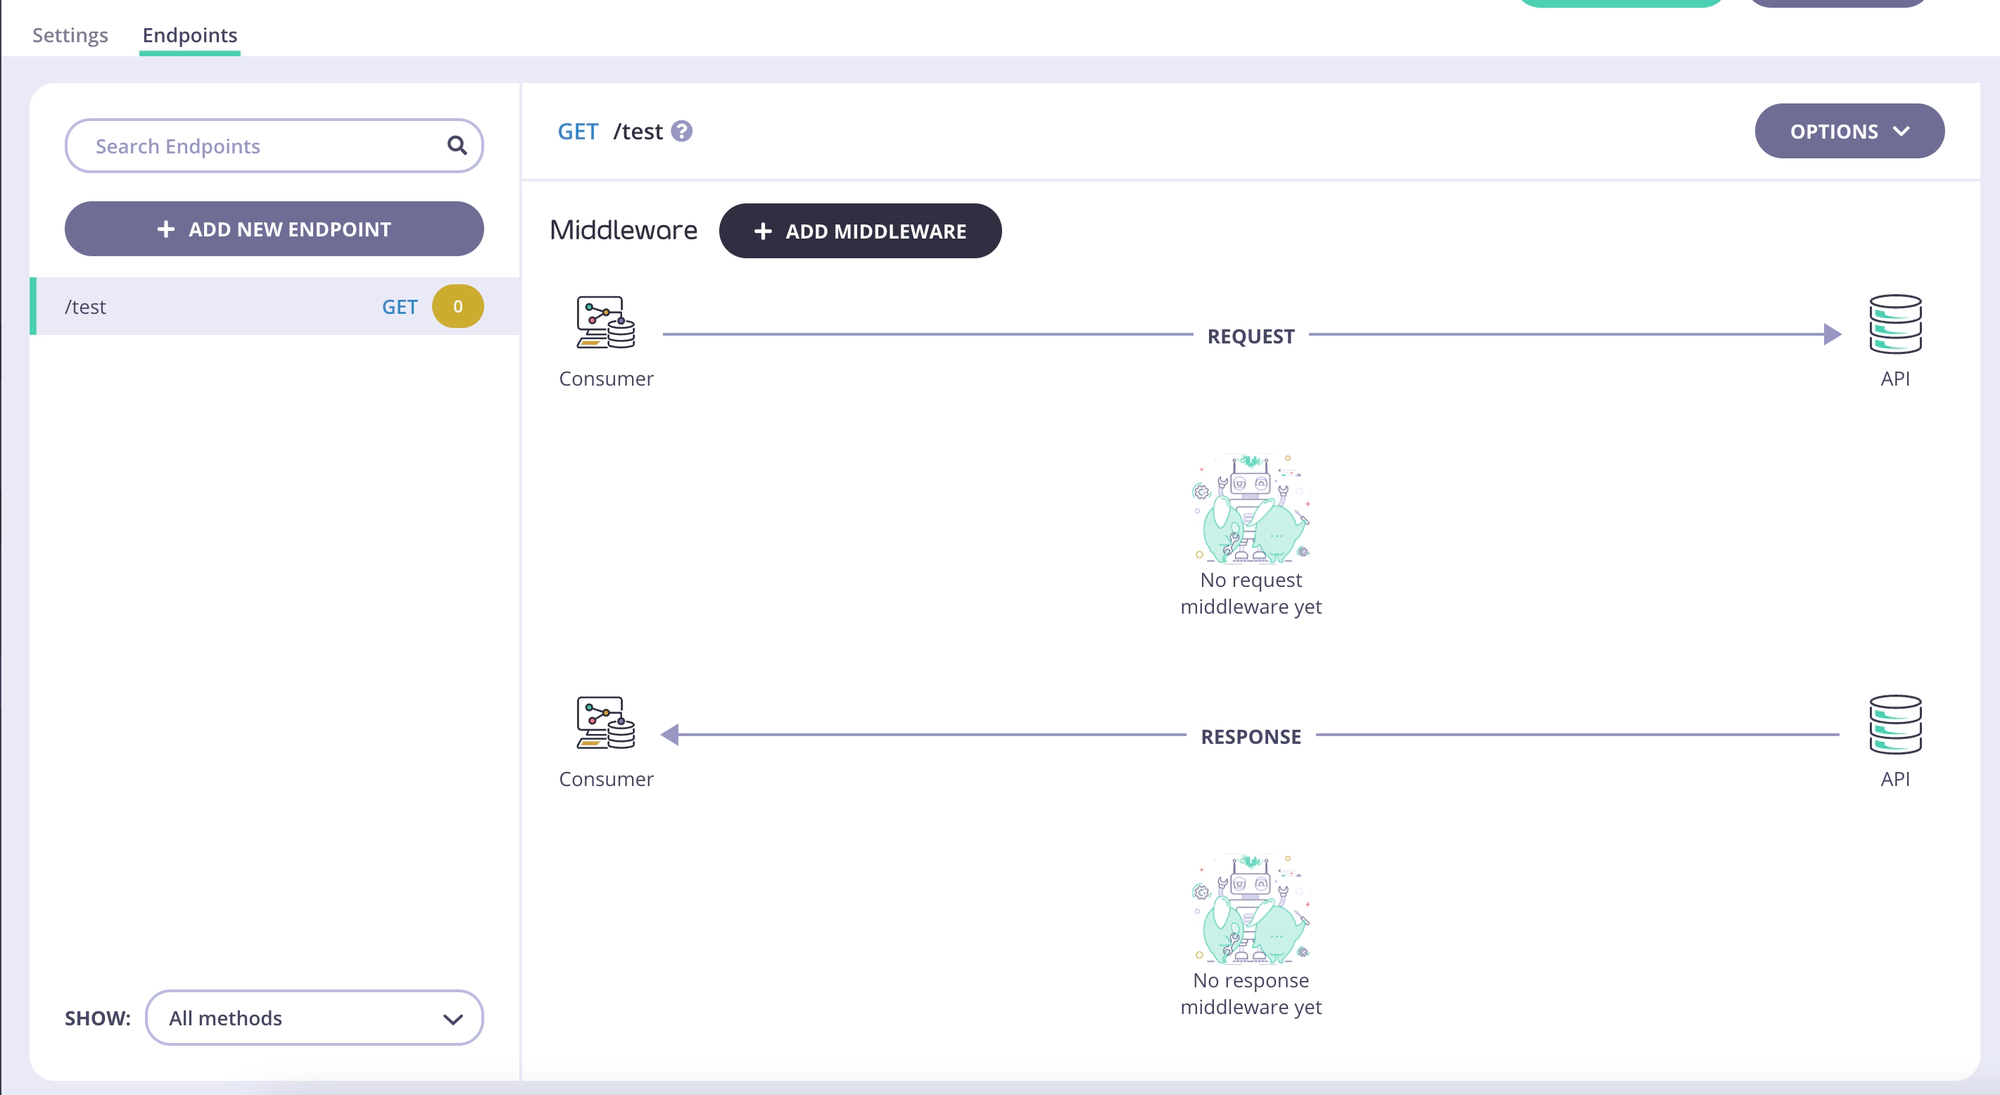
- You can now add middleware to your endpoint.
Note
We are gradually introducing new middleware during the Early Access period of Tyk OAS API functionality. You may find not all middleware is currently supported.
