Create User Groups
Introduction
Instead of setting permissions per user, you can create a group, and assign it to one or more users.
You can use User Groups to help with Role Based Access Control (RBAC) for your users. For example, if you only want certain users to access the Tyk Logs, you can create a Logs User Group, then give those users the Logs Read permission and add them to your Logs User Group. See User Roles for assigning permissions to users.
This also works for Single Sign On (SSO) as well, you can specify the group ID when setting up SSO.
This Role Based Access Control (RBAC) feature is available to all our SaaS users. For On-Premises installations, this feature is available for customers with at least a 5-node or Cloud Native Unlimited-node license.
In order to manage user groups, ensure that you have either “admin” or “user groups” permission for your user, which can be enabled by your admin.
Note
A user can only belong to one group.
Create a User Group with the Dashboard
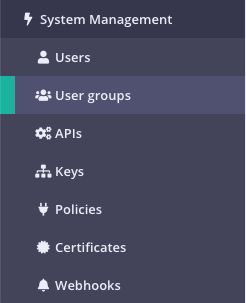
Step 1: Select “User Groups” from the “System Management” section

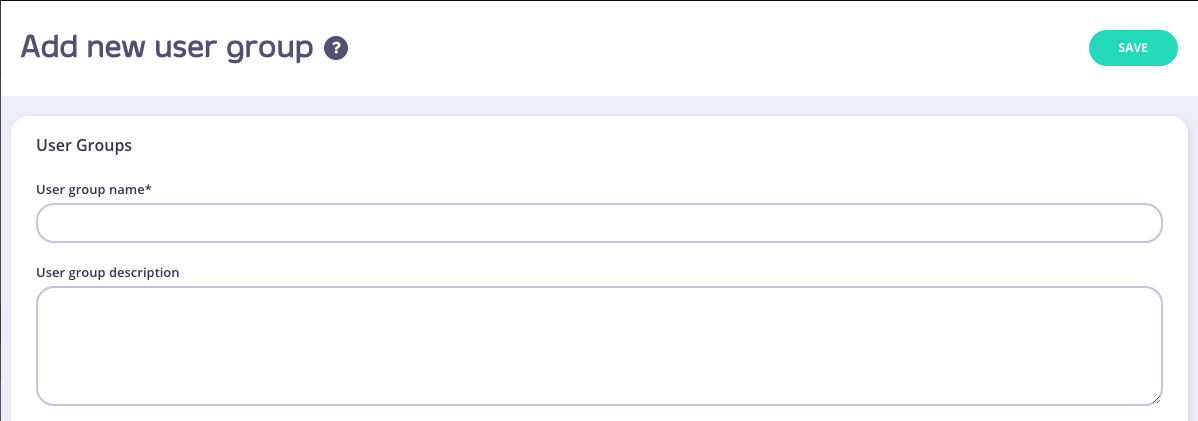
Step 2: Click “ADD NEW USER GROUP”

Step 3: Add User Group Name
Enter the name for your User Group, and an optional Description.

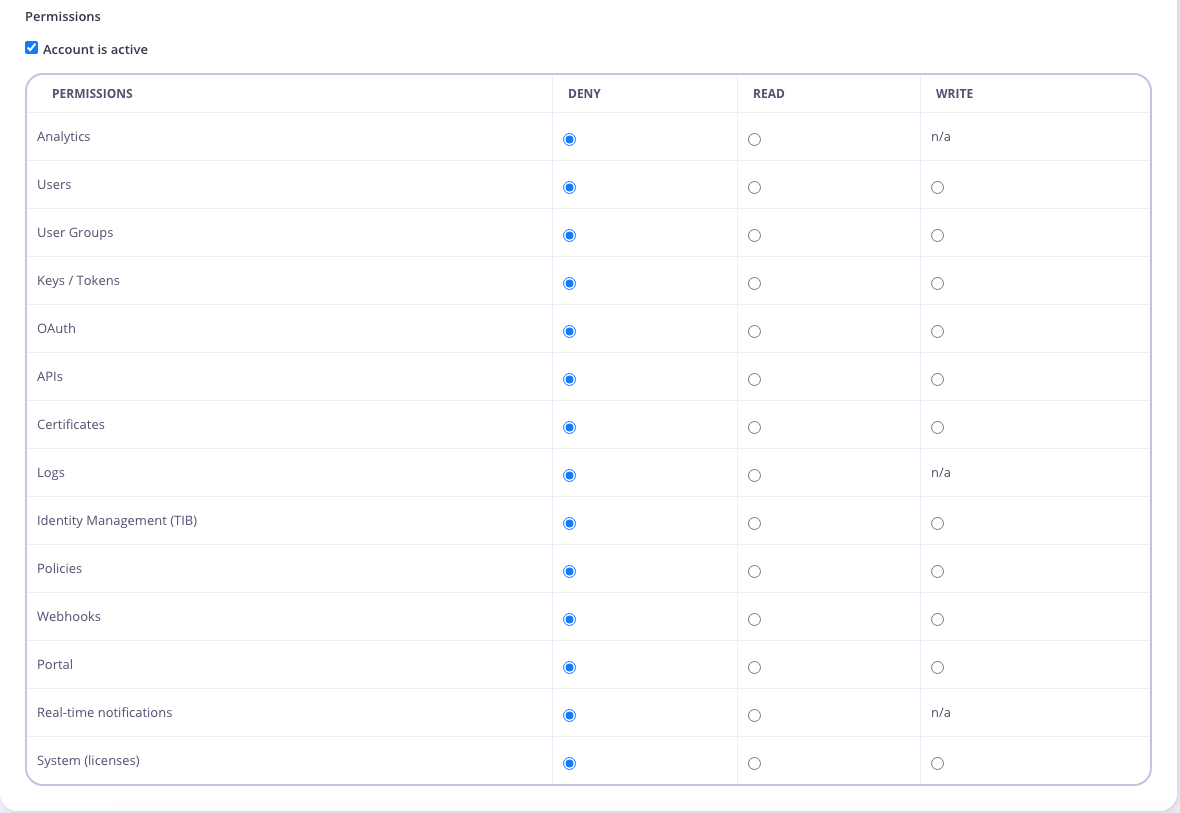
Set User Group Permissions
Selet the User Group Permissions you want to apply.

Note
You can now create your own custom permissions using the Additional Permissions API or by updating the <code>security.additional_permissions</code> settings in your Tyk Dashboard tyk_analytics.conf.
See Open Policy Agent for more details.
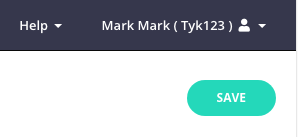
Step 4: Click “Save” to create the Group

Step 5: Add Users to your Group
- From the Users menu, select Edit from the Actions drop-down list for a user to add to the group.
- Select your group from the User group drop-down list.

Click Update to save the User details

Managing User Groups with the Dashboard API
You can also manage User Groups via our Dashboard API. The following functions are available:
