Login into the Dashboard using Auth0 - Guide
Overview
This will walk you through securing access to your Tyk Dashboard using OpenID Connect (OIDC) identity tokens with Auth0. We also have the following video that will walk you through the process.
Prerequisites
- A free account with Auth0
- A Tyk Self-Managed or Cloud installation
- Our Tyk Identity Broker (TIB). You can use the internal version included with a Tyk Self-Managed installation and Tyk Cloud, or an external version. See Tyk Identity Broker for more details.
Create a new user in Auth0
- Log in to your Auth0 account.
- Select Users from the User Management menu.
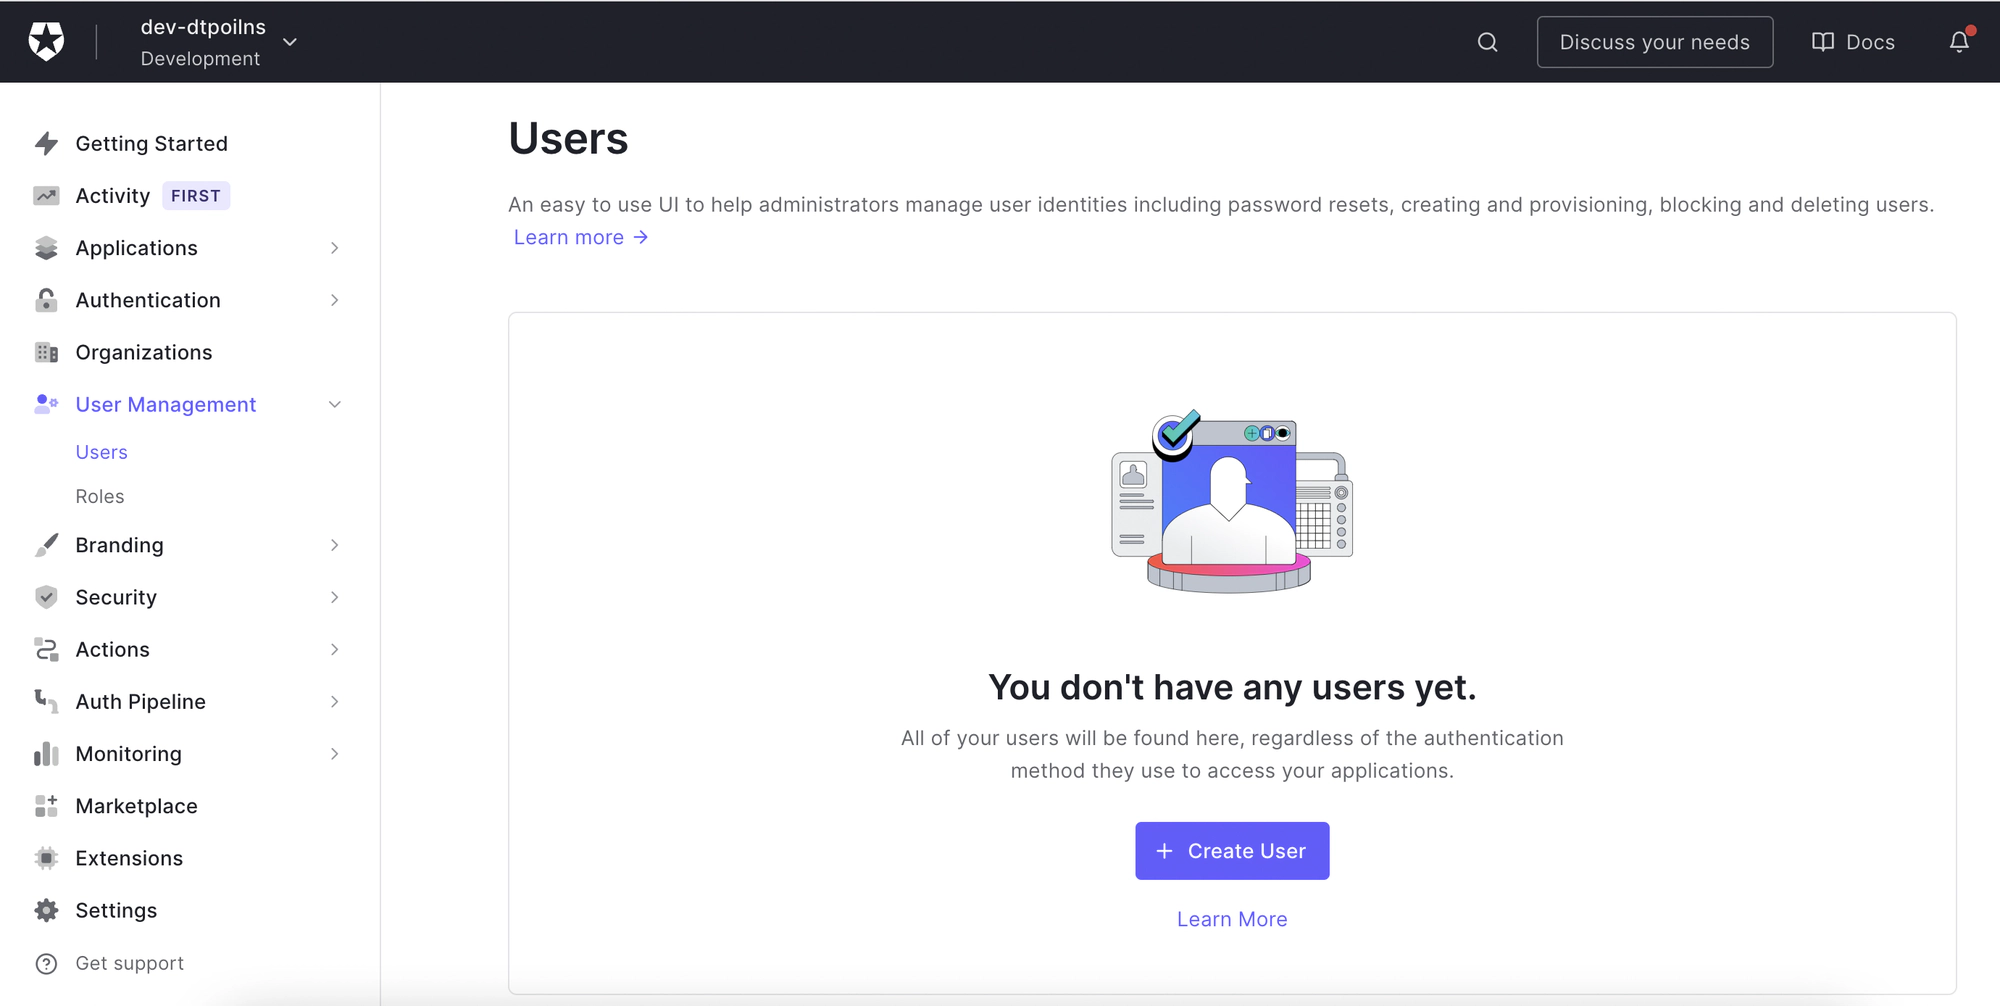
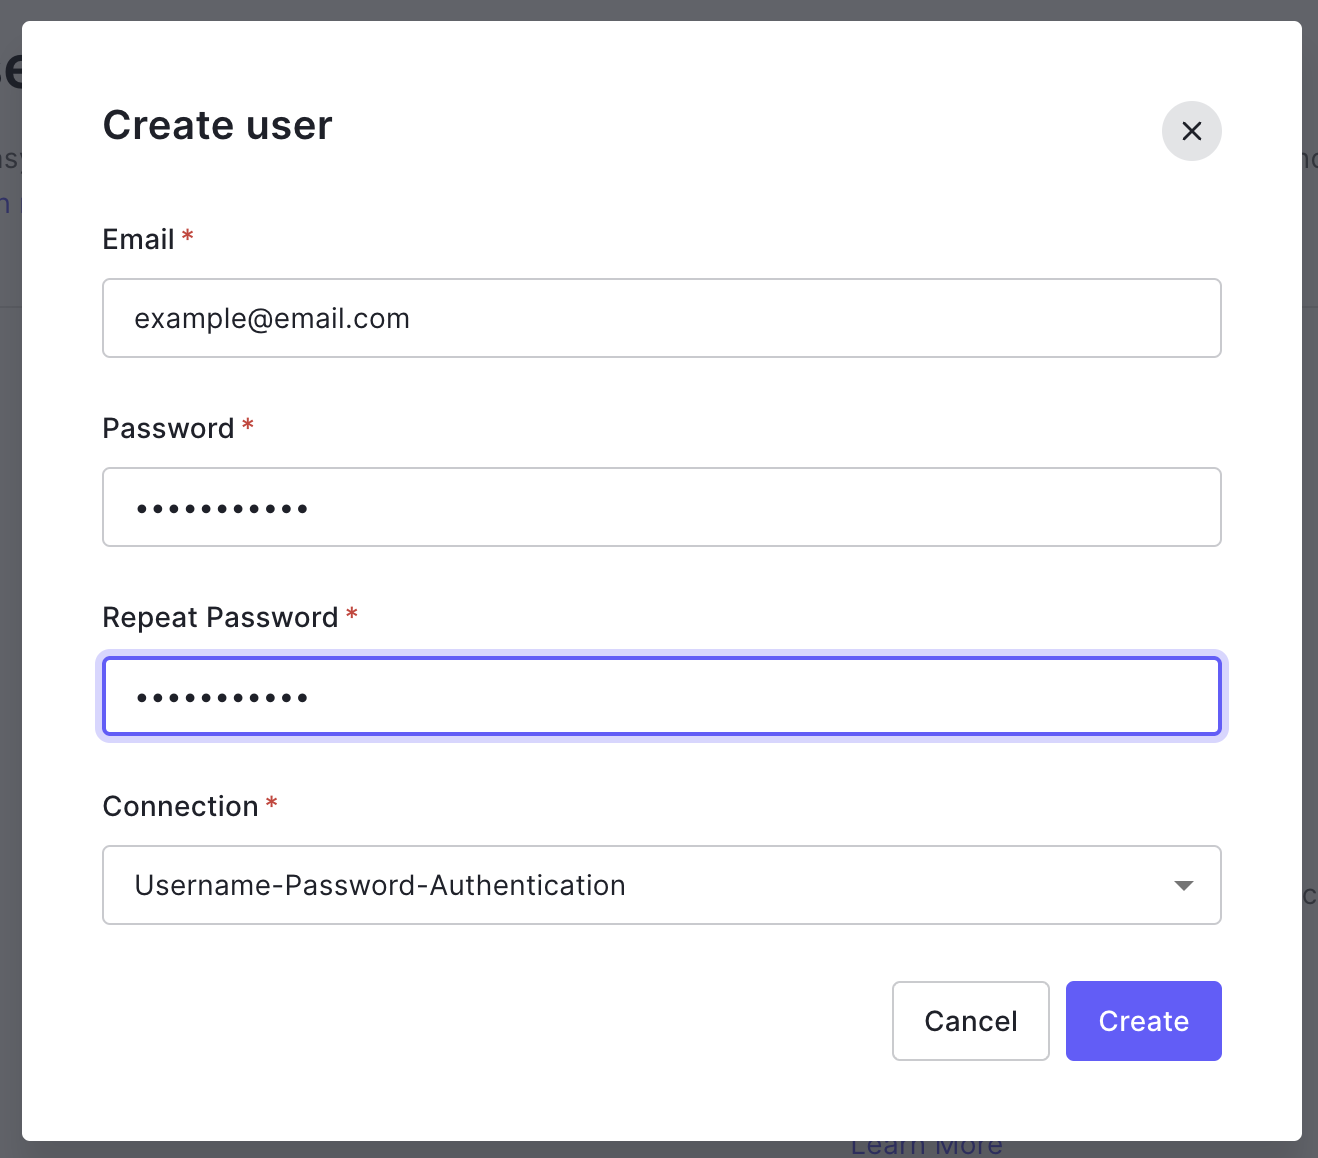
- Click Create User and complete the new user form, using the default Username-Password-Authentication Connection method.
- Click Create to save your new user.
Create an Auth0 application
You will use settings from your Auth0 application within the Tyk Dashboard Identity profile you will create.
- Select Applications from the Auth0 menu.

- Click Create Application.
- Give your application a name and select Regular Web Application from the applications types.
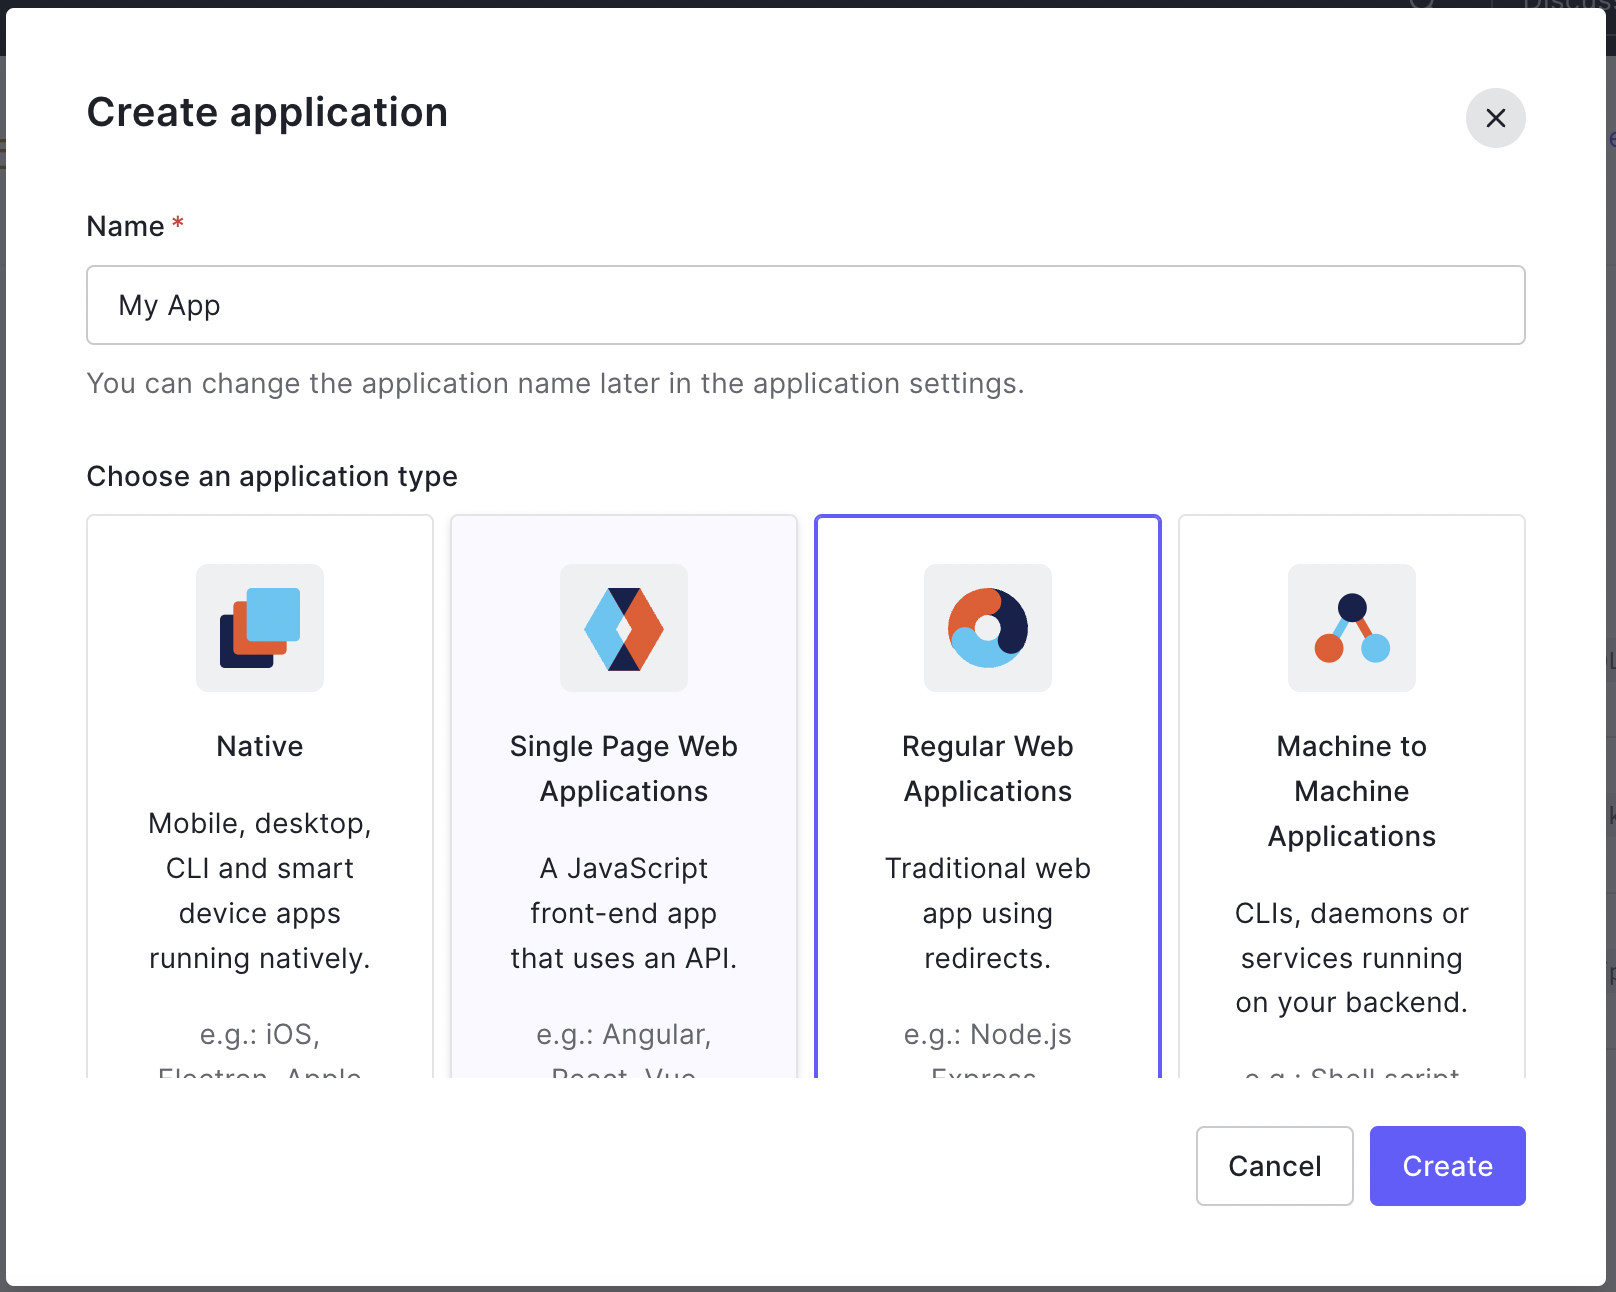
- Click Create.
- After you application has been created select the Basic Information tab.
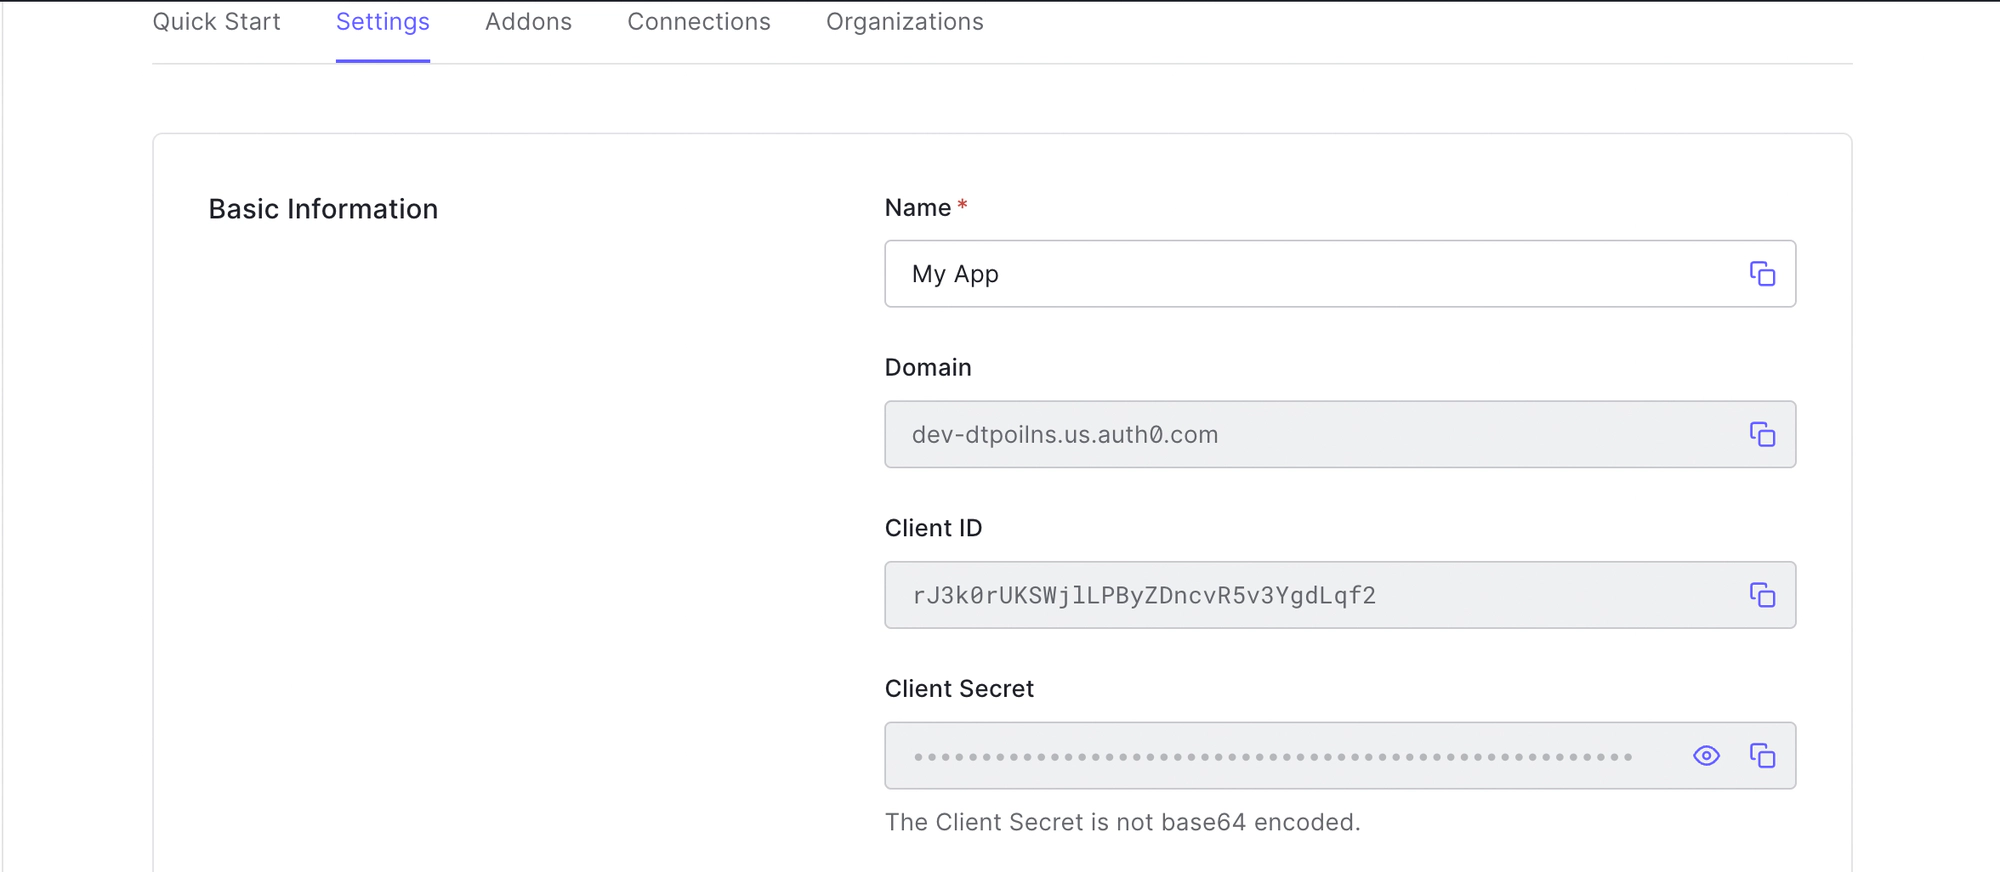
- You will use the Domain, Client Id and Client Secret values in the Identity profile you create next in the Tyk Dashboard.
Create an Identity Management profile in your Dashboard
- Log in to your Tyk Dashboard as an Admin user.
- Select Identity Management from the System Management menu.

- Click Create Profile.
- In the Profile action section enter a name for your profile and make sure the Login to Tyk Dashboard option is selected.
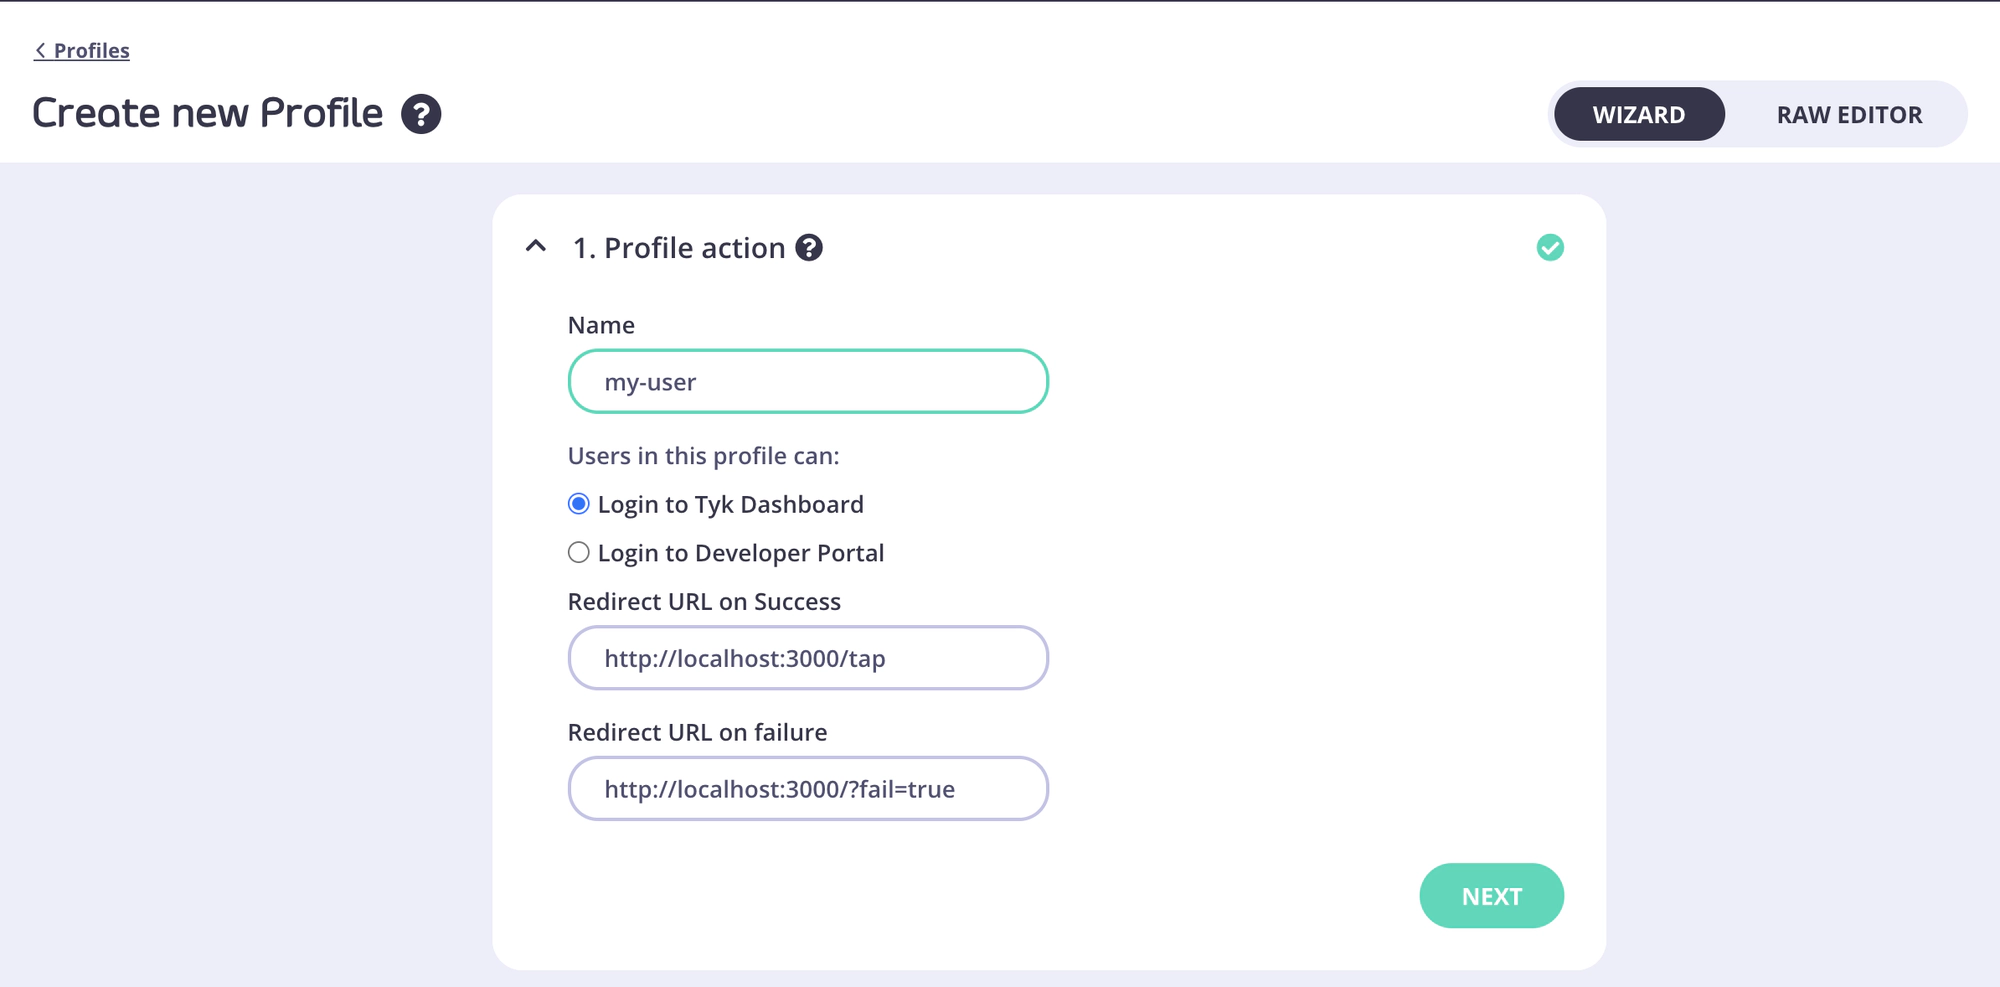
- Click Next. In the Provider type section, select OpenID Connect.
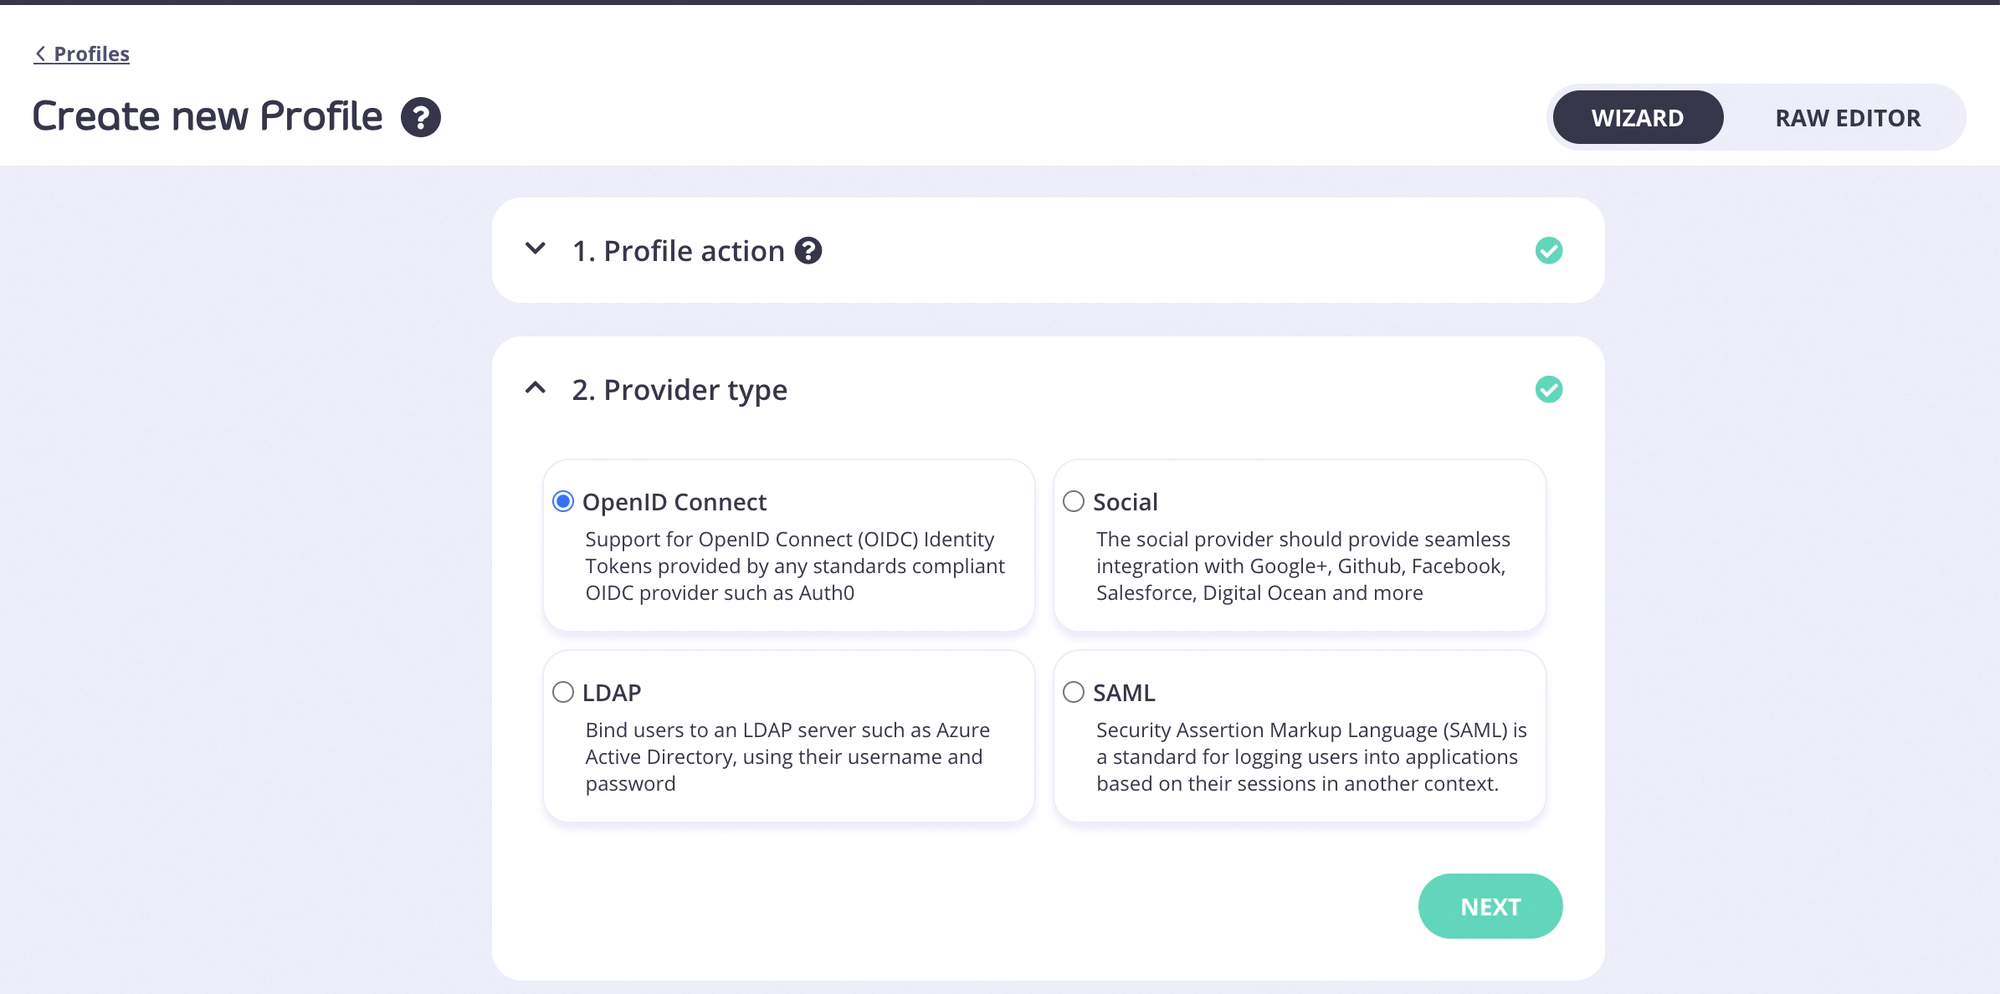
- Click Next. Copy the Client ID value from your Auth0 application > Basic Information and paste it in the Client ID / Key field.
- Copy the Client Secret value from your Auth0 application > Basic Information and paste it in the Secret field.
- You need to add a Discover URL (well known endpoint). Use the following URL, replacing
<<your-auth0-domain>>with the Domain value from your Auth0 application > Basic Information.
https://<<your-auth0-domain>>/.well-known/openid-configuration
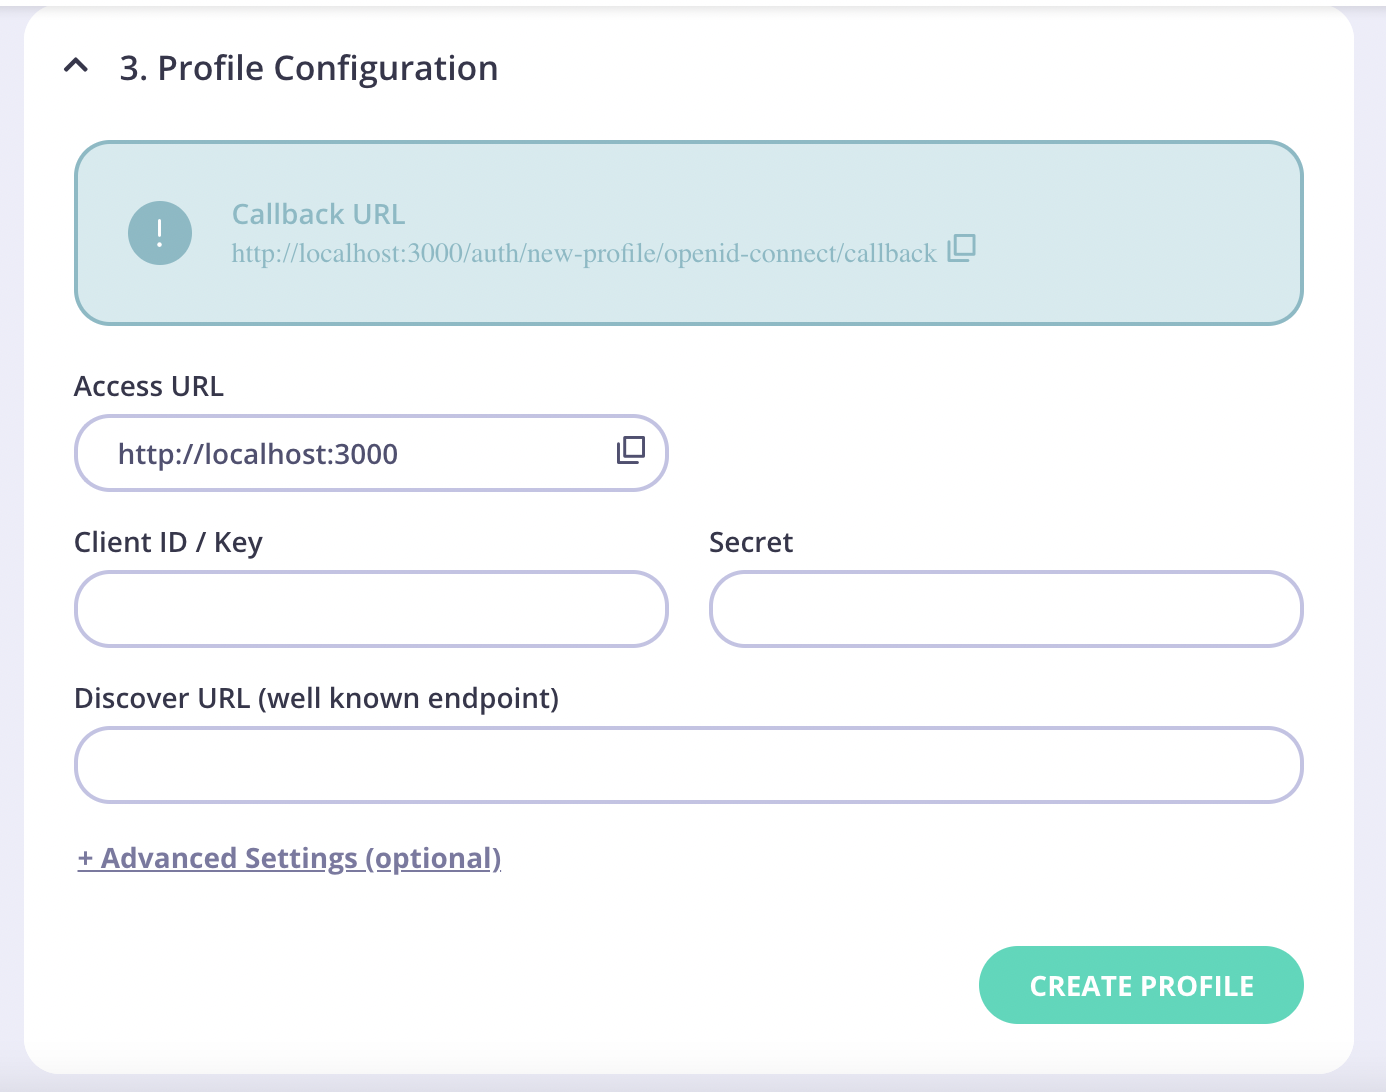
- Copy the Callback URL and paste it into the Allowed Callback URLs field in your Auth0 application > Basic Information.
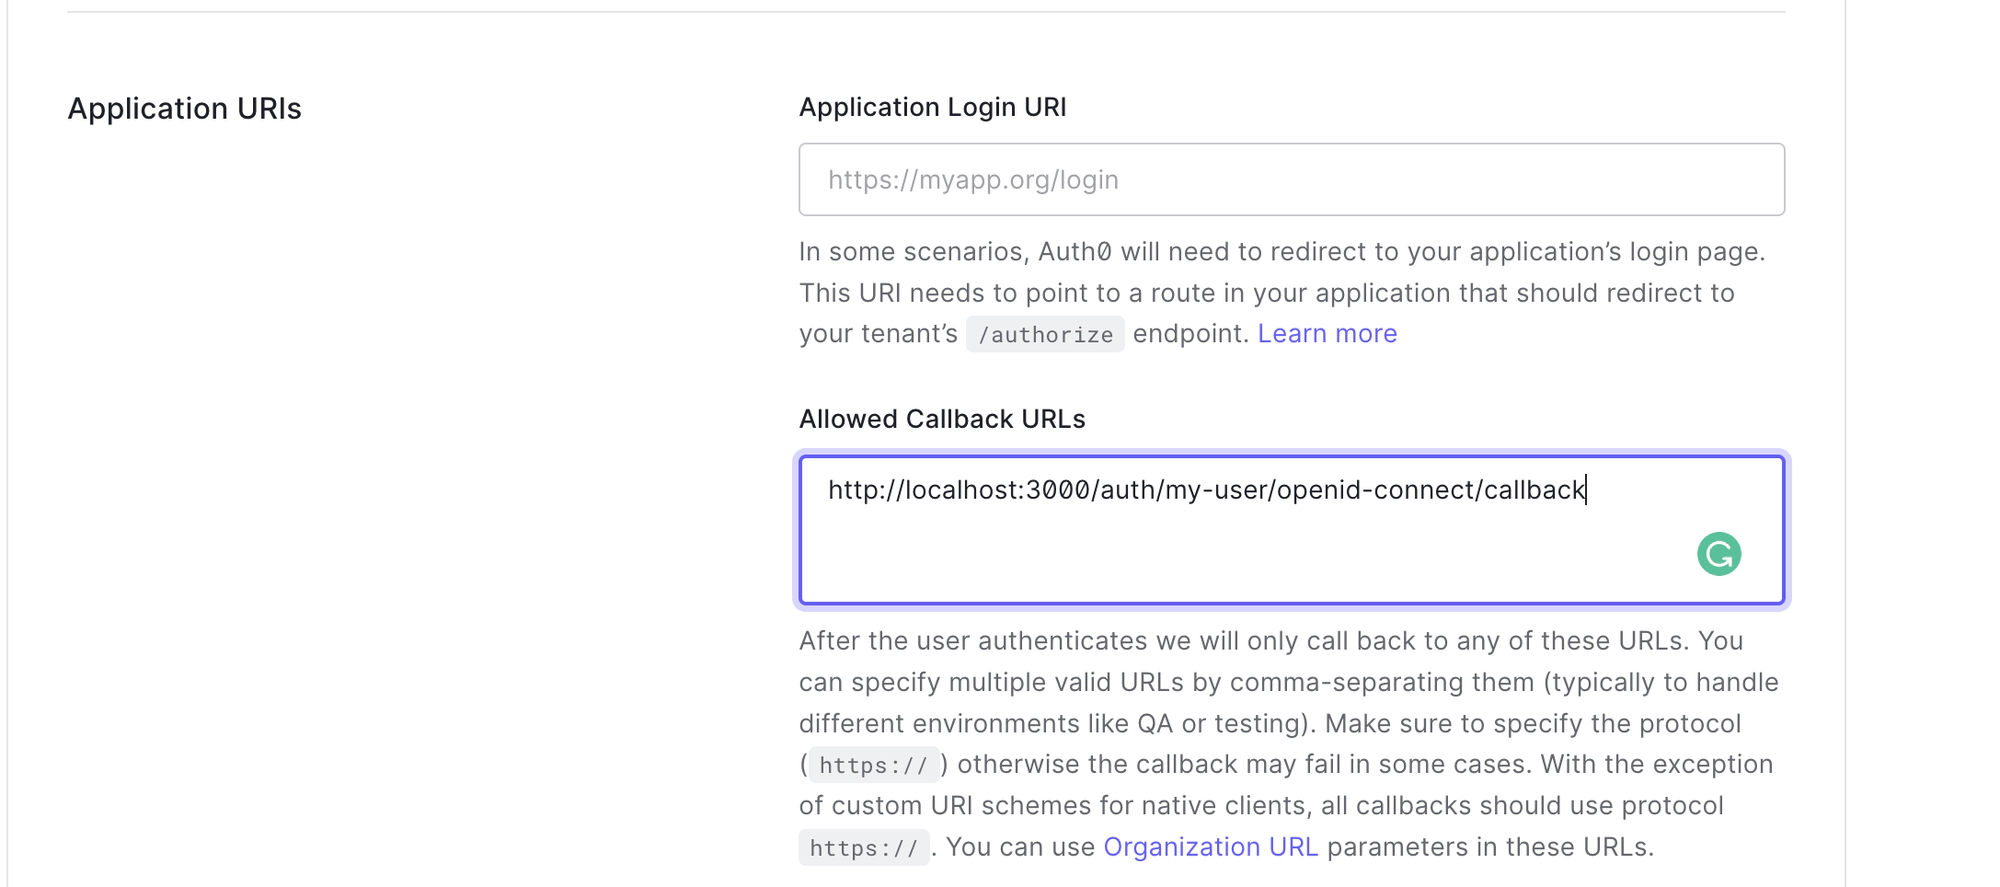
- Click Save Changes to update your Auth0 Application.
- Click Create Profile to save your Identity profile in your Tyk Dashboard.
Test your Auth0 Login
- From your Identity Management Profiles click the profile you created to open it.

- Click the Login URL.

- You will now see the Auth0 login form in a browser tab.
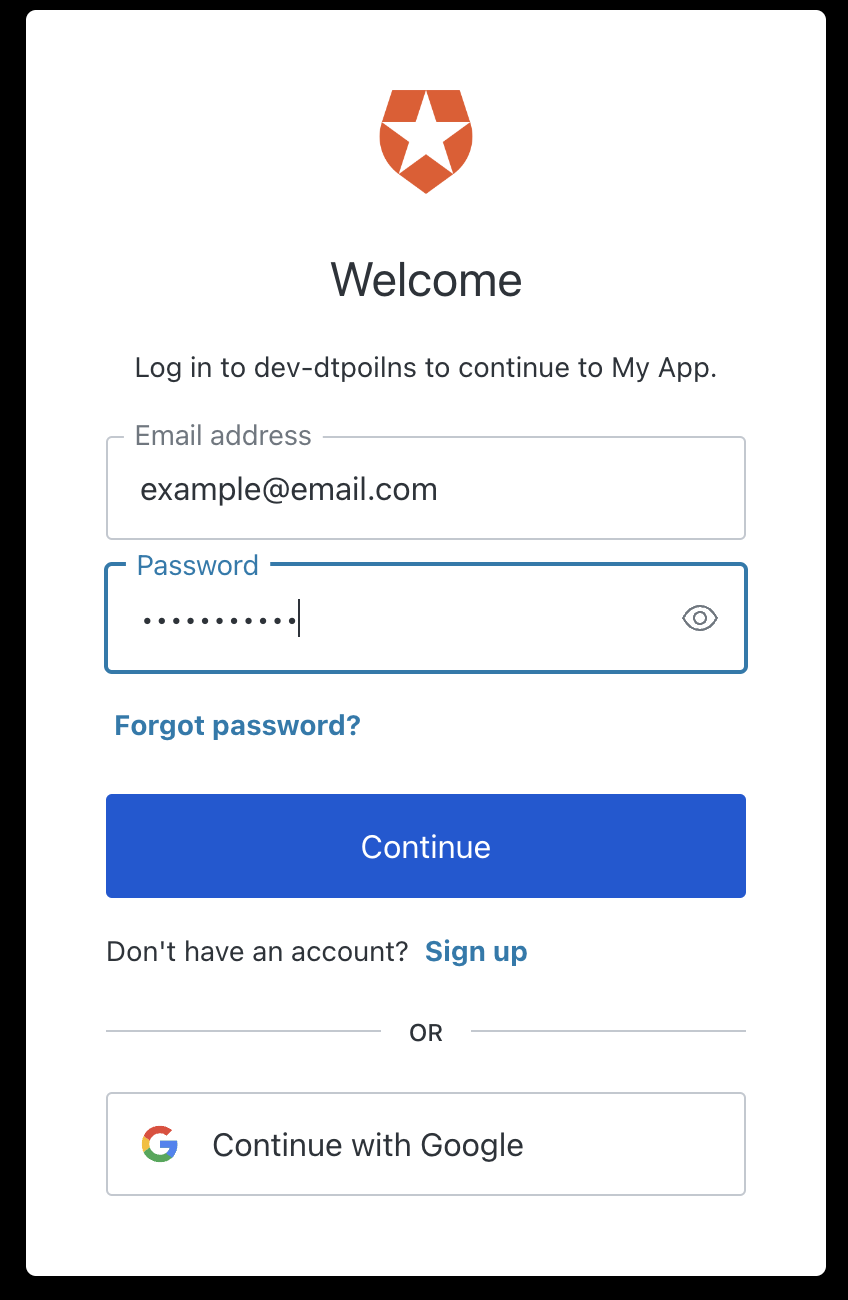
- Enter the email address and password of your Auth0 user.
- You may be asked to authorise your Auth0 application.
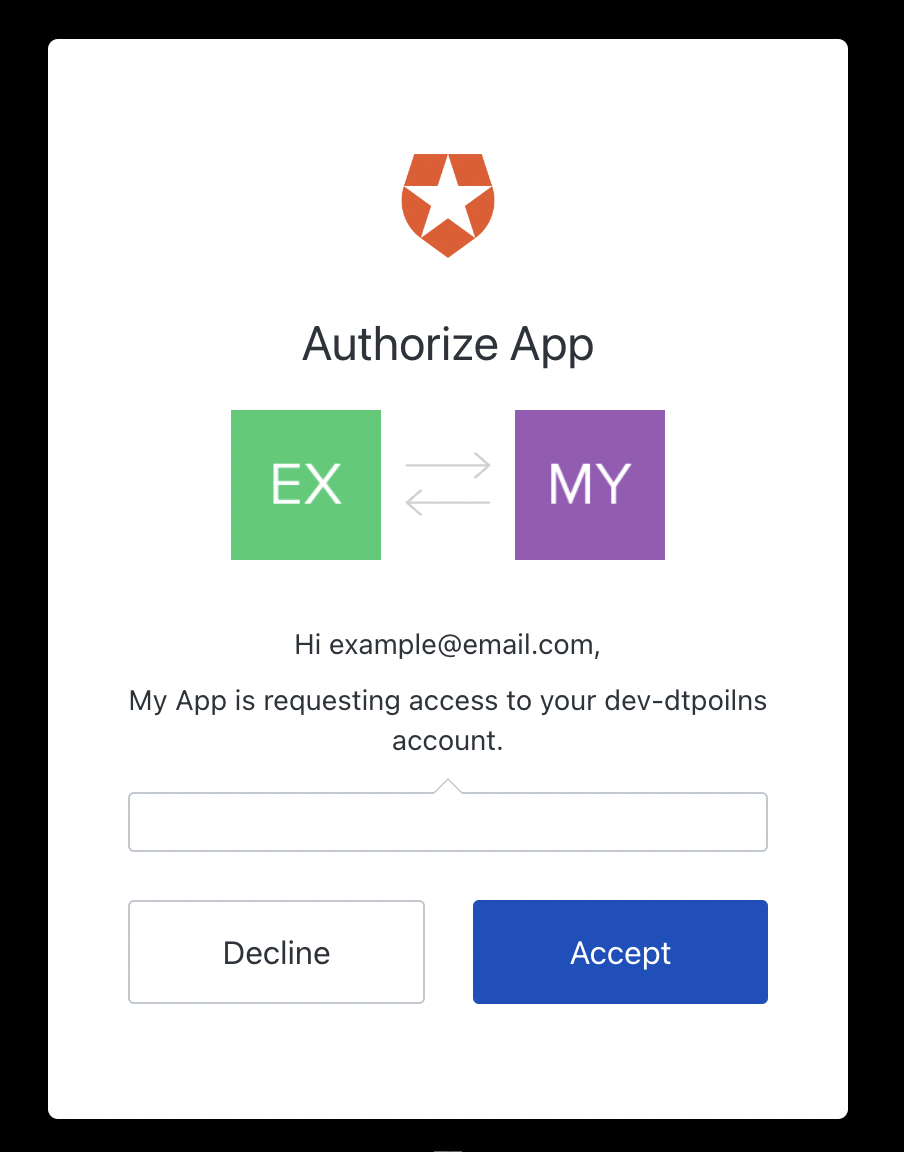
- Click Accept.
- You will now be taken to the Tyk Dashboard.
