Versioning an OAS API
Table Of Contents
Introduction
Tyk allows you to create versions of your APIs. This tutorial shows you how to do this with our Open Source Gateway.
Open Source
All you need to create an API and make it live is your API key and to run one API call.
Tutorial: Add a new version for your API
Note
For the following tutorials, use your Tyk Gateway API secret stored in your tyk.conf file, the property is called secret, you will need to use this as a header called x-tyk-authorization to make calls to the Gateway API
Create your base API
You need to create a new API that will be our Base API for the future versions, by sending a minimalistic Tyk OAS API Definition https://bit.ly/39tnXgO to the Gateway API endpoint, that has the upstream set to https://petstore.swagger.io/v2
| Property | Description |
|---|---|
| Resource URL | /tyk/apis/oas |
| Method | POST |
| Type | None |
| Body | Tyk OAS API Definition |
| Param | None |
curl --location --request POST 'http://{your-tyk-host}:{port}/tyk/apis/oas' \
--header 'x-tyk-authorization: {your-secret}' \
--header 'Content-Type: text/plain' \
--data-raw
'{
  "info": {
    "title": "Petstore",
    "version": "1.0.0"
  },
  "openapi": "3.0.3",
  "components": {},
  "paths": {},
  "x-tyk-api-gateway": {
    "info": {
      "name": "Petstore",
      "state": {
        "active": true
      }
    },
    "upstream": {
      "url": "https://petstore.swagger.io/v2"
    },
    "server": {
      "listenPath": {
        "value": "/base-api/",
        "strip": true
      }
    }
  }
}'
Check request response
If the command succeeds, you will see the following response, where key contains the newly created API ID:
{
    "key": {api-id},
    "status": "ok",
    "action": "added"
}
Restart or hot reload your Gateway
Once you have created your API, you will need to either restart the Tyk Gateway, or issue a hot reload command with the following curl command:
curl -H "x-tyk-authorization: {your-secret}" -s http://{your-tyk-host}:{port}/tyk/reload/group
Test your API
Try out your newly created API and check that it hits the Petstore upstream url as intended:
curl --location --request GET 'http://{GATEWAY_URL}/base-api/pet/123'
You should see the following response:
{
    "code": 1,
    "type": "error",
    "message": "Pet not found"
}
The above response shows that the request successfully reached the upstream URL, but there was no pet with id 123, which is the expected result.
Create a version
Now create a second API, using the Httpbin service as the upstream URL. The purpose of this API will be to serve as a version of the Base API. The following call runs atomically. It creates a new API as a version and also updates the base API to link the new API as a version.
| Property | Description |
|---|---|
| Resource URL | /tyk/apis/oas |
| Method | POST |
| Type | None |
| Body | Tyk OAS API Definition |
| Query Param. | Options: - base_api_id: The base API ID to which the new version will be linked.- base_api_version_name: The version name of the base API while creating the first version. This doesn’t have to be sent for the next versions but if it is set, it will override the base API version name.- new_version_name: The version name of the created version.- set_default: If true, the new version is set as default version. |
curl --location --request POST 'http://{your-tyk-host}:{port}/tyk/apis/oas?
base_api_id={base_api_id}&base_api_version_name=v1&new_version_name=v2&set_default=false' \
--header 'x-tyk-authorization: {your-secret}' \
--header 'Content-Type: text/plain' \
--data-raw '{
  "info": {
    "title": "Httpbin",
    "version": "1.0.0"
  },
  "openapi": "3.0.3",
  "components": {},
  "paths": {},
  "x-tyk-api-gateway": {
    "info": {
      "name": "Httpbin",
      "state": {
        "active": true
      }
    },
    "upstream": {
      "url": "http://httpbin.org"
    },
    "server": {
      "listenPath": {
        "value": "/second-api/",
        "strip": true
      }
    }
  }
}'
Check request response
If the command succeeds, you will see the following response, where key contains the newly created API ID:
{
    "key": {api-id},
    "status": "ok",
    "action": "added"
}
Restart or hot reload your Gateway
Once you have created your API, you will need to either restart the Tyk Gateway, or issue a hot reload command with the following curl command:
curl -H "x-tyk-authorization: {your-secret}" -s http://{your-tyk-host}:{port}/tyk/reload/group
Get your version API
After reloading the gateway, when you get the second API you will see x-tyk-base-api-id header.
The header is the way to understand whether an API is versioned.
curl -v --location --request GET 'http://{your-tyk-host}:{port}/apis/oas/{version-api-id}' \
--header 'x-tyk-authorization: {your-secret}'
See that the response headers include x-tyk-base-api-id header that links the base API id:
Content-Type: application/json
X-Tyk-Base-Api-Id: {base-api-id}
Test your API
Try out the newly created API and check that it hits the Httpbin upstream URL as intended:
curl --location --request GET 'http://{GATEWAY_URL}/second-api/get'
You should get the following response:
{
    "args": {},
    "headers": {
        "Accept": "*/*",
        "Accept-Encoding": "gzip, deflate, br",
        "Host": "httpbin.org",
        "Postman-Token": "ecaa7dff-fe6a-4511-852d-d24b7b4f16e4",
        "User-Agent": "PostmanRuntime/7.29.0",
        "X-Amzn-Trace-Id": "Root=1-62b03888-6f3cf17131ac9e0b12779c3d"
    },
    "origin": "::1, 82.77.245.53",
    "url": "http://httpbin.org/get"
}
This demonstrates that the request successfully reached the Httpbin upstream.
Test your API as a version
As the new version has been added and configured atomically, you can now call the Base API URL with the version header identifier, and you should be able to hit the upstream of the second API, proving that the Base API does the routing properly.
Request version:
curl --location --request GET 'http://{GATEWAY_URL}/base-api/get' \
--header 'x-tyk-version: v2'
Response:
{
    "args": {},
    "headers": {
        "Accept": "*/*",
        "Accept-Encoding": "gzip, deflate, br",
        "Host": "httpbin.org",
        "Postman-Token": "74eb591c-ea47-4ca2-9552-66b04460a5d3",
        "User-Agent": "PostmanRuntime/7.29.0",
        "X-Amzn-Trace-Id": "Root=1-62b03f06-670ed0ea44a1a48452d0238e",
        "X-Tyk-Version": "v2"
    },
    "origin": "::1, 82.77.245.53",
    "url": "http://httpbin.org/get"
}
You can see that you got the same response as in the second step we did, when we created the second API, but this time by calling the Base API with the version header.
What did you just do?
In this tutorial you created two separate APIs that were designed to describe two different versions of an API. You achieved this by delegating the responsibility of routing the requests to one of them, and configuring the second one to act as a secondary version. See Versioning for more details.
Tutorial: Add a new version for your API with the Dashboard
This tutorial goes through the OAS API versioning process via your Tyk Dashboard.
Create your base API
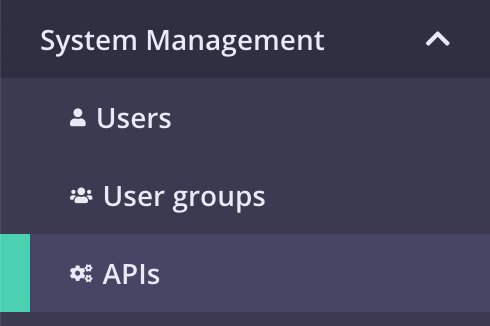
Select “APIs” from the “System Management” section
Add new API
If you have a fresh Tyk installation with no other APIs added, click Design new API:
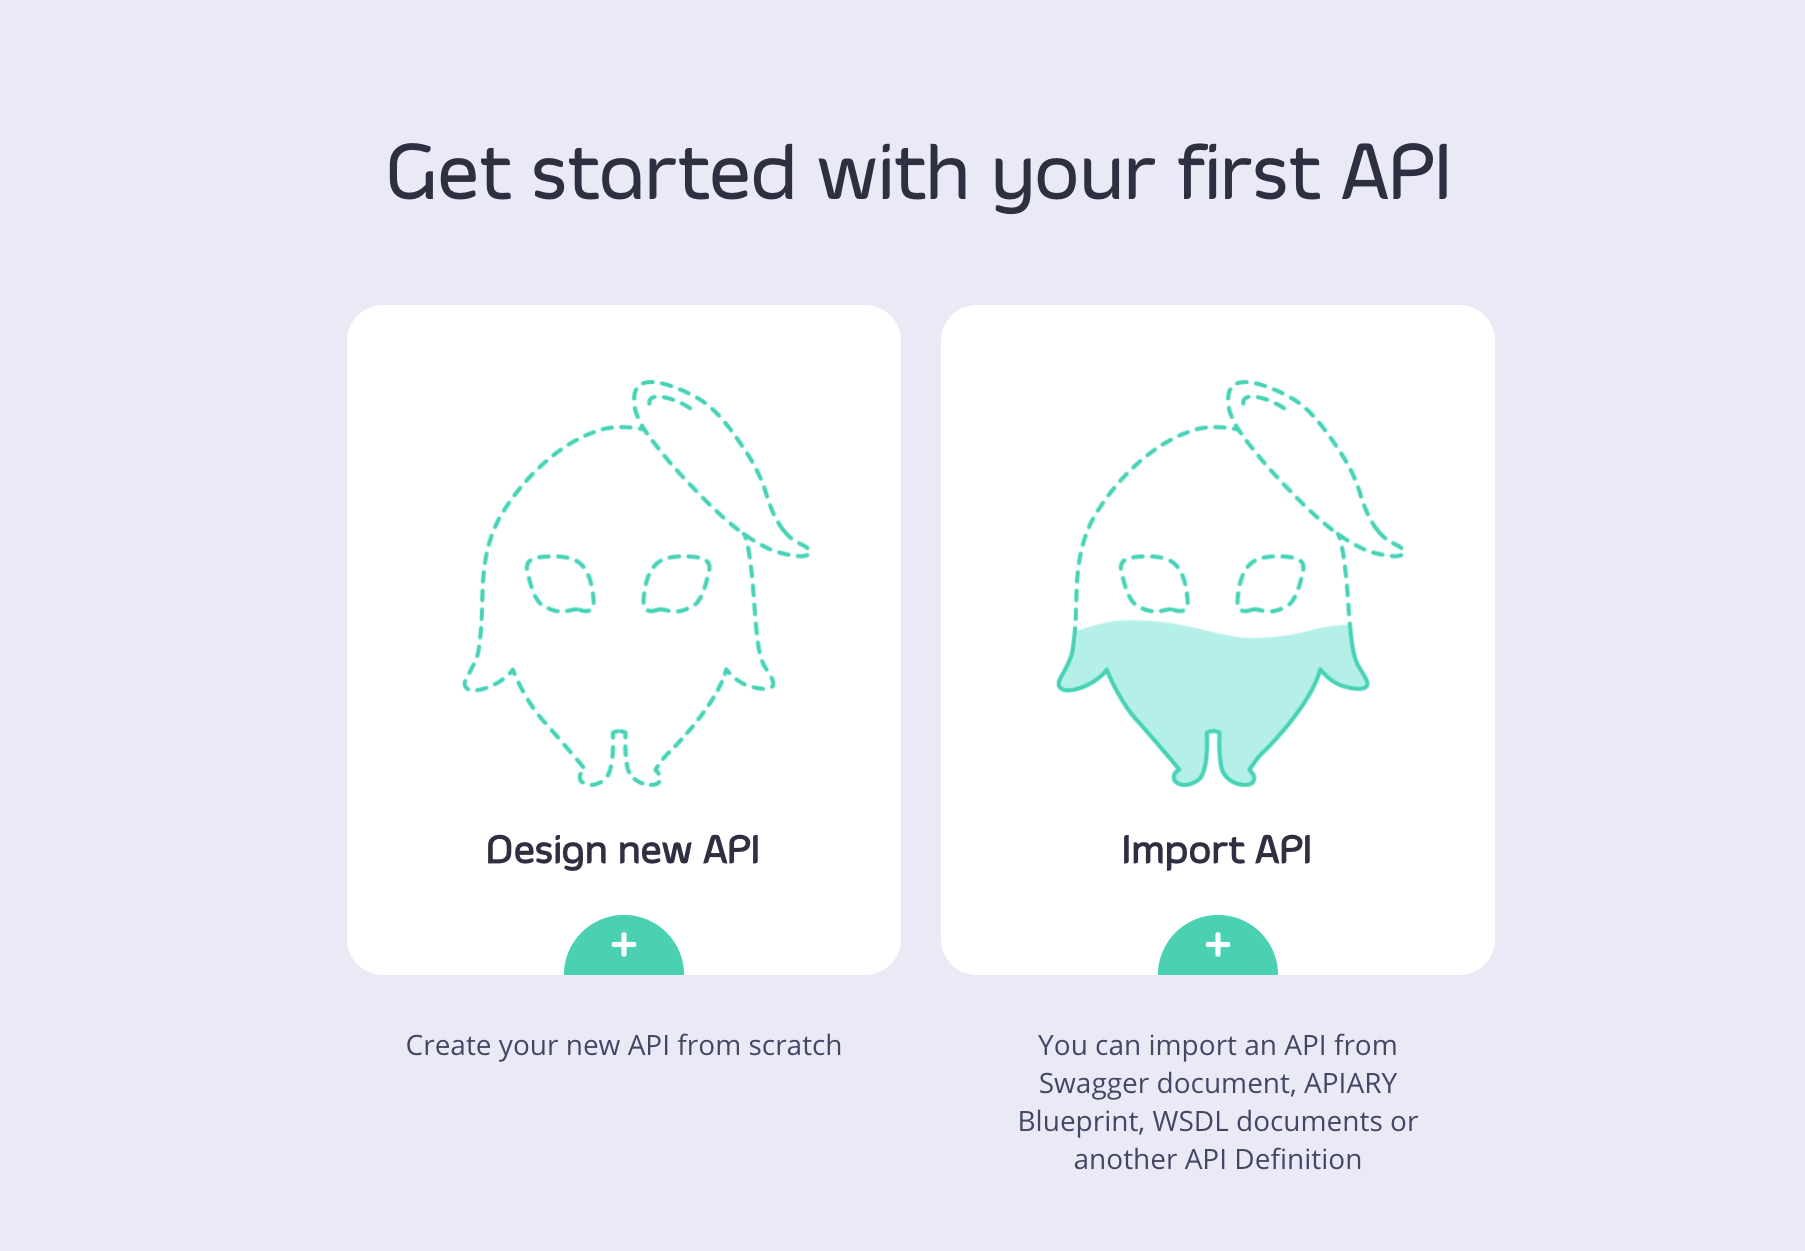
If you already have APIs in your Tyk installation, click Add new API:

Set up the Base Configuration for your API
- From the Overview section, add your API Name and your API Type (We will use OAS HTTP for this tutorial, which is for now in early access.
- From the Details section, add your Target URL. This will set the upstream target that hosts the service you want to proxy to. For this tutorial you can use http://petstore.swagger.io/v2/.
- Click Configure API when you have finished.
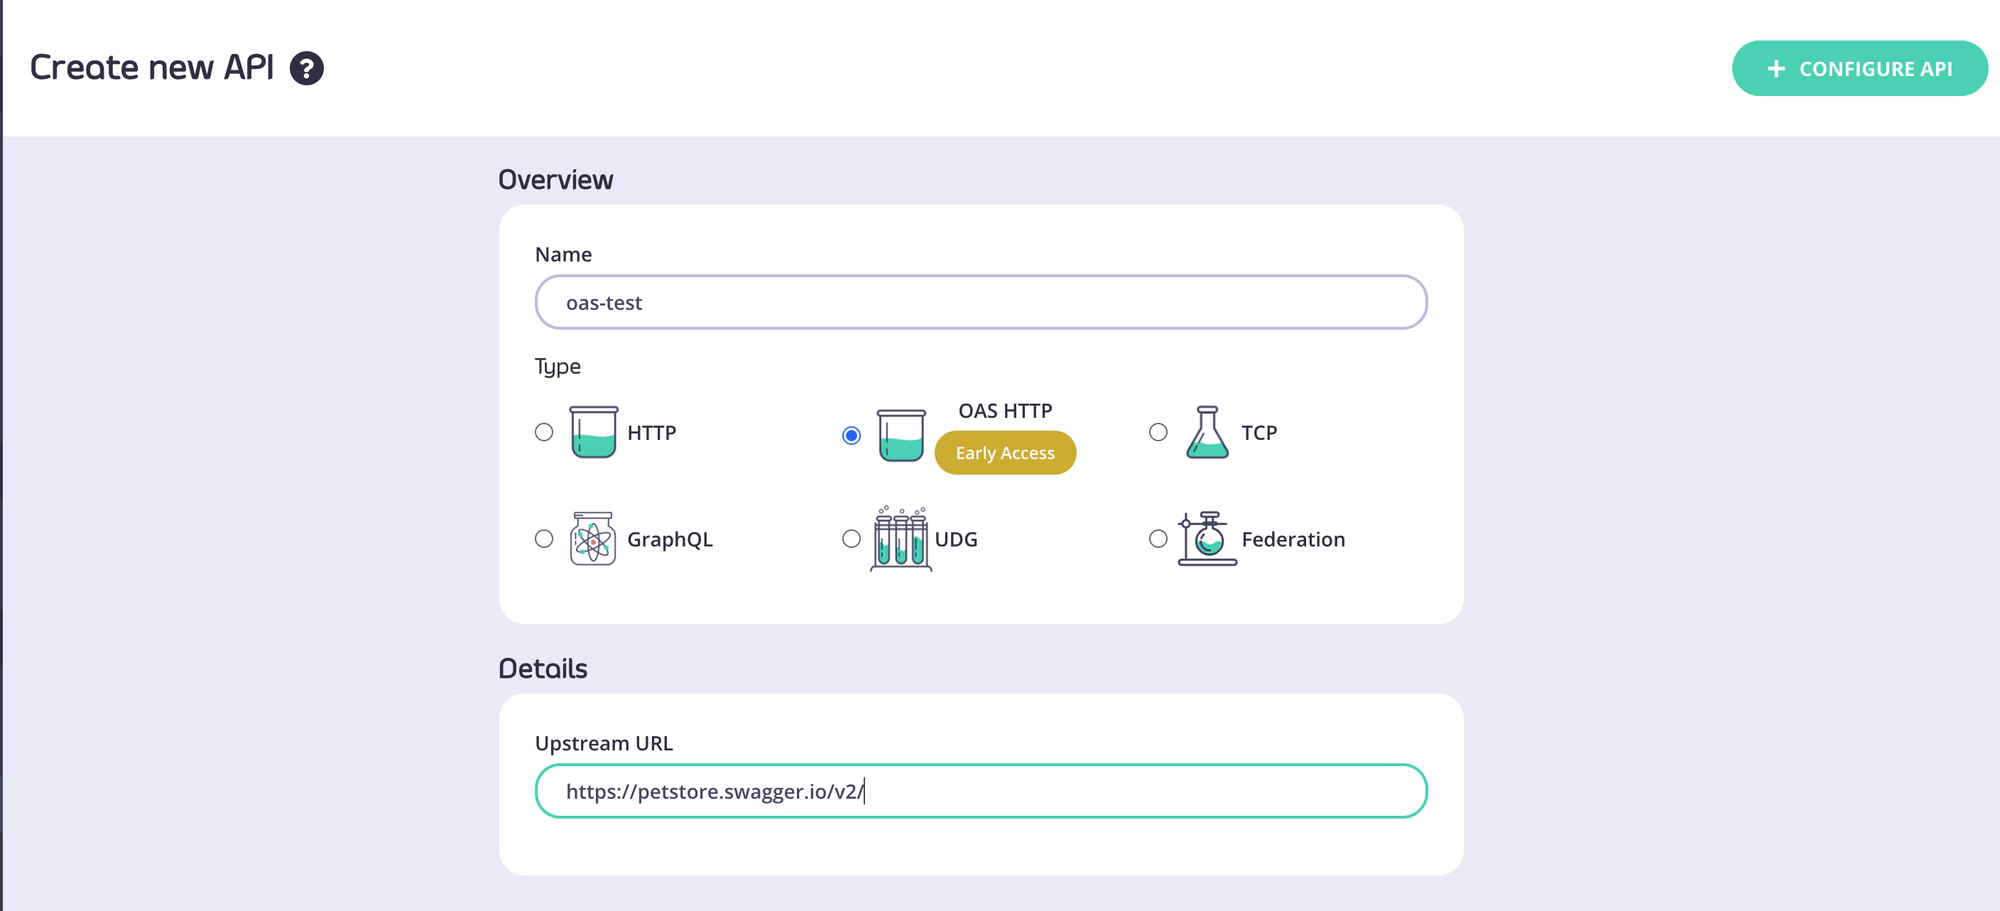
This will now be used as your base API. You can now create new versions of this API and set a default.
Create a new version
From your newly created base API, select Create a new version from the Actions drop-down menu
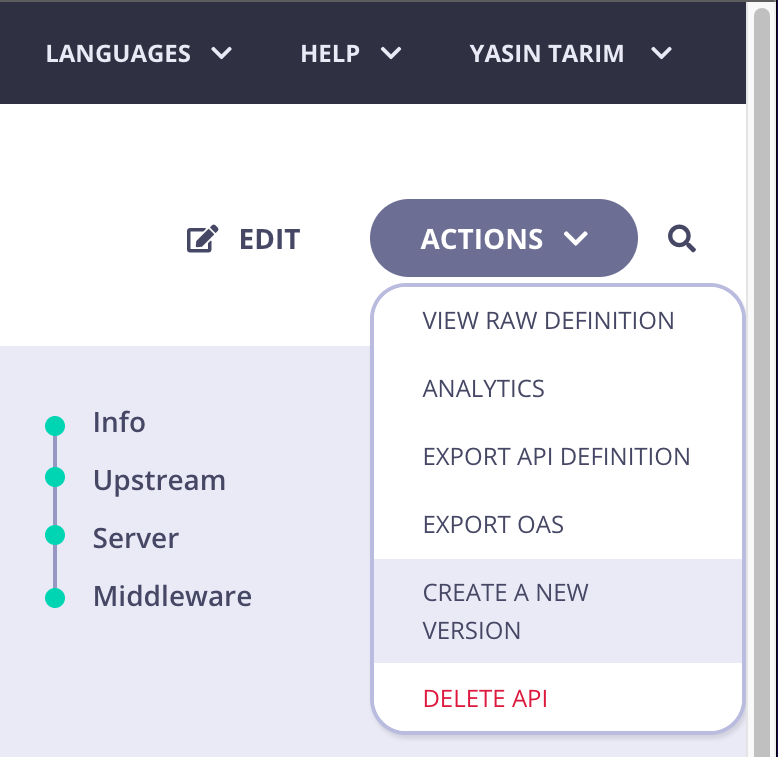
A Create new API version dialog box is displayed:
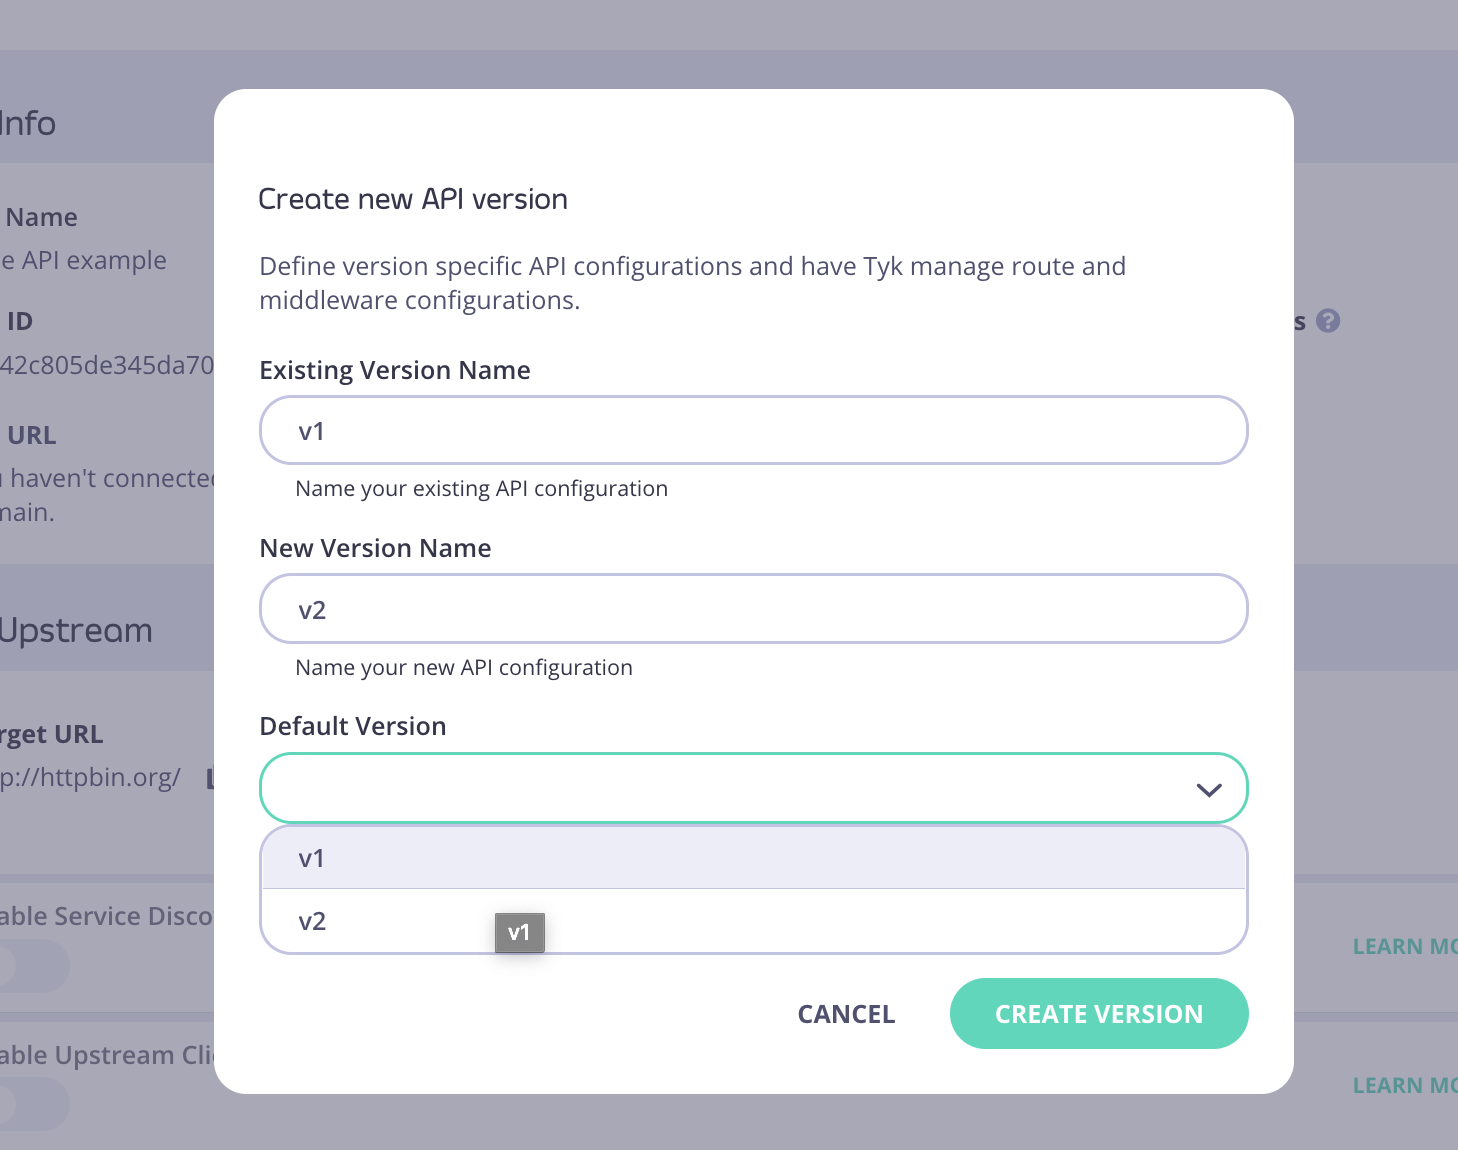
- Give your newly created base API an Exsisting Version Name (v1 in the above example)
- Enter a New Version Name for the new version you are creating (v2 in the above example)
- Decide which of your two versions you want to set as your Default Version
- Click Create Version
Note
After setting up a versioned APIs, when creating subsequent versions, the dialog box only asks you to add a new version name.
For Tyk Cloud and other Multi Gateway setups
For Tyk Cloud users, and other installations with multiple Gateways configured, you will see a Connect your Gateways dialog box. You can select which Gateway(s) in your installation you want to add the versioned API to.
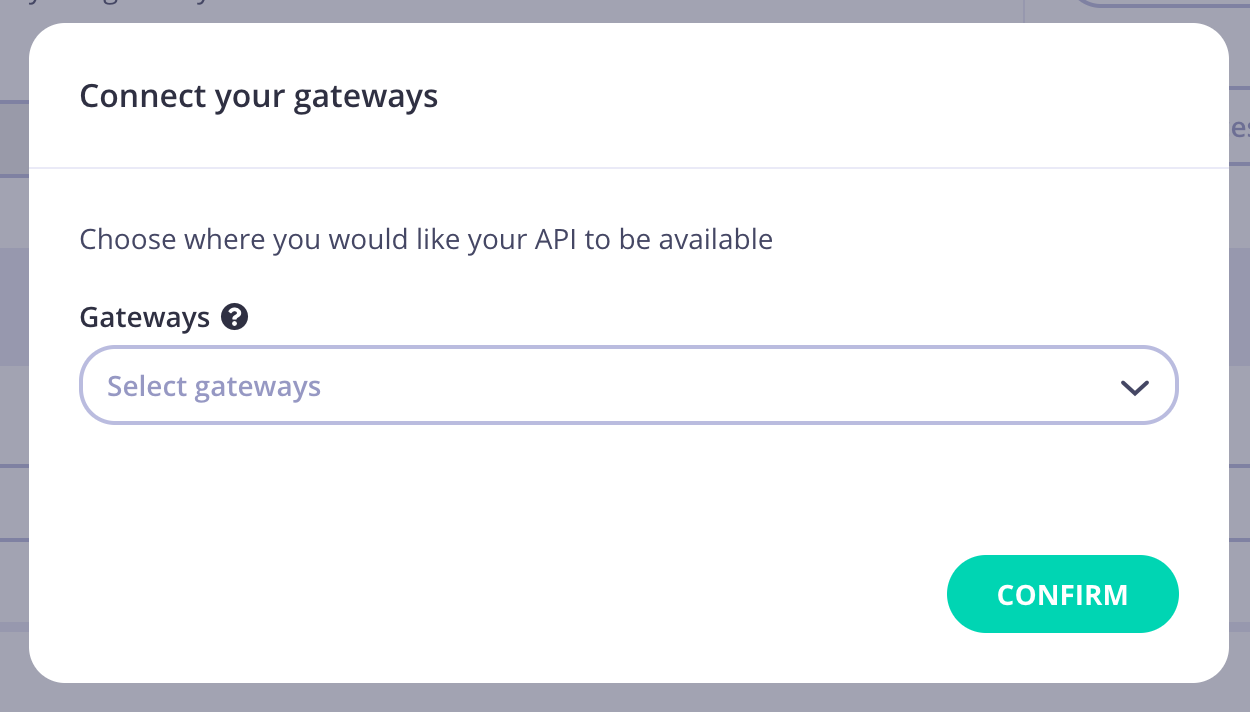
You can select one or more of your Gateways to add the version to, or chose to connect them to an Edge Gateway later.
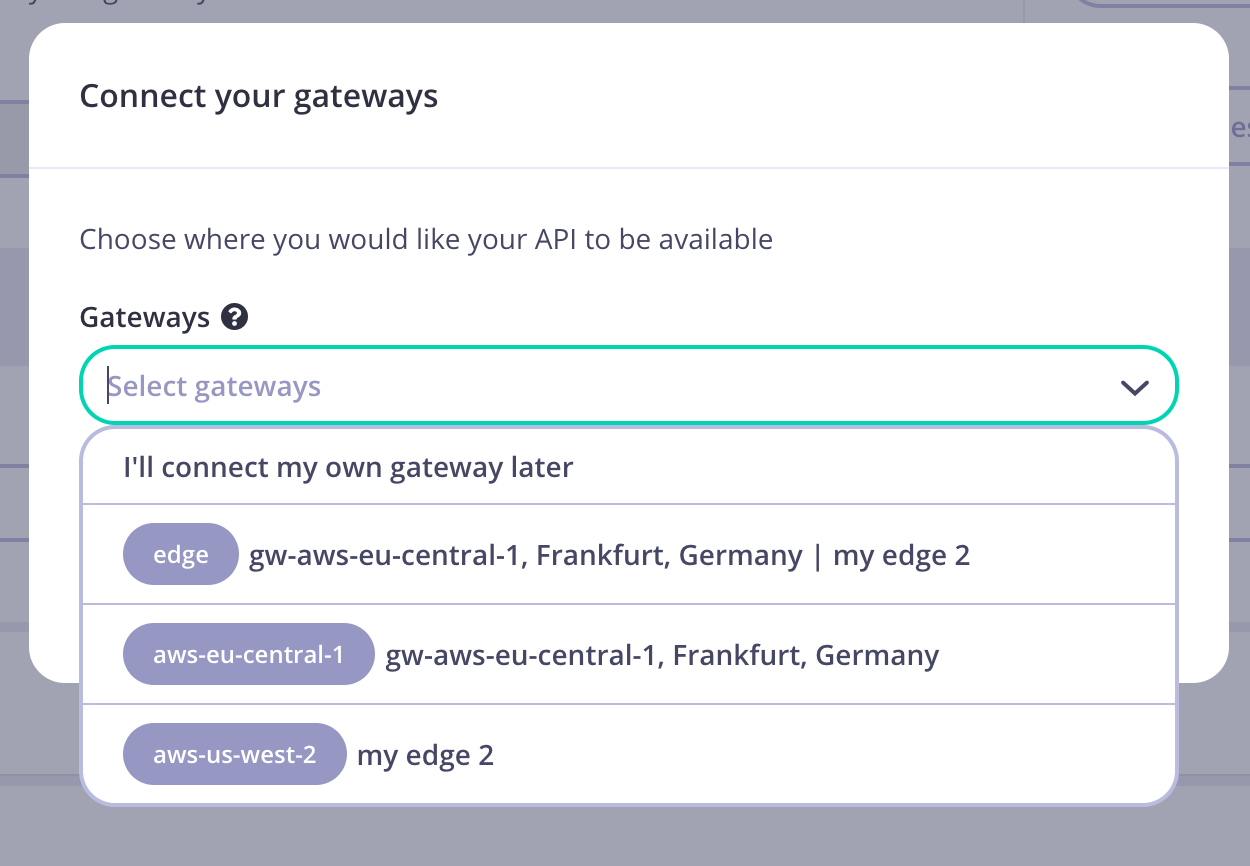
Click Confirm to close the Connect your Gatewys dialog
- Click Save
You will now have a new versioned API, set as default.

You can also see other versions of your API from the Version drop-down.
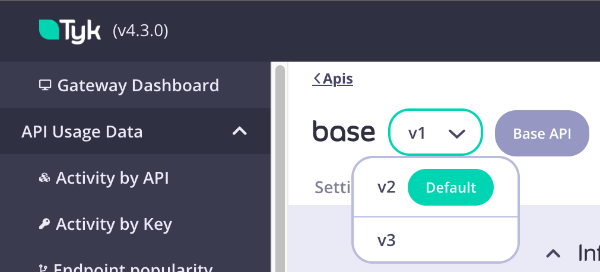
Managing your Versions
After creating a version for your API, you are able to manage the versions.
- From any of the versions of your API from the Actions drop-down menu
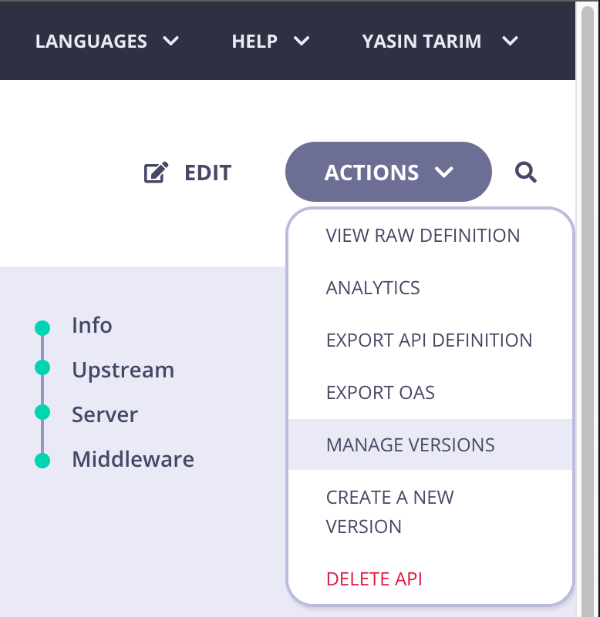
- You will be taken to a Manage Versions page.

From this screen you can:
-
Visualise all the versions;
-
Create new ones;
-
Perform search by version name;
-
Set a specific version to be the default one;
-
Access quick link to visit the API details page of a specific version;
