Quick Start
Welcome to the Tyk Cloud Platform! This guide will lead you through the following steps:
- Signing up with Tyk Cloud.
- Establishing dedicated infrastructure within Tyk Cloud.
- Creating and securing your first API using the Tyk Dashboard. No installation required!
Step 1: Sign Up for Tyk Cloud
To begin your Tyk Cloud journey, follow these simple steps to sign up for an account:
- Navigate to the Tyk Cloud sign up form.
- Fill in the required information and click on “Next step: Create your password”.
- Provide your email address and choose a robust password for your account.
- Select your home region, where your data will be securely stored.
- Opt for the “Set up API platform automatically” option (you can still personalize your setup later).
- Wait a couple of minutes and congratulations, your API platform was deployed!
By default, a cloud data plane will be deployed for you. You can also deploy hybrid data planes on your own infrastructure.
Step 2: Get started with your first API with Tyk Dashboard
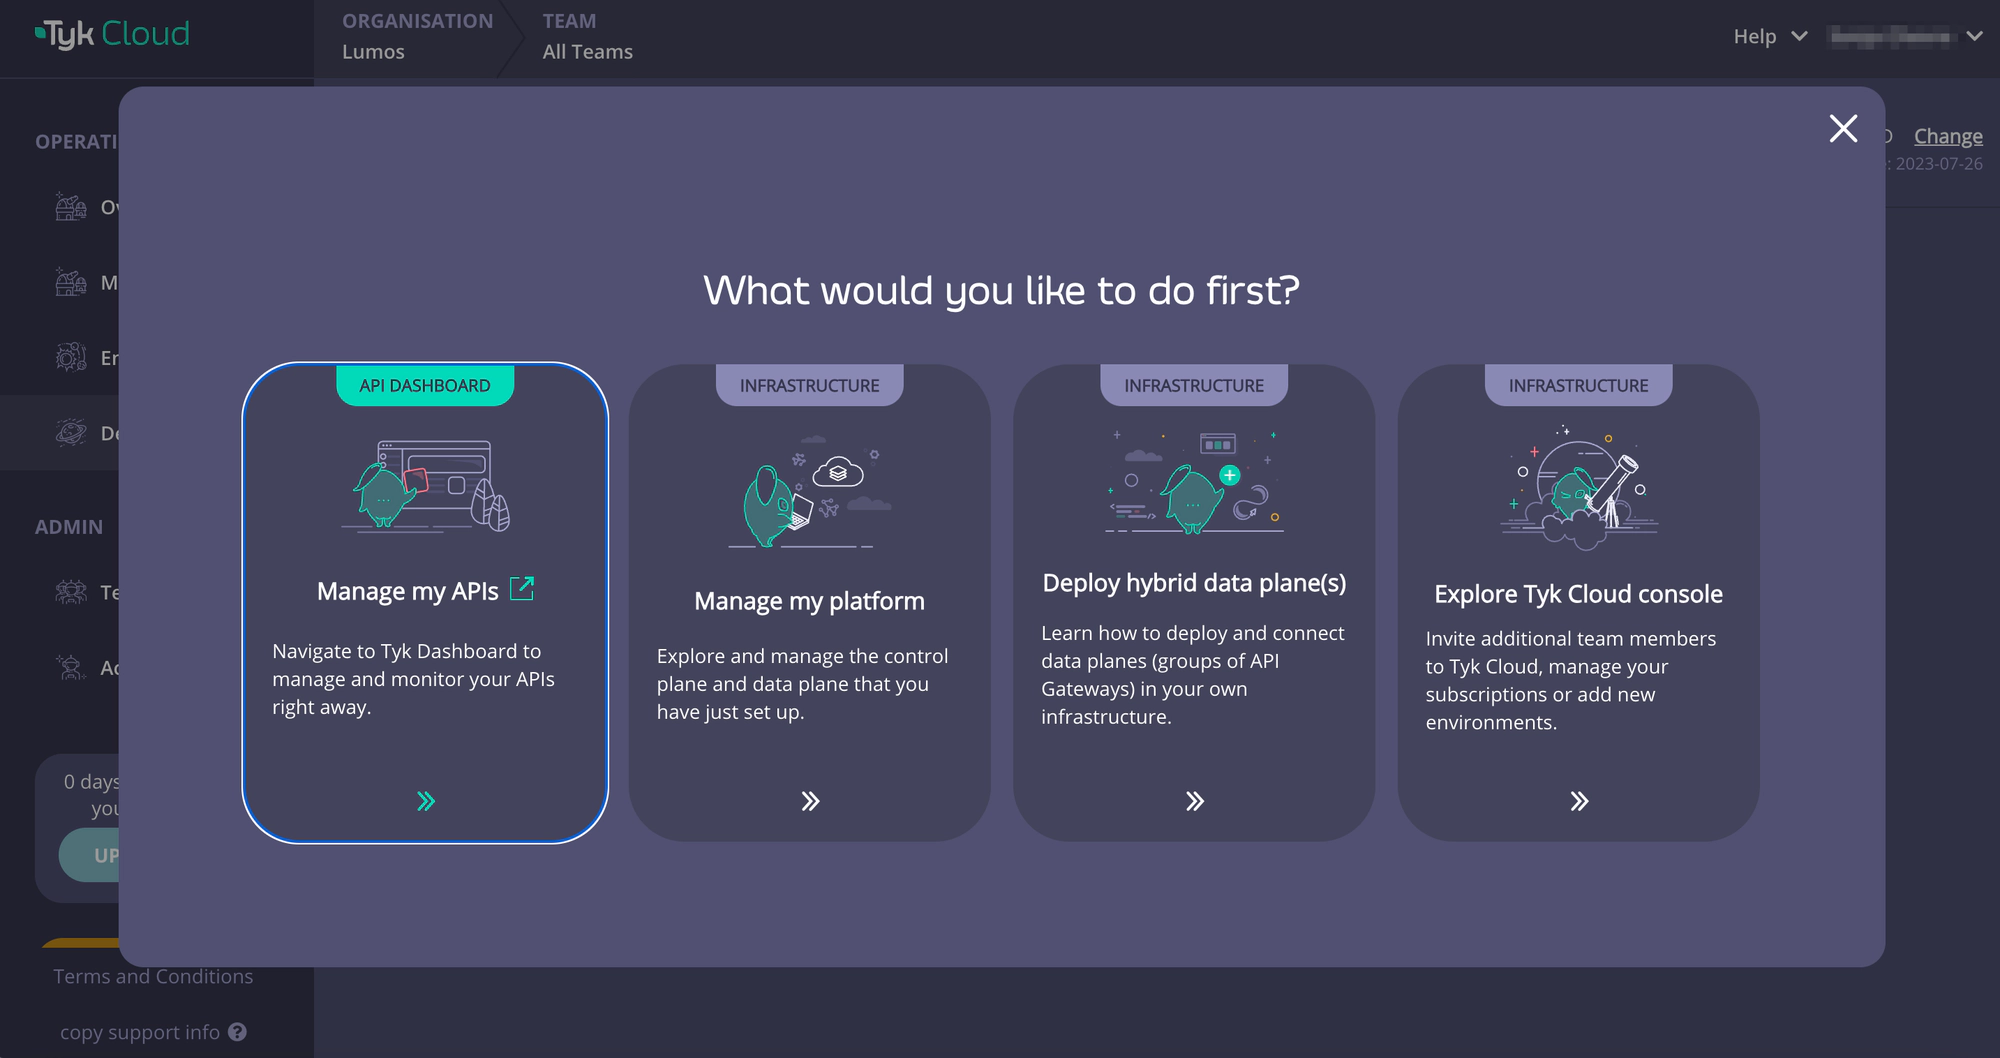
- Click on “Manage my APIs” to access the Tyk Dashboard directly. If you closed your window in the meantime, follow these steps to reach the Tyk Dashboard in Tyk Cloud:
- Go to the “Deployments” section under “OPERATIONS” on the left-hand side.
- Select the control plane that was deployed for you.
- Click on the “Manage APIs” button under “API MANAGER DASHBOARD” in the “Tyk component links” section to access the Tyk Dashboard.
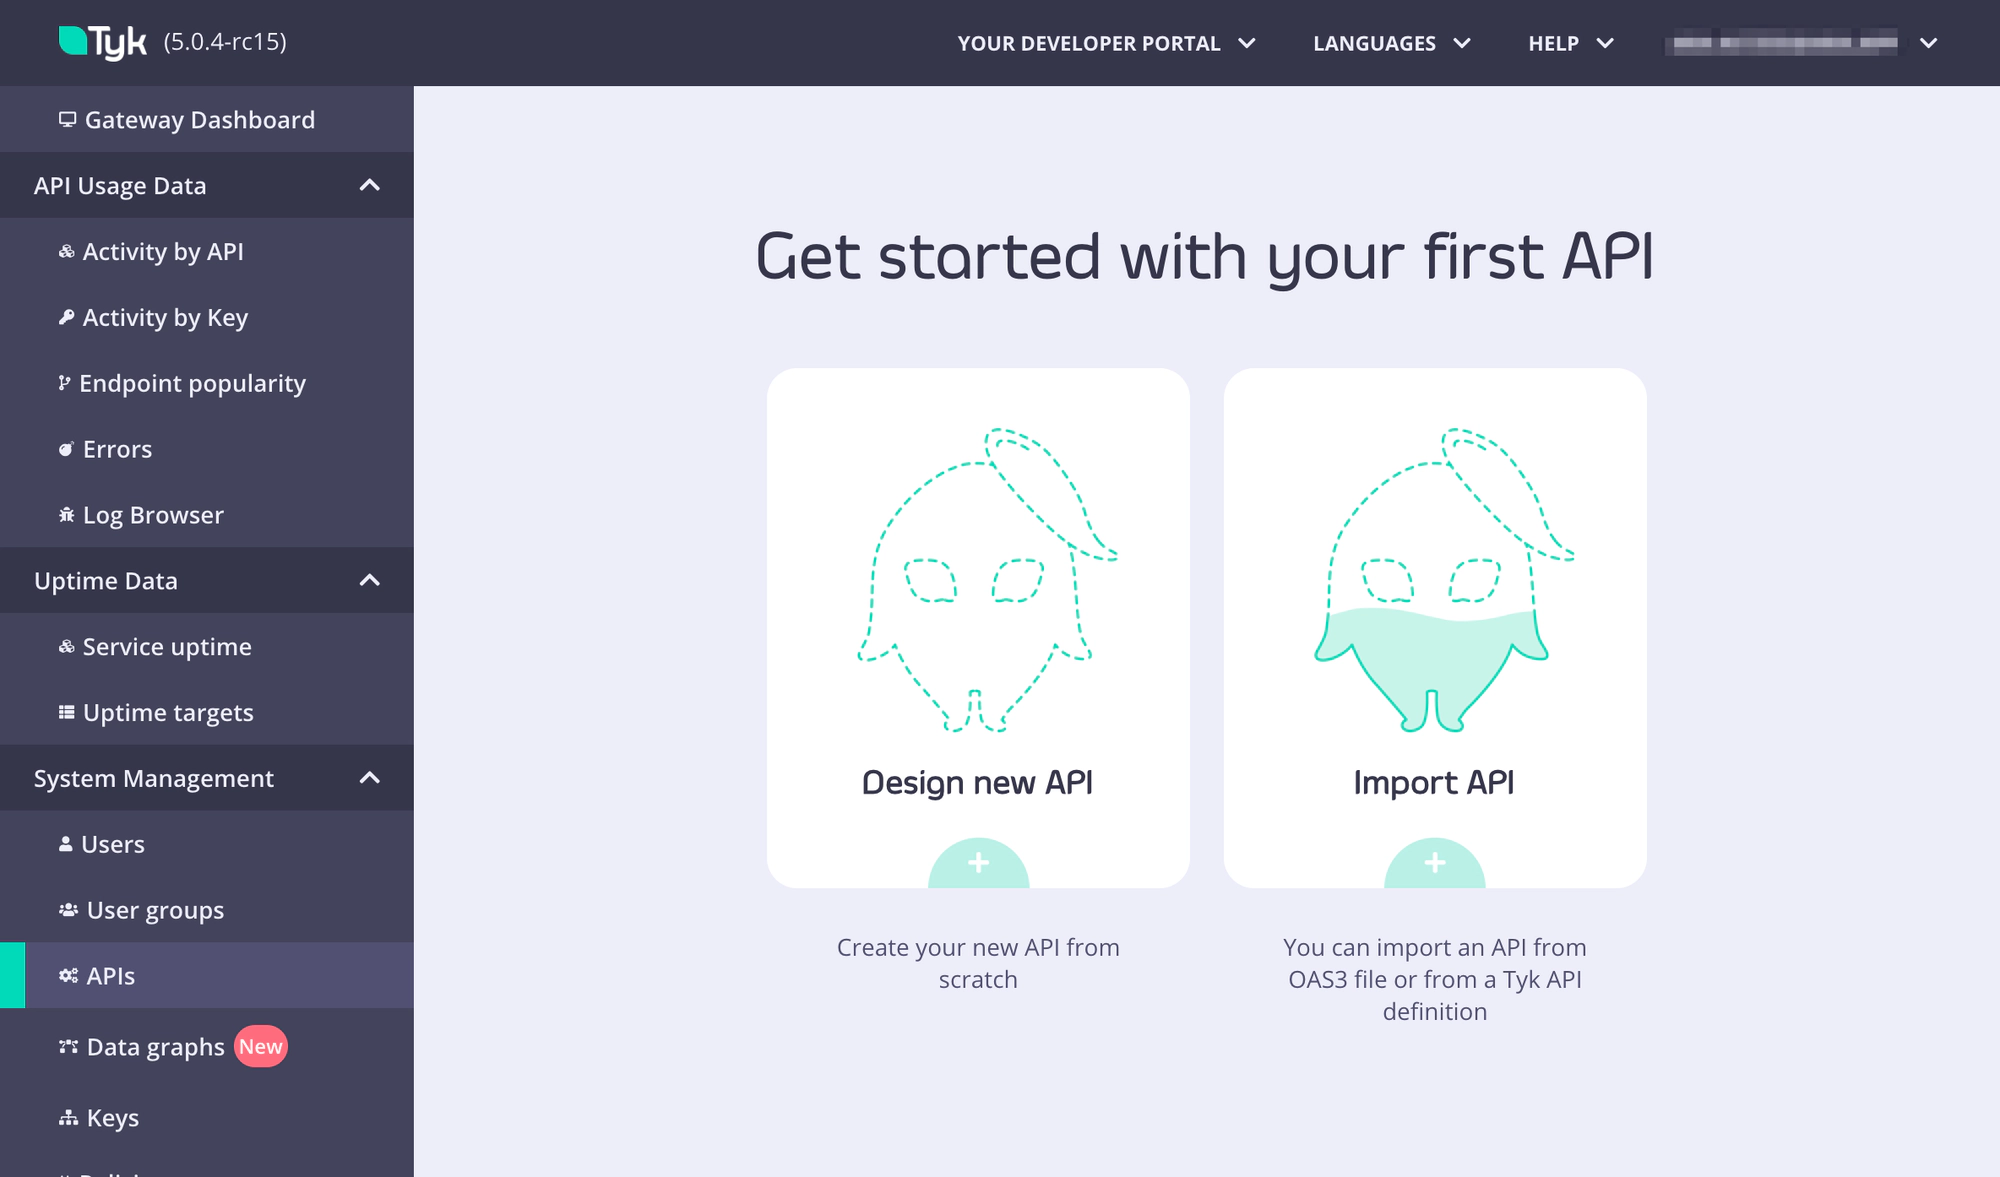
- Click the “Design new API” button to start the API definition creation process.
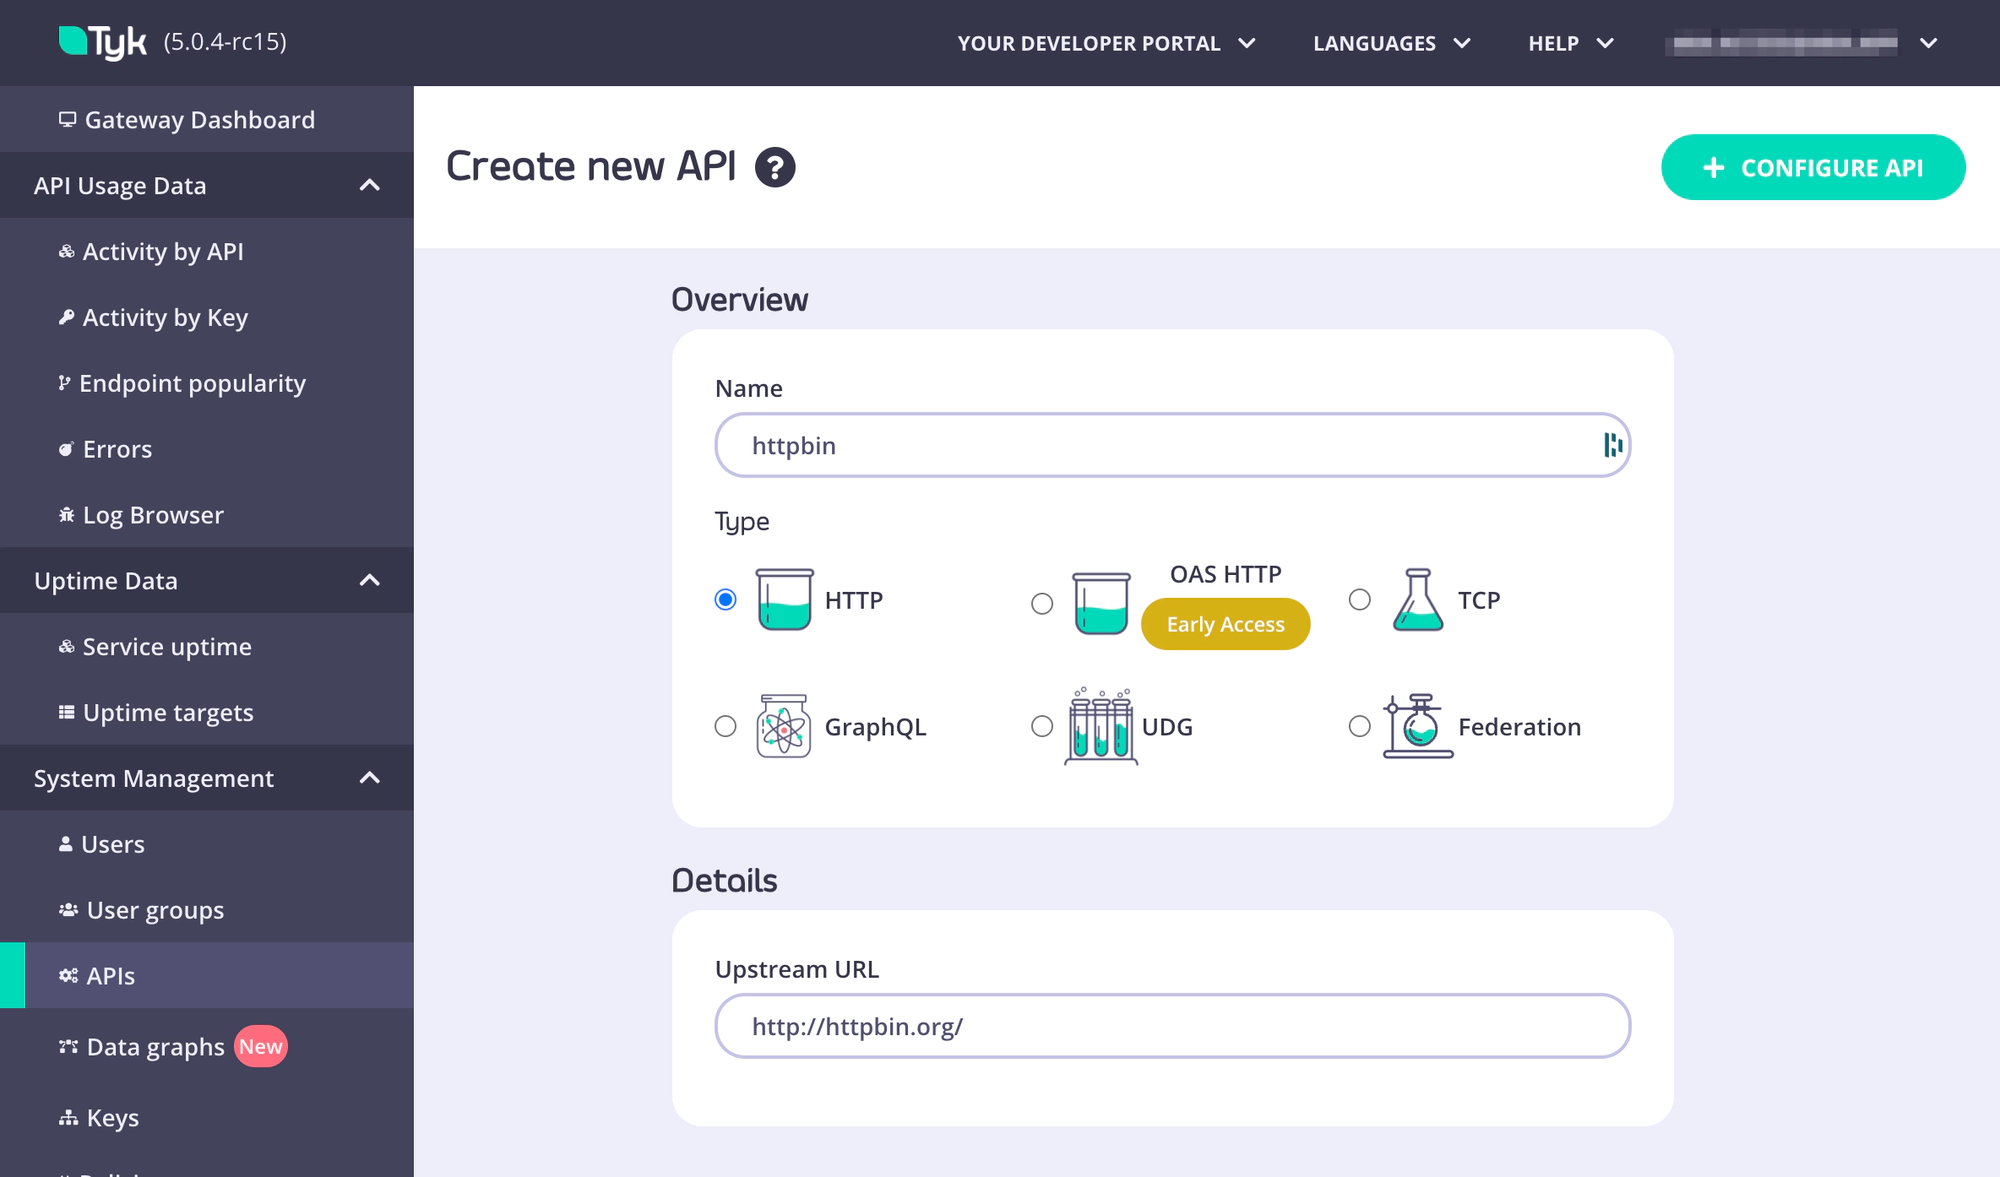
- Give your API a name - We’ll use “httpbin” for the rest of this quick start.
- In the “Type” section, please select “HTTP”.
- Keep https://httpbin.org/ as the upstream URL.
- Finally, click on the button “CONFIGURE API”.
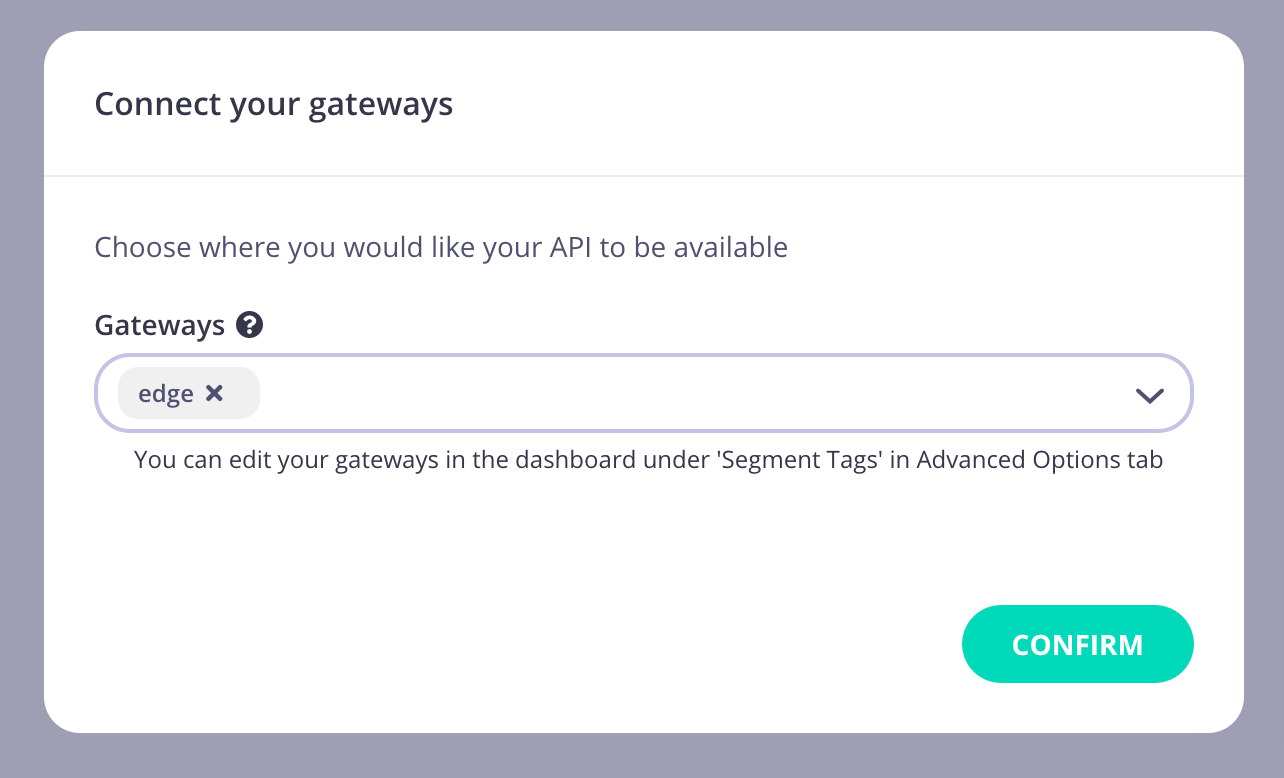
- Select to which gateway you want to deploy this API, select the “edge” tags to deploy to the cloud data plane.
- Customize your API settings, including authentication, rate limits, and caching, as per your requirements.
- Click “Save” to create your API. Congratulations! You’ve just set up your first API.
Step 3: Set up a Policy and Key
In this step, we will guide you through the process of creating a policy and key system to secure your APIs.
Create a Policy:
- Click on “Policies” under the “System Management” section on the left-hand side.
- Click on the button “ADD POLICY”.
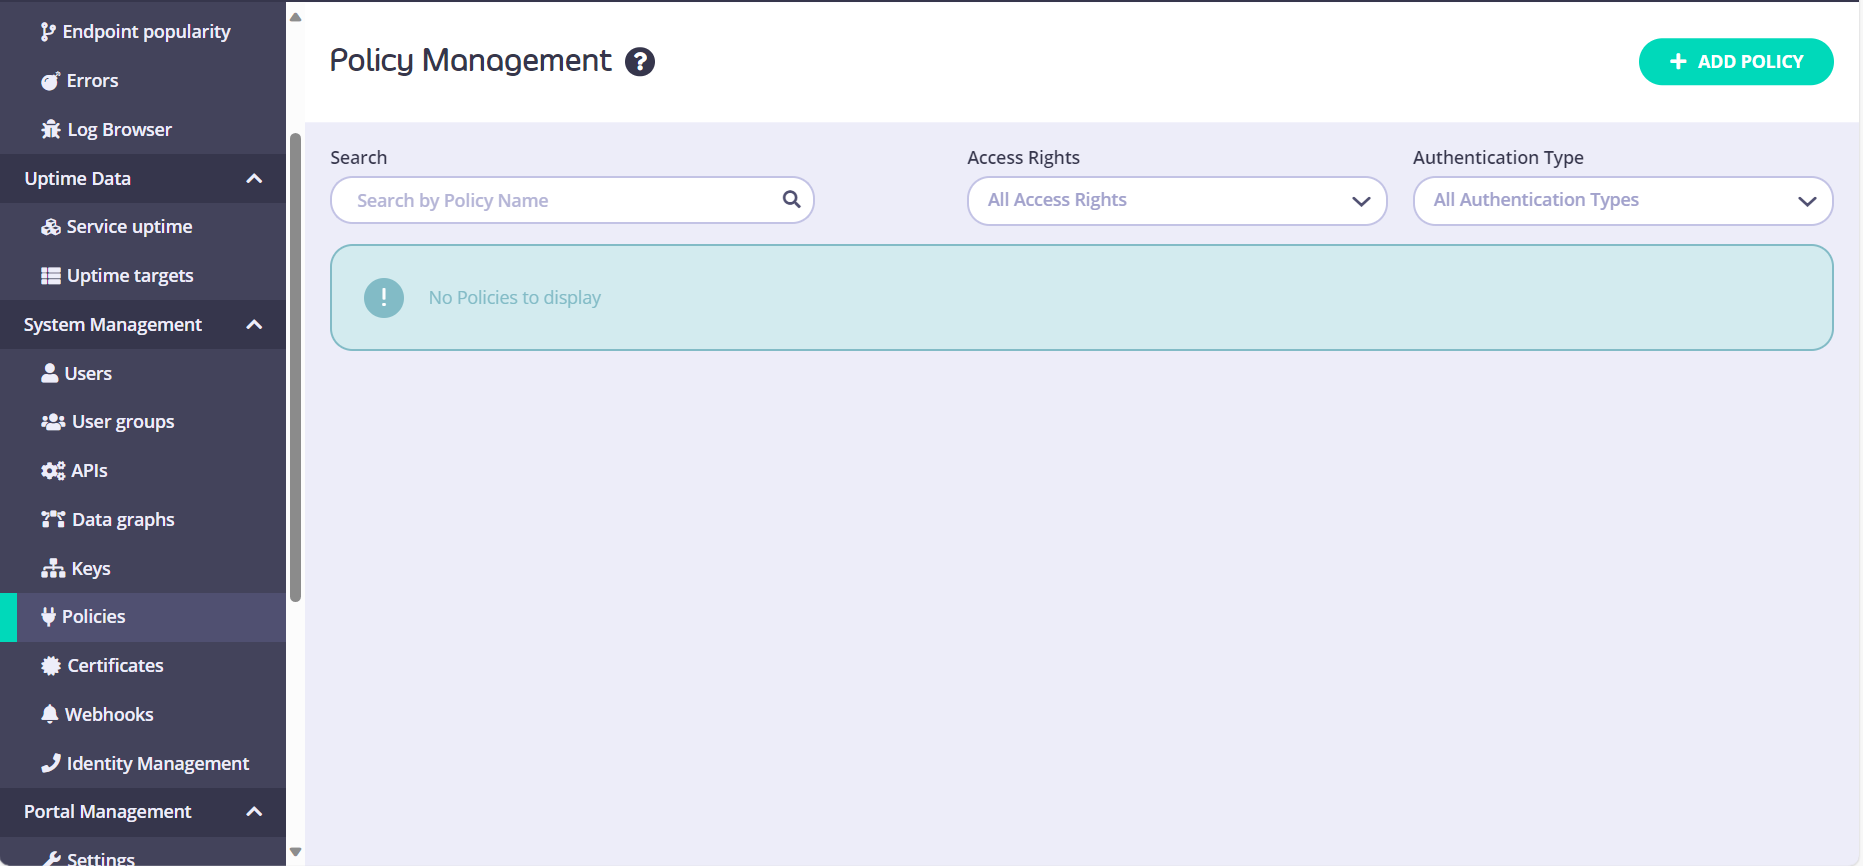
- In the “Access Rights” section, please select “httpbin”.

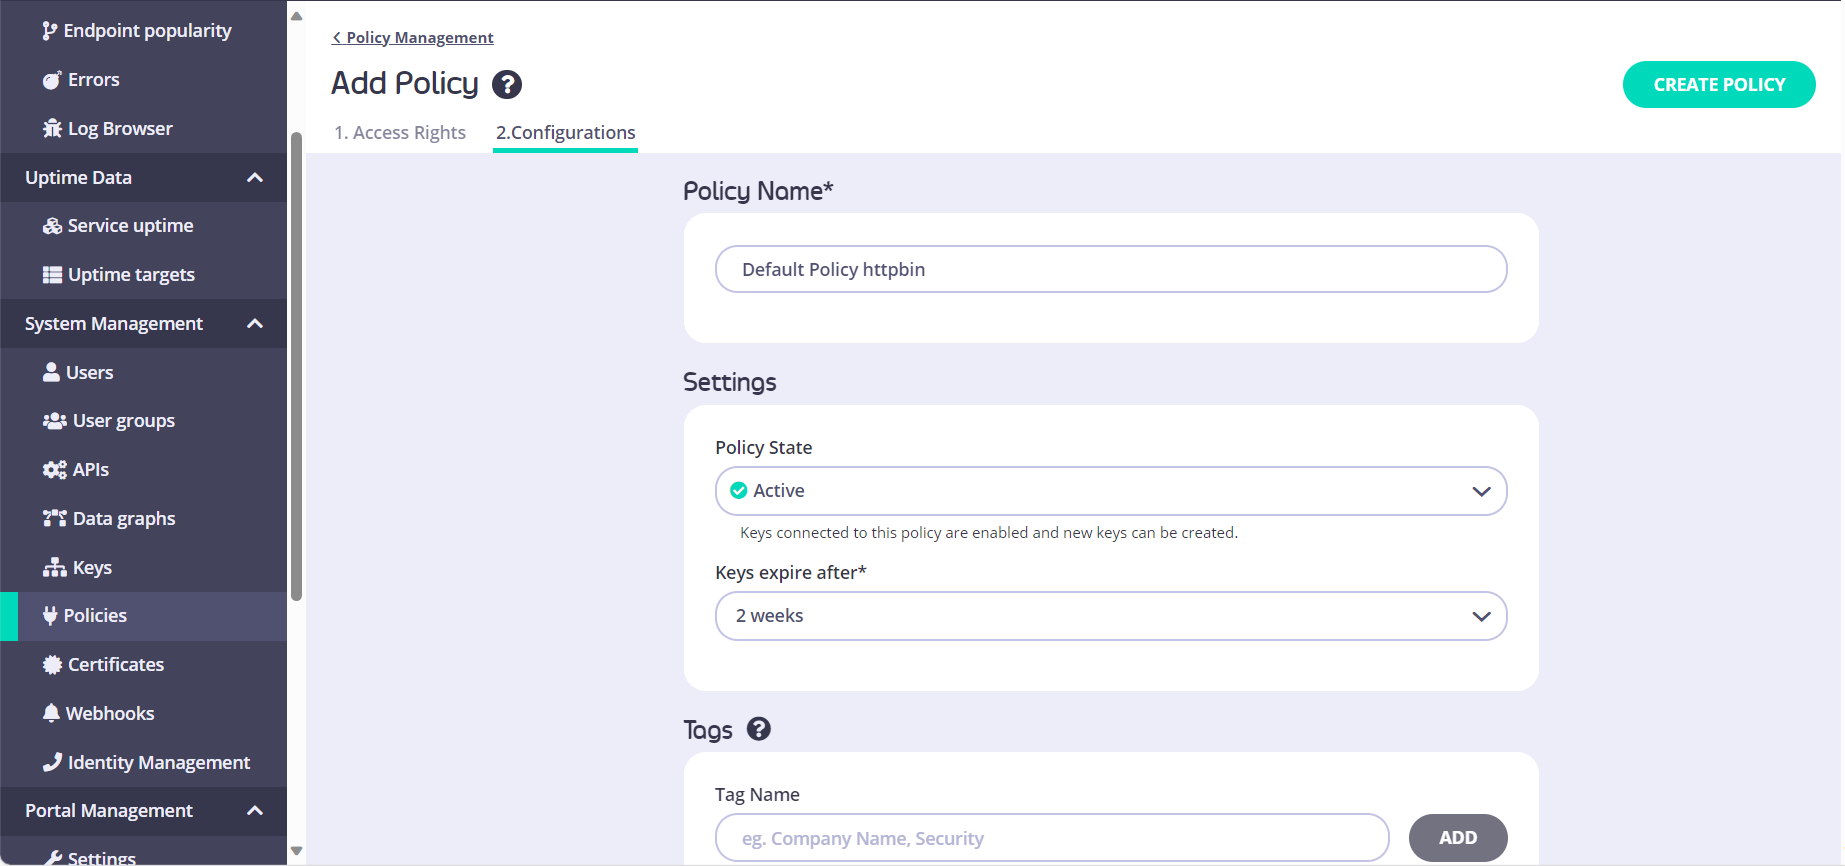
- Go to the “Configurations” section and add a Policy Name (e.g., ‘Default Policy httpbin’).
- Under the “Settings” section, add an expiry date (e.g., ‘2 weeks’).
- Click on the button “Create Policy”.
Create a Key:
- Click on “Keys” under the “System Management” section on the left-hand side.
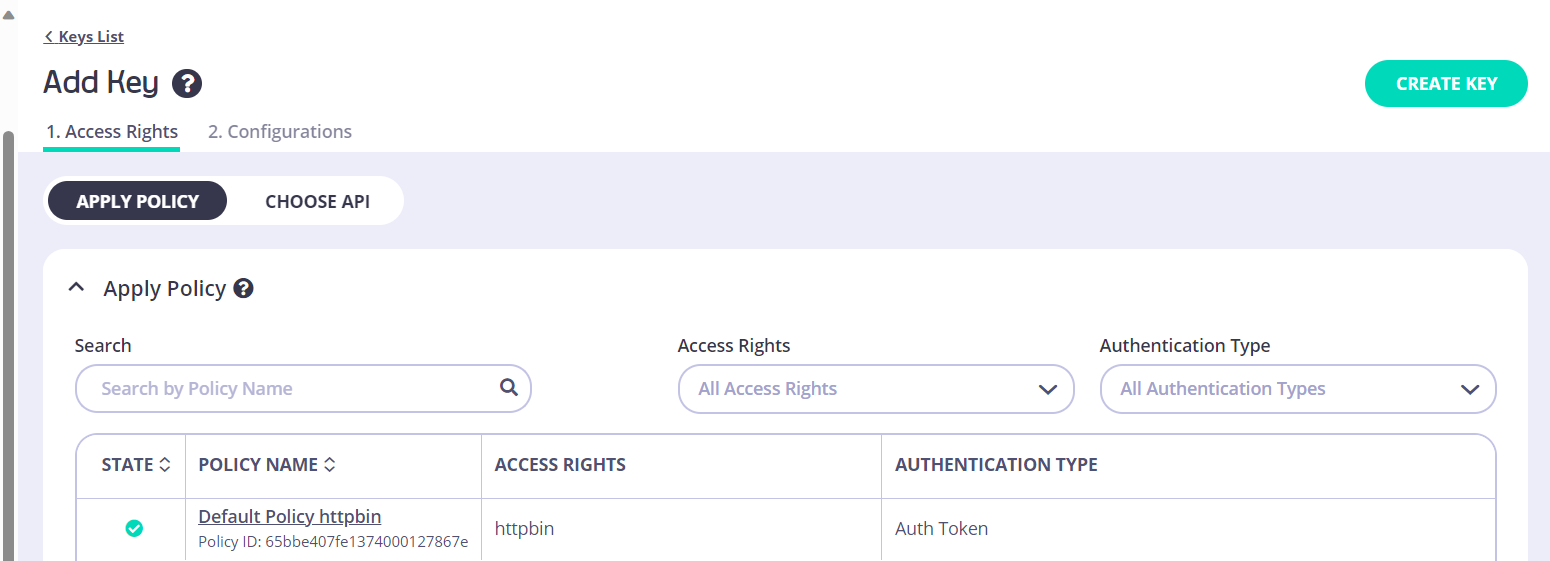
- Click on the button “ADD KEY”.

- In the “Access Rights” section, please select the previously created Policy (e.g., ‘Default Policy httpbin’).
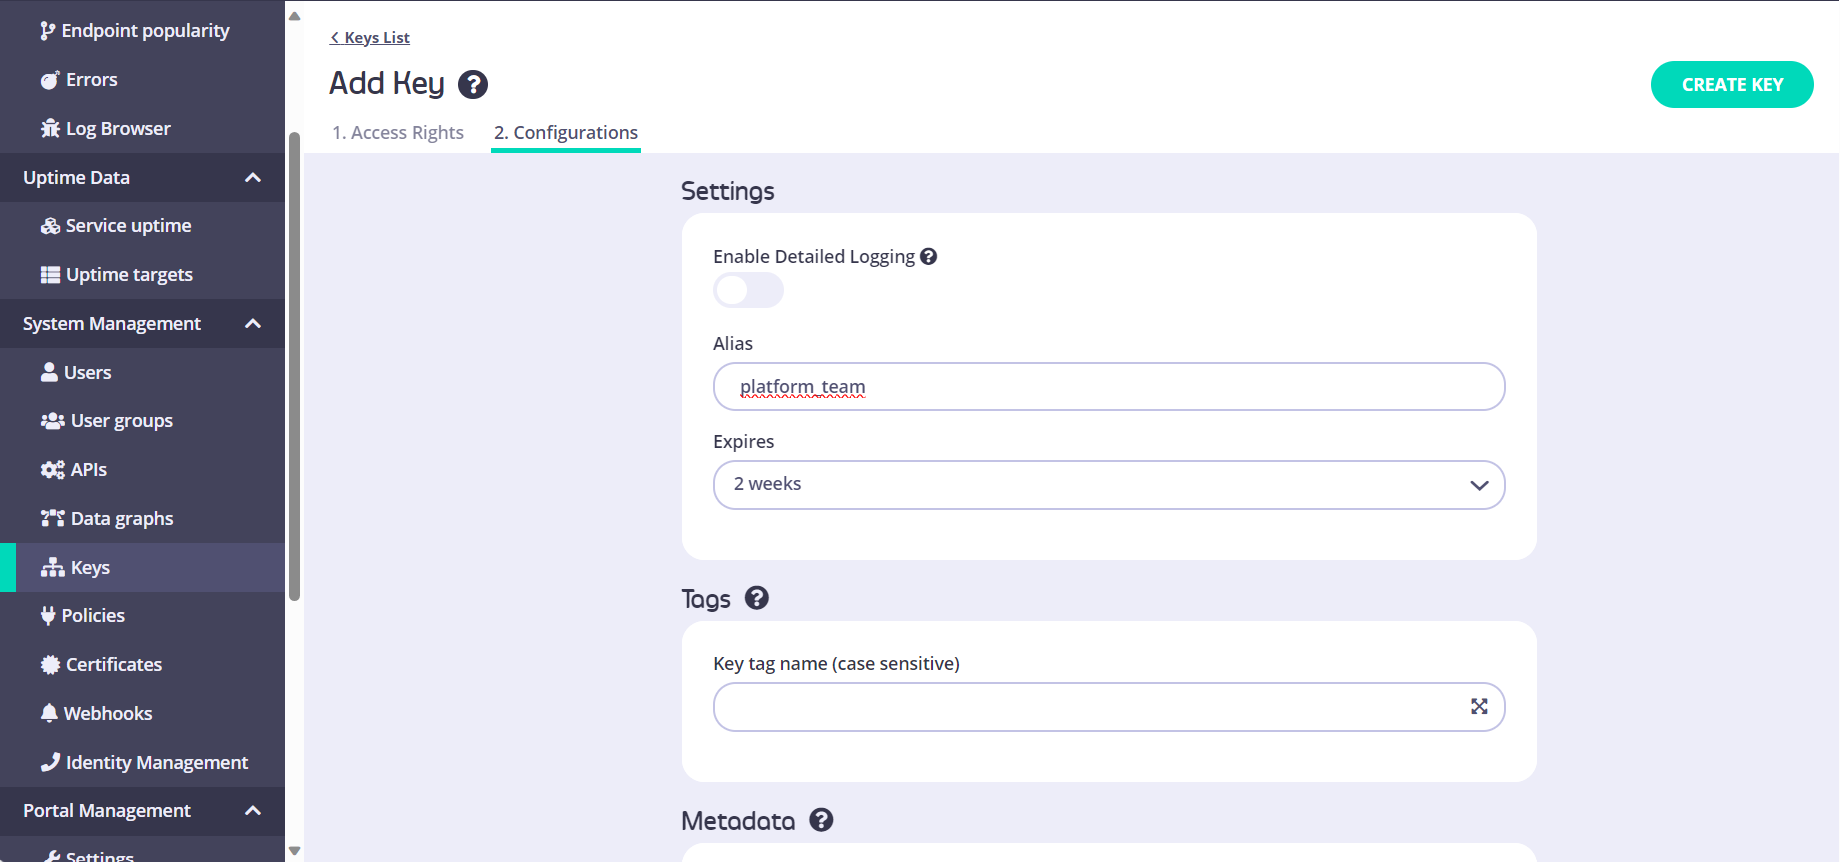
- Go to the “Configurations” section and give your key an alias (e.g., ‘platform_team’).
- Click on the button “Create Key”.
Congratulations! Your key has now been created!
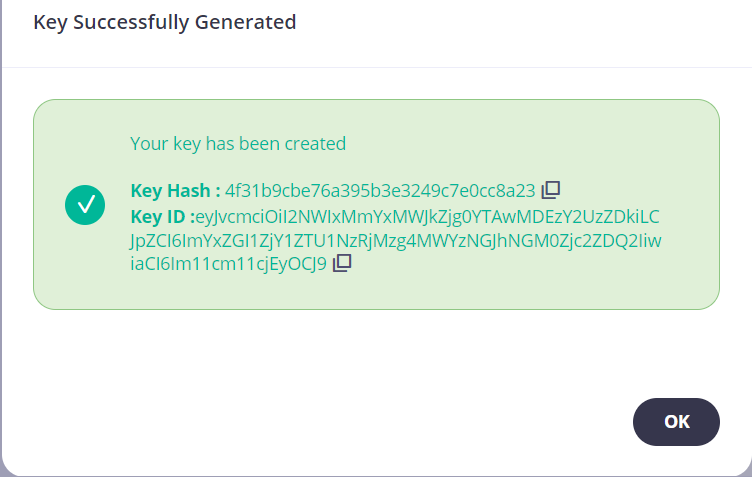
Note: Please copy the “Key ID” as it will be necessary when testing the API.
Now that your API is created, you can explore and manage it through the Tyk Dashboard.
Step 4: Send a test API request to the secured endpoint
Postman
After creating a Policy and a Key, proceed to “Postman” to test and interact with the API you’ve just created.
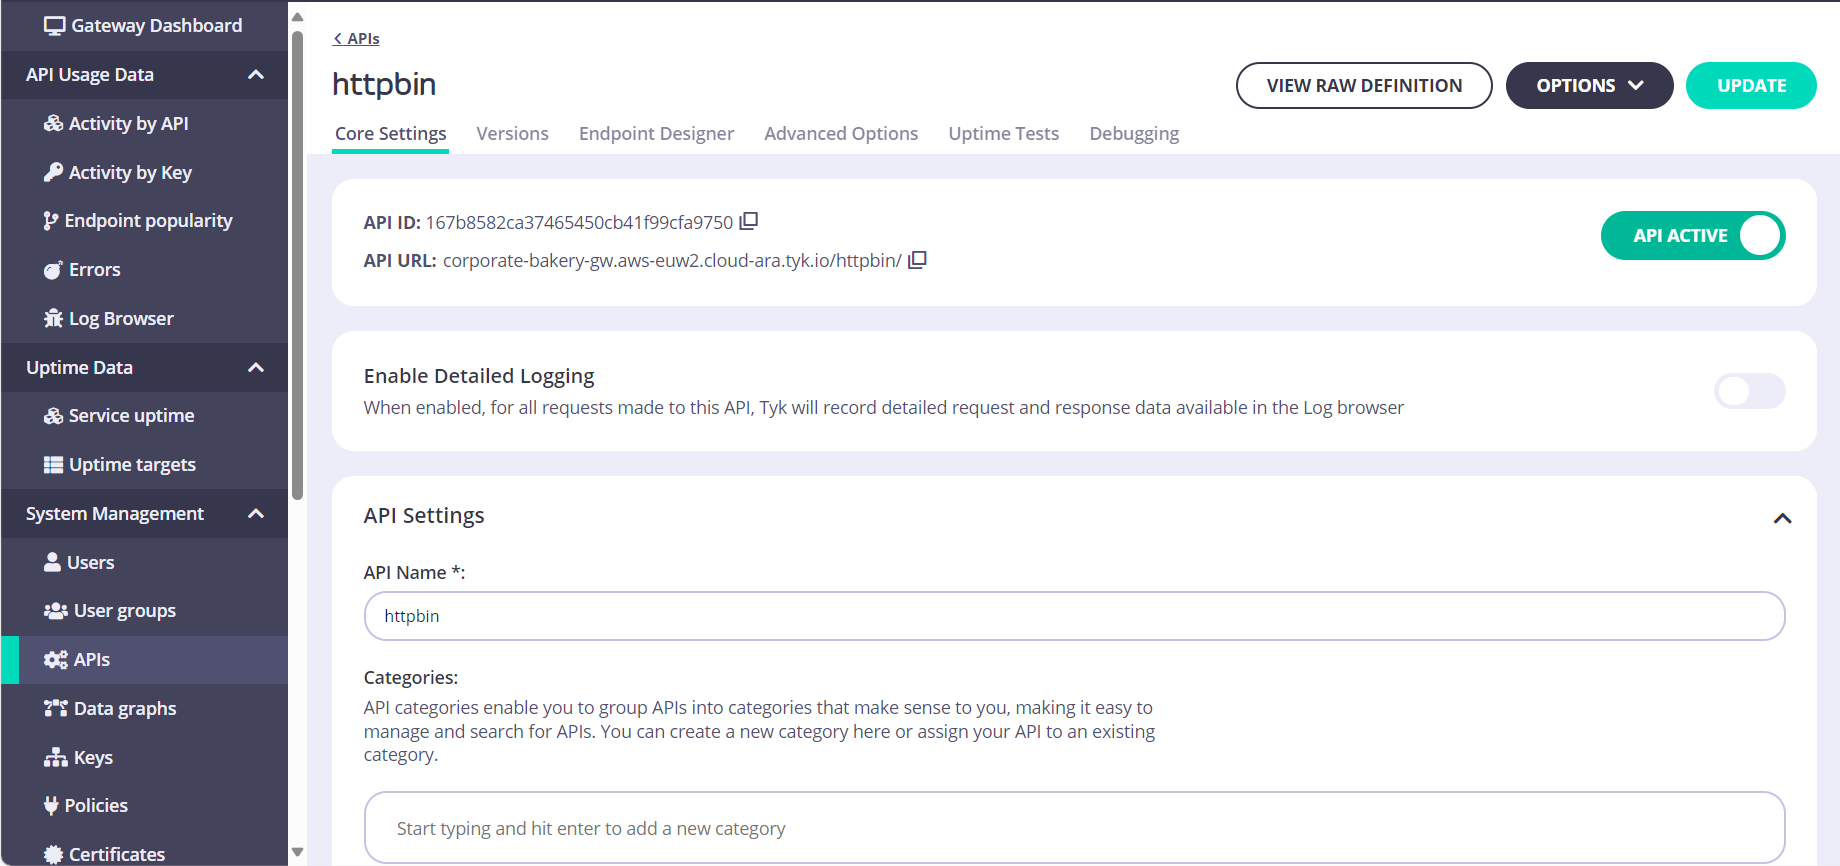
- Click on “APIs” under the “System Management” section on the left-hand side.
- Select the previously created API (e.g., ‘httpbin’).
- Copy the API URL.
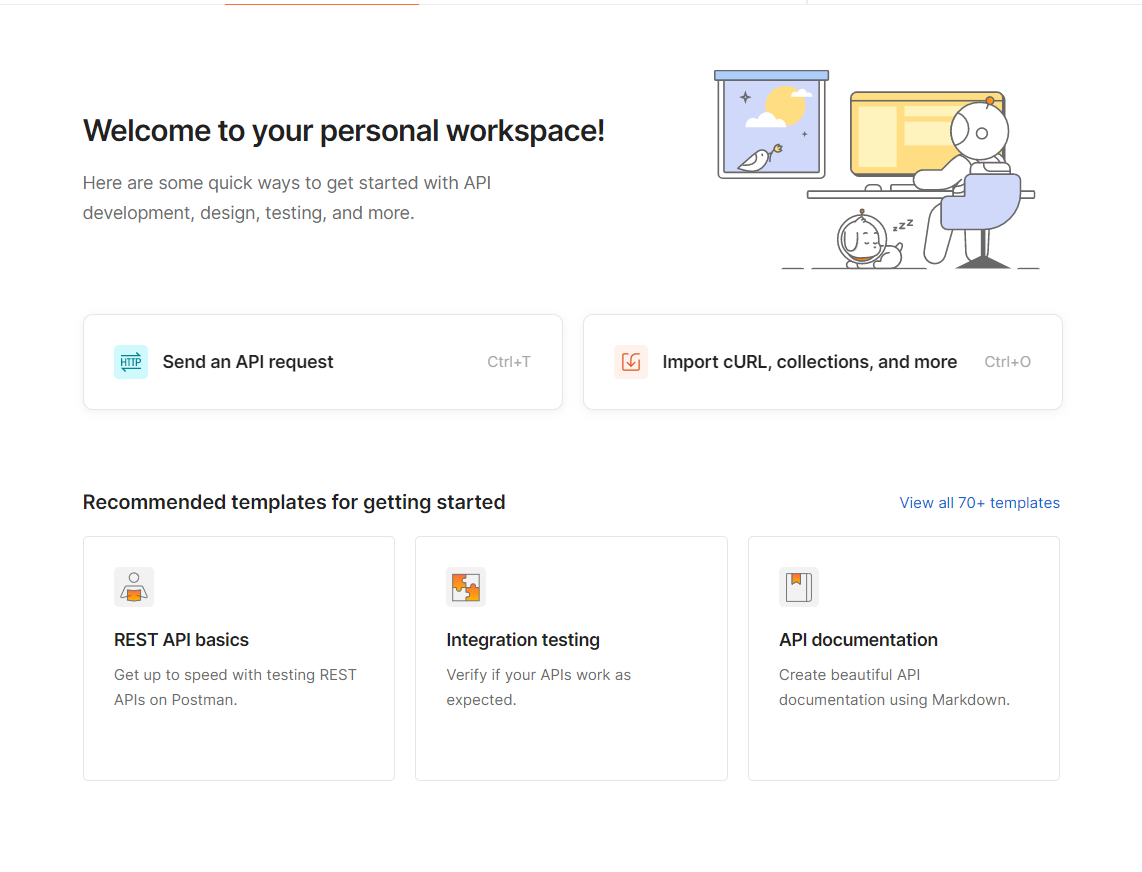
- In Postman, choose “Send an API request”.
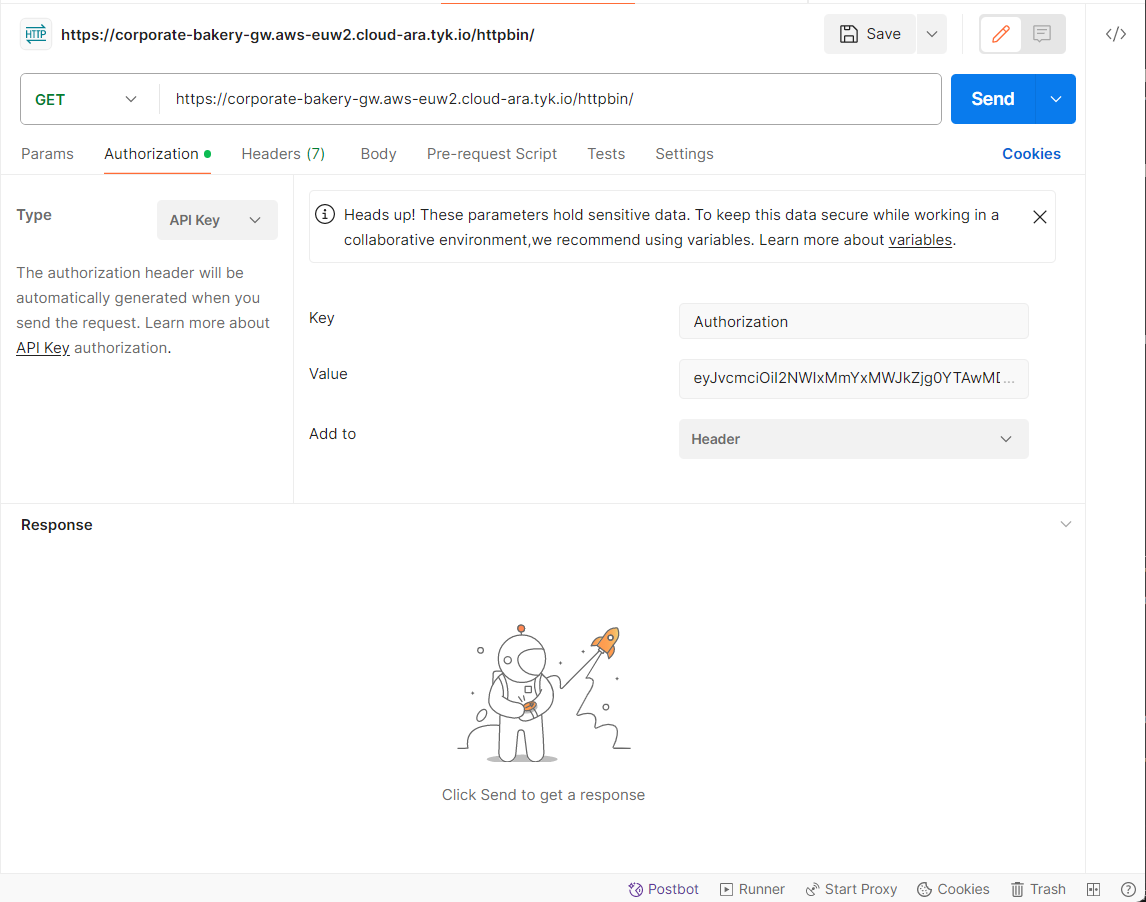
- Enter the copied URL and add “https://” at the beginning.

- In the Tyk Gateway Dashboard, navigate to “Keys” under the “System Management” section on the left-hand side.
- Copy the previously created “Key ID”.

- On Postman, navigate to the “Authorization” tab.
- Change the authentication type from “Inherit auth from parent” to “API Key”.
- Paste the “Key ID” into the “Value” field.
- Click the “Send” button to submit the request.
Curl
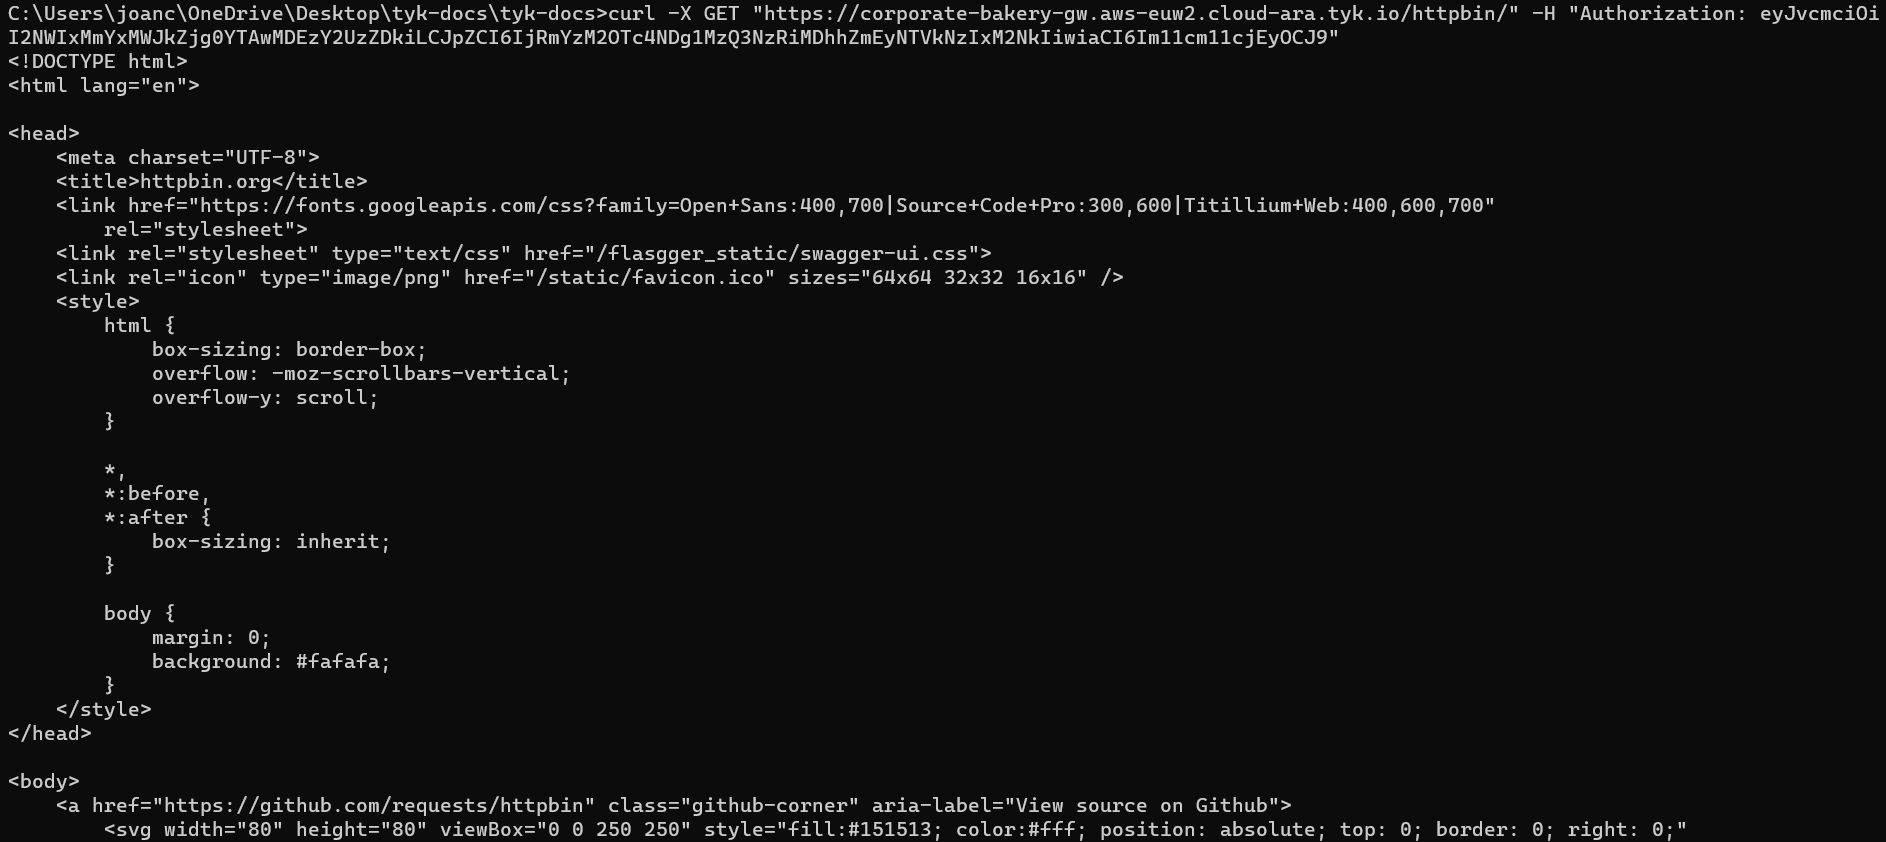
To test and interact with the API, you can also use the curl command:
curl -X GET "${API URL}" -H "Authorization: ${KEY ID}"
Example:
'curl -X GET "https://corporate-bakery-gw.aws-euw2.cloud-ara.tyk.io/httpbin/" -H "Authorization: eyJvcmciOiI2NWIxMmYxMWJkZjg0YTAwMDEzY2UzZDkiLCJpZCI6IjRmYzM2OTc4NDg1MzQ3NzRiMDhhZ
mEyNTVkNzIxM2NkIiwiaCI6Im11cm11cjEyOCJ9"'
Next Steps
This quick start guide has covered the essentials to get you up and running with Tyk Cloud. As you explore further, you might want to learn more about creating APIs and importing APIs definition in Tyk Dashboard or managing the infrastructure and environments in Tyk Cloud.
