Create Users
Dashboard users have twofold access to the dashboard: they can access both the Dashboard API and the dashboard itself, it is possible to generate users that have read-only access to certain sections of the dashboard and the underlying API.
Dashboard users are not the same as developer portal users (“developers”), the user records are stored completely separately, and have different mechanics around user creation, management and access. For example, it is not possible to log into the developer portal using a dashboard account.
Create a Dashboard User with the Dashboard
To create a dashboard user with the GUI:
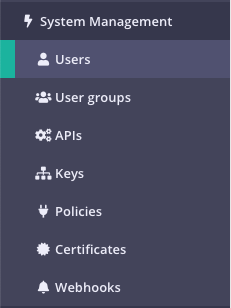
Step 1: Select “Users” from the “System Management” section
Step 2: Click “ADD USER”

Step 3: Add the user’s basic details
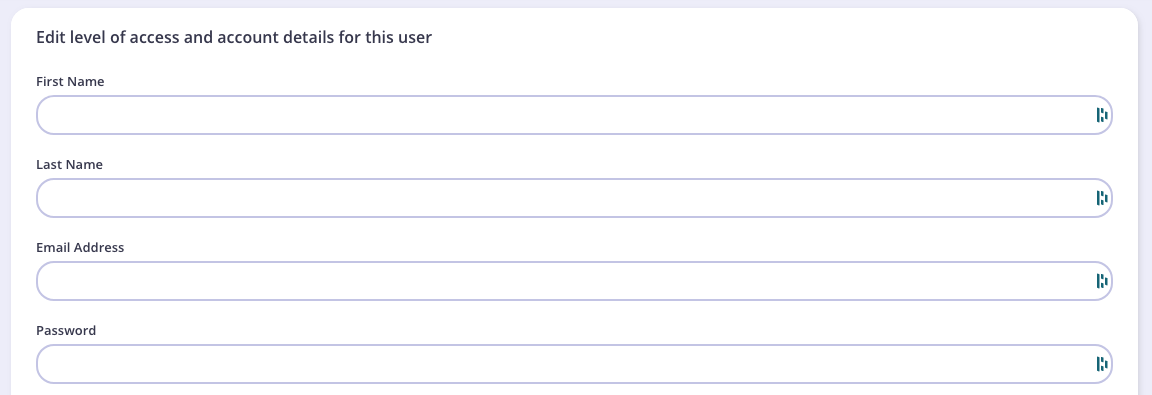
In this section:
- First Name: The user’s first name.
- Last Name: The user’s last name.
- Email: The email address of the user, this will also be their login username.
- Password: The password to assign to the user, this will automatically be hashed and salted before storing in the database. NOTE you need to inform the user about the password you have created for them.
- Active: Must be true for the user to have access to the dashboard or the dashboard API.
Step 4: Set the user permissions
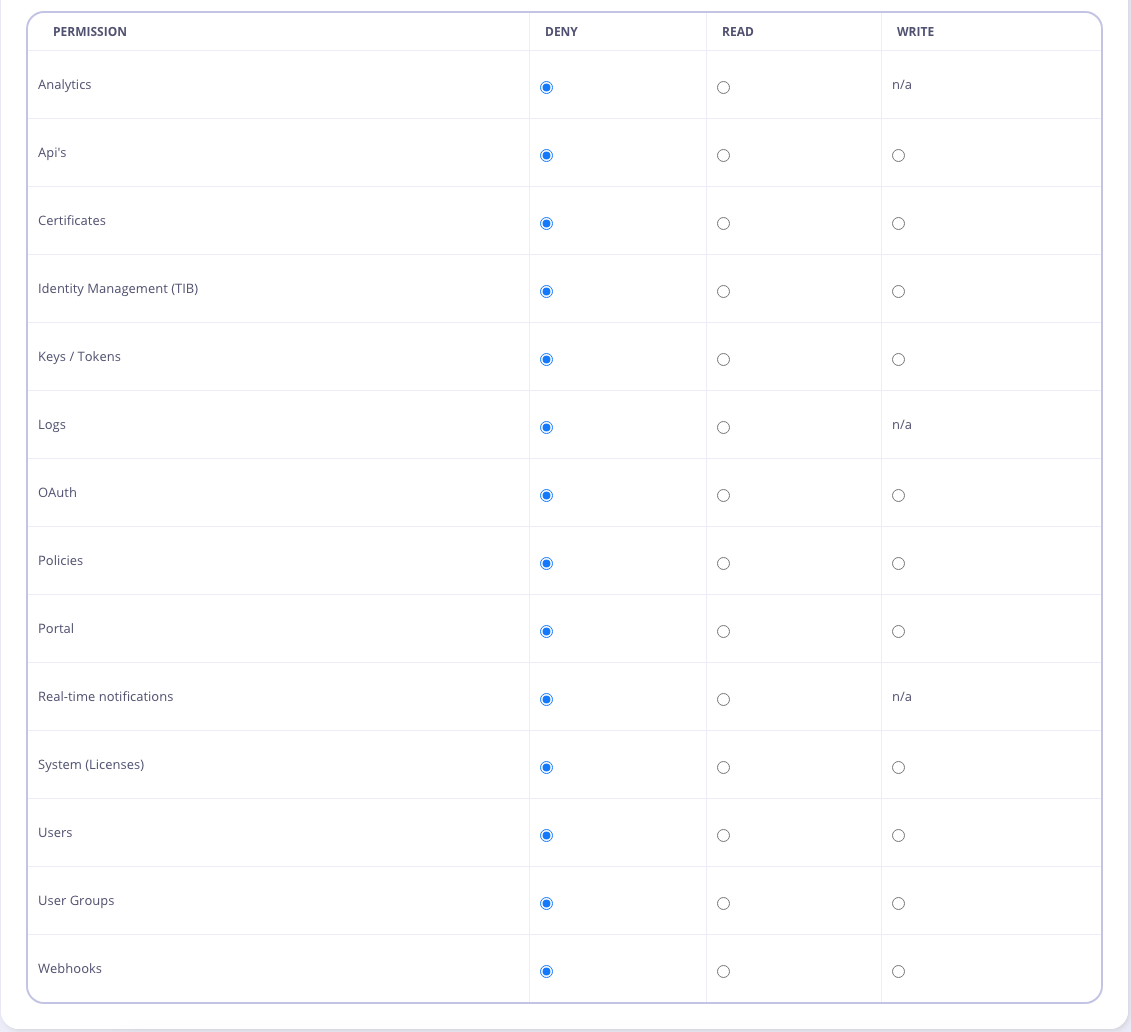
You can be very specific with regards to which pages and segments of the Dashboard the user has access to. Some Dashboard pages require access to multiple parts of the API, and so you may get errors if certain related elements are disabled (e.g. APIs + Policies)
Permissions are set and enforced when they are set on this page. They can either be read or write. If set to deny then the record is non-existent in the object (there is no explicit “deny”). This means that if you set deny on all options it looks as if they have not been written, but they will still be enforced so long as even one read or write option has been set.
Note
You can now create your own custom permissions using the Additional Permissions API or by updating, <code>security.additional_permissions</code> map, in the Tyk Dashboard config.
Custom permissions could be also managed over config file in the Dashboard config file (tyk_analytics.conf).
Step 5: Click “Save”
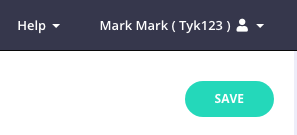
The user will automatically be created, as will their API Access token, which you will be able to retrieve by opening the user listing page again and selecting the user’s username.
Create a Dashboard User with the API
To create a dashboard user with the API, we will first need some Dashboard API Credentials, these can be found in your user detail page, near the bottom of the page:
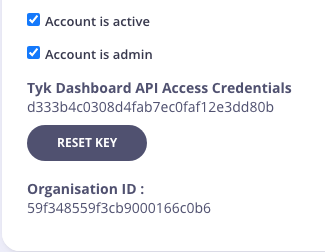
You will need the Tyk Dashboard API Access Credentials.
Once you have your dashboard API Credentials, you can create a user very easily using the API, the following cURL command will generate a user:
curl -H "Authorization: {YOUR-API-KEY}" \
 -s \
 -H "Content-Type: application/json" \
 -X POST \
 -d '{
  "first_name": "Test",
  "last_name": "User",
  "email_address": "[email protected]",
  "active": true,
  "user_permissions": {
      "IsAdmin": "admin"
  },
  "password": "thisisatest"
 }' http://{your-dashboard-host}:{port}/api/users | python -mjson.tool
In this example, we have given the user Admin privileges. To see a detailed breakdown of permission objects, please see below.
You will see the following response if the user has been created:
{
  "Message": "User created",
  "Meta": null,
  "Status": "OK"
}
The user is now active.
Resetting a User Password
You can change your password in these circumstances:
- If you have forgotten your password
- If you wish to change your password
Forgotten Your Password?
If you have forgotten your password, you can request a password reset email from the Dashboard Login screen:
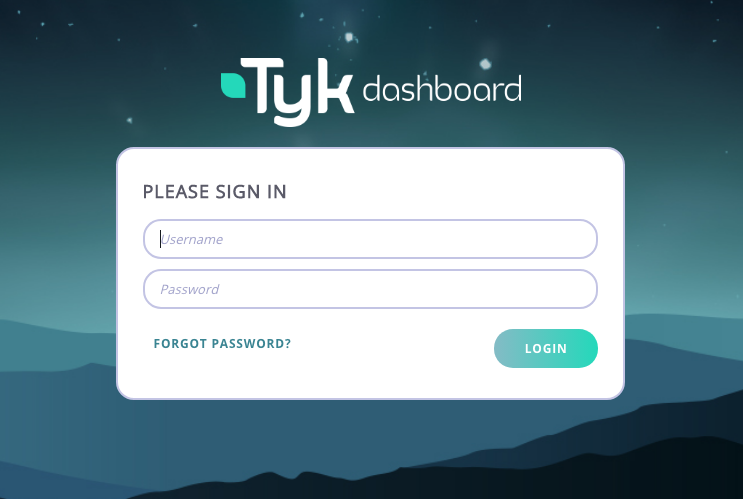
Enter your login email address, and you will receive an email with a link that enables you to create a new password.
Note
This link will only be valid for 1000 seconds
You will need to configure your outbound email settings to enable this feature.
Change Your Password
If you wish to change your current password, from the System Management > Users screen, select Edit for your Username.
Note
You will not be able to change the password for other Dashboard users.
From your user details, click Reset Password:
 Enter your current and new password (and confirm it) in the dialog box that is displayed, and click Reset Password.
You will automatically be logged out of the Dashboard and will have to enter your username and new password to log back in.
