Tyk Docker Compose Quick Start
Last updated: 3 minutes read.
This page outlines how to run Tyk Stack using Docker Compose.
Who is this page for?
This is the guide we recommend for a easy quick start. The instructions are the ones shared with you when you register to a free trial.
You can also use this guide for your PoC since it spins up a full Tyk Self Managed stack for you using our project Docker Pro Demo, however, if you are interested in learning Tyk, there’s an option for Tyk Demo which is a project that spins up full Tyk stack that includes a prepopulate API definitions of all kinds, with various middleware options and can also spin up supporting tools such as Prometheus, Keycloak (IDP) etc.
What’s included?
The Tyk Pro Docker Demo is our Self-Managed solution, which includes our Gateway, Dashboard, and analytics processing pipeline. This demo will run Tyk Self-Managed on your machine, which contains 5 containers: Tyk Gateway, Tyk Dashboard, Tyk Pump, Redis and MongoDB. This demo is great for proof of concept and demo purposes, but if you want to test performance, you will need to move each component to a separate machine.
Warning
This demo is NOT intended for production use or performance testing, since it uses docker compose and the configuration files are not specifically tuned for performance testing or high loads. Please visit the Planning for Production page to learn how to configure settings for optimal performance.
Note
The Tyk Pro Docker demo does not provide access to the Developer Portal.
Prerequisites
- Our Tyk Pro Docker demo on GitHub
- A Tyk Pro trial license
Step #1 - Clone the GitHub repo
Clone the Docker demo repo from GitHub to a location on your machine.
Step #2 - Edit your hosts file
You need to add the following to your hosts file:
127.0.0.1 www.tyk-portal-test.com
127.0.0.1 www.tyk-test.com
Step #3 - Add your developer licence
From your installation folder:
Create an .env file - cp .env.example .env. Then add your license string to TYK_DB_LICENSEKEY.
Step #4 - Initialise the Docker containers
With MongoDB
Run the following command from your installation folder:
docker-compose up
With PostgreSQL
Run the following command from your installation folder:
docker-compose -f ./docker-compose.yml -f ./docker-compose.postgres.yml up
This will will download and setup the five Docker containers. This may take some time and will run in non-daemonised mode so you can see all the output.
Step #5 - Bootstrap the Tyk installation
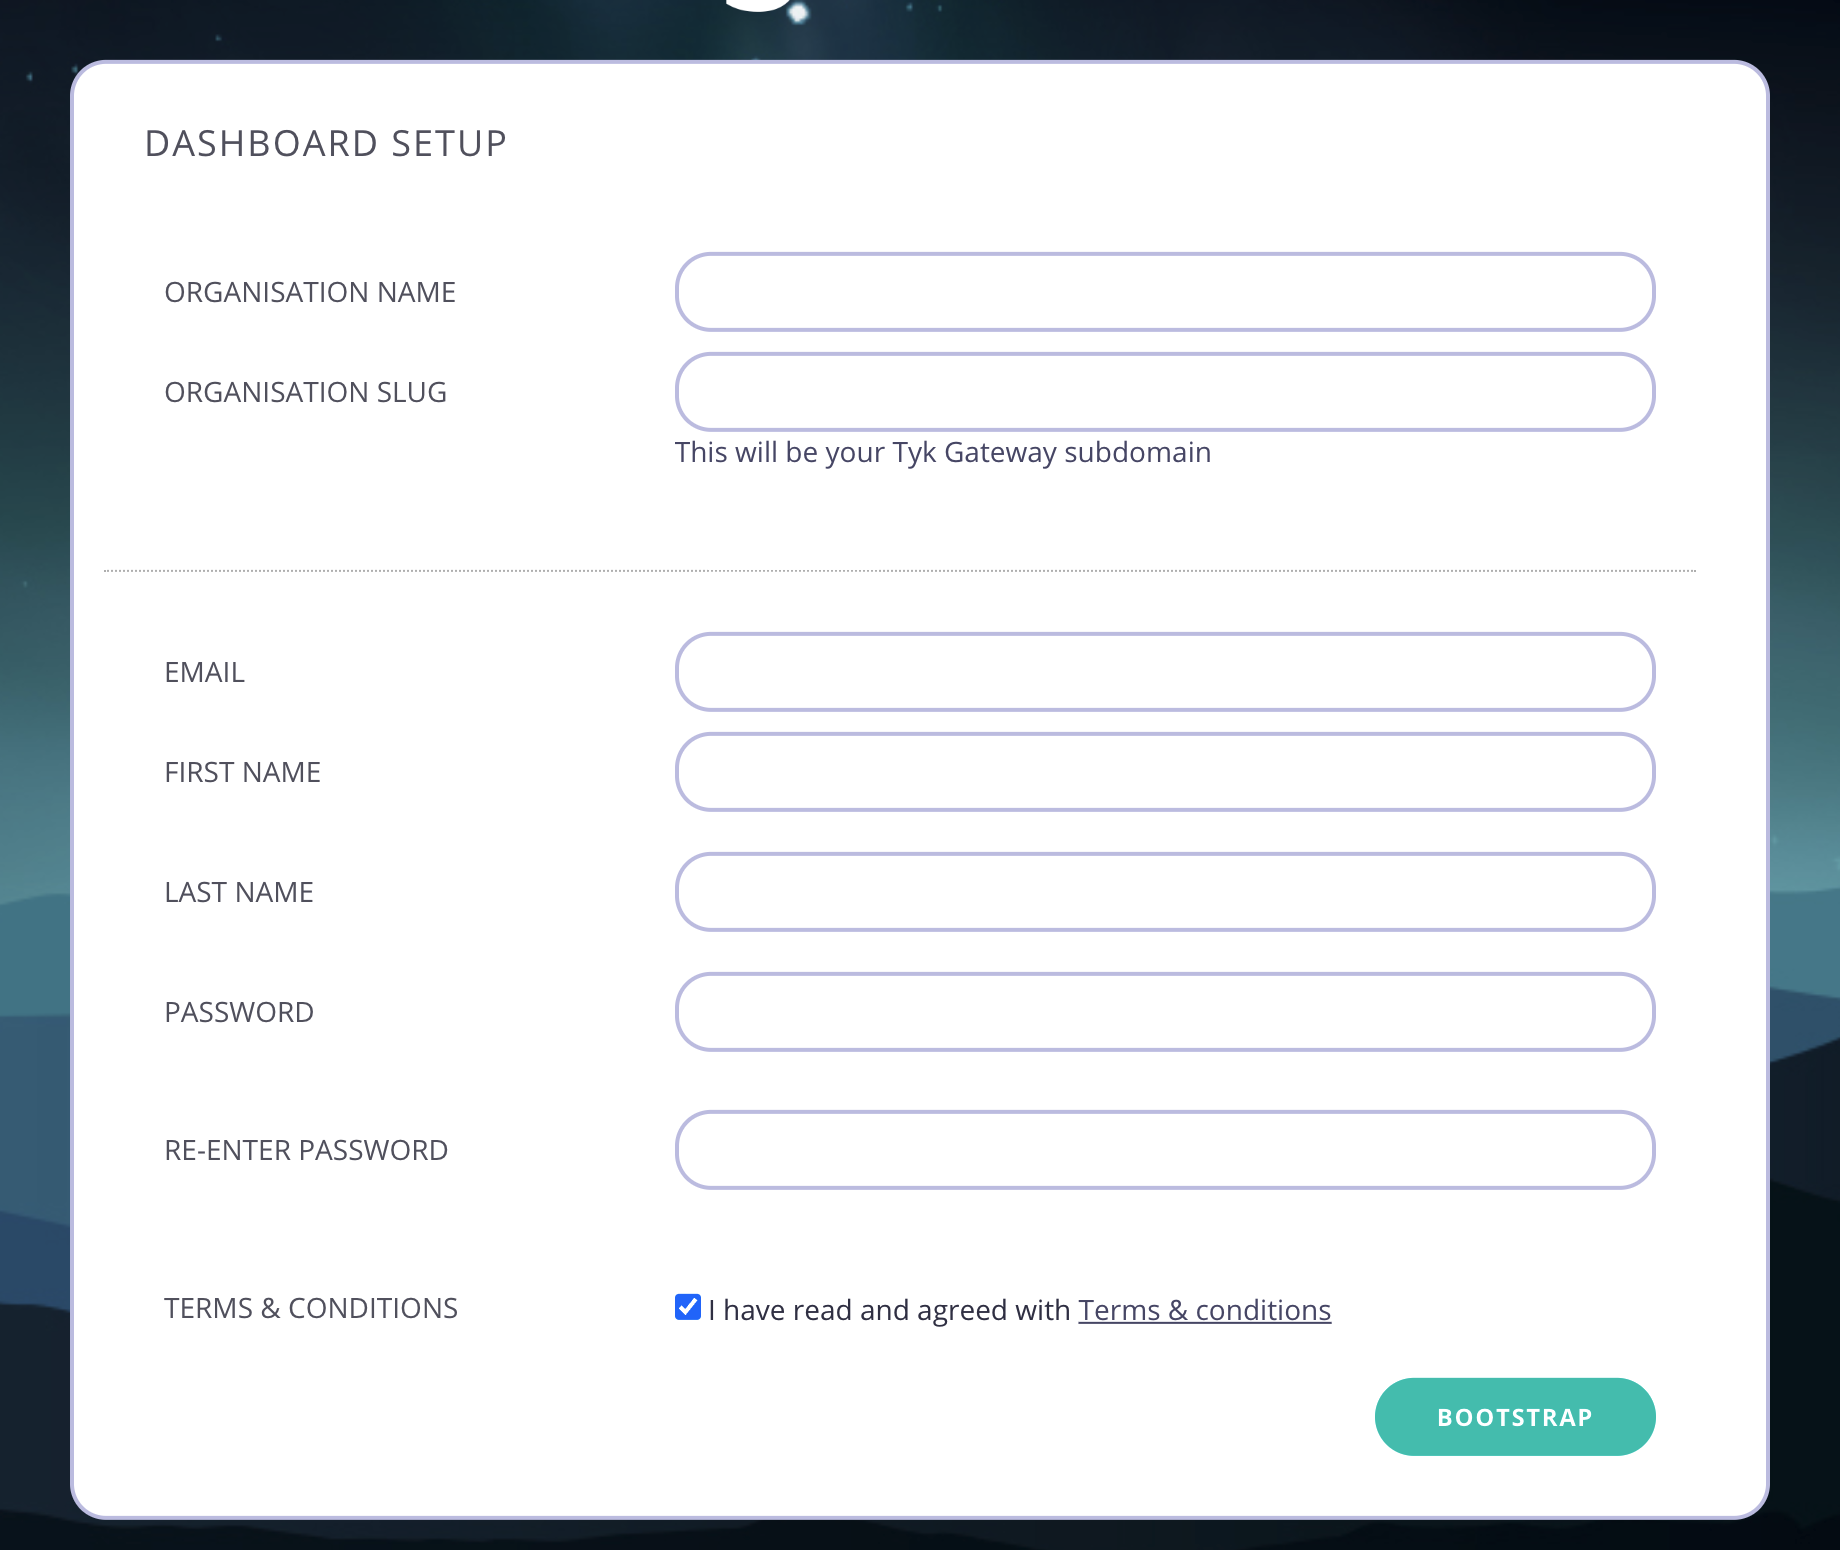
Go to http://localhost:3000 in your browser. You will be presented with the Bootstrap UI to create your first organisation and admin user.

Step #6 - Create your organisation and default user
You need to enter the following:
- Your Organisation Name
- Your Organisation Slug
- Your User Email Address
- Your User First and Last Name
- A Password for your User
- Re-enter your user Password
Note
For a password, we recommend a combination of alphanumeric characters, with both upper and lower case letters.
Click Bootstrap to save the details.
Step #7 - log in to the Tyk Dashboard
You can now log in to the Tyk Dashboard from 127.0.0.1:3000, using the username and password created in the Dashboard
Setup screen.
Removing the demo installation
To delete all containers as well as remove all volumes from your host:
With MongoDB
docker-compose down -v
With PostgreSQL:
docker-compose -f ./docker-compose.yml -f ./docker-compose.postgres.yml down -v