Get started with Tyk OAS and VS Code
Last updated: 4 minutes read.
Introduction
It is easy to get going with Tyk in your favourite editors. We will take you through the steps to get going with Visual Studio Code. This will include installing a plugin, importing an API and sending a request to that API. It should take about ten minutes, if that.
Prerequisites
- A Tyk Open Source Gateway installation.
- Visual Studio Code installed.
Tyk Dashboard API or Tyk Gateway API?
The examples in this tutorial have been written assuming that you are using the Tyk Gateway API.
You can also run these steps using the Tyk Dashboard API, noting the differences summarised here:
| Interface | Port | Endpoint | Authorization Header | Authorization credentials |
|---|---|---|---|---|
| Tyk Gateway API | 8080 | tyk/apis/oas |
x-tyk-authorization |
secret value set in tyk.conf |
| Tyk Dashboard API | 3000 | api/apis/oas |
Authorization |
From Dashboard User Profile |
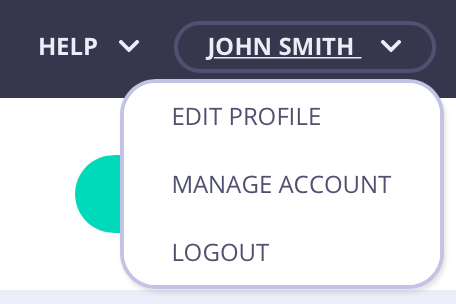
- When using the Tyk Dashboard API, you can find your credentials key from your User Profile > Edit Profile > Tyk Dashboard API Access Credentials:
Note
You will also need to have ‘admin’ or ‘api’ rights if RBAC is enabled.
Install the REST client VS Code extension
- From your Visual Studio Code menu, select Extensions from the left hand menu.
- Search for the REST Client and install it. It is worth restarting Visual Studio Code after you install the plugin to make sure everything is set up correctly.
The REST client allows you to write clear REST calls easily
Create an OpenAPI Document to import to Tyk
- In Visual Studio Code, create a directory
- Create a blank file called
simple_api.jsonto store your OpenAPI Document - Copy the code below to the file you just created:
{
  "components": {
  },
  "info": {
    "title": "simple_api",
    "version": "1.0"
  },
  "openapi": "3.0.3",
  "paths": {},

  "servers": [
    {
      "url": "http://httpbin.org/"
    }
  ]
}
This is a very simple OAS compliant description of an API. You will notice that there is nothing Tyk specific in it. You will use the ‘import’ API to ask Tyk to add the Tyk bits for you.
Create a script in VS Code to import and test your API
- Create a file called
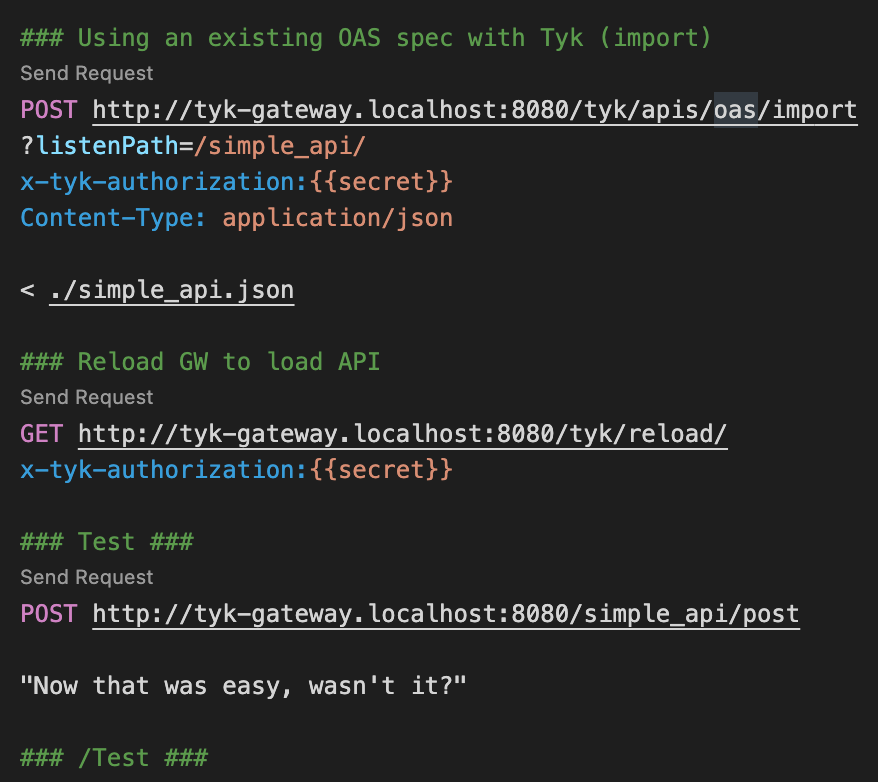
my_first_api.restin the same directory as your OpenAPI Document (simple_api.json). - Copy the following into the new file:
### Globals
@secret = YOUR_SECRET_HERE

### Using an existing OpenAPI Document with Tyk (import)
POST http://tyk-gateway.localhost:8080/tyk/apis/oas/import
?listenPath=/simple_api/
x-tyk-authorization:{{secret}}
Content-Type: application/json

< ./simple_api.json

### Reload GW to load the API
GET http://tyk-gateway.localhost:8080/tyk/reload/
x-tyk-authorization:{{secret}}

### Test ###
POST http://tyk-gateway.localhost:8080/simple_api/post

"Now that was easy, wasn't it?"

### /Test ###
Explanation
| Code | Description |
|---|---|
@secret = YOUR_SECRET_HERE |
This is your Tyk Secret, setup as a variable. |
POST http://tyk-gateway.localhost:8080/tyk/apis/oas/import ?listenPath=/simple_api/ x-tyk-authorization:{{secret}} Content-Type: application/json < ./simple_api.json |
This section asks Tyk to create a Tyk OAS API based on the simple_api.json file and have it sit on the listen path /simple_api/. |
GET http://tyk-gateway.localhost:8080/tyk/reload/ x-tyk-authorization:{{secret}} |
These 2 lines ask Tyk to reload your Gateway to detect the new API. This is only needed on the open source version of Tyk (when accessing the Tyk Gateway API). If you use the Tyk Dashboard API, you can skip this step. |
POST http://tyk-gateway.localhost:8080/simple_api/post "Now that was easy, wasn't it?" |
These 2 lines run a call to your new API and check that it works. |
Import your API
Using the REST client, click Send Request above line 5 to create your API request.

You should see the following response that your API was added.

Reload your Tyk Gateway
Click Send Request above line 13 to reload your Tyk Gateway.

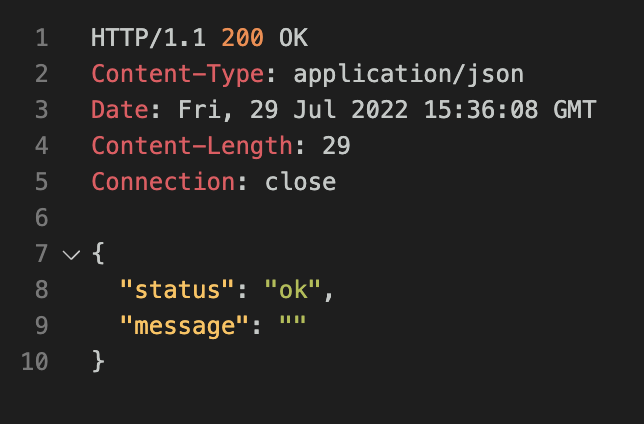
You will get the following response.
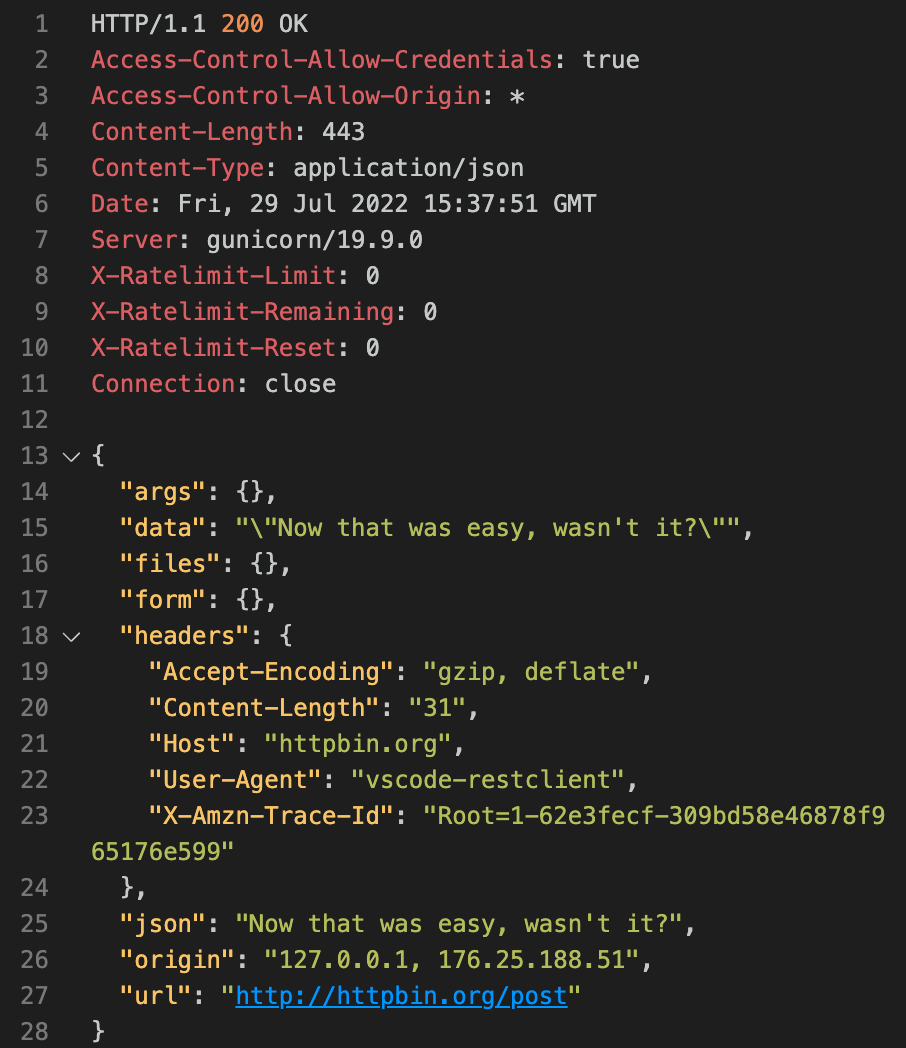
Test your API
Click Send Request above line 17.

You will get the following response from the httpbin test service, returning the message “Now that was easy, wasn’t it?”.
For more details, see the OAS high level concepts page
What next?
The next thing you might want to do is add the Tyk configuration fields to an existing OpenAPI Document or create a Tyk OAS API definition from scratch.
When it comes to writing your own Tyk APIs in Visual Studio Code, the Tyk extension is a real help.