Introduction
This section explains that you can use plugins with Tyk Cloud and links to details of Python, JSVM and Golang based plugins. Tyk Cloud allows you to take advantage of Tyk’s plugin architecture that allows you to write powerful middleware. For this version of Tyk Cloud, we support the use of Python, JavaScript Middleware and Golang based plugins. For more details, see: Next you’ll set up an Tyk Cloud Control Plane to use a Python Authentication Plugin.Setup Control Plane
This page explains how to set up a control plane with plugins to customize it on Tyk Cloud, so that you can ensure your API management solution is as effective as possible. What do I need to do to use Plugins?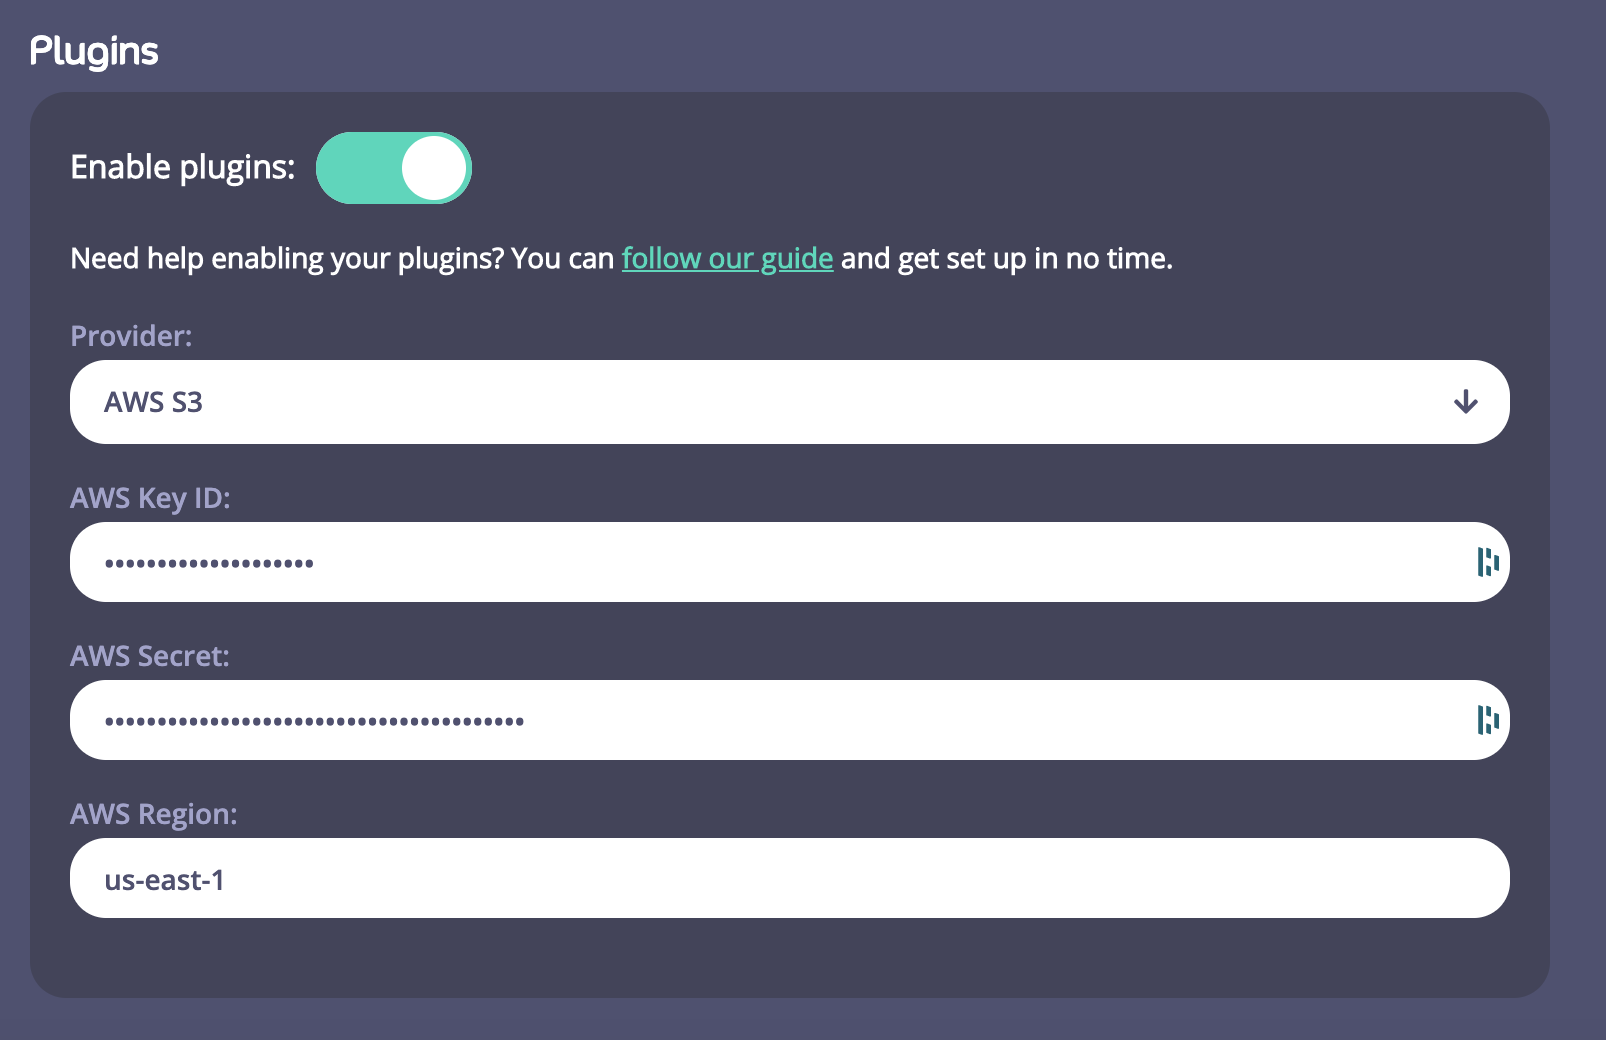
- You need to enable Plugins on a Control Plane and on a Cloud Data Plane.
-
You need to enter Provider details to enable you to store and access your plugins. For this version of Tyk Cloud, we are supporting Amazon AWS S3. If you haven’t got an AWS S3 account, go to https://aws.amazon.com/s3/ and set one up. You will need the following details to configure SW3 within your Control Plane:
- Your AWS Key ID
- Your AWS Secret
- Your AWS Region
For this release of Tyk Cloud, you need to enter your AWS Region manually. You also need to consider that uploading a custom plugin bundle to Tyk Cloud results in a new bucket being created for each bundle uploaded. It also requires that Tyk Cloud has permissions in the form of an AWS IAM policy to have create rights on AWS.
- A policy is an entity that, when attached to an identity or resource, defines their permissions. IAM policies define permissions for an action regardless of the method that you use to perform the operation.
- We have included a sample IAM policy that you need to create in AWS to allow the plugin bundle to work. For more information on creating IAM policies, see the AWS Documentation.
Uploading your Bundle
This section walks you through uploading your bundle as part of the process of Python custom authentication on Tyk Cloud, so that you can ensure your API management solution is as effective as possible. How do I upload my bundle file to my Amazon S3 bucket? We are going to use a Tyk CLI tool called mservctl. This acts as a file server for our plugins. You use it to push your plugin bundle to your S3 bucket. Your Tyk Cloud Tyk Gateway will use MServ to retrieve your bundle, instead of connecting directly into S3. Prerequisites- You need to install the mserv binary according to your local environment from the following repo - https://github.com/TykTechnologies/mserv/releases. Linux and MacOS are supported.
- From your Control Plane you need the following settings.

- Your Tyk Cloud Control Plane Ingress File Server Endpoint (1)
- Your File Server API Key (2)
push command to upload your bundle.zip file to your bucket.
mservctl settings - Mac
To run mservctl from your local machine, from the binary directory, run:
mservctl from your local machine, from the binary directory, run:
You may have to change the CHMOD settings on the binary to make it executable. (
chmod +x <filename>). On MacOS you may also need to change your security settings to allow the binary to run.- Create a file (we’ll call it
python-demo.mservctl.yaml) - Copy your Control Plane File Server endpoint URL and use it for your
endpointflag. Remember to prepend it withhttps://. - Copy your File Server API Key and use it for your
tokenflag
python-demo.mservctl.yaml config file should now look like this:
- We are going to use the MacOS binary here, just substitute the binary name for the Linx version if using that OS. Note we have our YAML config file in the same directory as our bundle.zip file. Run the following mserv
pushcommand:
- You should get confirmation that your middleware has been uploaded to your S3 bucket.
- You will notice that the middleware uploaded has been given an ID. We are going to use that ID with an API that allows you to specify specific middlware. You can also check the contents of the middleware you have just uploaded using the mservctl
listcommand. Run:
- You will see the list of middleware you have pushed to your S3 Bucket
- If you use the -f flag with the list command, you will see the functions within your middleware listed:
- As you can see, the 2 middleware hooks specified within your
manifest.jsonare returned:
Test Middleware
This section explains how to test out your Python custom authentication on Tyk Cloud, to ensure that it’s working properly. Testing our middleware with an API You now have your middleware uploaded to your S3 bucket. We are now going to create an API from our Control Plane Dashboard and test it via Postman Prerequisites- A Postman API Client from https://www.postman.com/product/api-client/
- Your mserv middleware ID
- The
authvalue token from yourmiddleware.pycode
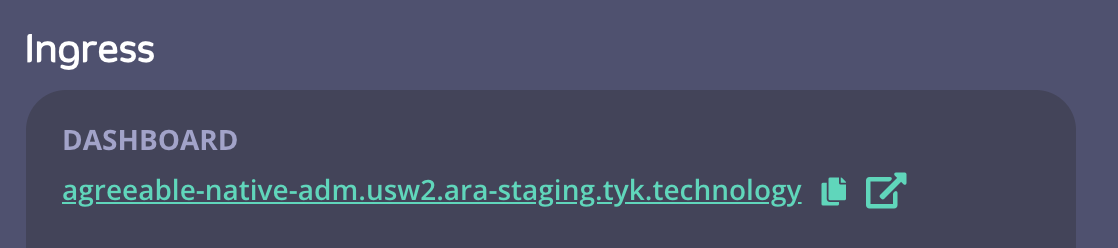
- From your Control Plane in Tyk Cloud, click the Ingress > Dashboard link
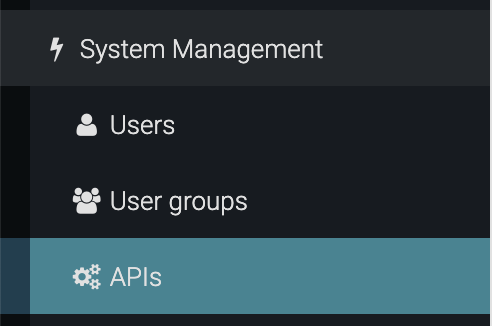
- From the Dashboard screen, click APIs from the System Management menu
- Click Add New API
- From the API Designer, enter the following in the Core Settings tab:
- From the API Settings section, give your API a name. We’ll name this example “test”
- Scroll down to the Authentication section and select Custom authentication (Python, CoProcess and JSVM plugins) from the drop-down menu
- Select the Allow query parameter as well as header option
- From the Advanced Settings tab enter the following:
- In the Plugin Options, enter the Plugin Bundle ID as returned by mservctl. In our example
9c9ecec1-8f98-4c3f-88cd-ca3c27599e6b - To propagate your API to all your Cloud Data Plane Tyk Gateways connected to your Control Plane, you need to add the tag edge in the API Segment Tags section
- In the Plugin Options, enter the Plugin Bundle ID as returned by mservctl. In our example
- Click Save.
- First, a quick test. Copy the URL of your Cloud Data Plane (Note the “edge” tag in the tags column) and paste it in a browser tab. You should get a 404 page not found error.
- Then add the “test” endpoint to the URL in your browser tab, so in our example
uptight-paddle-gw.usw2.ara.app/test/. You should now see a 403 “error: “forbidden”. This is because your API has Authentication enabled and you haven’t provided the credentials yet. - Open up your Postman client:
- Paste your Gateway URL with the API appended to the request - (
uptight-paddle-gw.usw2.ara.app/test/) - Click Send. You’ll see the 403 “error: “forbidden response” again
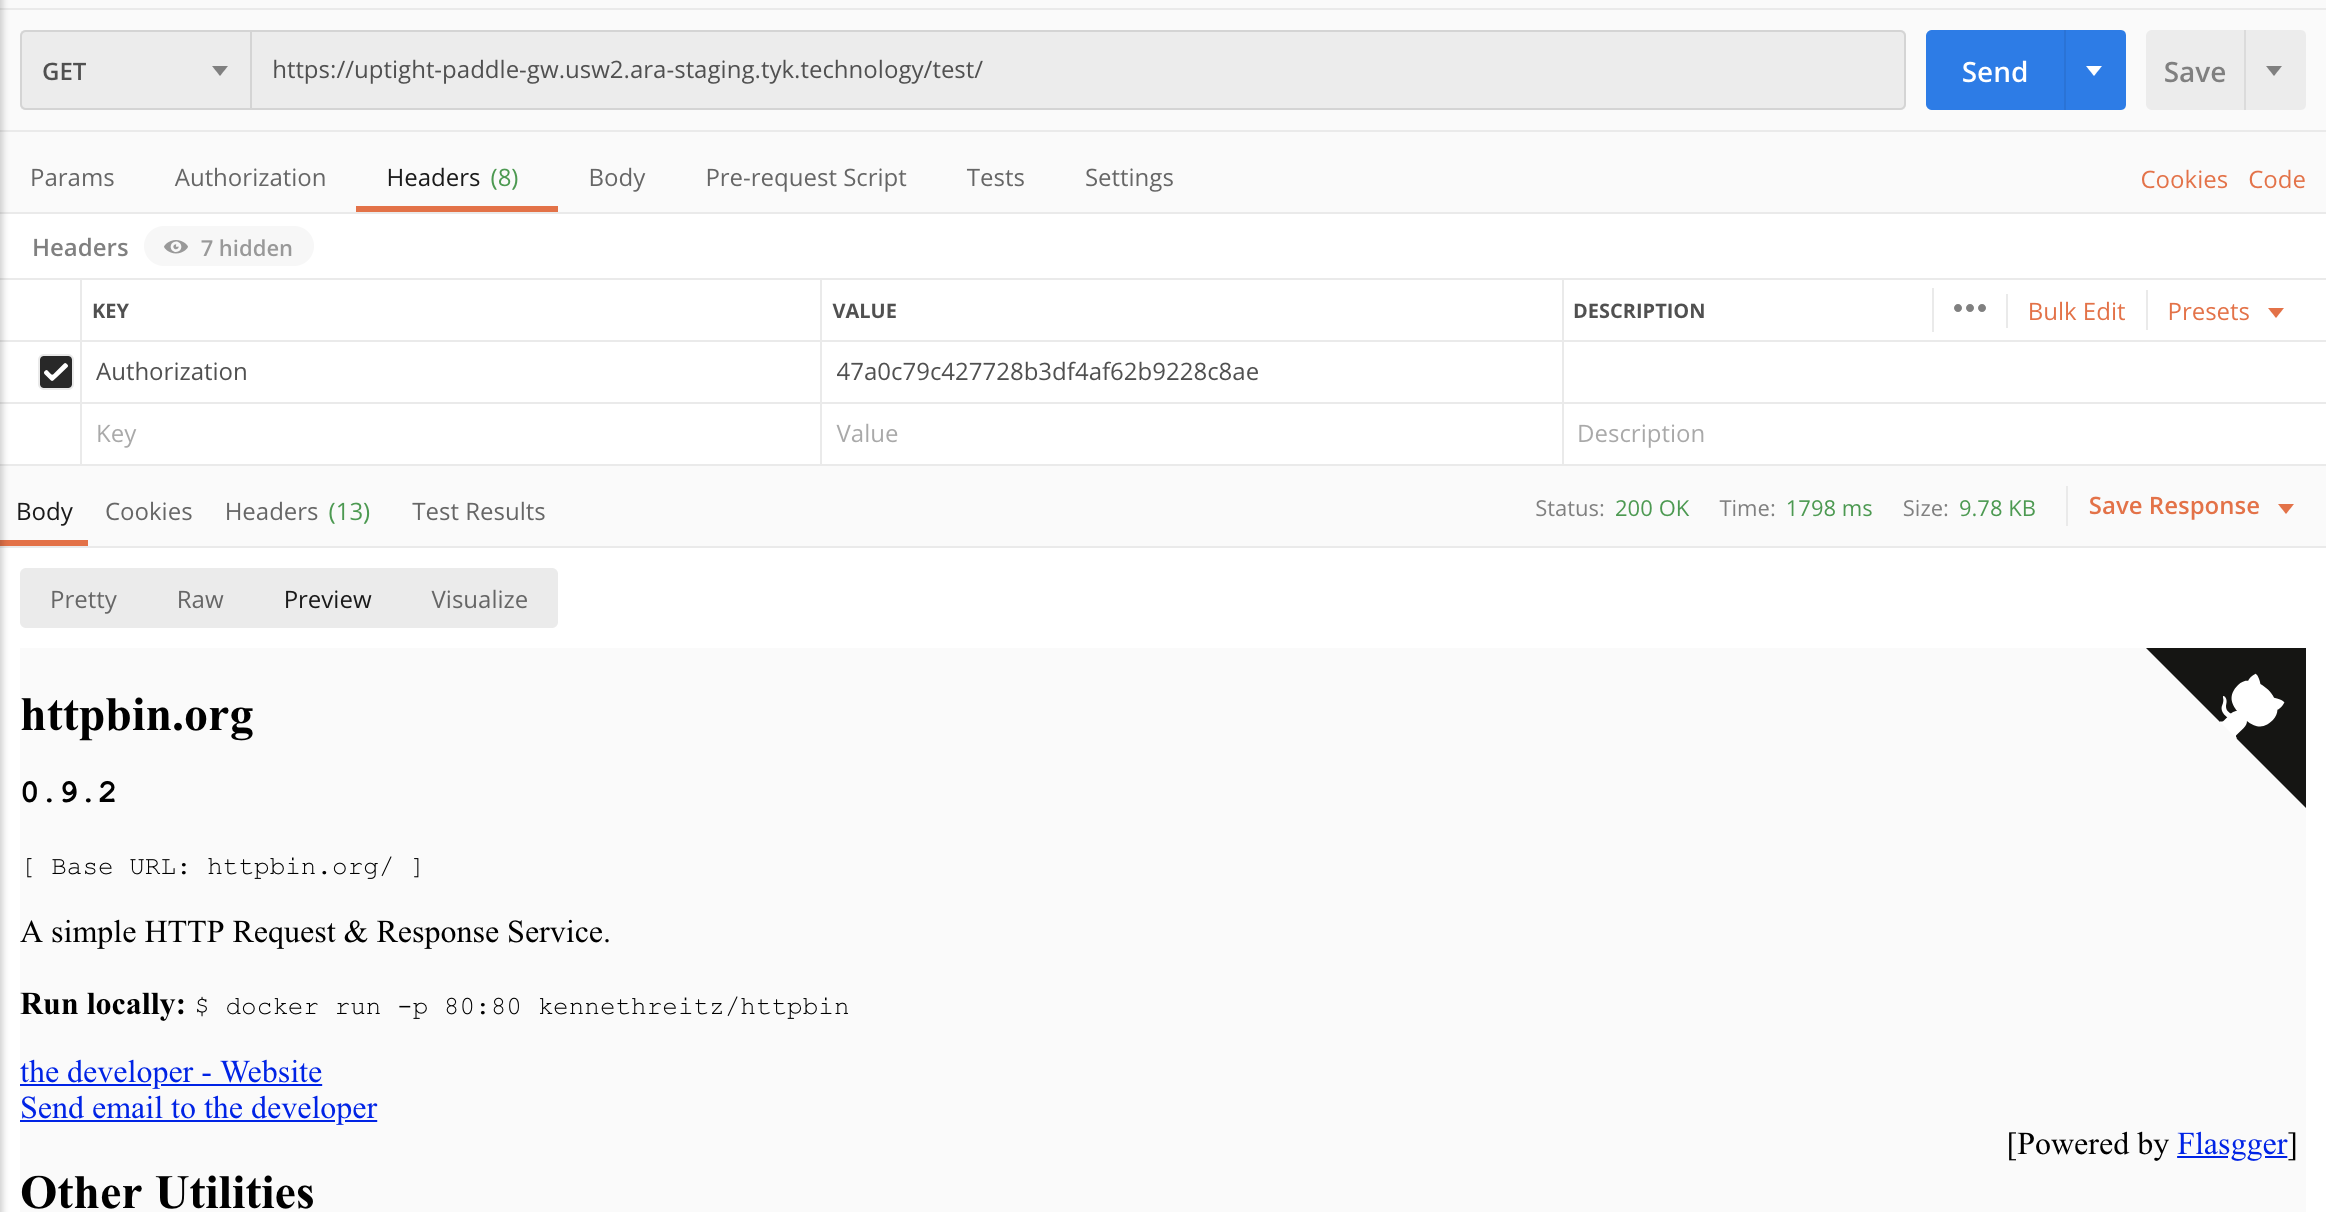
- In the Headers section in Postman, select Authorization from the Key column. Add some random text in the Value field and click Send. You should again see the 403 error.
- Now replace the random text with the
authvalue from your Python code. In our example47a0c79c427728b3df4af62b9228c8aeand click Send again. - You should now see the HTTPB in test page
- Paste your Gateway URL with the API appended to the request - (
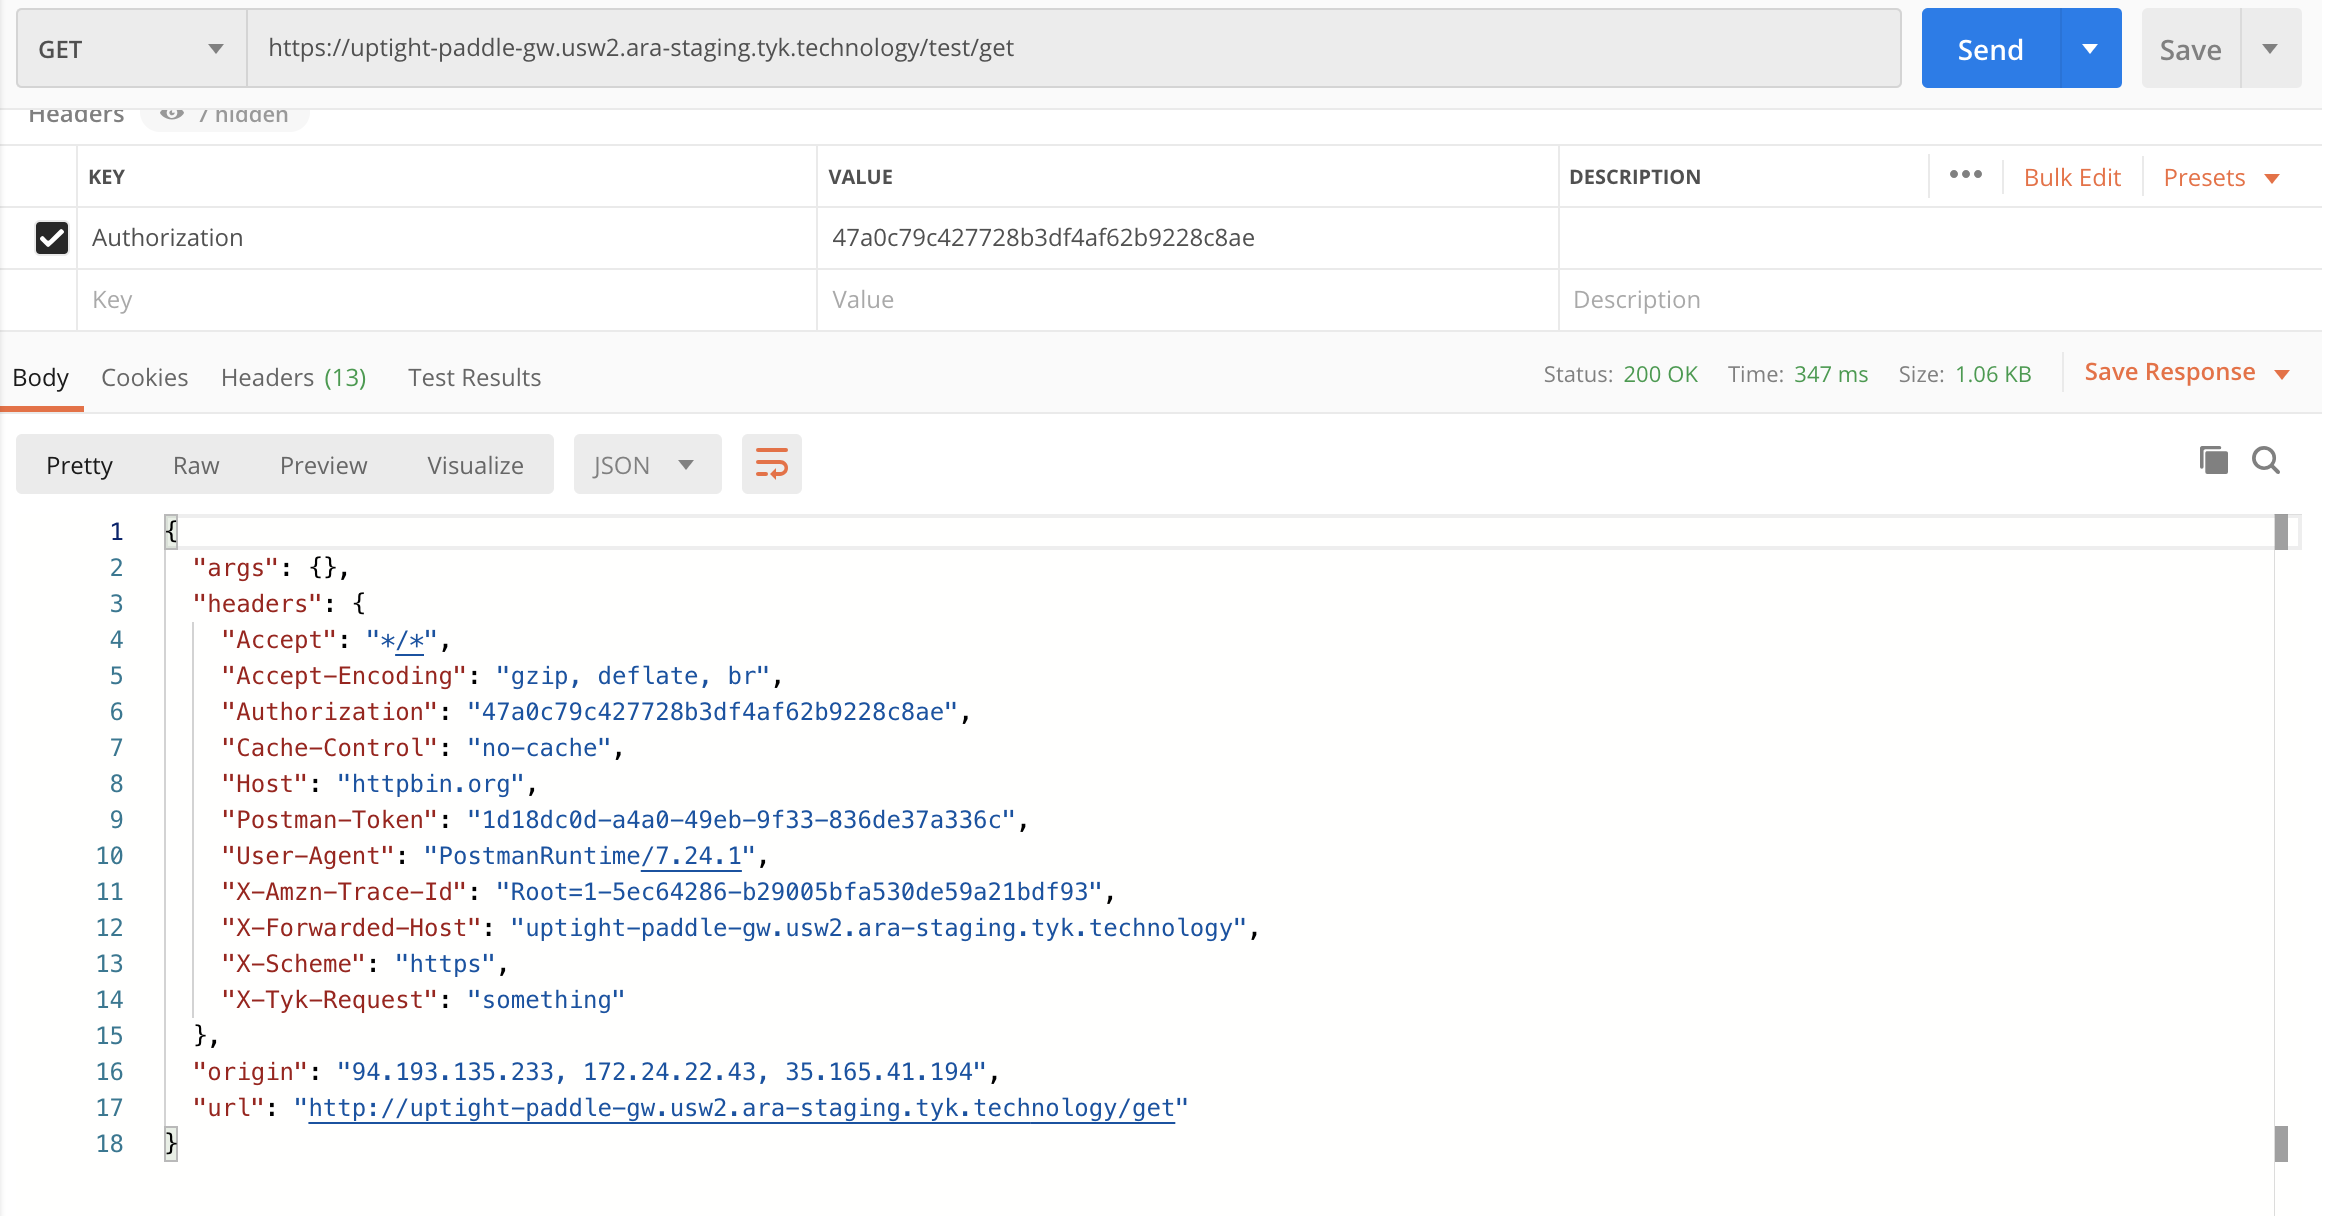
- As a further test of your plugin, you can add
getto your API request in Postman. So in our exampleuptight-paddle-gw.usw2.ara.app/test/get. Click Send. This will return all the get requests, including headers. You should see thex-tyk-request: "something"which is the post middleware hook you set up in the Python code.
Create a Python Code Bundle
This section demonstrates how to create a Python code bundle as part of the custom authentication process for Tyk Cloud, so that you can ensure your API management solution is as effective as possible. What do I need to do to create my Plugin?- You need to create the Python code bundle on your locally installed Gateway (not an Tyk Cloud Cloud Data Plane stack).
- You will create 2 files, a manifest file (
manifest.json) and the python file (middleware.py) - You then create a zipped bundle via our Tyk CLI tool that is built in to your local Gateway instance.
manifest.json and needs to have the following contents:
Step 3: Creating the middleware.py file
- You import decorators from the Tyk module that gives us the Hook decorator, and we import Tyk Python API helpers
-
You implement a middleware function and register it as a hook. The input includes the request object, the session object, the API meta data and its specification. The hook checks the authorization header for a specified value. In this tutorial we have called it
Authorization.
Step 4: Create the Plugin Bundle
- You create a bundle to cater for a number of plugins connected to the one API, and using a bundle makes this more manageable.
- To bundle your plugin we run the following command in your working directory where your manifest.json and plugin code is.
- A plugin bundle is a packaged version of the plugin, it may also contain a cryptographic signature of its contents. The -y flag tells the Tyk CLI tool to skip the signing process in order to simplify this tutorial. For more information on the Tyk CLI tool, see here.
- You should now have a
bundle.zipfile in the plugin working directory. - Next you will configure uploading your plugin bundle file to your Amazon S3 bucket.
Add Custom Authentication
This section introduces the process of configuring a custom authentication plugin, so that you can override the default Tyk authentication mechanism with your own authentication logic. What are we going to do? We are going to configure an Tyk Cloud Control Plane to use a custom authentication plugin built in Python. What do I need to configure the Tyk Cloud Control Plane? Here are the requirements:- Firstly you will need a local Tyk Gateway installation that allows you to create your Python plugin bundle. We recommend installing our Self-Managed version on Ubuntu Bionic 18.04.
- Ensure you have a currently stable Python 3.x version installed
- You need install the build tools
apt-get install -y build-essential - Install our required modules: