> ## Documentation Index
> Fetch the complete documentation index at: https://tyk.io/docs/llms.txt
> Use this file to discover all available pages before exploring further.
# Publish your first API Catalog
> Build an API Catalog on the Tyk Developer Portal.
## Introduction
After installing your Developer Portal and configuring your organizational structure, the next step is to create an API catalog with products and plans. This is where you'll package your APIs into consumable products and define how developers can access them.
In this guide, you'll learn how to create a catalog, add API products, and define access plans - the essential components that enable developers to discover and consume your APIs.
### Prerequisites
Before you begin, ensure you have:
* [Installed](/portal/install) the Developer Portal
* [Connected](/portal/overview/getting-started#configuring-the-provider) to a Provider (Tyk Dashboard)
* [Configured](/portal/overview/getting-started#create-an-organizational-structure) at least one Organisation and Team
* [Created](/getting-started/configure-first-api#set-up-your-api) at least one API in Tyk Dashboard that you will make available to your API consumers, for this tutorial we assume this is secured with the [Auth Token](/api-management/authentication/bearer-token) authentication method
## Step 1: Create the API Catalog
[Catalogs](/tyk-stack/tyk-developer-portal/enterprise-developer-portal/managing-access/manage-catalogues) determine which API products and plans are visible to different developer audiences. You'll need to create a catalog and then later you'll create content to publish to its audience.
1. Log in to the Developer Portal using your API Owner credentials
* this will take you to the Admin Portal view, Navigate to Catalogs
2. Navigate to **Developer Portal > Catalogues**
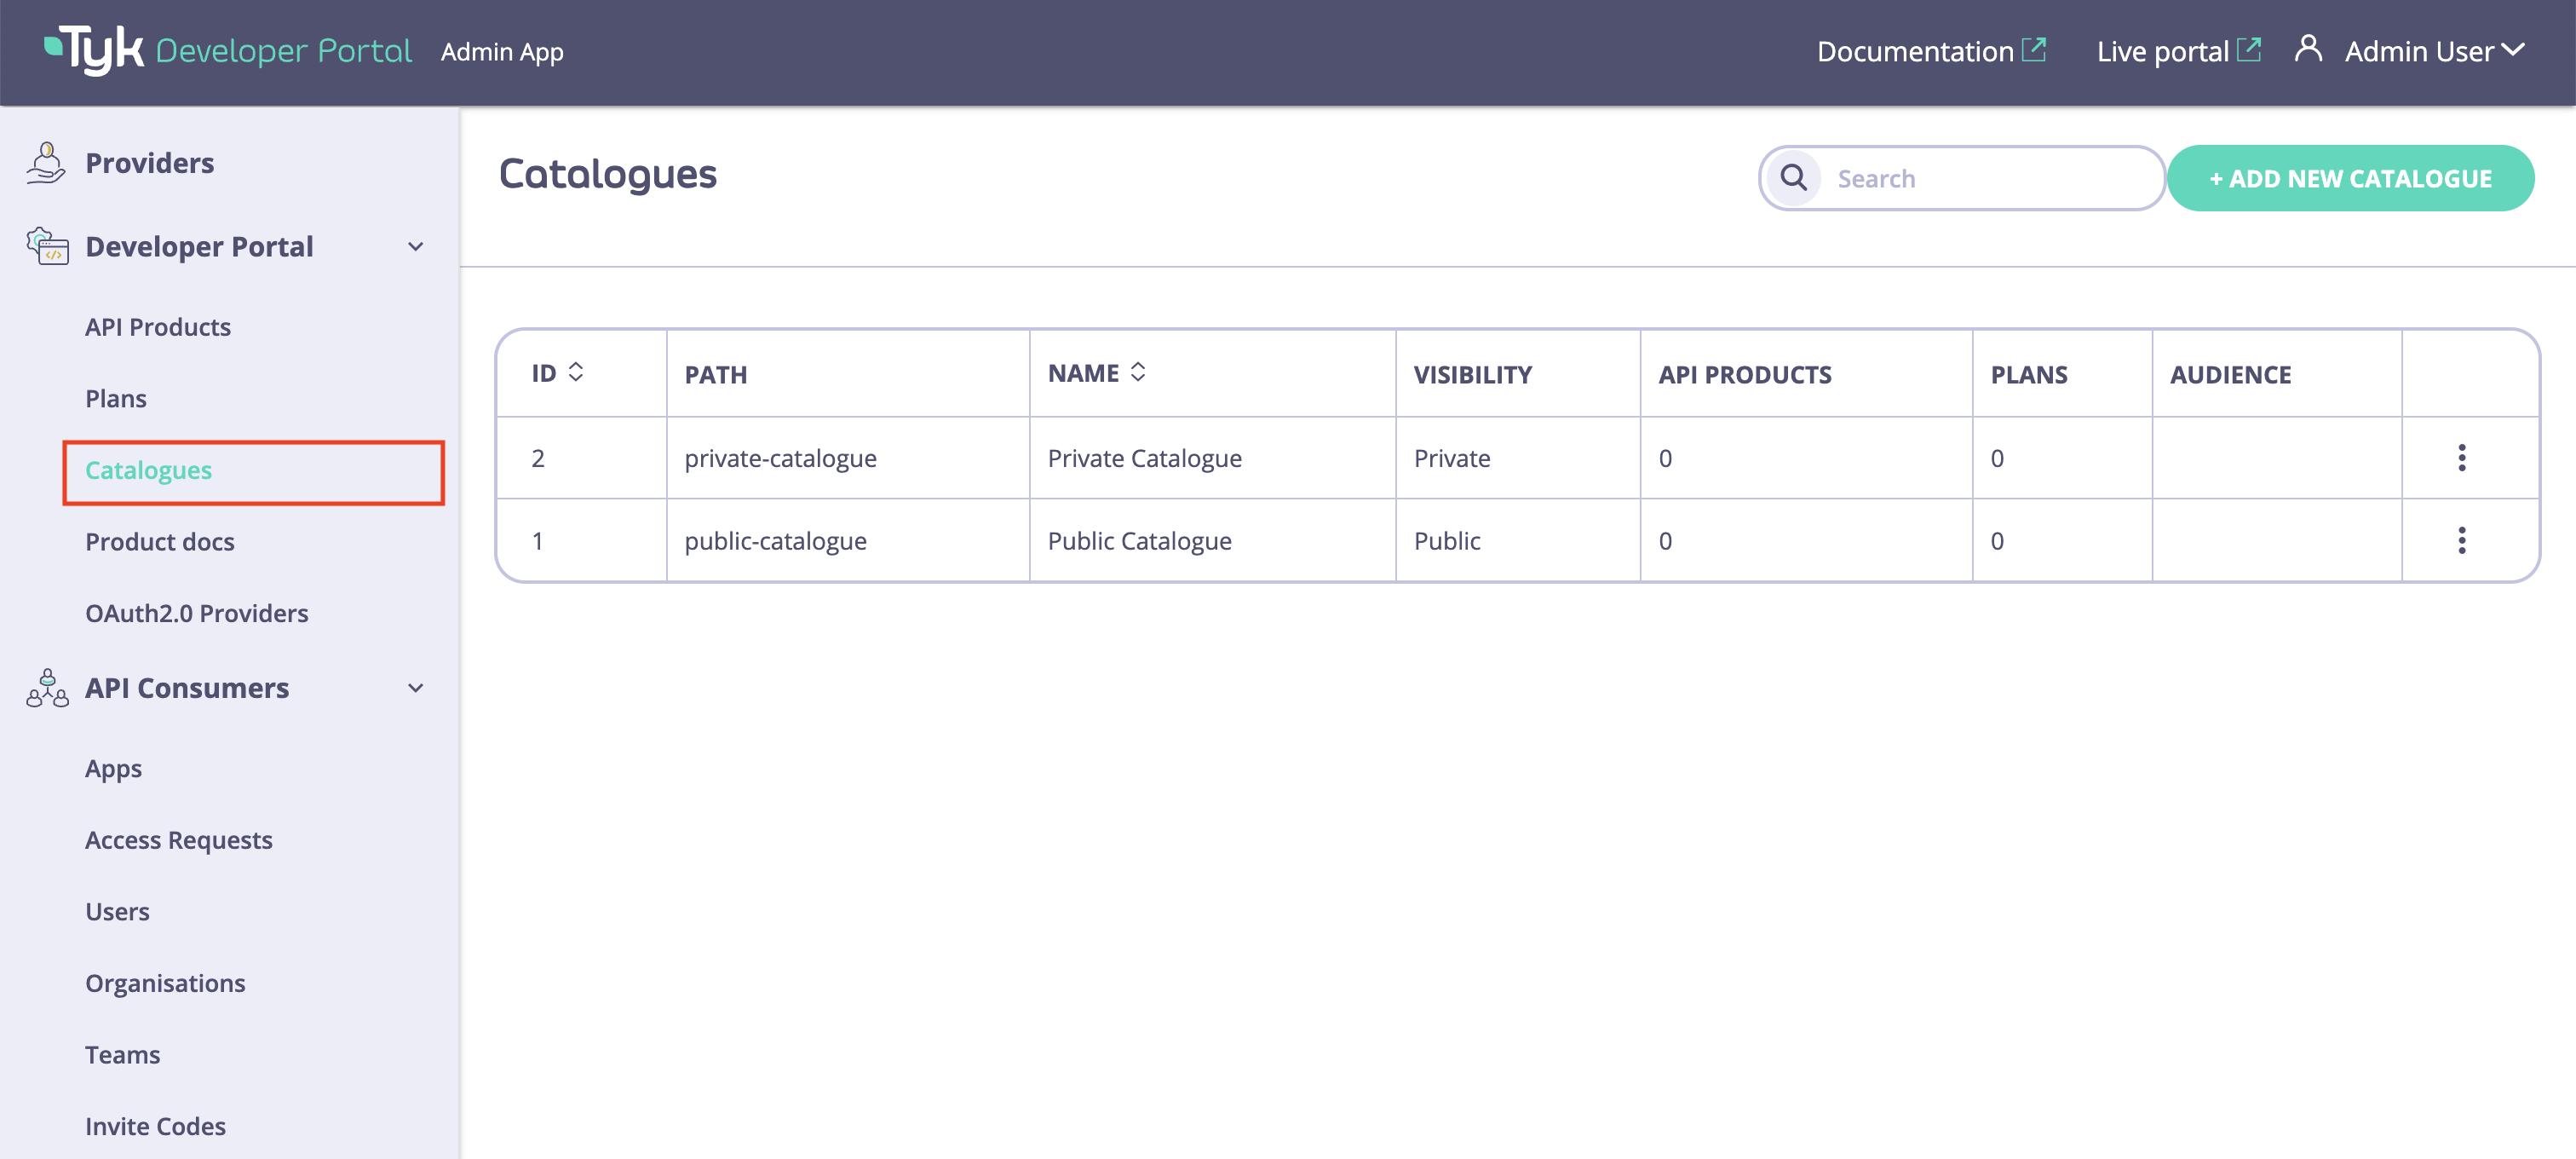 3. Click **Add new catalogue**
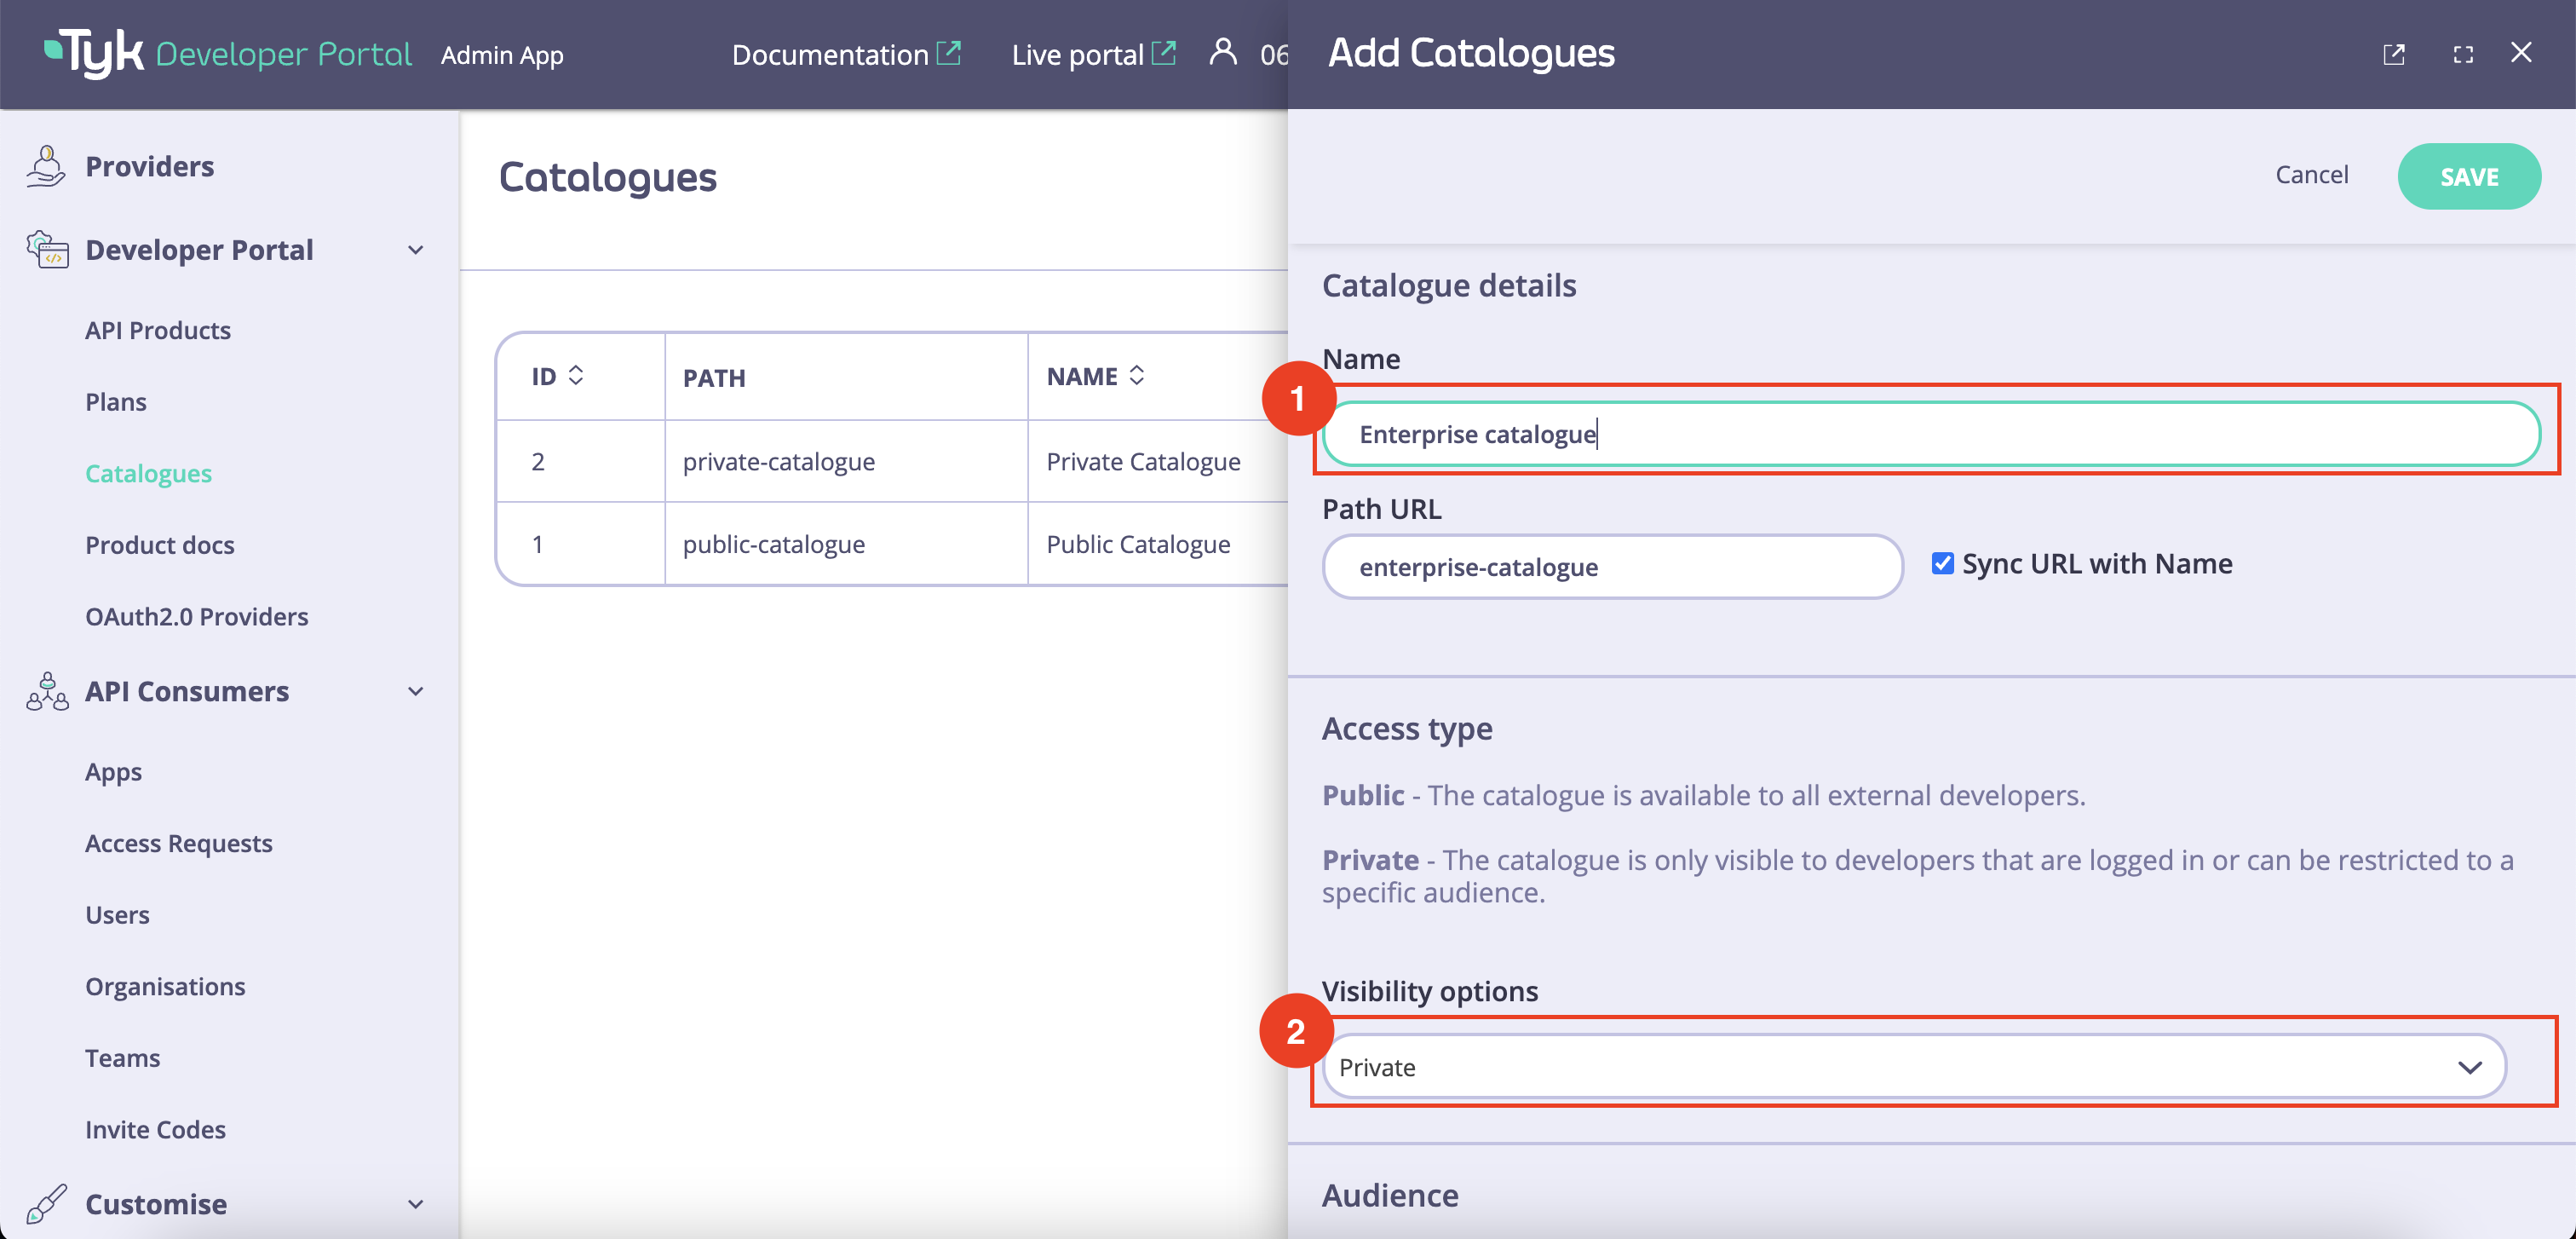 4. Enter the following details:
* Name: A descriptive name (e.g., "First APIs")
* Path URL: select **Sync URL with Name** to auto-complete this field
* Visibility: Choose **Private** from the drop-down to restrict access only to selected audience
* Audience: Select the team you created [previously](/portal/overview/getting-started#step-2-create-a-team-within-the-organisation)
* Catalogue content: Leave this blank for now, as we don't have any API Products or Plans to publish
5. Click **Save Changes**
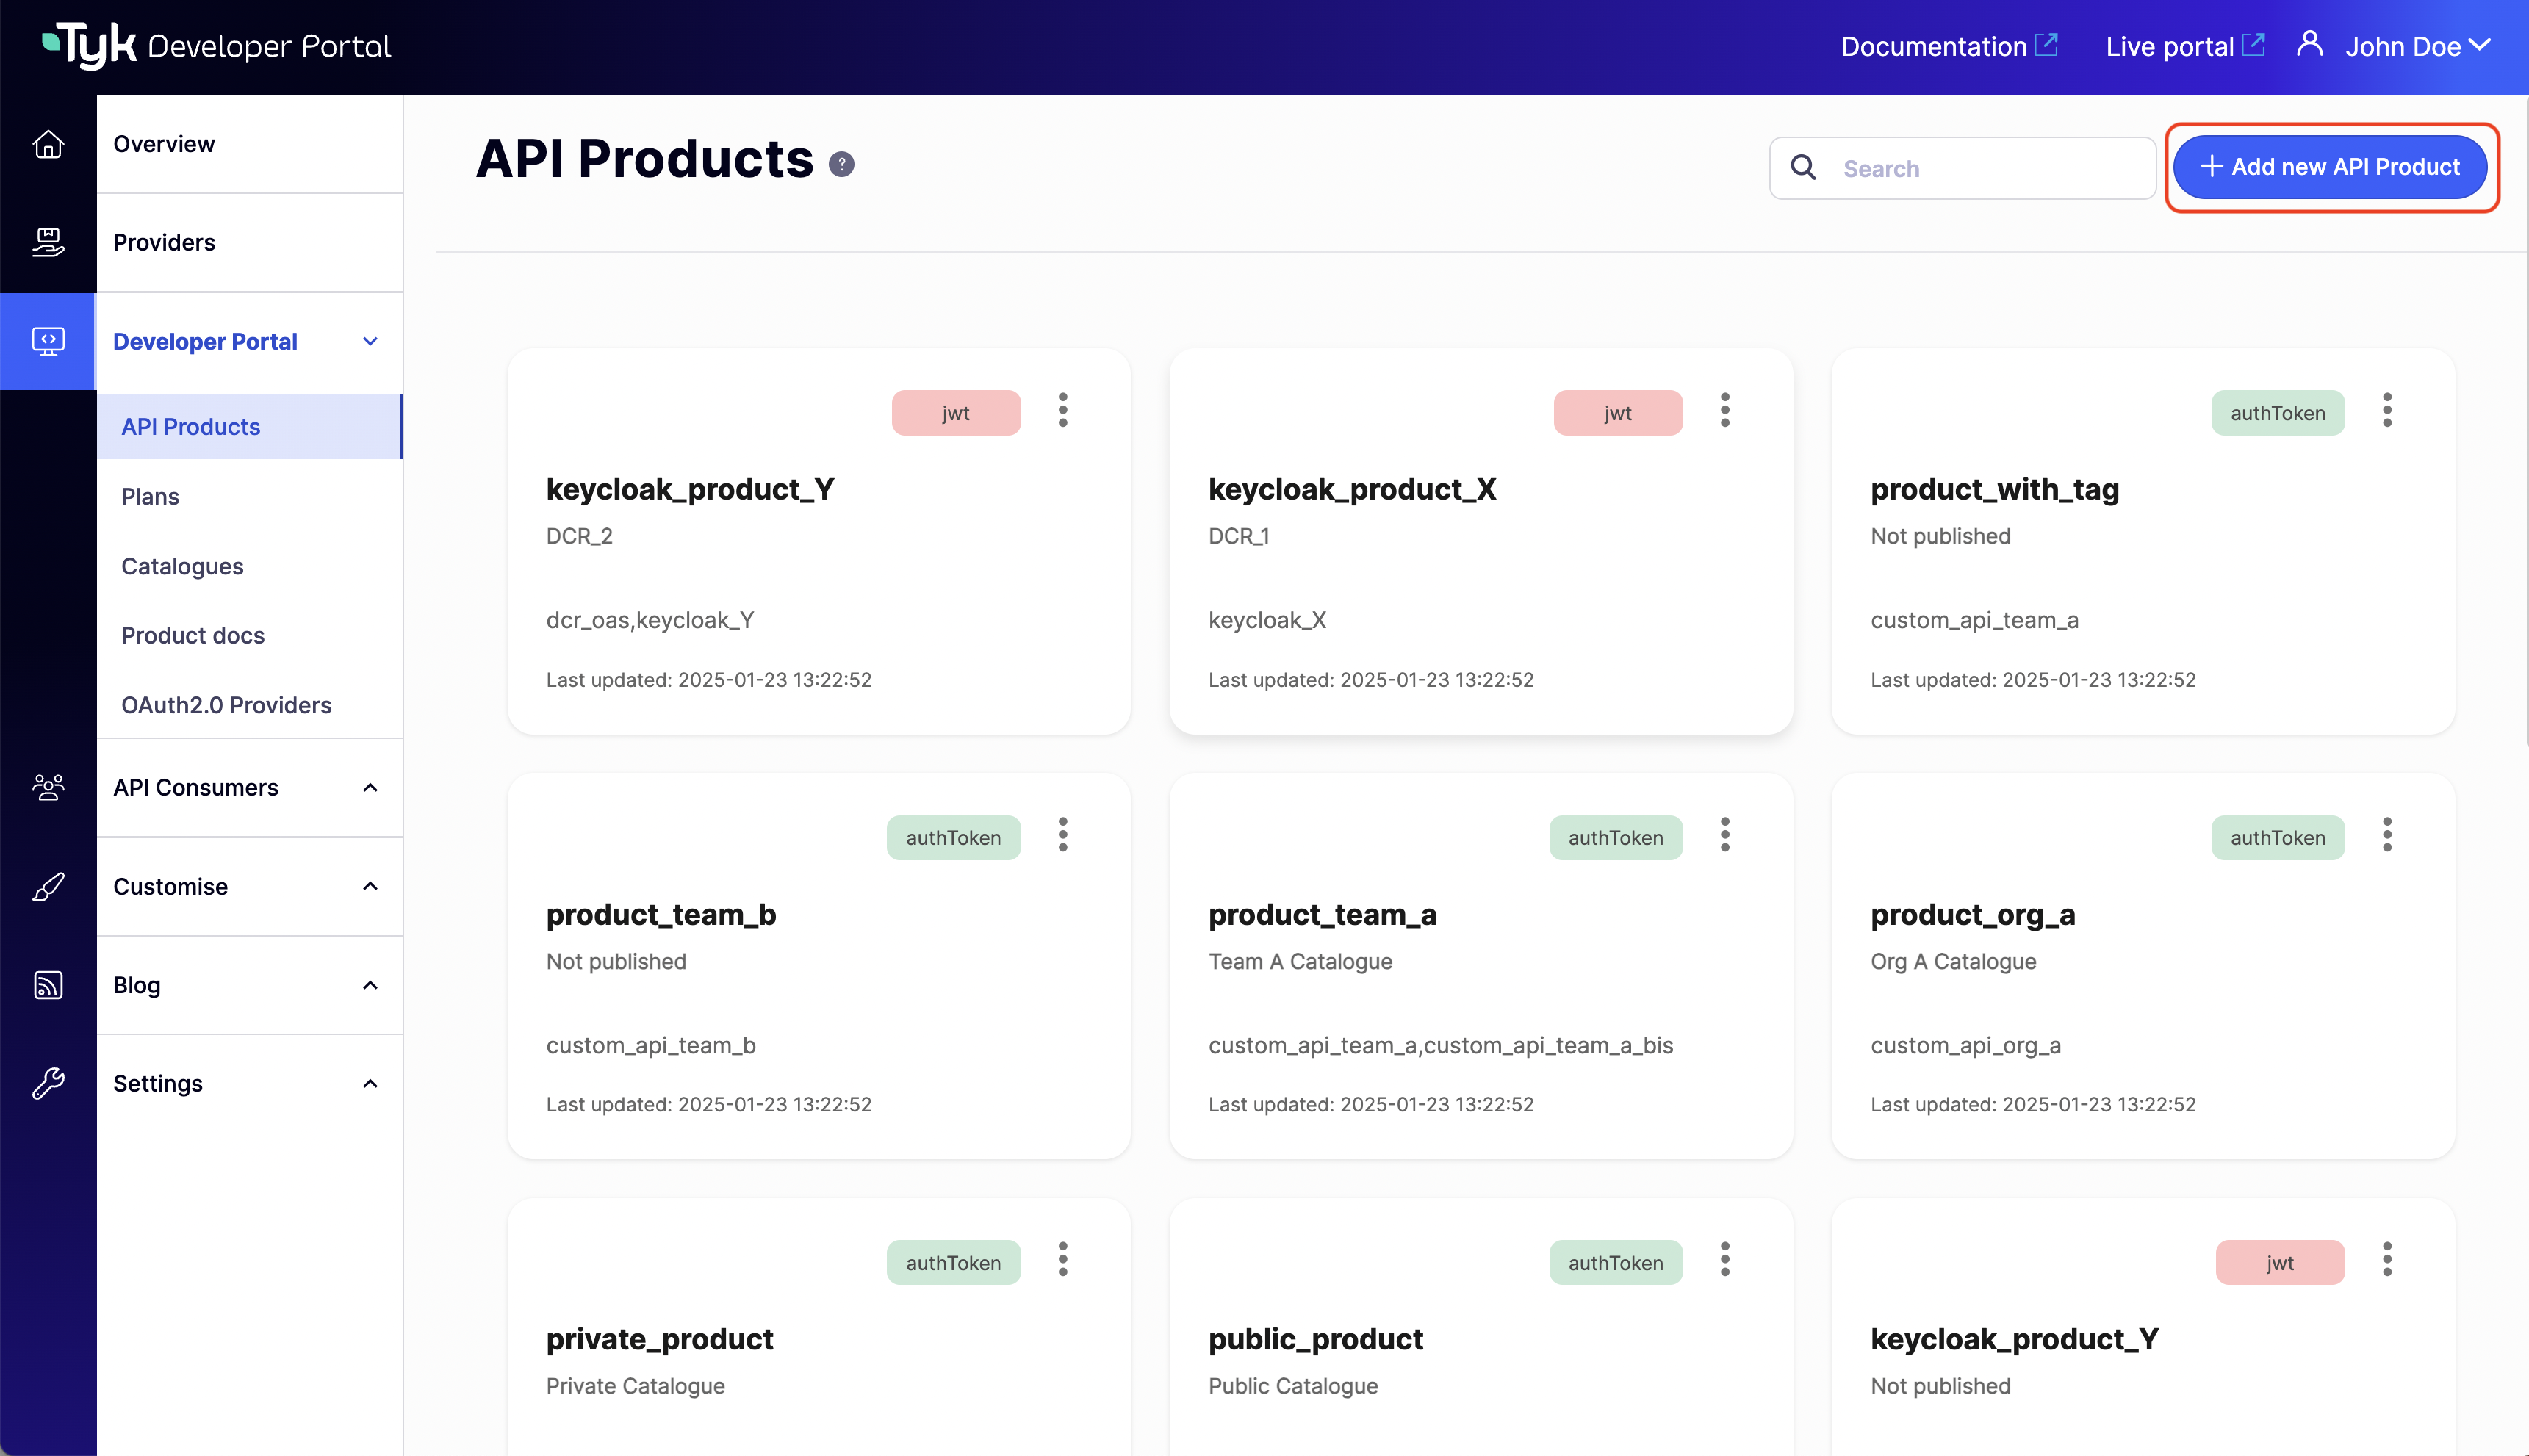
## Step 2: Create an API Product
[API Products](/portal/api-products) bundle one or more APIs into a package that delivers value to developers. When you create an API Product in the Developer Portal, a corresponding [access policy](/api-management/access-control/policies/applying-policies#partitioned-policies) will be created in the Tyk Dashboard (Provider) that configures the access controls that will be applied to API Consumer access credentials created from the Product.
1. Navigate to **Developer Portal > API Products**
2. Click **Add new API Product**
4. Enter the following details:
* Name: A descriptive name (e.g., "First APIs")
* Path URL: select **Sync URL with Name** to auto-complete this field
* Visibility: Choose **Private** from the drop-down to restrict access only to selected audience
* Audience: Select the team you created [previously](/portal/overview/getting-started#step-2-create-a-team-within-the-organisation)
* Catalogue content: Leave this blank for now, as we don't have any API Products or Plans to publish
5. Click **Save Changes**
## Step 2: Create an API Product
[API Products](/portal/api-products) bundle one or more APIs into a package that delivers value to developers. When you create an API Product in the Developer Portal, a corresponding [access policy](/api-management/access-control/policies/applying-policies#partitioned-policies) will be created in the Tyk Dashboard (Provider) that configures the access controls that will be applied to API Consumer access credentials created from the Product.
1. Navigate to **Developer Portal > API Products**
2. Click **Add new API Product**
 3. On the **Details** tab enter the basic product information:
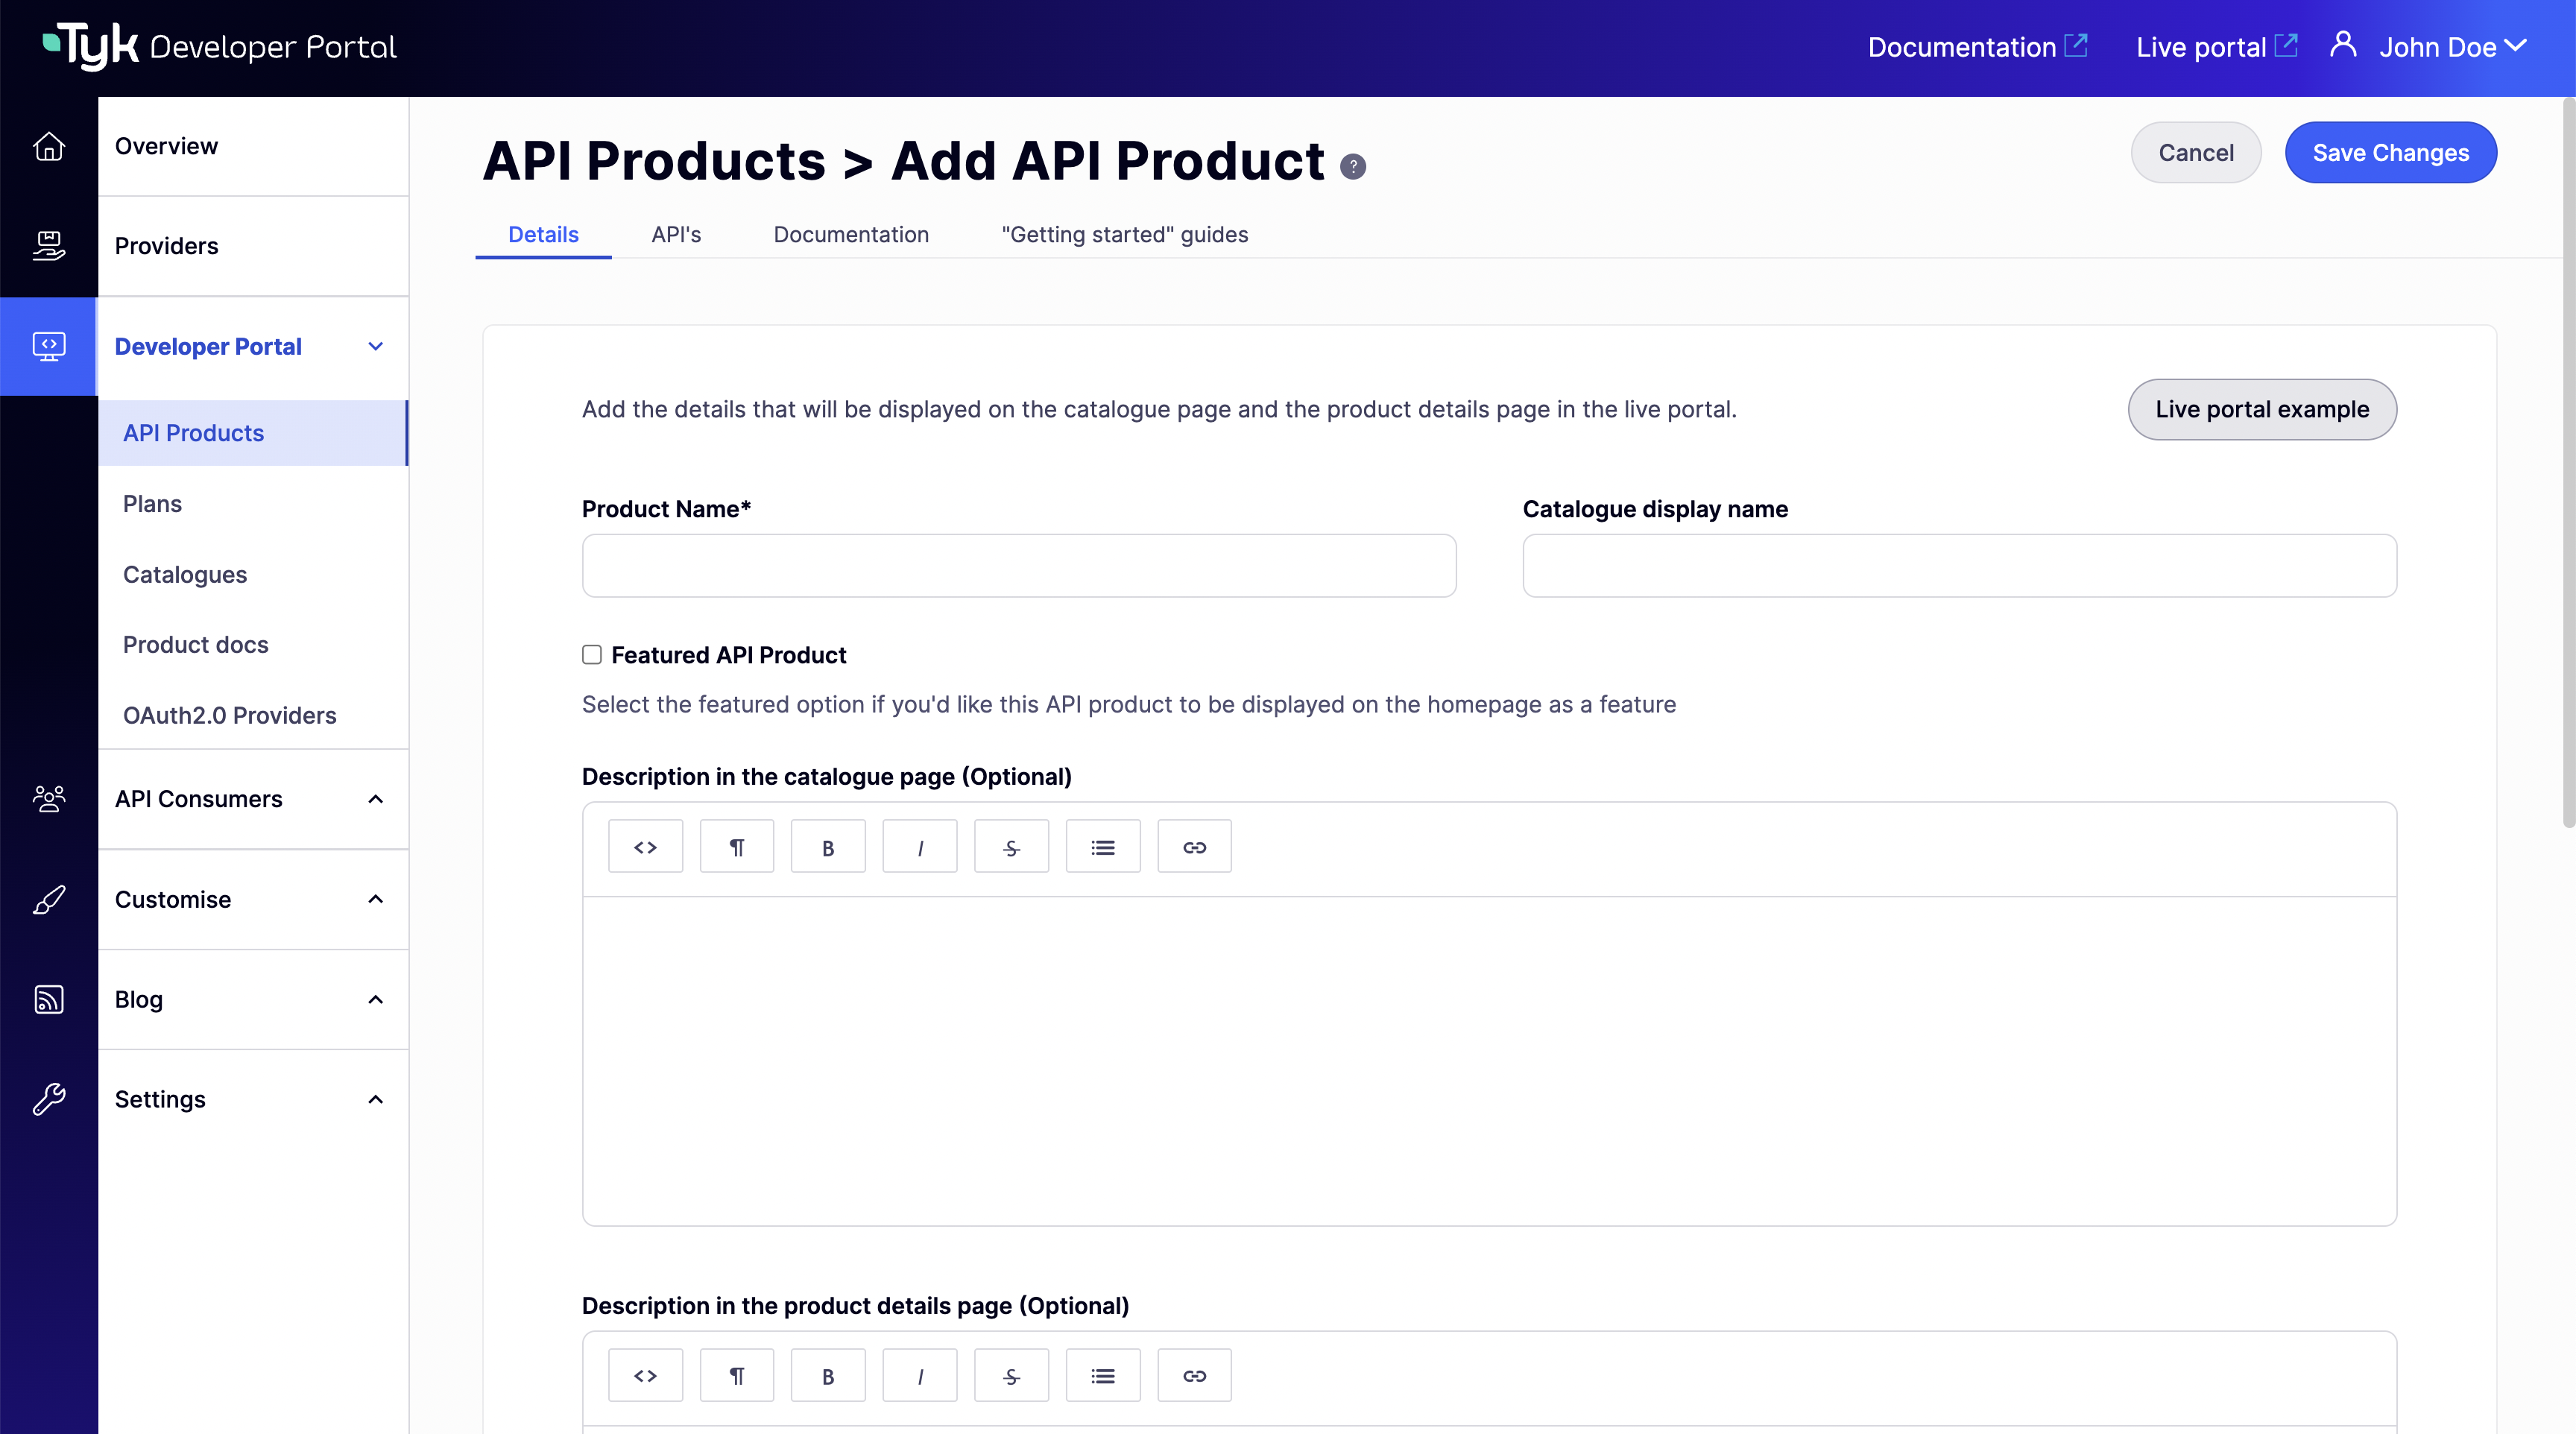 * Product name: A unique product name (e.g., "Test product") which will be used by the Provider (Tyk Dashboard) when naming the access policy
* Catalogue display name: (optional) Descriptive name that will be used on the Live Portal
* Description: (optional) A short summary of the product to engage API consumers
* Publish API product to catalogue: Select the catalog you created [previously](/portal/publish-api-catalog#step-1-create-the-api-catalog)
* you can leave the other fields empty for now
4. On the **APIs** tab identify which APIs should be accessible via this Product:
* Product name: A unique product name (e.g., "Test product") which will be used by the Provider (Tyk Dashboard) when naming the access policy
* Catalogue display name: (optional) Descriptive name that will be used on the Live Portal
* Description: (optional) A short summary of the product to engage API consumers
* Publish API product to catalogue: Select the catalog you created [previously](/portal/publish-api-catalog#step-1-create-the-api-catalog)
* you can leave the other fields empty for now
4. On the **APIs** tab identify which APIs should be accessible via this Product:
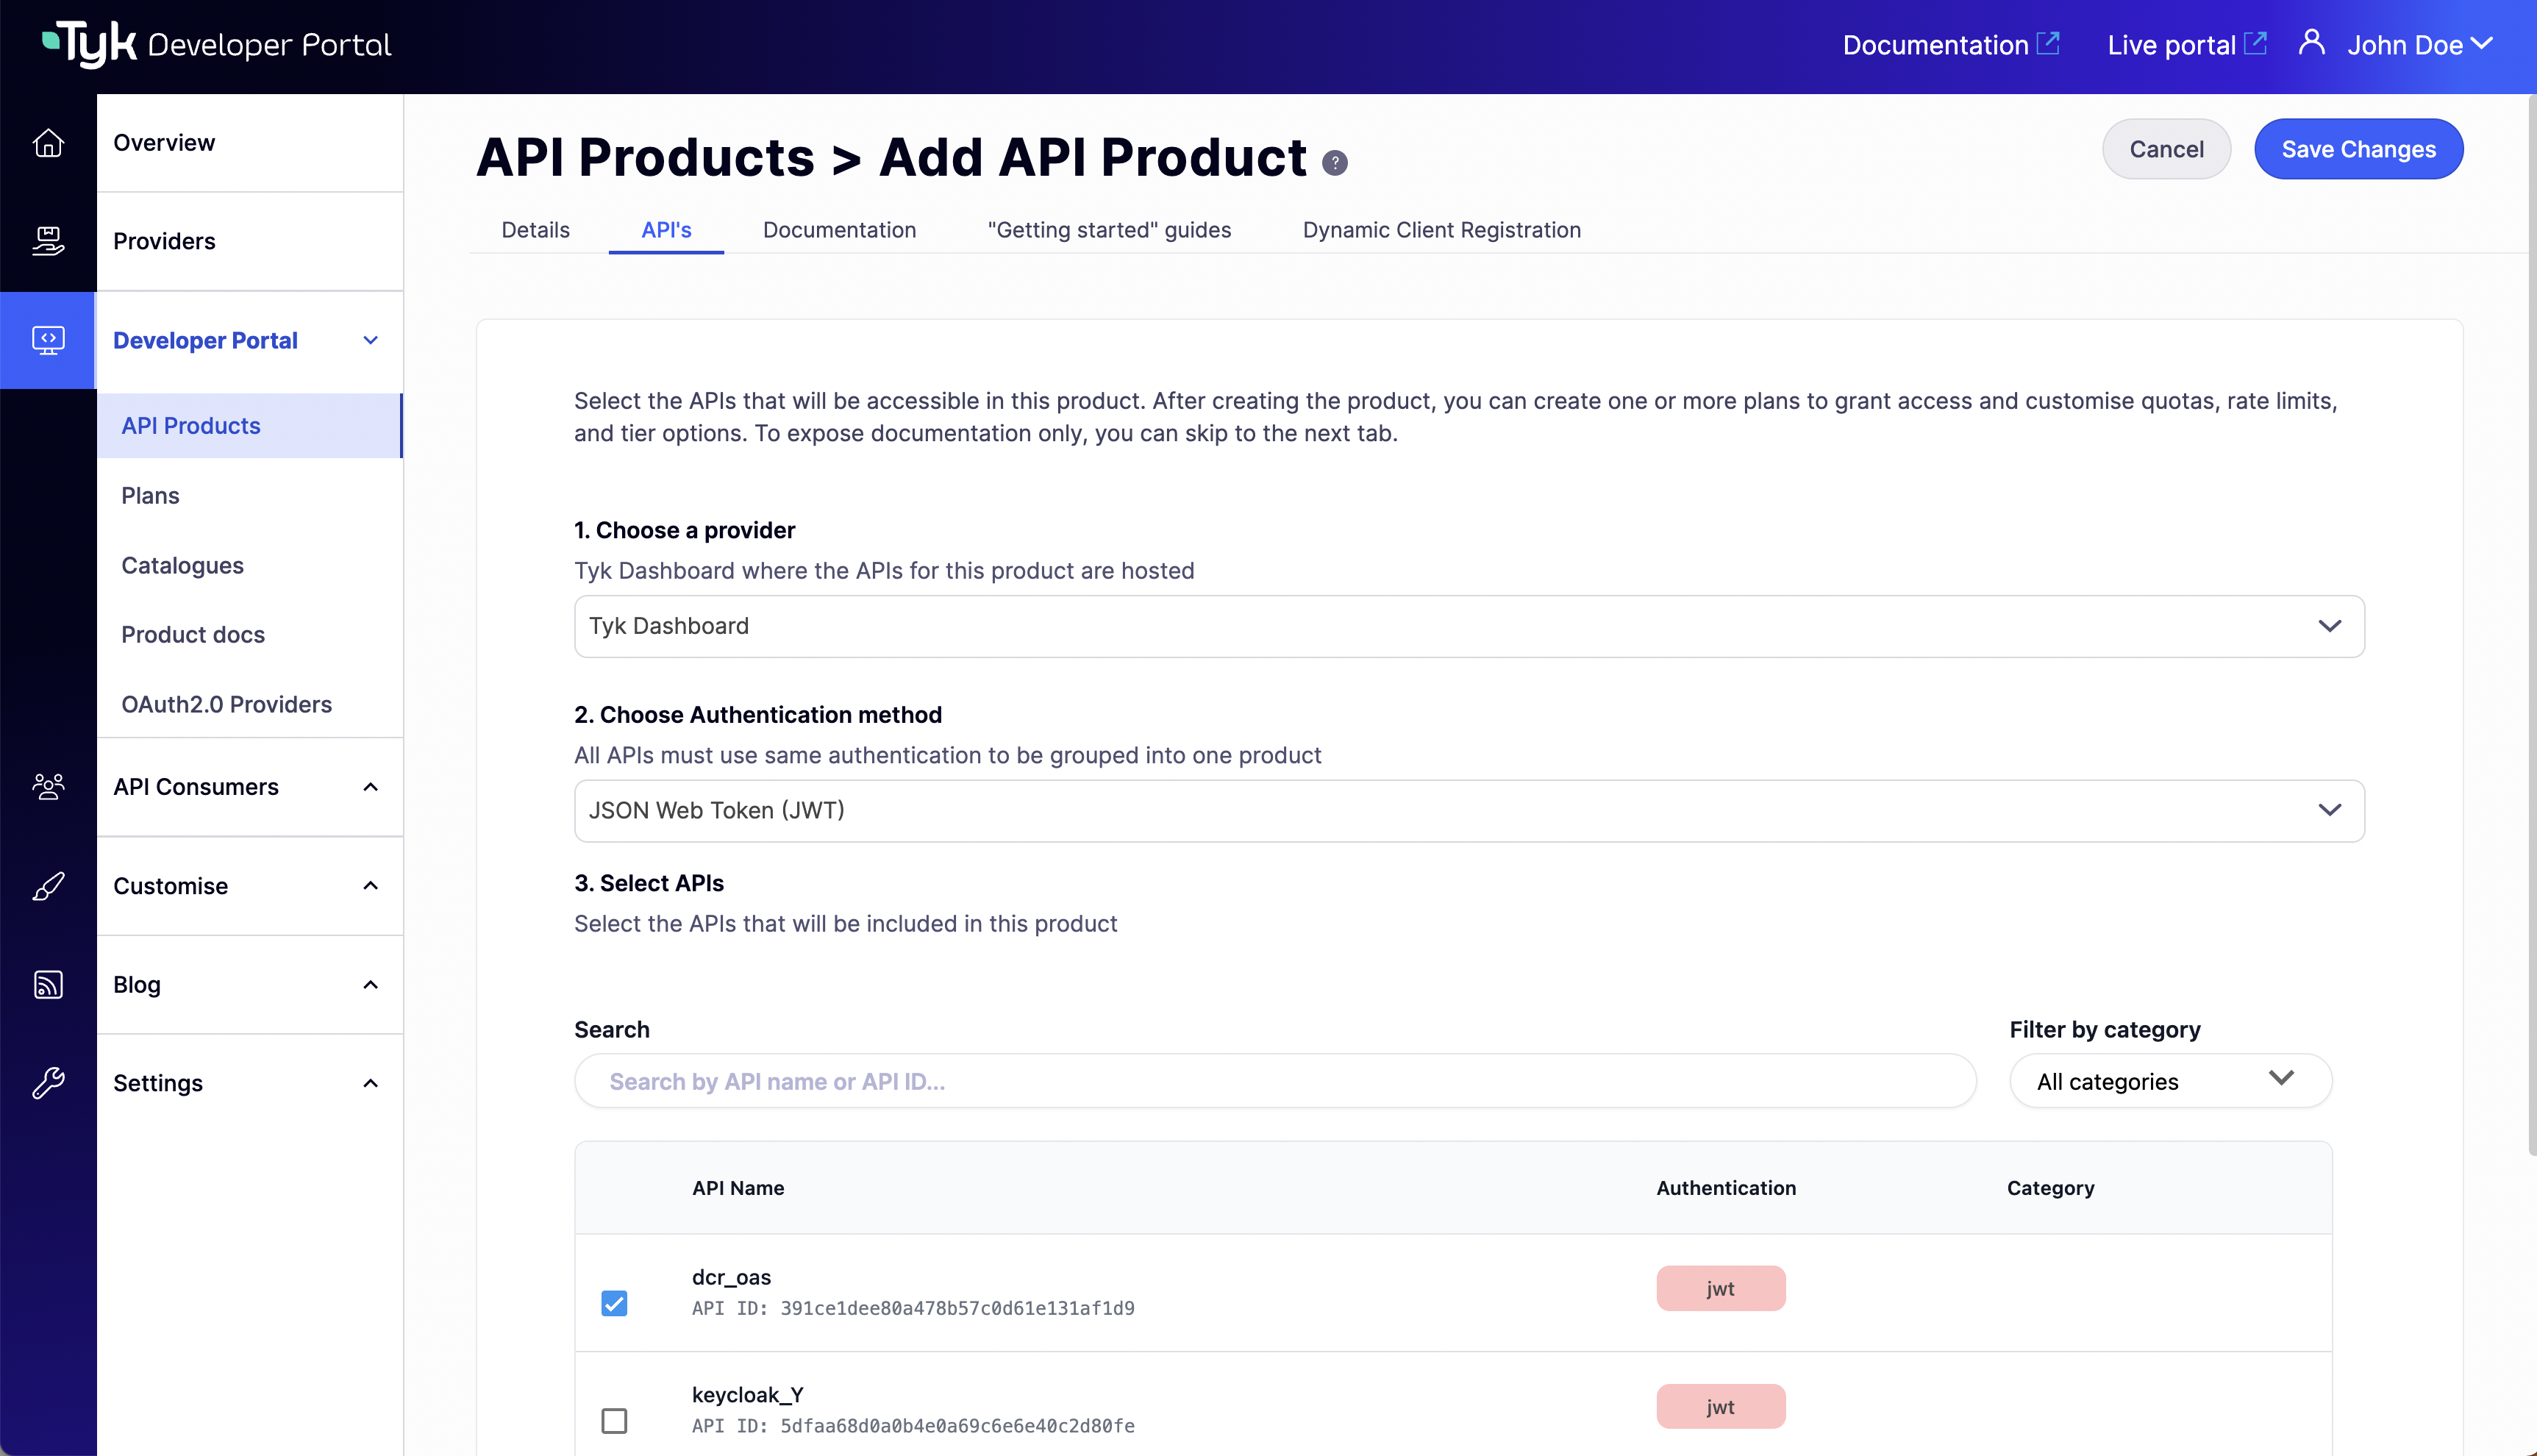 * Choose a provider: Select your provider from the dropdown
* Choose Authentication method: Select the **Authentication Token** option from the dropdown (or the appropriate [authentication method](/api-management/client-authentication) you've used for your API created in Tyk Dashboard)
* Select APIs: Choose at least one API (REST or GraphQL) to include in the Product
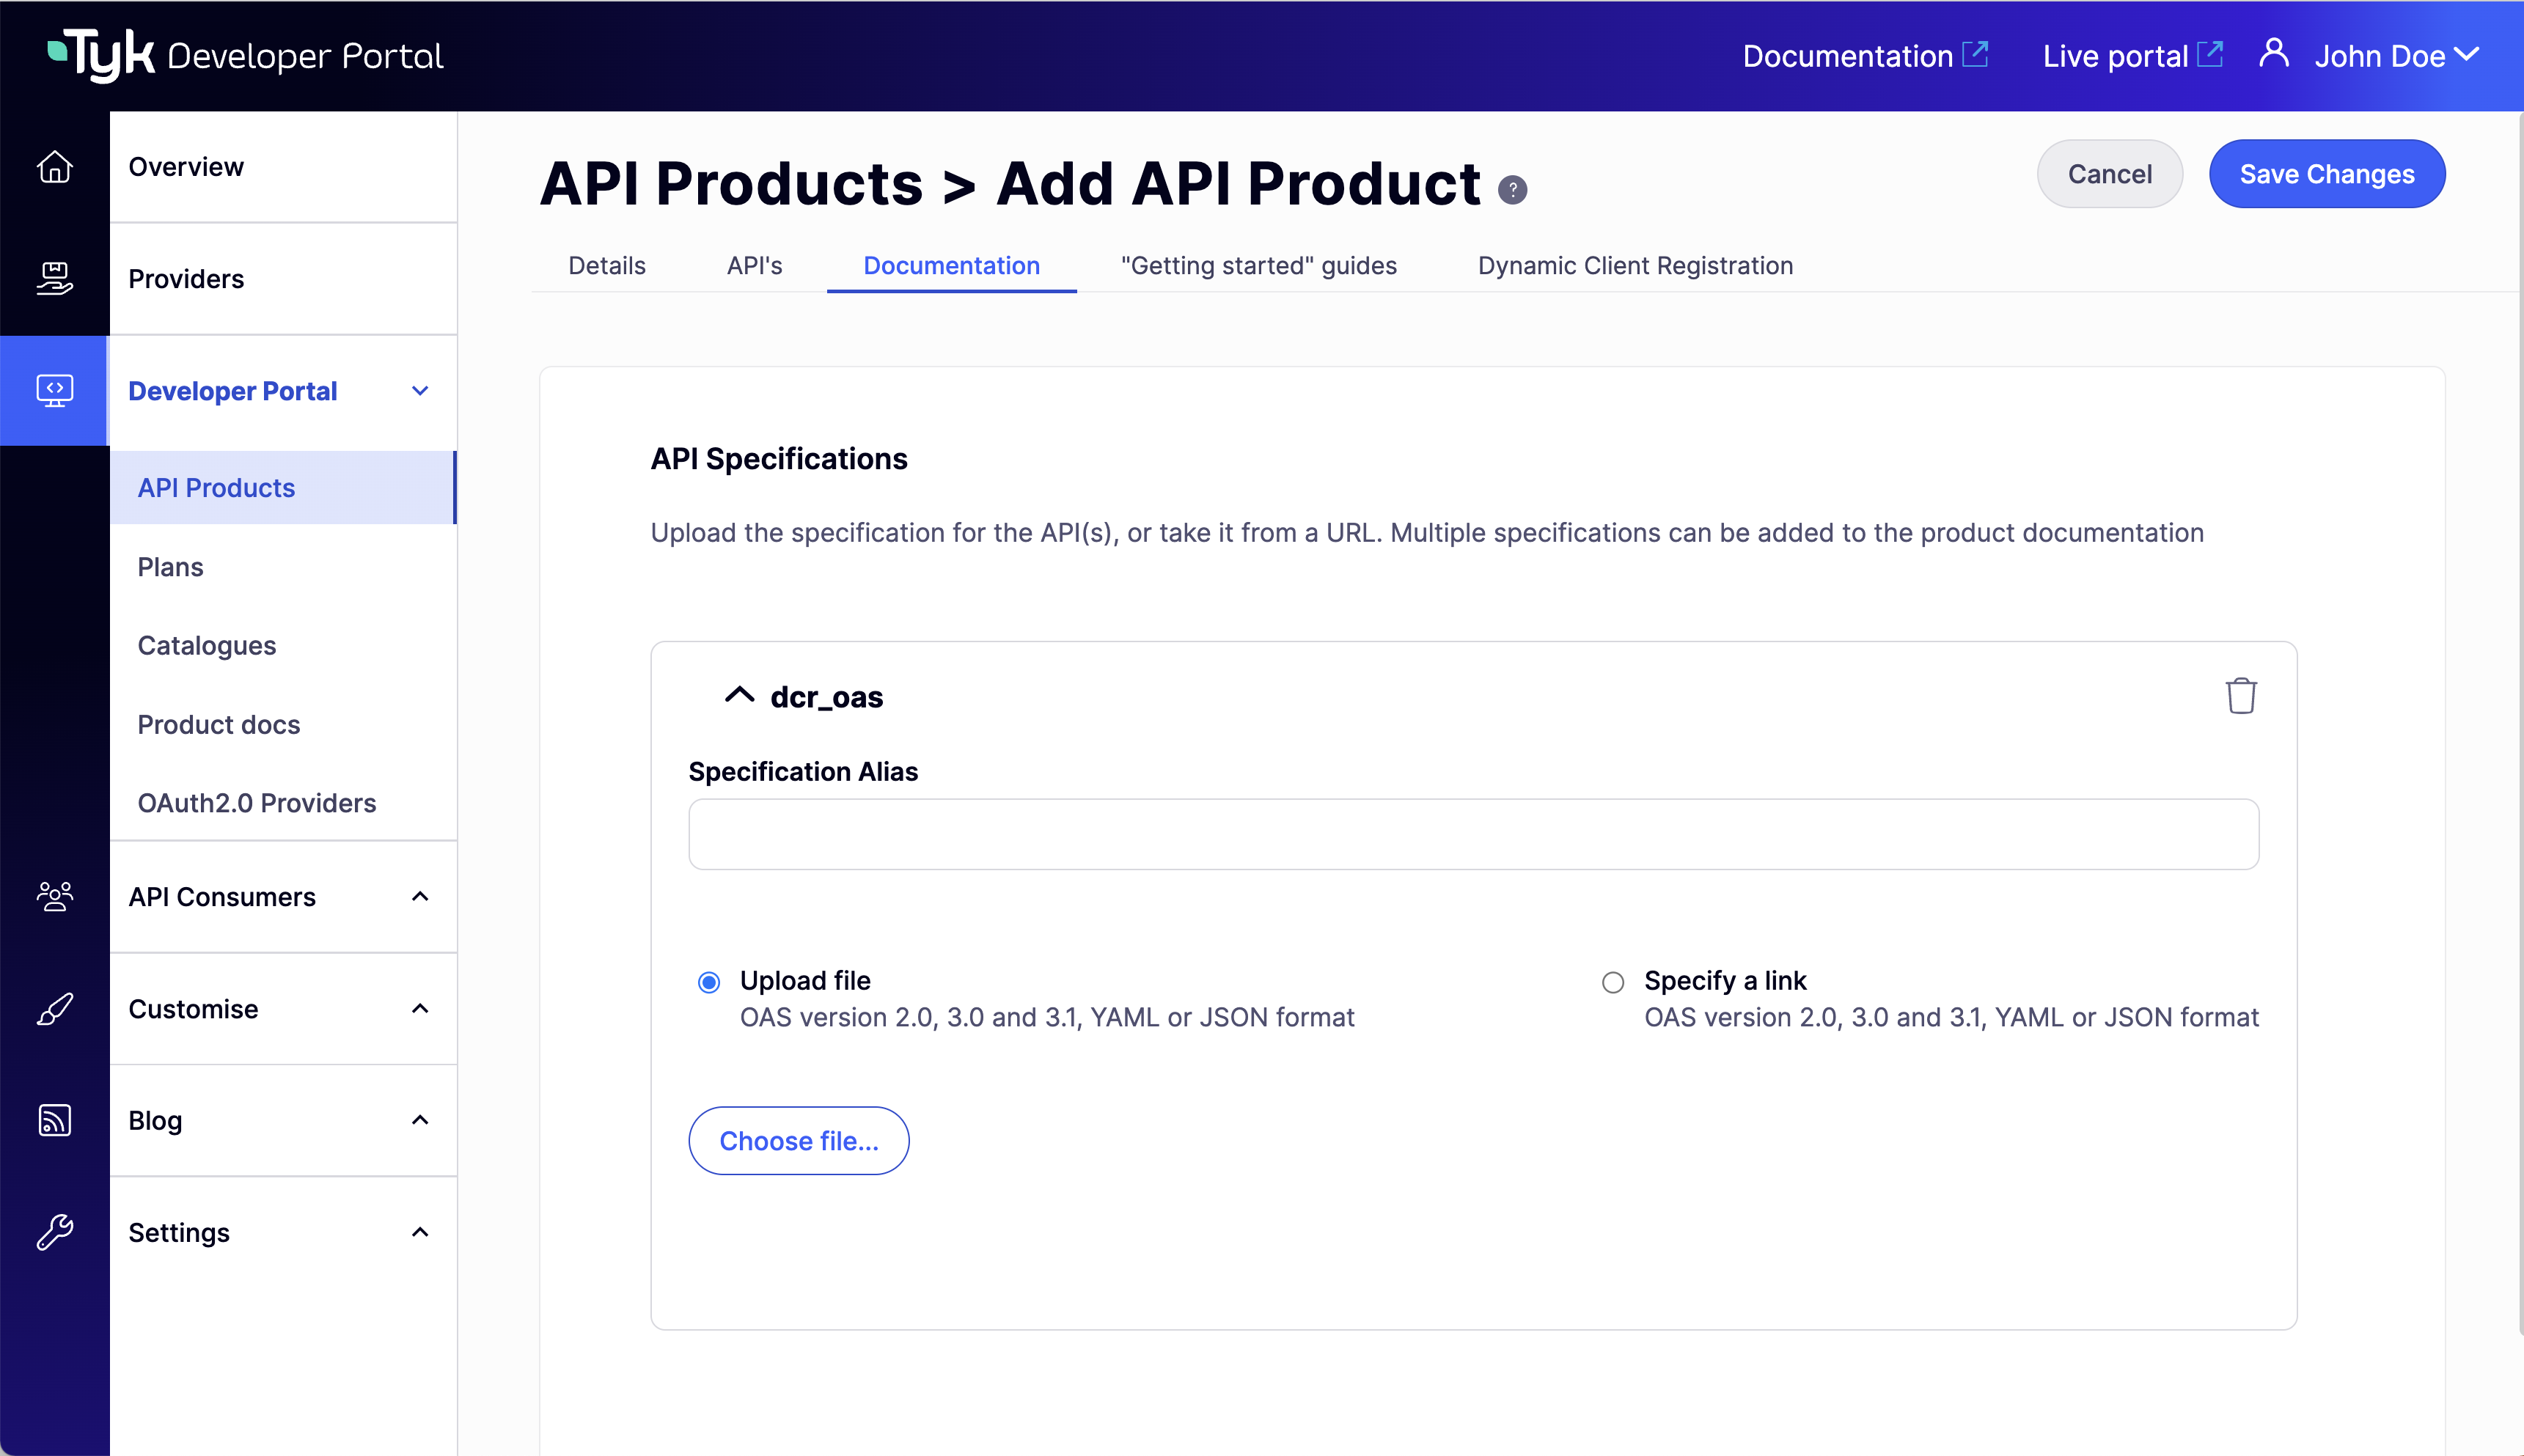
5. On the **Documentation** tab optionally upload documentation for the API(s) included in the Product:
* REST APIs: Upload an OpenAPI (Swagger) file in JSON or YAML format
* GraphQL APIs: Upload a GraphQL SDL file (in .graphql, .graphqls, .gql, or JSON format)
* Choose a provider: Select your provider from the dropdown
* Choose Authentication method: Select the **Authentication Token** option from the dropdown (or the appropriate [authentication method](/api-management/client-authentication) you've used for your API created in Tyk Dashboard)
* Select APIs: Choose at least one API (REST or GraphQL) to include in the Product
5. On the **Documentation** tab optionally upload documentation for the API(s) included in the Product:
* REST APIs: Upload an OpenAPI (Swagger) file in JSON or YAML format
* GraphQL APIs: Upload a GraphQL SDL file (in .graphql, .graphqls, .gql, or JSON format)
 6. On the **"Getting Started" guides** tab, optionally create Product Guides
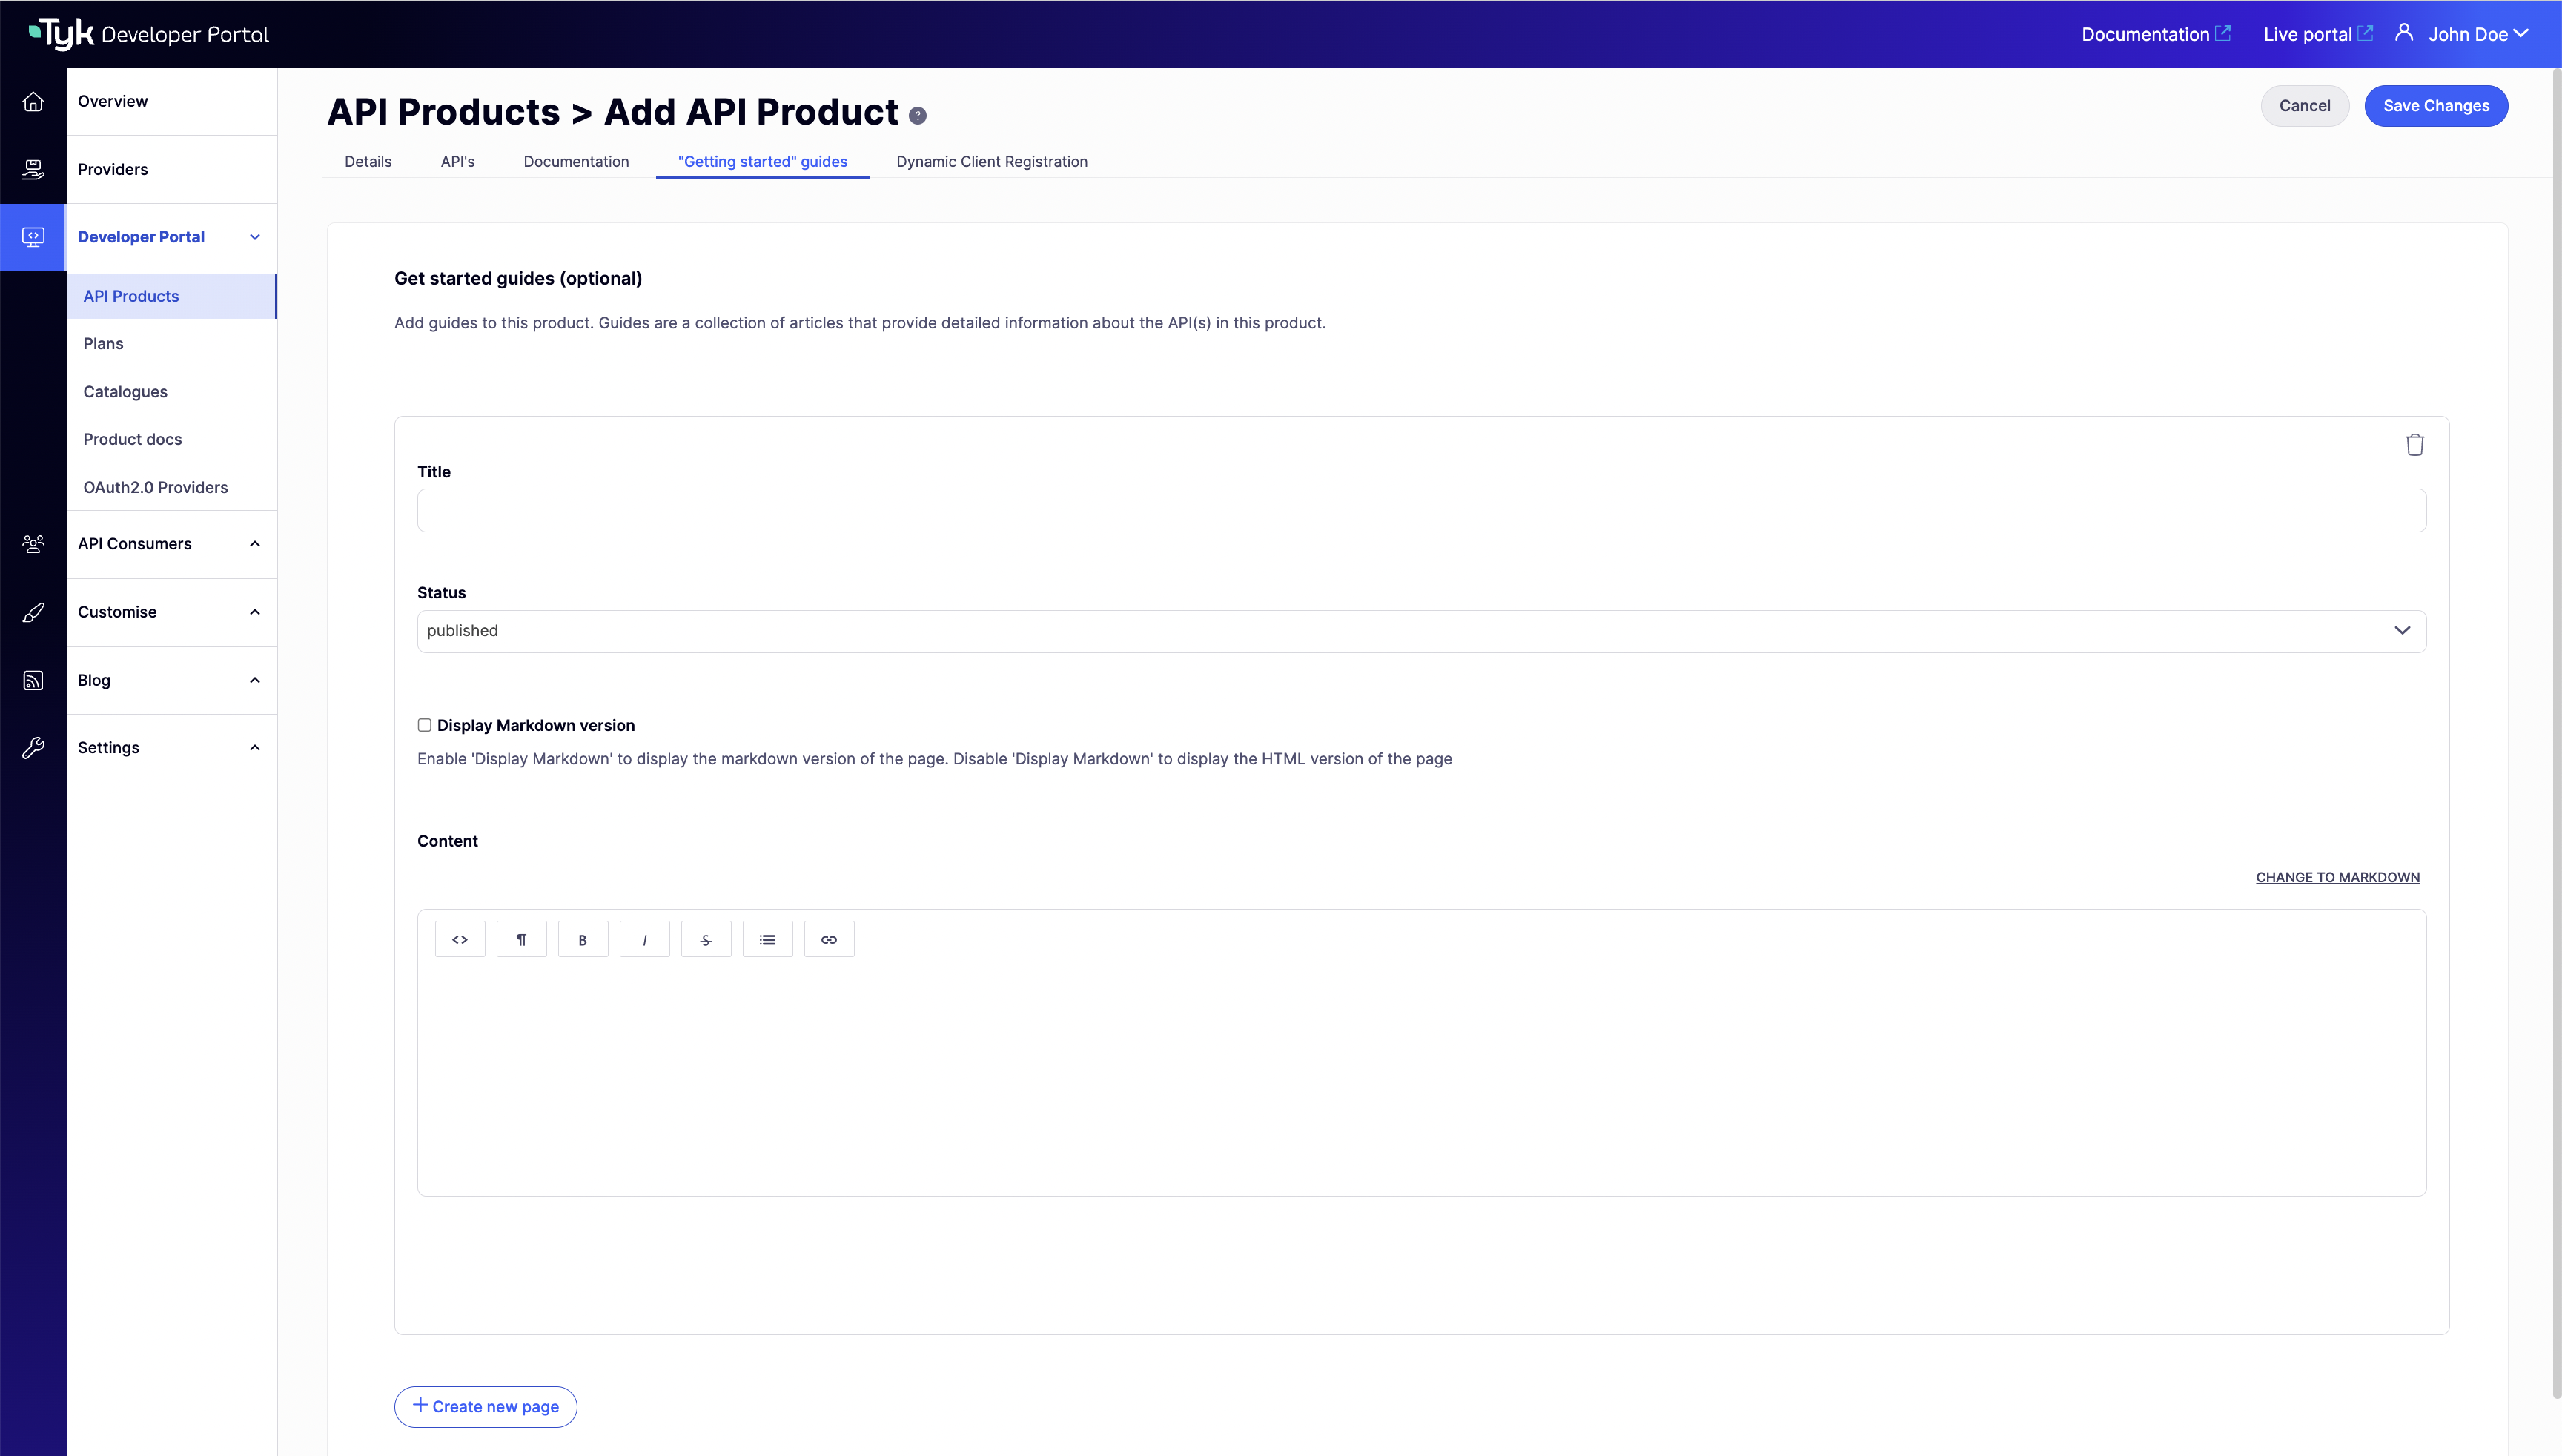 7. Click **Save Changes**
## Step 3: Create an API Plan
[Plans](/portal/api-plans) define the terms under which developers can access your API products. When you create an API Plan in the Developer Portal, a corresponding [limits policy](/api-management/access-control/policies/applying-policies#partitioned-policies) will be created in the Tyk Dashboard (Provider) that configures quotas and rate limits that will be applied to API Consumer access credentials created from the Plan.
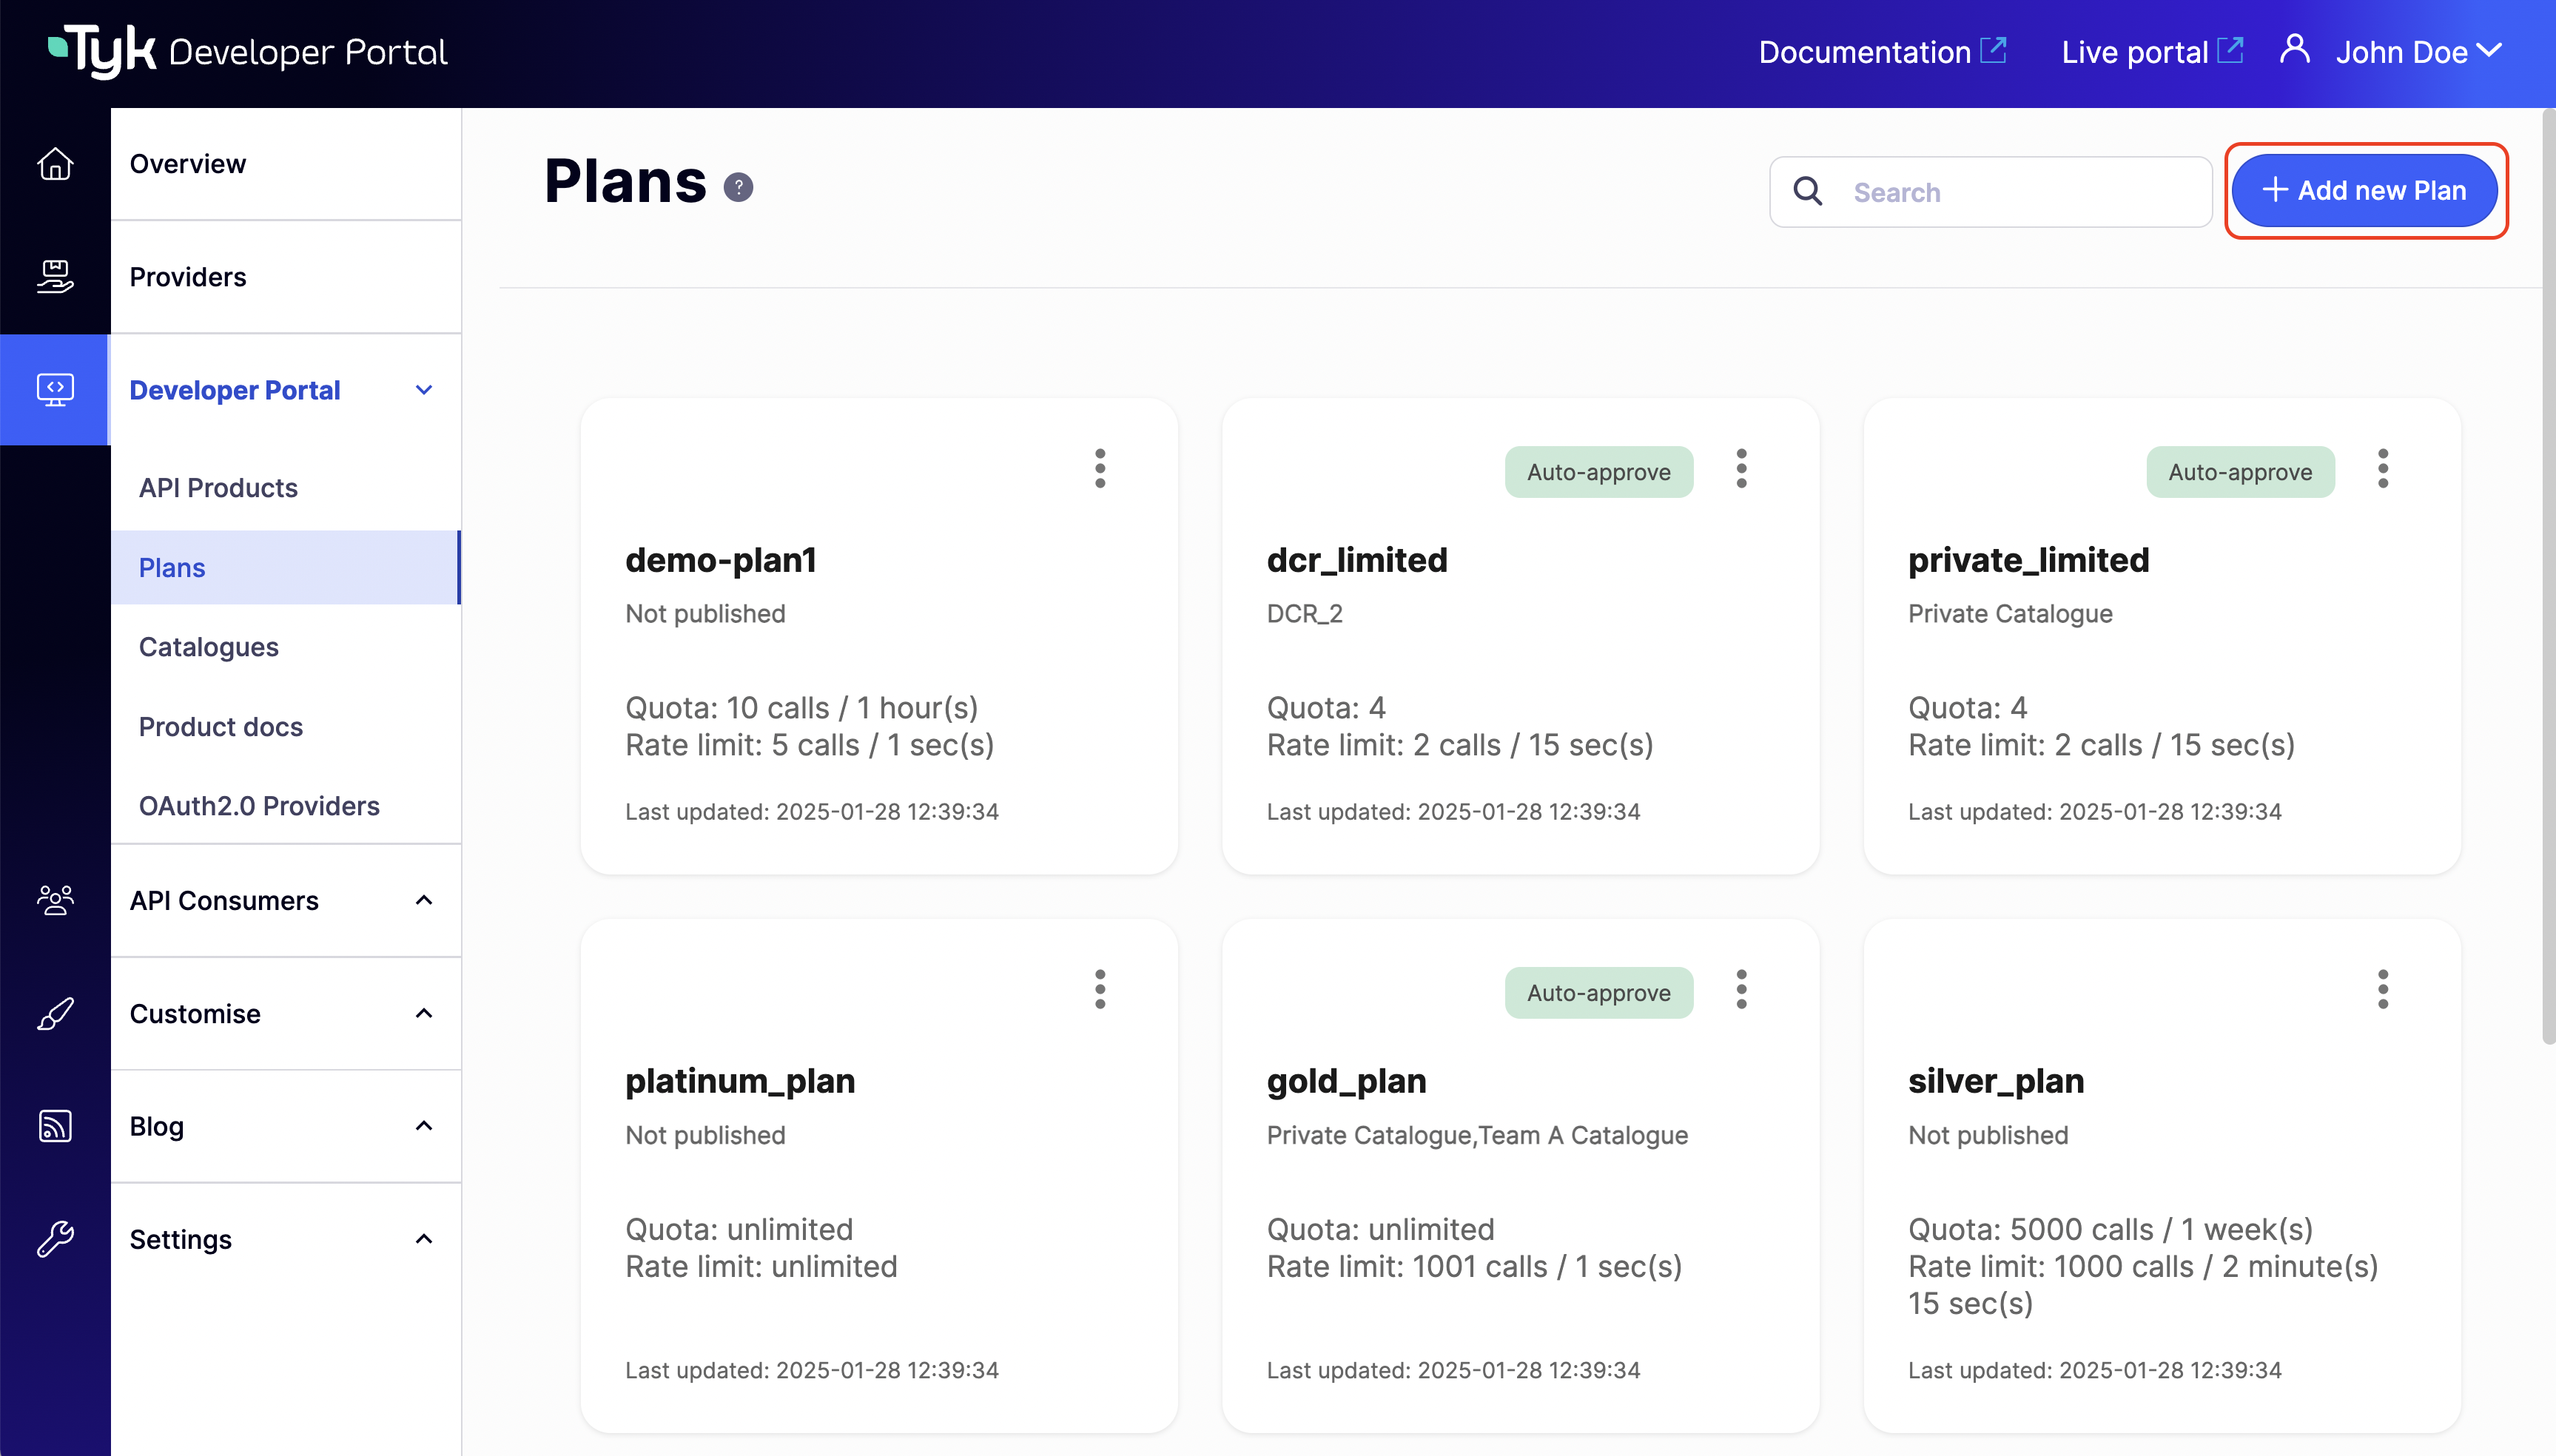
1. Navigate to **Developer Portal > Plans**
2. Click **Add new Plan**
7. Click **Save Changes**
## Step 3: Create an API Plan
[Plans](/portal/api-plans) define the terms under which developers can access your API products. When you create an API Plan in the Developer Portal, a corresponding [limits policy](/api-management/access-control/policies/applying-policies#partitioned-policies) will be created in the Tyk Dashboard (Provider) that configures quotas and rate limits that will be applied to API Consumer access credentials created from the Plan.
1. Navigate to **Developer Portal > Plans**
2. Click **Add new Plan**
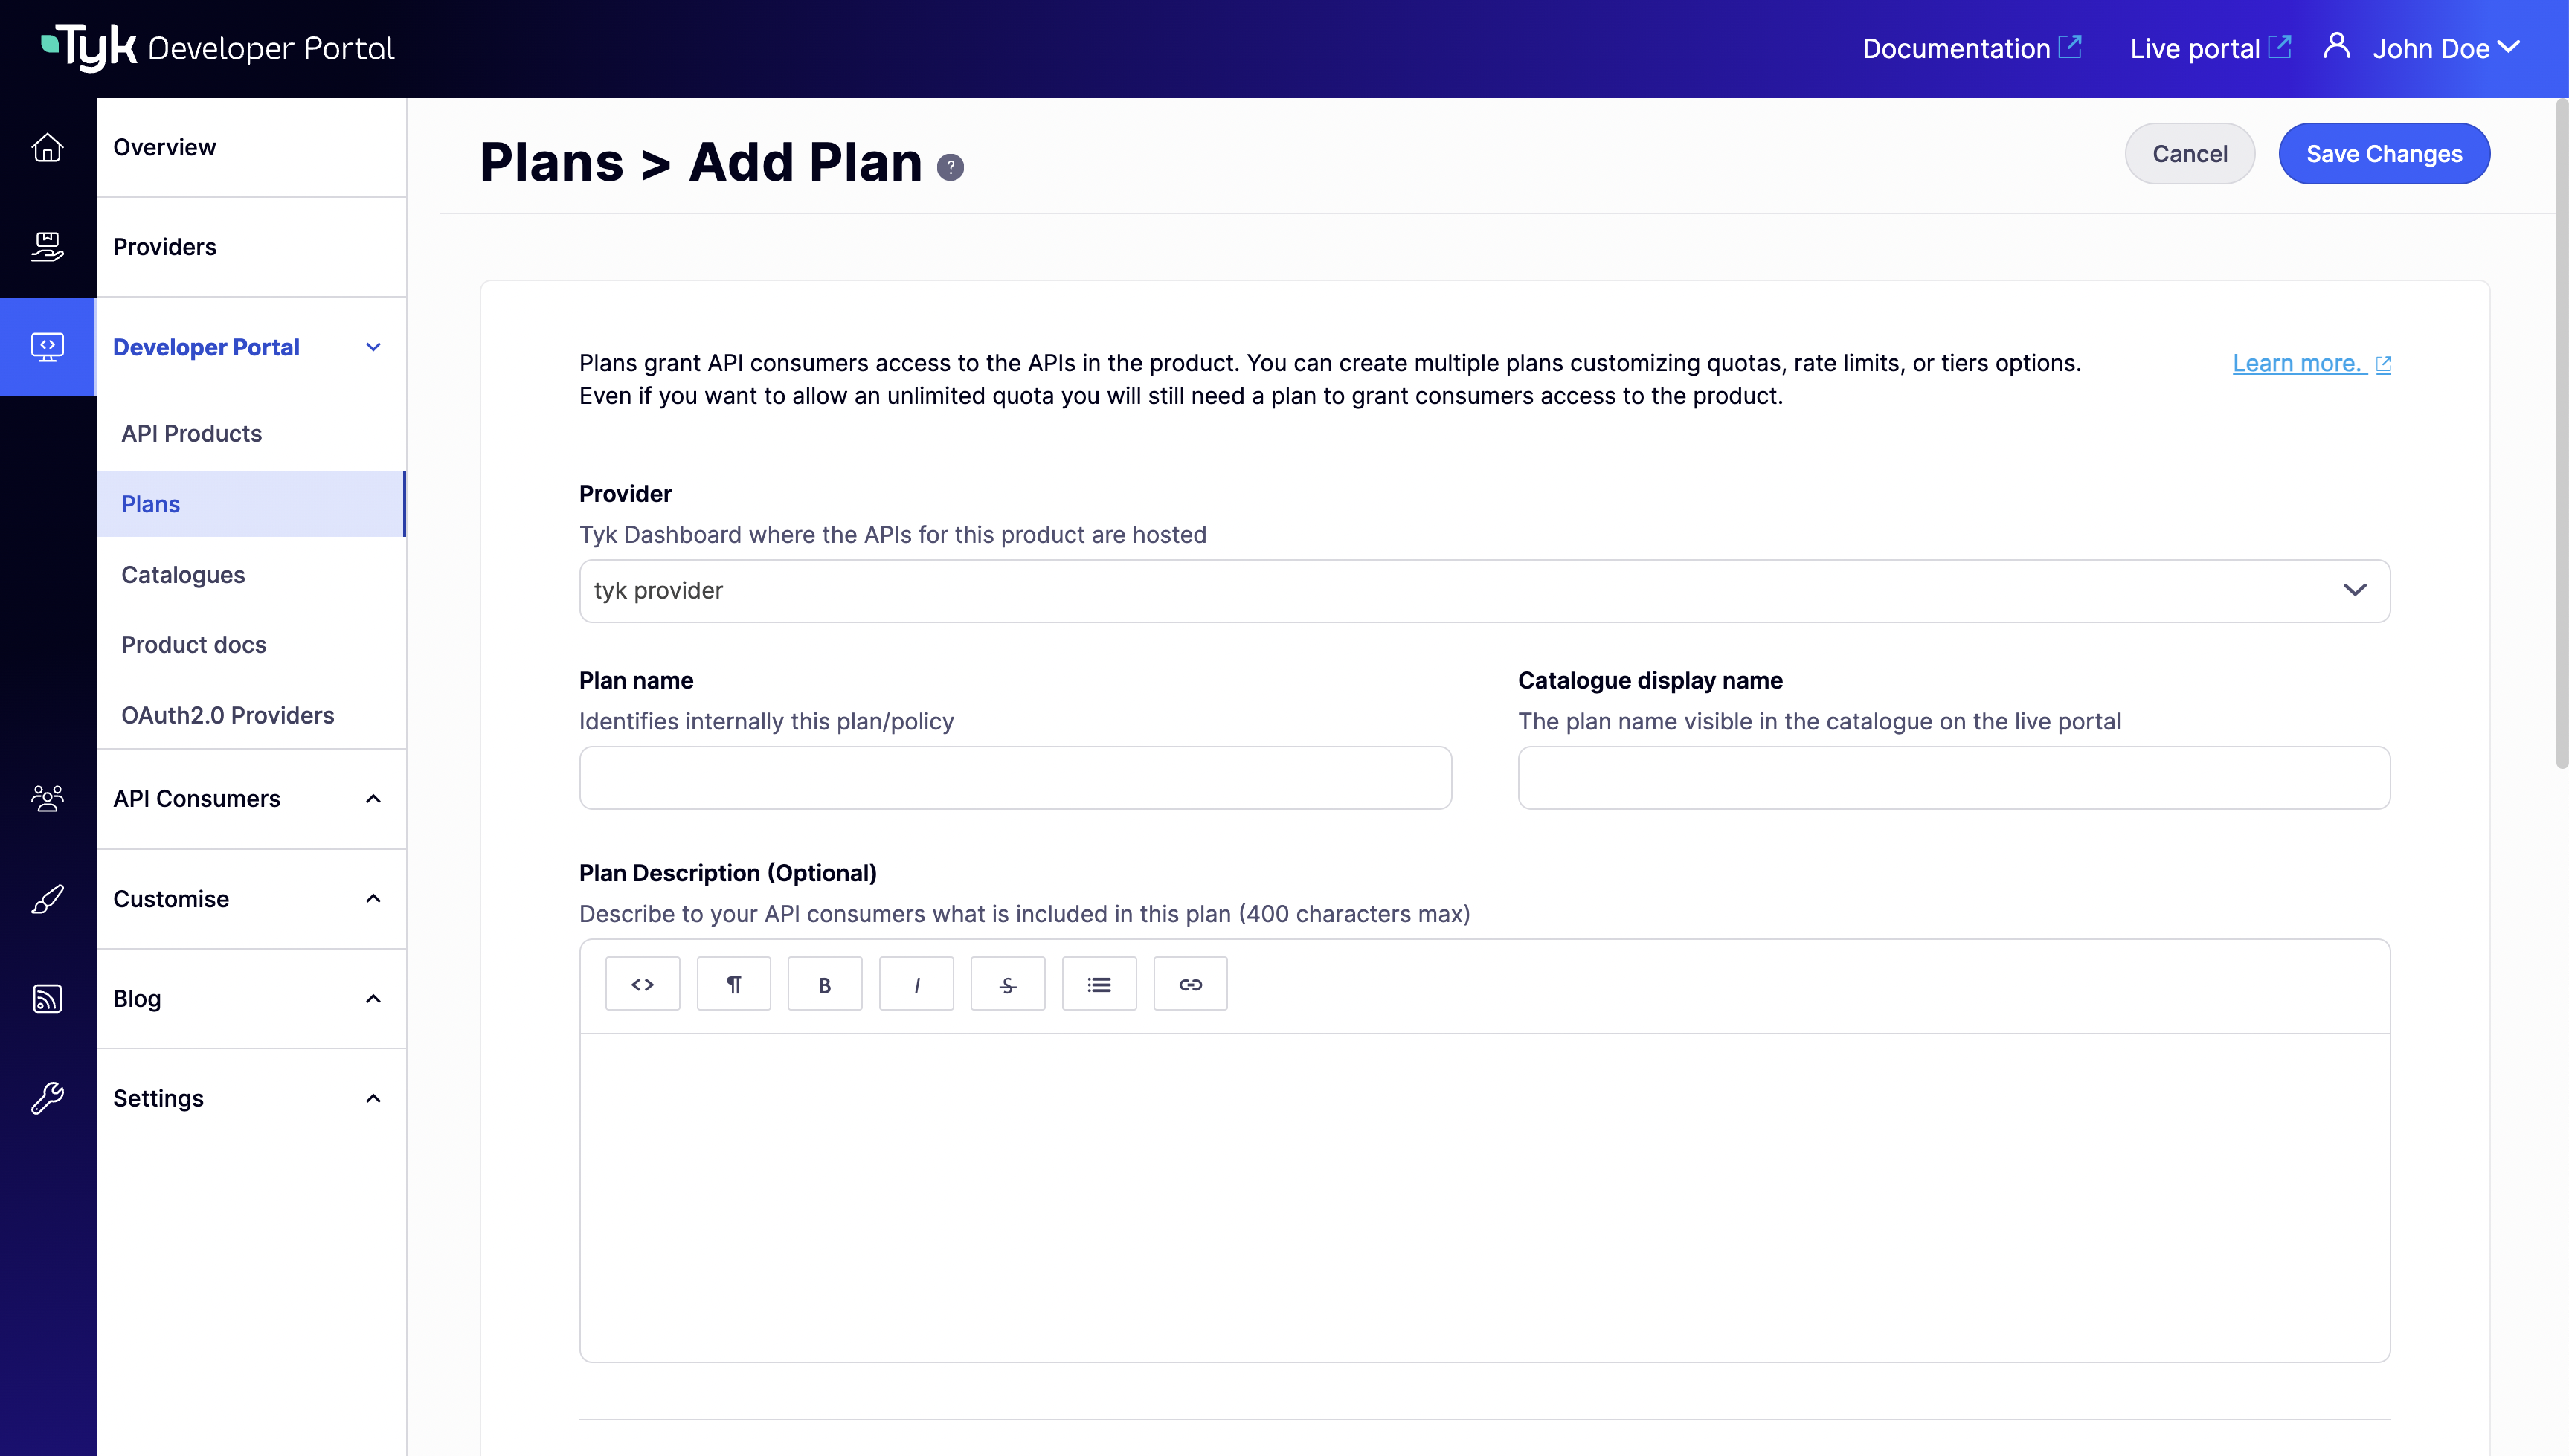
 3. Enter the basic plan information:
* Provider: Select your provider from the dropdown
* Plan name: A unique plan name (e.g., "Free tier") which will be used by the Provider (Tyk Dashboard) when naming the access policy
* Catalogue display name: (optional) Descriptive name that will be used on the Live Portal
* Plan description: (optional) A short summary of the plan that will be displayed in the Live Portal
3. Enter the basic plan information:
* Provider: Select your provider from the dropdown
* Plan name: A unique plan name (e.g., "Free tier") which will be used by the Provider (Tyk Dashboard) when naming the access policy
* Catalogue display name: (optional) Descriptive name that will be used on the Live Portal
* Plan description: (optional) A short summary of the plan that will be displayed in the Live Portal
 4. Configure the consumption rules (limits) that will be applied to Developer Apps using the plan:
* Usage quota: Set a total volume of requests that an App will be permitted to make in a time period, for example 25 requests per hour
* Rate limit: Set a maximum frequency of requests that an App will be permitted to make, for example 3 requests per 10 seconds
* Key expires after: for this tutorial leave this as **Key never expires**
4. Configure the consumption rules (limits) that will be applied to Developer Apps using the plan:
* Usage quota: Set a total volume of requests that an App will be permitted to make in a time period, for example 25 requests per hour
* Rate limit: Set a maximum frequency of requests that an App will be permitted to make, for example 3 requests per 10 seconds
* Key expires after: for this tutorial leave this as **Key never expires**
 5. For this tutorial, select **Auto approve access request**
6. In the **Accessible in the following catalogues** dropdown, select the catalog you created [previously](/portal/publish-api-catalog#step-1-create-the-api-catalog)
7. Click **Save Changes**
## Step 4: Verify the Catalog
You can now go back to your Catalog to check that the API Product and Plan have been successfully added, ready for your API Consumers to gain access to your service.
1. Navigate to **Developer Portal > Catalogue**
2. Select the Catalog that you created [previously](/portal/publish-api-catalog#step-1-create-the-api-catalog)
3. Find the **Catalogue content** section and confirm that your Product and Plan are listed
4. Click **Cancel** or **Save Changes**
## What's Next?
**Congratulations**
You have successfully created an API Product and a Plan and included them in a private Catalog that will only be available to a selected audience in your Developer Portal. Now you're ready to experience the API Consumer side.
It's time to [create your first Developer App](/portal/request-access).
### Best Practices
* **Start simple**: Begin with one catalog, a few products, and basic plans
* **Use clear naming**: Make product and plan names descriptive and intuitive
* **Provide complete documentation**: Include comprehensive API documentation for each product
* **Test the developer experience**: Go through the subscription process as a developer would
* **Gather feedback**: Ask test users about the clarity and usability of your catalog
5. For this tutorial, select **Auto approve access request**
6. In the **Accessible in the following catalogues** dropdown, select the catalog you created [previously](/portal/publish-api-catalog#step-1-create-the-api-catalog)
7. Click **Save Changes**
## Step 4: Verify the Catalog
You can now go back to your Catalog to check that the API Product and Plan have been successfully added, ready for your API Consumers to gain access to your service.
1. Navigate to **Developer Portal > Catalogue**
2. Select the Catalog that you created [previously](/portal/publish-api-catalog#step-1-create-the-api-catalog)
3. Find the **Catalogue content** section and confirm that your Product and Plan are listed
4. Click **Cancel** or **Save Changes**
## What's Next?
**Congratulations**
You have successfully created an API Product and a Plan and included them in a private Catalog that will only be available to a selected audience in your Developer Portal. Now you're ready to experience the API Consumer side.
It's time to [create your first Developer App](/portal/request-access).
### Best Practices
* **Start simple**: Begin with one catalog, a few products, and basic plans
* **Use clear naming**: Make product and plan names descriptive and intuitive
* **Provide complete documentation**: Include comprehensive API documentation for each product
* **Test the developer experience**: Go through the subscription process as a developer would
* **Gather feedback**: Ask test users about the clarity and usability of your catalog